The woman at the next stall watched me stare at her bushel of Honeycrisps for a solid minute before she finally spoke. “You’re not gonna figure them out by looking,” she said, not unkindly. I laughed and admitted I was trying to remember if I had enough counter space to store a whole bushel. She shrugged and handed me a paper bag with maybe six apples inside. “Take these home. See what you do with them. Then come back.” That was it—no hard sell, no recipe card, no instructions. Just an invitation to figure it out myself.
I didn’t go back the next day. I went back that same afternoon, after I’d sliced one apple paper-thin, dusted it with cinnamon, and thrown it in the oven on a whim. Let me tell you, that first batch came out uneven—some edges were burnt, some centers were still chewy. But the ones that worked? Honestly, they disappeared before I could even bag them up. My kitchen smelled like a fall candle had exploded, and I knew I was onto something. The next morning, I bought that whole bushel.
These crispy baked apple chips with cinnamon have become my official fall ritual. Every year, when the air gets that first crisp bite to it, I start slicing. They’re the snack you didn’t know you needed—crunchy, sweet, and so simple that you’ll wonder why you ever bought the bagged ones. Maybe you’ve been there, staring at a pile of apples wondering if you can actually turn them into something special without a lot of fuss. You can. I promise.
Why You’ll Love This Recipe
I’ve tested this recipe more times than I care to count, and I can tell you with confidence: these chips are different. Not because I’m some kind of apple whisperer, but because I figured out the tricks that actually work. No more burnt edges or soggy centers—just perfectly crisp, cinnamon-kissed chips every single time.
- Incredibly Easy : Two ingredients. One oven. No complicated techniques. If you can slice an apple, you can make these.
- Naturally Healthy : No added sugar, no preservatives, no weird ingredients you can’t pronounce. Just apples and cinnamon doing their thing.
- Perfect for Fall : Apple season is the star here. This is what you make when you come home from the orchard with more apples than you know what to do with.
- Kid-Approved : My niece calls them “apple cookies,” and honestly, she’s not wrong. They disappear faster than anything I’ve ever baked.
- Lasts for Weeks : Store them right, and you’ll have a crunchy snack for up to two weeks. If they last that long.
What sets this recipe apart is the low-and-slow baking method. Most recipes rush it, and you end up with chips that are either burnt or still chewy. I’ve dialed in the exact temperature and timing so you get that satisfying snap every time. Plus, the cinnamon isn’t just sprinkled on top—it’s layered in so every bite tastes like a cozy fall afternoon.
This isn’t just another healthy snack recipe. It’s the kind you’ll actually look forward to making. The kind that makes your whole house smell amazing and gives you something crunchy to reach for when the 3 PM slump hits. Trust me, once you make your own, you’ll never go back to the store-bought versions.
What Ingredients You Will Need
This recipe keeps things refreshingly simple. You only need two main ingredients, plus a little patience. The magic happens when you let good-quality apples and cinnamon do their thing together in the oven.
- Apples (3-4 medium) : The star of the show. I prefer Honeycrisp or Fuji for their natural sweetness and firm texture. Granny Smith works beautifully too if you like a tart kick. Look for apples that are firm with no soft spots—they’ll slice better and hold their shape during baking. (Pro tip: use a mix of red and green apples for a pretty final batch.)
- Ground Cinnamon (1-2 teaspoons) : This is where the cozy flavor comes from. I use Saigon cinnamon when I can find it—it’s stronger and slightly sweeter than regular cinnamon. But any good-quality cinnamon will work. Don’t skip it, even if you’re tempted. It makes the whole kitchen smell like fall.
- Optional: A pinch of nutmeg or allspice : If you want to get fancy, add a tiny pinch to the cinnamon mixture. It’s not necessary, but it adds a warm, complex note that’s lovely.
- Optional: A light sprinkle of sugar : If your apples aren’t super sweet, you can add a teaspoon of coconut sugar or brown sugar. I usually don’t, but it’s there if you need it.
That’s it. No oil, no butter, no complicated syrups. The apples provide all the moisture and sweetness they need. The cinnamon adds warmth and depth. It’s the kind of recipe that makes you feel like a kitchen genius with almost no effort.
When choosing apples, go for ones that are in season. Fall apples are at their peak, which means they’re sweeter, crisper, and more flavorful. If you’re buying from a farmers’ market, ask the grower which variety they recommend for baking. They usually know best.
One thing I’ve learned the hard way: don’t use mealy or overly soft apples. They’ll turn into mushy, sad chips that never crisp up. Stick with firm, fresh apples and you’ll be golden.
Equipment Needed
You don’t need a fancy kitchen to make these chips. Here’s what you’ll need:
- A sharp knife or mandoline slicer : Even slices are the secret to even baking. A mandoline makes this effortless, but a sharp chef’s knife works perfectly too. Just take your time and aim for slices that are about 1/8-inch thick.
- A cutting board : Preferably a large one so you have room to work.
- Baking sheets (2-3) : You’ll need enough to hold the apple slices in a single layer without overlapping. I use two half-sheet pans for a standard batch.
- Parchment paper or silicone baking mats : These prevent sticking and make cleanup a breeze. I prefer parchment paper because it’s disposable and easy to work with.
- A small bowl for cinnamon mixture : Just something to mix the cinnamon and any optional spices in.
- A cooling rack : Not strictly necessary, but it helps the chips cool evenly and stay crispy. If you don’t have one, just let them cool on the baking sheet.
If you’re using a mandoline, watch your fingers. I’ve nicked myself more times than I’d like to admit. Use the guard that comes with it, or better yet, get a cut-resistant glove. Trust me on this one.
Preparation Method
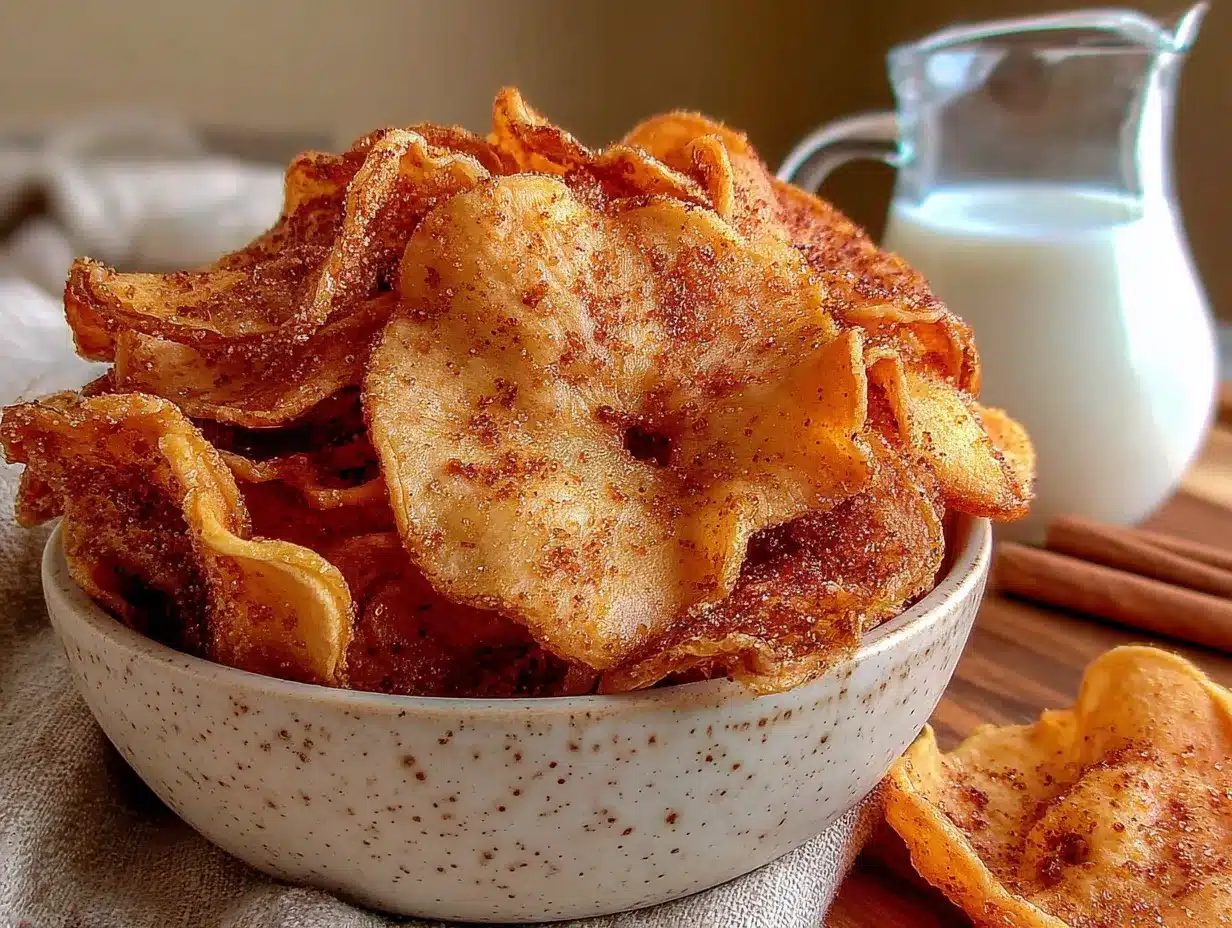
Let’s get to the good part. Follow these steps, and you’ll have a batch of crispy baked apple chips with cinnamon that’ll make your whole week better.
- Preheat your oven to 200°F (93°C) . Yes, this is low. I know it feels weird. But trust the process—low and slow is the only way to get that perfect crunch without burning the edges. Line your baking sheets with parchment paper.
- Wash and core your apples . You don’t need to peel them—the skin adds color and fiber. Just give them a good rinse and pat them dry. Use an apple corer or a small knife to remove the core. If you’re feeling lazy, you can slice around the core, but coring first gives you more uniform rounds.
- Slice the apples very thin . Aim for 1/8-inch thickness. If you’re using a mandoline, set it to the thinnest setting. If you’re using a knife, take your time. The thinner the slices, the crispier the chips. Thicker slices will be chewier, which isn’t necessarily bad—just different.
- Mix your cinnamon . In a small bowl, combine 1-2 teaspoons of cinnamon. If you’re using nutmeg or allspice, add a pinch here. You can also mix in a teaspoon of sugar if you want extra sweetness.
- Arrange the slices on the baking sheets . Lay them in a single layer, making sure they don’t overlap. Overlapping leads to uneven drying, and nobody wants a soggy chip. You can crowd them a little, but leave a tiny gap between each slice.
- Sprinkle the cinnamon mixture evenly over the slices . Use your fingers or a small sieve. Don’t dump it all in one spot—distribute it as evenly as you can. Flip the slices and sprinkle the other side too. This is the step that makes every bite taste like fall.
- Bake for 2 to 2.5 hours . Yes, this takes time. But here’s the thing—you don’t have to stand there watching. Go read a book, fold laundry, take a nap. Just check on them every 45 minutes or so. You’ll know they’re done when they’re dry to the touch and slightly curled at the edges. They should be firm, not bendy.
- Check for doneness around the 2-hour mark . Lift one up and let it cool for 30 seconds. If it’s crispy, they’re done. If it’s still a little chewy, give them another 15-20 minutes. Every oven is different, so trust your instincts more than the timer.
- Let them cool completely on the baking sheet . This is crucial. The chips will continue to crisp up as they cool. If you move them too soon, they might break. Leave them alone for at least 30 minutes. I know it’s hard, but resist the urge to grab one while they’re warm.
- Store in an airtight container . Once they’re completely cool, transfer them to a jar or container with a tight-fitting lid. They’ll stay crispy for up to two weeks—if they last that long.
One thing I’ve learned: if your kitchen is humid, the chips might take a little longer. Don’t panic. Just keep baking and check them every 10 minutes after the 2-hour mark. They’ll get there.
Cooking Tips & Techniques
After way too many batches of apple chips (some amazing, some… not so much), I’ve gathered a few tips that’ll save you from my mistakes.
Slice evenly or suffer the consequences. I cannot stress this enough. Thick slices stay chewy while thin slices burn. Use a mandoline if you have one, or take your time with a knife. Consistent thickness is the single most important factor for even baking.
Don’t skip the parchment paper. I tried making these directly on a bare baking sheet once. Let’s just say I spent twenty minutes scraping cinnamon-scented apple residue off the metal. Parchment paper makes cleanup effortless and prevents sticking.
Rotate your baking sheets halfway through. Most ovens have hot spots. Halfway through the baking time, swap the top and bottom racks and rotate the sheets front to back. This ensures even drying and prevents the edges from browning too fast.
If they’re still chewy, they need more time. Don’t give up and eat them as is. Give them another 15 minutes. I’ve had batches that looked done but were still soft inside, and an extra 10 minutes in the oven made all the difference.
Cool completely before storing. This is non-negotiable. Any residual warmth will create steam inside your container, and steam turns crispy chips into sad, limp slices. Let them sit out for at least 30 minutes, or even an hour if you have the patience.
Don’t overcrowd the pan. I know it’s tempting to cram as many slices as possible onto one sheet, but overlapping leads to uneven drying. Use multiple pans or bake in batches. Your future self will thank you.
Variations & Adaptations
Once you’ve mastered the basic recipe, feel free to play around. Here are some variations I’ve tried and loved:
- Spiced Apple Chips : Add 1/4 teaspoon of ground ginger and a pinch of cloves to the cinnamon mixture. It gives the chips a chai-like warmth that’s perfect for cold afternoons.
- Maple Cinnamon Chips : Before baking, lightly brush the apple slices with a tiny bit of maple syrup. This adds a subtle sweetness and a slightly different texture. Just be careful—the sugar can burn if you’re not watching closely.
- Savory Apple Chips : Skip the cinnamon and sprinkle the slices with a pinch of sea salt and a dash of smoked paprika. Sounds weird, I know, but it works. The sweetness of the apple balances perfectly with the smoky saltiness.
- Dehydrator Method : If you have a dehydrator, use it! Set it to 135°F (57°C) and dehydrate for 6-8 hours. The texture is even crunchier than oven-baked chips, and you can do larger batches at once.
- Air Fryer Version : Set your air fryer to 250°F (121°C) and cook for 12-15 minutes, shaking the basket halfway through. Keep an eye on them—air fryers run hot and can burn the chips quickly.
My personal favorite variation is the spiced version. I made it last Thanksgiving, and my brother-in-law, who claims he doesn’t like healthy snacks, ate half the batch before dinner. That’s when I knew I had something special.
Serving & Storage Suggestions
These chips are incredibly versatile. Here’s how to serve and store them:
Serving ideas: Enjoy them straight out of the jar as a snack, or get creative. Crumble them over yogurt or oatmeal for a crunchy topping. Serve them alongside a cheese board—they pair beautifully with sharp cheddar or brie. Dip them in melted dark chocolate for a decadent treat. Or just eat them by the handful while standing in front of the pantry. No judgment here.
Storage: Once the chips are completely cool, transfer them to an airtight container. A glass jar with a tight lid works perfectly. Store them in a cool, dry place away from direct sunlight. They’ll stay crispy for up to two weeks. If you live in a humid climate, add a silica gel packet (the kind that comes in shoeboxes) to the container to absorb excess moisture.
Re-crisping tip: If your chips lose their crunch over time, don’t throw them out. Spread them on a baking sheet and pop them in a 200°F (93°C) oven for 5-10 minutes. Let them cool completely, and they’ll be crispy again. It’s like magic.
One thing I love about these chips is how the flavor deepens after a day or two. The cinnamon settles in, and the apple sweetness becomes more concentrated. They’re good fresh, but they’re even better on day three.
Nutritional Information & Benefits
These chips are a snack you can feel good about. Here’s the breakdown for a single serving (about one apple’s worth of chips):
- Calories : Approximately 95-110
- Carbohydrates : 25g
- Fiber : 4-5g
- Sugar : 19g (all natural from the apples)
- Fat : 0g
- Protein : 0.5g
Apples are packed with fiber and antioxidants, particularly quercetin, which supports heart health and immune function. Cinnamon adds anti-inflammatory benefits and helps regulate blood sugar levels. Together, they make a snack that satisfies your crunch cravings without the processed ingredients of store-bought chips.
These chips are naturally gluten-free, vegan, and paleo-friendly. If you skip the optional sugar, they’re also keto-friendly in moderation. The only potential allergen is apples themselves, which is rare.
I love that I can hand a bag of these to my niece without worrying about what’s in them. No preservatives, no added sugars, no mystery ingredients. Just apples and cinnamon, doing what nature intended.
Conclusion
These crispy baked apple chips with cinnamon are more than just a snack—they’re a celebration of fall in every crunchy bite. They’re the kind of recipe that makes you slow down and appreciate simple things: the smell of cinnamon in the air, the satisfying snap when you bite into a perfectly baked chip, the feeling of making something good with your own hands.
I hope you give this recipe a try. Play with the spices, experiment with different apple varieties, and make it your own. That’s the beauty of simple recipes—they leave room for your personality to shine through. And honestly, there’s no wrong way to make them. Even my burnt, uneven first batch was delicious.
If you make these chips, I’d love to hear about it. Drop a comment below and let me know which apple variety you used, or tag me in your photos on social media. Your feedback and creativity keep this little kitchen community going. Happy snacking, friends. May your chips always be crispy and your kitchen always smell like cinnamon.
Frequently Asked Questions
Can I use any type of apple for this recipe?
Absolutely. Firmer apples like Honeycrisp, Fuji, or Granny Smith work best because they hold their shape during the long baking time. Softer apples like McIntosh can get mushy, but they’re still worth trying if that’s what you have on hand.
Why are my apple chips still chewy after baking?
They probably need more time in the oven. Every oven runs a little differently, and humidity affects drying time. Pop them back in for another 15-20 minutes and check again. Also, make sure your slices are thin enough—thick slices will always be chewy.
Can I make these in an air fryer?
Yes! Set your air fryer to 250°F (121°C) and cook for 12-15 minutes, shaking the basket halfway through. Keep a close eye on them because air fryers run hot and can burn the chips quickly. You might need to adjust the timing based on your specific model.
How do I store apple chips so they stay crispy?
Make sure they’re completely cool before storing them in an airtight container. A glass jar with a tight lid works great. Keep them in a cool, dry place. If you live in a humid area, add a silica gel packet to the container to absorb moisture.
Can I add sugar or other sweeteners?
Definitely. If your apples aren’t very sweet, you can sprinkle a teaspoon of coconut sugar, brown sugar, or even a light dusting of powdered sugar over the slices before baking. Just be aware that added sugar can cause the chips to brown faster, so keep an eye on them in the last 30 minutes of baking.
Pin This Recipe!
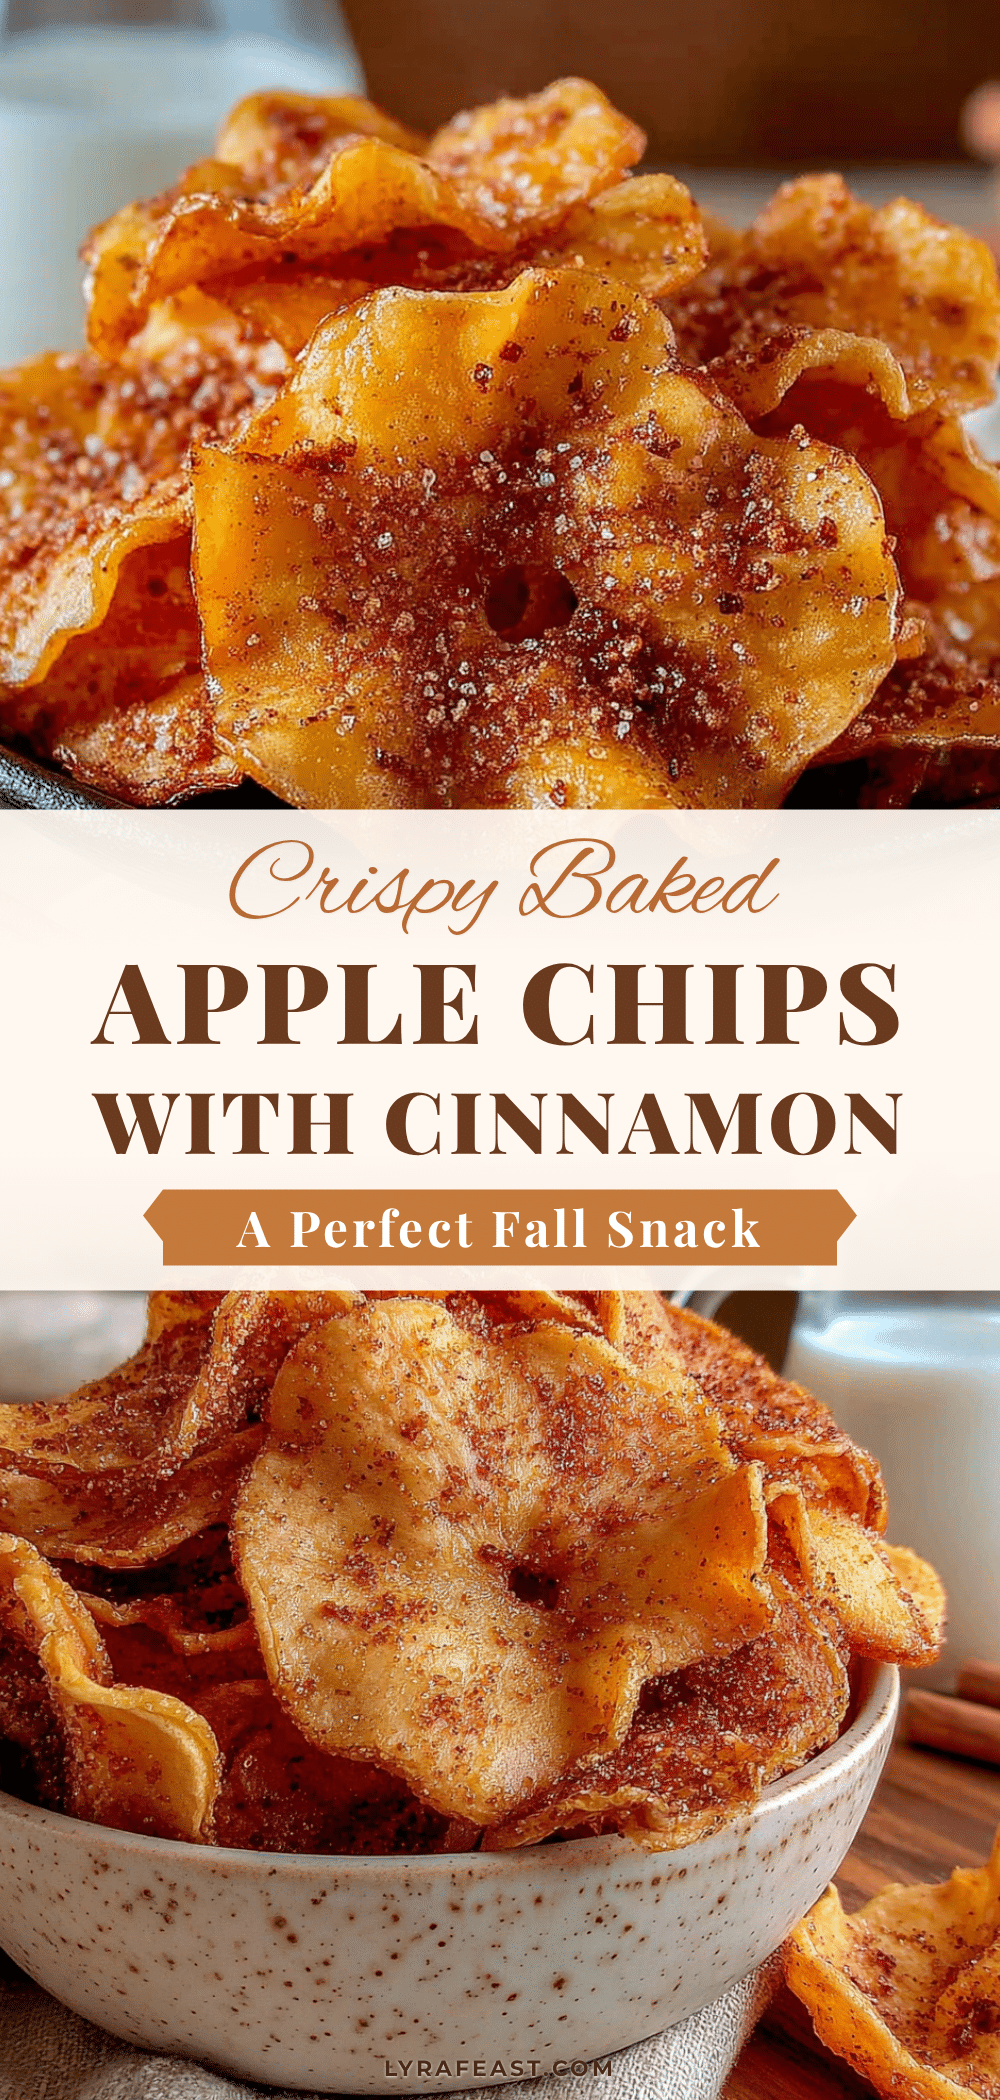
Crispy Baked Apple Chips with Cinnamon – Easy Fall Snack

These crispy baked apple chips with cinnamon are the perfect fall snack—crunchy, sweet, and incredibly easy to make with just two ingredients. Low-and-slow baking ensures perfectly crisp chips every time, without burnt edges or soggy centers.
- Prep Time: 15 minutes
- Cook Time: 2 hours 30 minutes
- Total Time: 2 hours 45 minutes
- Yield: 4 servings 1x
- Category: Snack
- Cuisine: American
Ingredients
- 3–4 medium apples (Honeycrisp, Fuji, or Granny Smith recommended)
- 1–2 teaspoons ground cinnamon (Saigon cinnamon preferred)
- Optional: a pinch of nutmeg or allspice
- Optional: 1 teaspoon coconut sugar or brown sugar
Instructions
- Preheat your oven to 200°F (93°C). Line baking sheets with parchment paper.
- Wash and core your apples. Do not peel them.
- Slice the apples very thin, about 1/8-inch thick, using a sharp knife or mandoline slicer.
- In a small bowl, mix 1-2 teaspoons of cinnamon with optional spices or sugar.
- Arrange the apple slices in a single layer on the prepared baking sheets, ensuring they do not overlap.
- Sprinkle the cinnamon mixture evenly over both sides of the apple slices.
- Bake for 2 to 2.5 hours, checking every 45 minutes. The chips are done when dry to the touch and slightly curled at the edges.
- Check for doneness around the 2-hour mark by letting a chip cool for 30 seconds—it should be crispy.
- Let the chips cool completely on the baking sheet for at least 30 minutes; they will continue to crisp up.
- Store in an airtight container at room temperature for up to two weeks.
Notes
Slice apples evenly for consistent baking. Rotate baking sheets halfway through for even drying. If chips are still chewy, bake for an additional 15-20 minutes. Cool completely before storing to maintain crispness. In humid climates, add a silica gel packet to the storage container. To re-crisp, bake at 200°F for 5-10 minutes.
Nutrition
- Serving Size: 1 apple's worth of c
- Calories: 95110
- Sugar: 19
- Carbohydrates: 25
- Fiber: 45
- Protein: 0.5
Keywords: apple chips, baked apple chips, cinnamon apple chips, healthy snack, fall snack, easy apple recipe, homemade apple chips



