“You won’t believe what I whipped up on that chilly Saturday night at the campground,” my buddy Jake said, grinning as he passed me a plate piled high with what looked like the ultimate nacho creation. Honestly, I was expecting something simple—chips and cheese, maybe some salsa. But this? This was a whole new level. The crackle of the campfire, the smoky aroma mingling with melted cheese and spicy jalapeños, and the satisfying crunch from the cast iron skillet made those campfire nachos unforgettable.
It all started when we forgot to pack our usual dinner fixings but had a trusty cast iron skillet and a handful of random toppings. What could go wrong? Turns out, quite a lot of deliciousness could happen by accident. I spilled the sour cream, dropped some chips on the ground (which I might have secretly eaten anyway), but the real magic was how everything melded together over the flames.
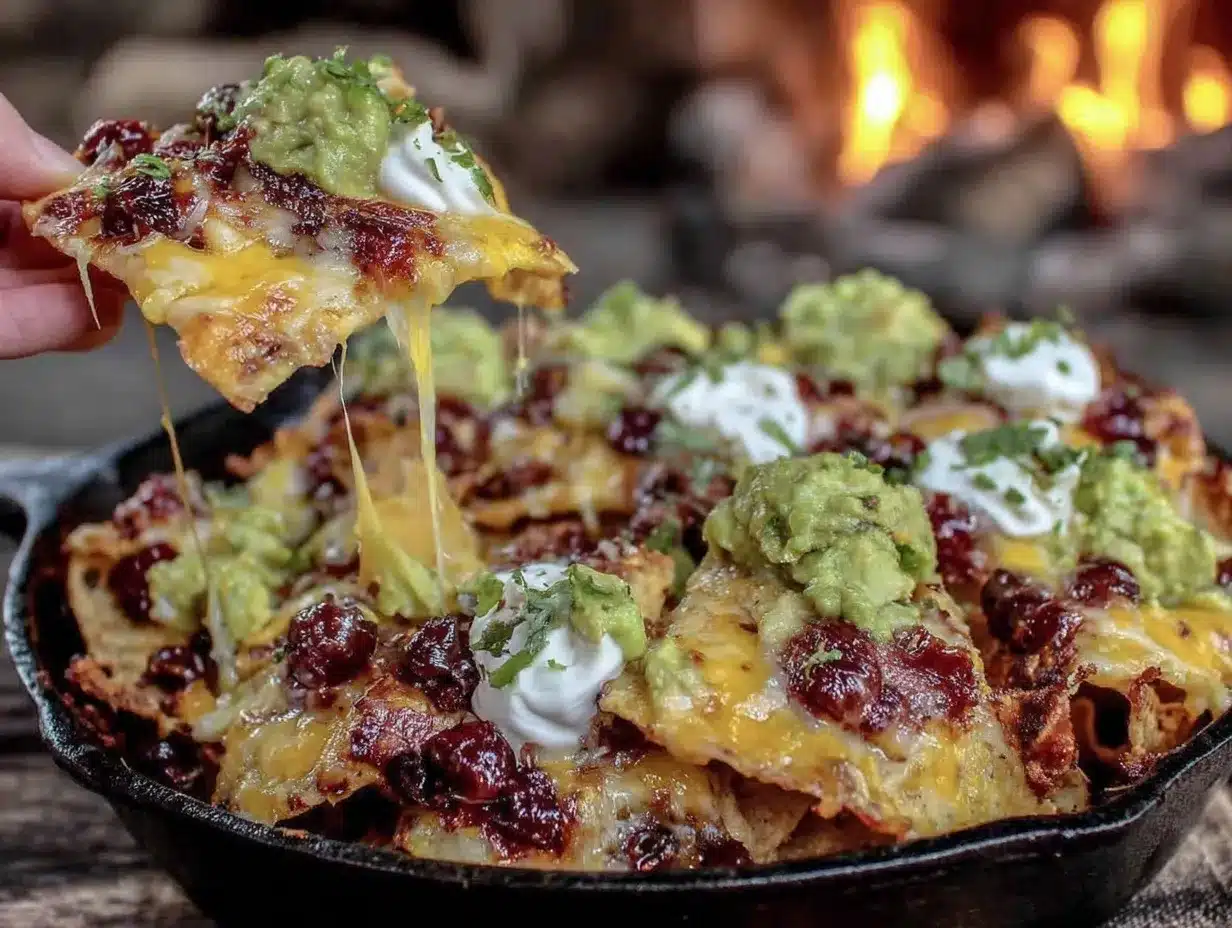
Maybe you’ve been there—stuck outdoors, hungry, and making do with what’s on hand. This recipe for Flavorful Cast Iron Skillet Campfire Nachos with All the Toppings is exactly that: simple enough for any campfire cookout, but loaded with flavors that’ll have you craving more. It’s messy, it’s comforting, and it’s the kind of dish that brings everyone closer around the fire. Let me tell you, once you try this, it’s going to be your new go-to campfire indulgence.
Why You’ll Love This Recipe
After countless campfire sessions and test runs in my kitchen, I can say this recipe stands out for so many reasons. It’s a no-fuss, crowd-pleasing meal that feels special without a ton of effort. Here’s why you’ll want to make these campfire nachos your next outdoor (or even indoor) snack:
- Quick & Easy: Ready in under 30 minutes, perfect when hunger hits hard after a day outside.
- Simple Ingredients: No need for exotic items — just pantry staples and fresh toppings you probably already have.
- Perfect for Campouts and Backyard Gatherings: Whether you’re roasting marshmallows or just hanging out, these nachos fit right in.
- Crowd-Pleaser: Kids and adults alike go nuts for the melty cheese, spicy jalapeños, and fresh guacamole combo.
- Unbelievably Delicious: The cast iron skillet gives a crispy, golden finish that oven-baked nachos just can’t match.
This isn’t just another nacho recipe; it’s the one you’ll find yourself tweaking and perfecting over time. The trick? Layering the toppings just right and letting the campfire work its magic on the skillet. It’s comfort food with a smoky twist that turns simple ingredients into a feast. You’ll feel like a campfire chef, trust me.
What Ingredients You Will Need
This recipe uses straightforward ingredients that come together to offer bold flavors and satisfying textures without fuss. Most are pantry or fridge staples, and many have easy swaps if needed.
- Tortilla Chips: Use sturdy, thick-cut chips to hold all those toppings without getting soggy.
- Cheese Blend: Sharp cheddar and Monterey Jack shredded (about 2 cups / 200g total) — I like Sargento for melting texture.
- Cooked Protein: Optional but recommended — ground beef (about 1/2 lb / 225g), shredded chicken, or black beans for a vegetarian twist.
- Onions: 1 small red onion, finely chopped (adds a mild bite).
- Jalapeños: 1-2 fresh, sliced thin (adjust for heat tolerance).
- Black Olives: 1/4 cup sliced (brings a salty depth).
- Tomatoes: 1 medium, diced (freshness is key here).
- Green Onions: 2 stalks, chopped (for a fresh crunch).
- Fresh Cilantro: A handful, chopped (optional but adds brightness).
- Sour Cream: About 1/2 cup (120 ml), dolloped on top just before serving.
- Guacamole: About 1/2 cup (120 ml), homemade or store-bought.
- Spices: 1 tsp chili powder, 1/2 tsp cumin, 1/2 tsp smoked paprika (adds that campfire warmth).
- Olive Oil or Butter: 1 tbsp for greasing the skillet.
Pro tip: In the summer, I swap fresh tomatoes for pico de gallo or add fresh corn kernels for some sweetness. For gluten-free needs, just double-check your chips and protein seasoning. You can swap out sour cream for a dairy-free yogurt or guacamole for an avocado salsa if you like. The flexible nature of this recipe means it adapts well to what you have on hand.
Equipment Needed
- Cast Iron Skillet: Essential for that crispy, smoky finish. I use a 10-inch skillet, which works perfectly for 4 servings.
- Campfire or Outdoor Grill: You can also do this in a conventional oven if needed.
- Spatula or Tongs: For layering and serving the nachos.
- Knife and Cutting Board: For prepping toppings.
- Small Mixing Bowls: Helpful for organizing ingredients before assembly.
If you don’t have a cast iron skillet, a heavy-duty oven-safe pan works too, but it won’t hold heat quite as well. Trust me, I learned this the hard way when I borrowed a friend’s non-stick pan and the nachos didn’t get that perfect crisp. Also, always dry your skillet well before use to avoid sticking and rusting. A quick wipe with a little oil after cleaning keeps it in good shape.
Preparation Method
- Prepare your ingredients: Chop onions, tomatoes, jalapeños, olives, and green onions. Cook your protein (if using) seasoned with chili powder, cumin, and smoked paprika. This should take about 10-15 minutes.
- Preheat your cast iron skillet: Place it over the campfire or grill and add 1 tablespoon of olive oil or butter. Let it heat until shimmering, roughly 3-5 minutes. Be careful not to let it smoke or burn.
- Layer the first batch of chips: Spread a generous layer of tortilla chips evenly across the skillet bottom. This base layer holds everything else.
- Add cheese and protein: Sprinkle a third of the shredded cheese over the chips, followed by a layer of your cooked protein or beans. Add a sprinkle of onions, jalapeños, and olives.
- Repeat layering: Add another layer of chips, cheese, and toppings as above. This layering ensures every bite is loaded. Cover with a final layer of chips and cheese on top.
- Cover and cook: Place a lid or foil over the skillet and let it cook for about 8-10 minutes over the fire or grill. You’re looking for the cheese to melt thoroughly and the edges of the chips to get crispy and golden.
- Check and add fresh toppings: Carefully remove the cover; the cheese should be bubbly, and the edges toasted. Remove from heat and immediately top with diced tomatoes, green onions, cilantro, dollops of sour cream, and guacamole.
- Serve hot: Use a spatula or tongs to scoop portions onto plates. Warn your crew—this skillet is hot and the cheese will be melty and tempting.
Quick tip: If your fire isn’t super hot, adjust cook time slightly and keep the lid on to trap heat. Also, don’t rush the layering—stack evenly to avoid soggy spots. I once underestimated the heat and ended up with half-melted cheese and a few burnt chips—lesson learned!
Cooking Tips & Techniques
Nachos over a campfire might sound simple, but a few tricks make all the difference between “meh” and “wow.” Here’s what I’ve learned:
- Use a well-seasoned cast iron skillet: It distributes heat evenly and gives that signature crispiness. If your skillet is new, season it well first.
- Layer smartly: Avoid dumping everything in one pile. Thin, even layers ensure every chip gets some love.
- Keep the heat consistent: Manage your campfire or grill so it’s steady but not scorching. Too hot and your chips burn before cheese melts; too low and the cheese won’t melt well.
- Cover your skillet: A lid or foil traps heat and helps melt the cheese faster. I never skip this step.
- Don’t skimp on toppings: Freshness matters. Add guac and sour cream only after cooking to keep flavors bright and textures creamy.
- Watch for sogginess: If chips start to get soggy, add a fresh layer of chips on top before serving to keep crunch.
One time, I tried tossing the chips and toppings all together in a foil packet. It was a mess—cheese stuck to foil, uneven melting, no crispy edges. So trust me, the skillet layering method is the way to go!
Variations & Adaptations
This recipe is super flexible, so you can make it your own in plenty of ways:
- Vegetarian: Skip meat and load up on black beans, corn, and bell peppers. Add extra cheese or try a smoky chipotle sauce for flavor depth.
- Spicy Kick: Add pickled jalapeños, hot sauce drizzle, or swap regular cheese for pepper jack for a fiery twist.
- Seasonal Swaps: Use fresh summer corn, diced avocado instead of guacamole, or roasted butternut squash chunks in fall for a cozy vibe.
- Cooking Method: No campfire? Bake in a 400°F (200°C) oven for 10-12 minutes on a cast iron skillet or ovenproof dish.
- Gluten-Free: Just make sure your tortilla chips and seasonings are certified gluten-free.
Personally, one autumn night I tried swapping beef for shredded smoked brisket and added caramelized onions — it was a game changer. That smoky meat paired beautifully with the melted cheese and fresh toppings.
Serving & Storage Suggestions
Serve your Flavorful Cast Iron Skillet Campfire Nachos hot, straight from the skillet for maximum melty goodness. Pair with cold drinks like a crisp lager, iced tea, or a tangy margarita if you’re at home.
For sides, simple guacamole, salsa, or a fresh green salad balance the richness beautifully. If you’re camping, pack some extra lime wedges—they brighten up every bite.
Leftovers? Store any uneaten nachos in an airtight container in the refrigerator for up to 2 days. Reheat in a hot skillet or oven to crisp up the chips again—microwaving tends to make them soggy, so I avoid that.
Fun fact: nachos often taste even better the next day once flavors have melded, so don’t be shy about making extra!
Nutritional Information & Benefits
Per serving (approximate): 450 calories, 25g fat, 35g carbs, 20g protein. This recipe offers a nice balance of macronutrients, especially if you include protein like beef or beans.
Key benefits come from fresh toppings—tomatoes and cilantro provide antioxidants, while jalapeños add metabolism-boosting capsaicin. Using black beans adds fiber and plant protein, making this a more filling meal.
If you’re watching calories, you can reduce cheese or swap sour cream for Greek yogurt. The recipe fits nicely into gluten-free diets when using certified chips and seasonings.
Honestly, this dish feels indulgent but can be part of a balanced lifestyle when enjoyed with veggies or fresh sides.
Conclusion
If you’re craving a snack or meal that’s easy to make, packed with flavor, and perfect for sharing around a campfire, these Flavorful Cast Iron Skillet Campfire Nachos with All the Toppings are your answer. I love how this recipe brings together simple ingredients and a bit of patience to create something unforgettable.
Don’t be afraid to customize it with your favorite toppings or whatever you have in your pantry. It’s forgiving and fun, and honestly, who doesn’t love a skillet loaded with melty cheese and fresh toppings? Next time you’re heading outdoors, bring along your cast iron skillet and give this a try—you might just start a new tradition.
Let me know how your nacho adventure goes in the comments! And if you have your own favorite campfire recipes, I’d love to hear them.
Frequently Asked Questions
Can I make these nachos without a cast iron skillet?
Yes, you can use an oven-safe pan or bake them in a regular baking dish, but the cast iron skillet gives the best crispy edges and heat retention for melting cheese evenly.
How do I keep the chips from getting soggy?
Layer ingredients evenly and avoid piling wet toppings too early. Add fresh chips on top before serving if needed, and serve immediately after cooking.
Can I prepare these nachos indoors?
Absolutely! Just cook them in a preheated oven at 400°F (200°C) for about 10-12 minutes until cheese melts and edges crisp.
What protein options work best in this recipe?
Ground beef, shredded chicken, black beans, or even smoked brisket work wonderfully. Choose what fits your taste and dietary needs.
How spicy are these nachos?
You control the heat by adjusting the amount of jalapeños and chili powder. Remove seeds for milder heat or add more peppers for a fiery bite.
For more delicious comfort food ideas, check out my recipe for crispy garlic chicken and my take on loaded baked potatoes—both perfect for easy weeknight dinners that please the whole family.
Pin This Recipe!
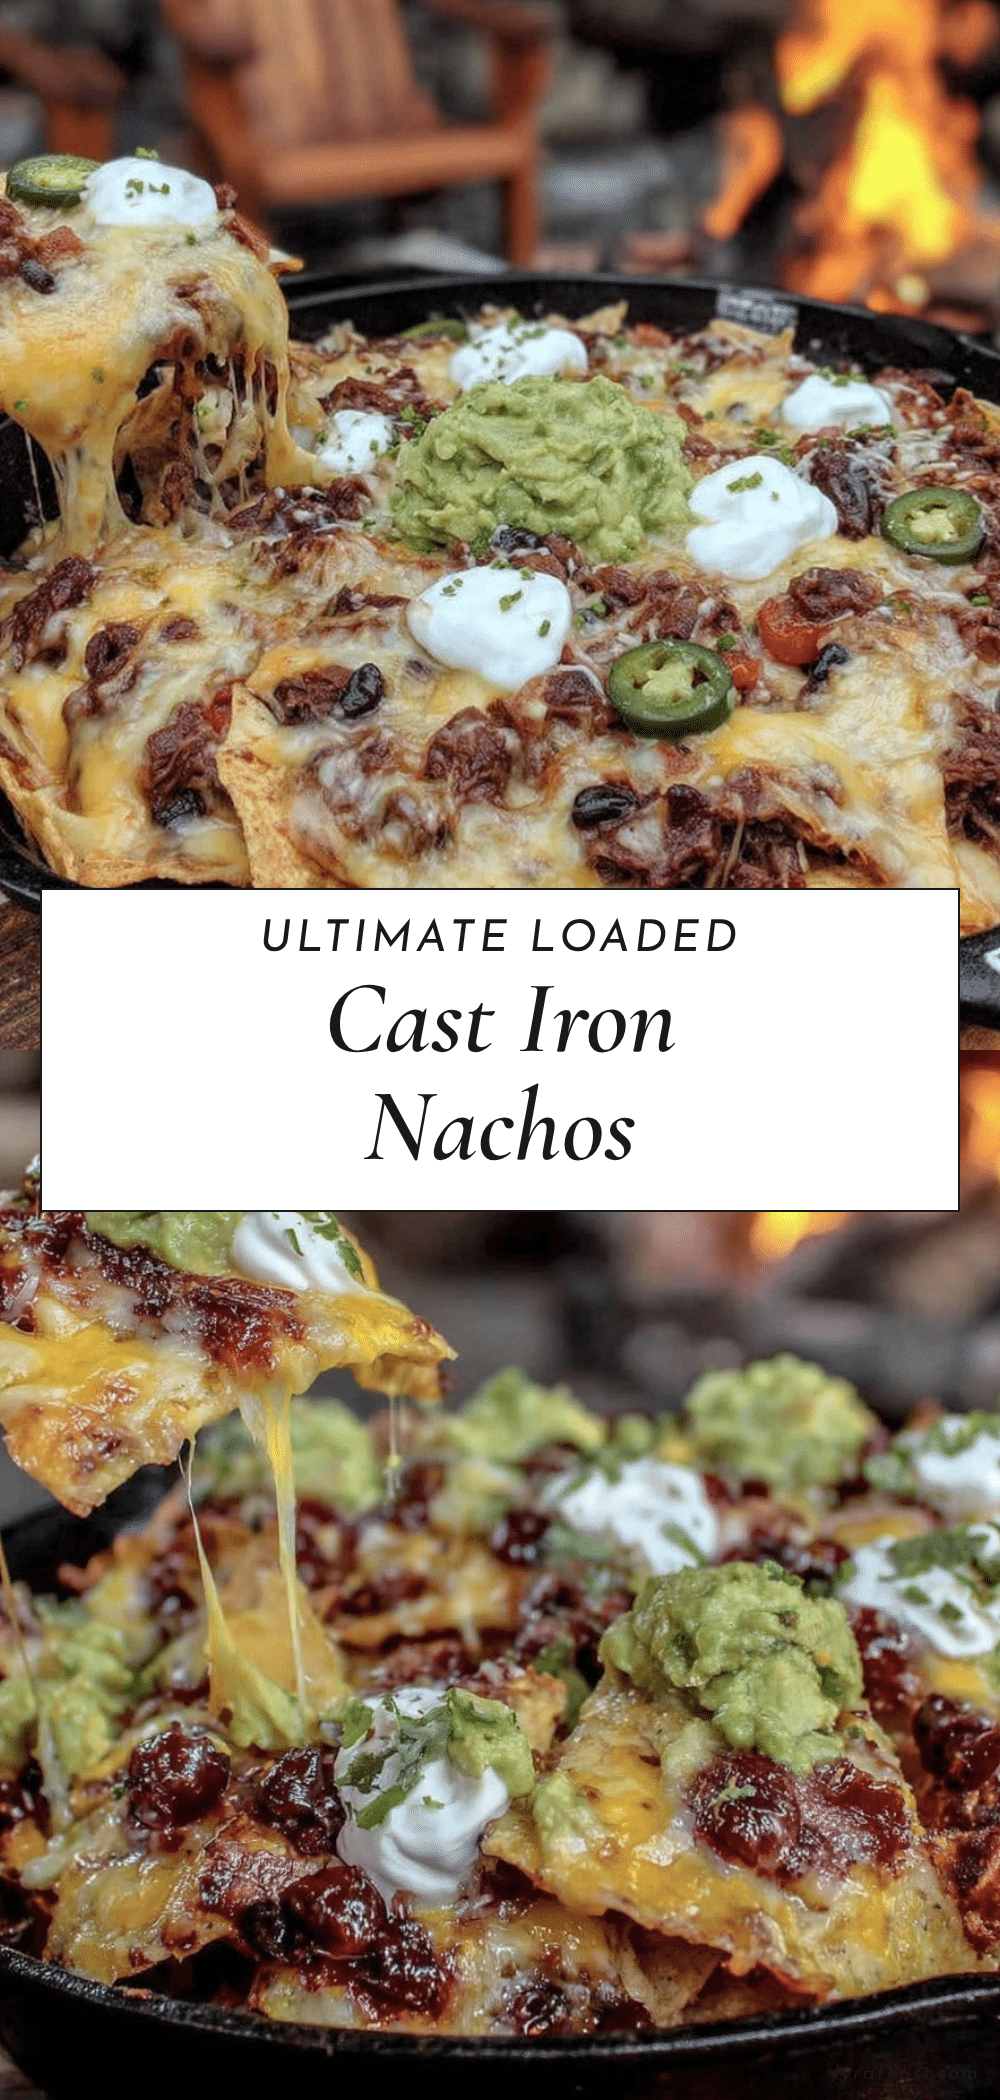
Flavorful Cast Iron Skillet Campfire Nachos Easy Recipe with Toppings

A quick and easy campfire nacho recipe loaded with melty cheese, spicy jalapeños, and fresh toppings, perfect for outdoor gatherings or indoor snacks.
- Prep Time: 15 minutes
- Cook Time: 10 minutes
- Total Time: 25 minutes
- Yield: 4 servings 1x
- Category: Snack
- Cuisine: American
Ingredients
- Tortilla chips (sturdy, thick-cut)
- 2 cups (200g) shredded sharp cheddar and Monterey Jack cheese blend
- 1/2 lb (225g) cooked ground beef, shredded chicken, or black beans (optional)
- 1 small red onion, finely chopped
- 1–2 fresh jalapeños, thinly sliced
- 1/4 cup sliced black olives
- 1 medium tomato, diced
- 2 stalks green onions, chopped
- A handful fresh cilantro, chopped (optional)
- 1/2 cup (120 ml) sour cream
- 1/2 cup (120 ml) guacamole
- 1 tsp chili powder
- 1/2 tsp cumin
- 1/2 tsp smoked paprika
- 1 tbsp olive oil or butter for greasing the skillet
Instructions
- Chop onions, tomatoes, jalapeños, olives, and green onions. Cook your protein (if using) seasoned with chili powder, cumin, and smoked paprika, about 10-15 minutes.
- Preheat your cast iron skillet over the campfire or grill and add 1 tablespoon of olive oil or butter. Heat until shimmering, about 3-5 minutes.
- Spread a generous layer of tortilla chips evenly across the skillet bottom.
- Sprinkle a third of the shredded cheese over the chips, followed by a layer of cooked protein or beans. Add a sprinkle of onions, jalapeños, and olives.
- Repeat layering with chips, cheese, and toppings. Finish with a final layer of chips and cheese on top.
- Cover the skillet with a lid or foil and cook for 8-10 minutes over the fire or grill until cheese is melted and edges of chips are crispy and golden.
- Remove the cover carefully; top with diced tomatoes, green onions, cilantro, dollops of sour cream, and guacamole.
- Serve hot using a spatula or tongs.
Notes
Use a well-seasoned cast iron skillet for even heat and crispy edges. Layer toppings evenly to avoid soggy chips. Cover skillet while cooking to melt cheese thoroughly. Add fresh toppings after cooking to keep flavors bright. For indoor cooking, bake at 400°F (200°C) for 10-12 minutes.
Nutrition
- Serving Size: About 1/4 of the ski
- Calories: 450
- Fat: 25
- Carbohydrates: 35
- Protein: 20
Keywords: campfire nachos, cast iron skillet nachos, easy nachos, campfire recipes, outdoor cooking, cheesy nachos, spicy nachos