“You know that moment when you pop over to a friend’s house expecting just a quick hello, and suddenly you’re sitting around a table piled high with the most gorgeous cheese and cracker board? That happened to me last Saturday evening at my neighbor Jen’s place. She wasn’t even planning to entertain—it was her “just a few people” night, but the way she casually tossed together this easy irresistible cheese & cracker board made me realize how powerful simple food can be.”
Honestly, I wasn’t expecting much—just some crackers and cheese, right? But the colors, the textures, the little surprises like honeycomb and marcona almonds made it feel like a celebration. There was a cracked wooden board, a slightly stained linen napkin, and a mess of crumbs by the end of the night. I forgot my phone on the kitchen counter because I was too busy nibbling and chatting. That night stuck with me—it showed how a quick, thoughtfully arranged cheese and cracker board can turn any gathering into something memorable without hours in the kitchen.
Maybe you’ve been there, scrambling last minute before guests arrive, wondering how to throw something together that looks impressive without stress. That’s exactly why I created my version of this easy irresistible cheese & cracker board recipe for entertaining. It’s foolproof, uses simple ingredients, and always gets compliments. Let me tell you, it’s my go-to whether it’s a casual Friday night or a full-on celebration. Keep reading if you want to wow your guests without breaking a sweat.
Why You’ll Love This Recipe
This easy irresistible cheese & cracker board recipe is one I’ve tested over countless gatherings—family dinners, book clubs, and even those surprise visits when you’ve got five minutes to pull something together. The magic is in the balance of flavors and textures, plus it’s so versatile.
- Quick & Easy: Ready in under 15 minutes, perfect for last-minute entertaining or casual snacking.
- Simple Ingredients: No need to hunt down exotic items; most are pantry staples or easy to find at any grocery store.
- Perfect for Any Occasion: Whether it’s a cozy night in or a lively party, this board fits right in.
- Crowd-Pleaser: Kids, adults, picky eaters—you name it, everyone finds something to love here.
- Unbelievably Delicious: The combo of creamy, crunchy, sweet, and salty hits all the right notes, making you close your eyes after the first bite.
What sets this board apart? I like to think it’s the little touches—the way I arrange the cheese so it’s easy to slice or crumble, the thoughtful mix of textures like crunchy crackers paired with smooth spreads, and the surprise bursts of flavor from dried fruits and nuts. This isn’t just a cheese and cracker board; it’s the kind of spread that invites conversation and keeps everyone reaching for more.
Honestly, it feels like the kind of comfort food that doesn’t need to be served hot to bring people together. It’s the perfect way to impress guests without the stress or mess.
What Ingredients You Will Need
This recipe uses simple, wholesome ingredients to deliver bold flavor and satisfying texture without fuss. Most of these are pantry staples or easy to grab at your local store. Feel free to swap in seasonal or favorite items!
- Cheeses: A mix of textures and flavors works best.
- Sharp Cheddar (aged 1-2 months, for a punchy bite)
- Brie (soft, creamy, sliceable)
- Manchego (firm, nutty, Spanish sheep’s milk cheese)
- Blue Cheese (crumbly, strong flavor; use sparingly)
- Crackers & Bread: Variety is key.
- Water crackers (neutral base for cheese)
- Whole wheat crackers (adds nuttiness)
- Thin baguette slices, toasted (for crunch and chew)
- Accompaniments: To add sweetness, crunch, and freshness.
- Marcona almonds (lightly salted, crunchy)
- Dried apricots or figs (chewy, sweet)
- Fresh grapes or apple slices (seasonal freshness)
- Honey or fig jam (for drizzling or dipping)
- Olives (briny contrast)
- Optional Extras: For a personal touch.
- Fresh herbs like rosemary sprigs (adds aroma and color)
- Pickled vegetables like cornichons (adds tang)
I usually choose cheeses from trusted local cheesemongers or well-known brands like Cabot for cheddar and Président for brie. When possible, I aim for artisanal or farmstead cheeses to get more complex flavors. If you want a gluten-free option, swap out crackers for gluten-free varieties or add extra fruit and nuts.
Equipment Needed
- Large wooden or slate serving board — I prefer a rustic, slightly worn one because it adds character and holds up well to knife cuts.
- Cheese knives — a set including a hard cheese knife, soft cheese spreader, and fork. If you don’t have these, a sharp paring knife and butter knife work fine.
- Small bowls or ramekins — for honey, olives, and jams to keep things neat.
- Cocktail picks or toothpicks — handy for picking up nuts or fruit without messy fingers.
- Chopping board and knife — for slicing bread and cutting cheese blocks.
If you’re on a budget, wooden cutting boards from thrift stores or flea markets can be great and add charm. Keeping your cheese knives sharp is key—blunt knives make crumbly cheeses a nightmare. I learned that the hard way after one too many smashed cheeses!
Preparation Method
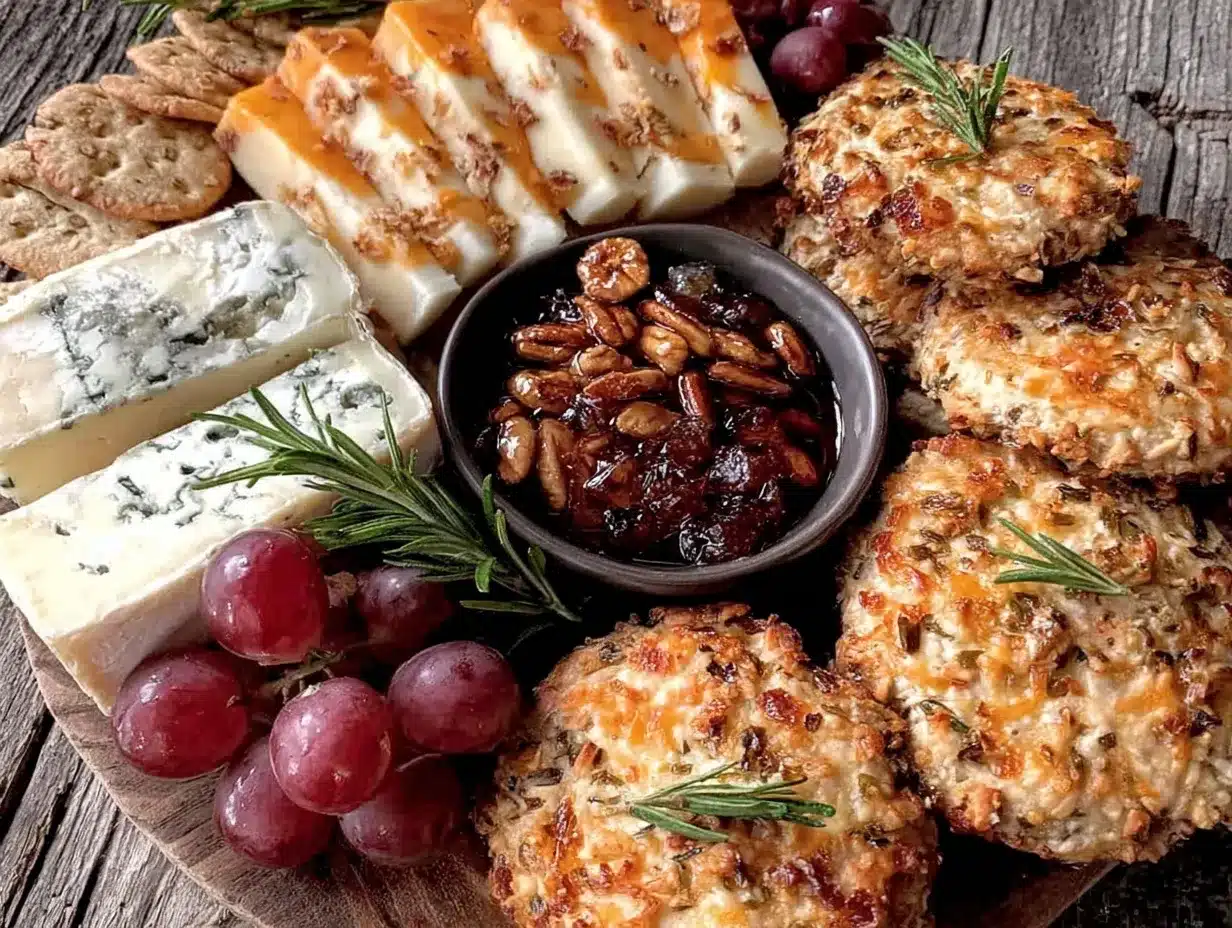
- Prepare the board: Start with a clean, dry wooden or slate serving board. It’s important your board is large enough to hold everything without crowding (aim for about 16×20 inches / 40×50 cm). This makes the display inviting and easy to navigate.
- Slice and arrange cheeses: Cut the harder cheeses like cheddar and manchego into bite-sized cubes or thin slices (about 1/2 inch / 1.3 cm thick). For soft cheeses like brie, slice wedges and leave room for spreading. Crumble blue cheese into small clusters. Spread the cheeses evenly but not symmetrically across the board to create visual interest.
- Add crackers and bread: Place crackers in small stacks or fan them out near the cheeses they pair well with. Toast baguette slices until golden and place near the softer cheeses. I like to tuck crackers in between cheese clusters to encourage mixing flavors.
- Fill small bowls: Put honey, fig jam, and olives into separate small bowls or ramekins. This keeps sticky or oily ingredients from spreading messily. Position these at different corners or edges of the board.
- Add nuts and dried fruit: Scatter Marcona almonds, dried apricots, or figs in small piles around the board. These add texture and sweetness. Try to balance colors and shapes so the board looks lively but not cluttered.
- Fresh fruit and herbs: Add seasonal fresh grapes or apple slices for juiciness. Tuck rosemary or thyme sprigs in gaps for aroma and a pop of green. This step makes the board feel fresh and vibrant.
- Final touches: Drizzle a little honey over the brie or place a small honeycomb chunk next to it for wow factor. Add cocktail picks for easy grabbing. Step back and fill any empty spots with a few extra crackers or nuts.
Tip: Assemble the board about 15 minutes before guests arrive so the cheeses soften slightly and flavors mingle. If you’re prepping earlier, cover with plastic wrap and keep refrigerated.
Cooking Tips & Techniques
Even though this recipe doesn’t involve heat, there are some tricks I’ve picked up to make your cheese & cracker board shine:
- Room temperature cheese is the secret: Take cheeses out 30-60 minutes before serving. Cold cheese hides flavors and feels chalky. Letting it warm up brings out creamy textures and nuanced tastes.
- Knife selection matters: Use the right knife for each cheese type to avoid smashing or sticking. For crumbly cheeses, a thin-bladed knife works best, while a serrated knife handles soft cheeses well.
- Balance is key: Avoid crowding one area with similar colors or textures. Mix soft and hard cheeses, sweet and savory elements, and crunchy and creamy items evenly across the board.
- Don’t overfill: It’s tempting to pile on, but a clean, spaced-out board looks more inviting and gives guests room to explore.
- Keep it fresh: If you’re making ahead, wait on adding fresh fruit and herbs until just before serving to keep them vibrant and crisp.
One time, I learned the hard way that packing a board too tightly makes it impossible to serve without a mess. I’ve also found that a quick sweep with a kitchen towel between guests can keep things neat during long gatherings.
Variations & Adaptations
This easy irresistible cheese & cracker board recipe is a great base to customize based on your preferences or dietary needs. Here are some ideas I’ve tried:
- Gluten-free: Swap regular crackers for gluten-free rice crackers or nut crackers. Add extra fresh fruit and nuts to bulk it up.
- Seasonal twist: In fall, add quince paste and roasted pumpkin seeds. In summer, fresh berries and edible flowers brighten the board.
- Vegan version: Use plant-based cheeses (like cashew-based spreads), paired with veggie crackers, hummus, and marinated olives.
- Spicy kick: Add pepper jack cheese or spicy pickles for a little heat. Jalapeño or chili honey drizzle works well too.
- Personal favorite: I once added a bowl of smoked salmon bites alongside dill cream cheese dollops, which was a hit at a holiday party.
Feel free to swap and experiment—this board is forgiving and meant to reflect your taste and what’s on hand.
Serving & Storage Suggestions
Serve this cheese & cracker board at room temperature on a rustic wooden or slate board for best presentation. It pairs beautifully with a crisp white wine like Sauvignon Blanc or a fruity red like Pinot Noir. For non-drinkers, sparkling water with lemon or iced tea are refreshing accompaniments.
Leftovers can be stored in an airtight container in the refrigerator for up to 2 days. Keep cheeses wrapped separately in wax or parchment paper to maintain texture. Crackers should be kept in a sealed bag to avoid sogginess.
To reheat bread slices, pop them in a toaster or oven at 350°F (175°C) for 5 minutes to refresh crispness. Cheeses don’t require reheating—just bring them back to room temp before serving again.
Flavors often mellow and meld when the board sits for a bit, so assembling a little early can deepen the taste experience—just cover loosely to avoid drying out.
Nutritional Information & Benefits
This cheese & cracker board offers a balanced mix of protein, healthy fats, and carbohydrates. Cheeses like Manchego and Cheddar provide calcium and vitamin B12, important for bone health and energy metabolism. Nuts add heart-healthy monounsaturated fats and fiber.
Using fresh fruits adds antioxidants and natural sweetness without refined sugars. Choosing whole grain crackers boosts fiber content, supporting digestion.
For those watching carbs, focusing on cheese, nuts, and fresh fruit while limiting crackers helps keep this snack moderate in carbohydrates. It’s also naturally gluten-free if you use gluten-free crackers.
Personally, I find this board a satisfying, no-guilt way to snack or entertain because it balances indulgence with wholesome ingredients.
Conclusion
If you’re looking for a no-fuss, irresistibly delicious way to entertain—or just treat yourself and loved ones—this easy irresistible cheese & cracker board recipe is a winner every time. It’s flexible, quick, and always looks stunning.
Feel free to swap cheeses, try different accompaniments, or add your own flair. The best part is how it brings people together with minimal effort and maximum enjoyment.
I keep coming back to this recipe because it reminds me of those simple, joyful gatherings where the food sparks conversation and laughter. Why not give it a try for your next get-together? I’d love to hear how you put your spin on it—drop a comment or share your favorite combos!
Happy entertaining—and remember, sometimes the easiest recipes make the best memories.
FAQs
What cheeses work best for a cheese and cracker board?
A mix of soft, hard, mild, and sharp cheeses works best. Try cheddar, brie, manchego, and blue cheese for variety in flavor and texture.
Can I prepare the cheese board ahead of time?
You can assemble most of the board a few hours ahead. Keep fresh fruit and herbs off until serving to maintain freshness.
What are good alternatives if I don’t eat gluten?
Use gluten-free crackers or add more nuts, fresh fruit, and veggies. Many stores carry gluten-free options that taste great.
How should I store leftover cheese and crackers?
Wrap cheeses in wax or parchment paper and store in the fridge. Keep crackers in an airtight container separately to avoid sogginess.
What drinks pair well with this cheese and cracker board?
Try crisp white wines like Sauvignon Blanc, fruity reds like Pinot Noir, or non-alcoholic options like sparkling water with lemon or iced tea.
Pin This Recipe!
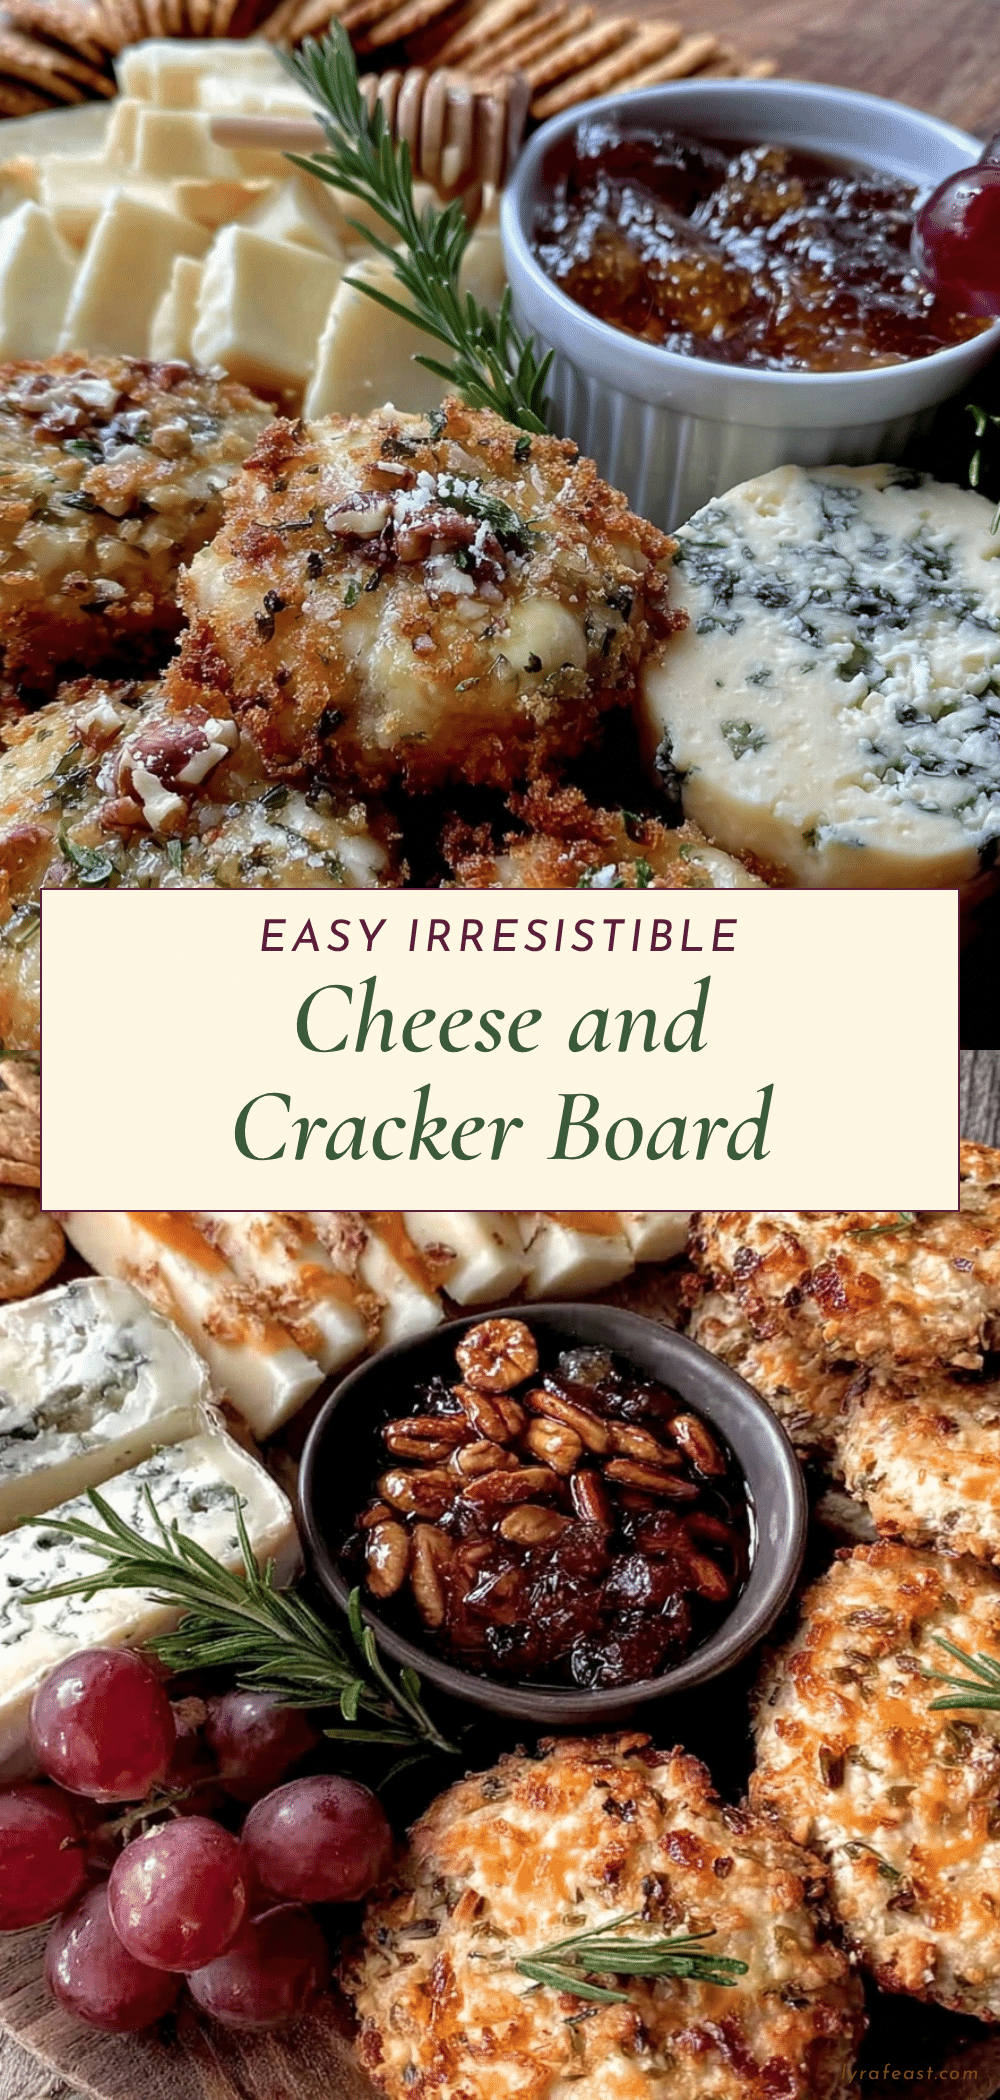
Easy Irresistible Cheese & Cracker Board Recipe for Perfect Entertaining
A quick and versatile cheese and cracker board recipe perfect for last-minute entertaining or casual snacking, featuring a balanced mix of cheeses, crackers, nuts, fruits, and accompaniments.
- Prep Time: 10 minutes
- Cook Time: 0 minutes
- Total Time: 10 minutes
- Yield: 6 servings
- Category: Appetizer
- Cuisine: American
Ingredients
- Sharp Cheddar cheese (aged 1-2 months)
- Brie cheese (soft, creamy)
- Manchego cheese (firm, nutty, Spanish sheep’s milk cheese)
- Blue Cheese (crumbly, use sparingly)
- Water crackers
- Whole wheat crackers
- Thin baguette slices, toasted
- Marcona almonds (lightly salted)
- Dried apricots or figs
- Fresh grapes or apple slices
- Honey or fig jam
- Olives
- Optional: Fresh herbs like rosemary sprigs
- Optional: Pickled vegetables like cornichons
Instructions
- Prepare the board: Start with a clean, dry wooden or slate serving board about 16×20 inches (40×50 cm).
- Slice and arrange cheeses: Cut harder cheeses like cheddar and manchego into bite-sized cubes or thin slices (~1/2 inch thick). Slice brie into wedges and crumble blue cheese into small clusters. Spread cheeses evenly but not symmetrically across the board.
- Add crackers and bread: Place crackers in small stacks or fan them out near complementary cheeses. Toast baguette slices until golden and place near softer cheeses. Tuck crackers between cheese clusters.
- Fill small bowls: Put honey, fig jam, and olives into separate small bowls or ramekins and position them at different corners or edges of the board.
- Add nuts and dried fruit: Scatter Marcona almonds and dried apricots or figs in small piles around the board, balancing colors and shapes.
- Add fresh fruit and herbs: Add seasonal fresh grapes or apple slices for juiciness. Tuck rosemary or thyme sprigs in gaps for aroma and color.
- Final touches: Drizzle a little honey over the brie or place a small honeycomb chunk next to it. Add cocktail picks for easy grabbing. Fill any empty spots with extra crackers or nuts.
- Assemble the board about 15 minutes before guests arrive to allow cheeses to soften slightly and flavors to mingle. If preparing earlier, cover with plastic wrap and refrigerate.
Notes
Take cheeses out 30-60 minutes before serving to bring out flavors. Use the right knife for each cheese type to avoid smashing. Avoid overcrowding the board for a more inviting presentation. Add fresh fruit and herbs just before serving to keep them vibrant. Leftovers should be stored separately to maintain texture.
Nutrition
- Serving Size: Approximately 1/6th
- Calories: 320
- Sugar: 6
- Sodium: 350
- Fat: 22
- Saturated Fat: 9
- Carbohydrates: 15
- Fiber: 2
- Protein: 12
Keywords: cheese board, cracker board, entertaining, easy appetizer, party snack, cheese platter, quick recipe