Introduction
“You know that moment when you open the fridge late at night, and all you want is something familiar, something that feels like a warm hug? That was me last Tuesday—half asleep, rummaging around, and suddenly craving the simplest thing: a peanut butter and jelly sandwich. I wasn’t even thinking about the fancy snacks or elaborate meals I usually plan. Honestly, the way the smooth peanut butter mixed with the sweet jelly on soft bread felt like a little piece of calm in a hectic day.
I remember the first time I really appreciated the classic comforting PB&J sandwich recipe wasn’t when I was a kid, but during a random visit to my friend Mark’s apartment. He wasn’t much of a cook, but he whipped up this sandwich with such care it blew me away. The way he spread the peanut butter just right, careful not to tear the bread, and the jelly that wasn’t too sweet but just perfect—well, let me tell you, it changed how I look at this humble snack.
Maybe you’ve been there too, craving something quick yet satisfying, a snack that doesn’t ask for much but delivers big time. That’s exactly why I keep coming back to this recipe. It’s simple, yes, but oh-so comforting. And after all, isn’t that what a true comfort food should do?
Why You’ll Love This Recipe
When you’re short on time but craving something delicious, this peanut butter and jelly sandwich hits the spot every single time. I’ve tested many variations over the years, and this 3-step method is both quick and foolproof. Here’s why it stands out:
- Quick & Easy: Ready in under 5 minutes, making it perfect for busy mornings or last-minute cravings.
- Simple Ingredients: Uses pantry staples you probably already have on hand—no need for a special grocery run.
- Perfect for Any Occasion: Whether it’s a relaxed afternoon snack, a lunchbox staple, or a cozy midnight bite.
- Crowd-Pleaser: Kids adore it, and adults can’t help but smile at this nostalgic treat.
- Unbelievably Delicious: The balance between creamy peanut butter and fruity jelly is just right—no one flavor overwhelms the other.
What makes this recipe different? Well, I’ve learned through trial and error that spreading the peanut butter on one slice and the jelly on the other keeps the bread from getting soggy too quickly. Plus, I prefer using a slightly nutty, crunchy peanut butter for texture and a homemade-style jam for natural sweetness. It’s not just any PB&J—it’s a sandwich that feels homemade and thoughtfully crafted, even when you’re in a rush.
Honestly, this sandwich is the kind that makes you close your eyes after the first bite and remember childhood afternoons or simple joys. It’s comfort food that doesn’t need to be complicated, but always satisfies.
What Ingredients You Will Need
This recipe uses simple, wholesome ingredients to deliver bold flavor and satisfying texture without the fuss. Most are pantry staples, but feel free to swap in your favorite brands or varieties.
- Bread: 2 slices of soft white or whole wheat bread (I like a slightly thick-cut loaf for sturdiness)
- Peanut Butter: 2 tablespoons, creamy or crunchy (I recommend Skippy Natural for a great balance of flavor and texture)
- Jelly or Jam: 2 tablespoons, grape or strawberry (homemade or high-quality store-bought like Smucker’s works best)
- Optional Butter: 1 teaspoon, softened (for toasting or adding a slight richness)
If you’re gluten-free, you can easily substitute the bread with a gluten-free loaf. For a dairy-free version, peanut butter and jelly are naturally suitable, but skip the butter or use a dairy-free spread if toasting. Seasonal variations? Try swapping jelly for fresh mashed berries in summer—just toss a little lemon juice to keep it fresh.
Equipment Needed
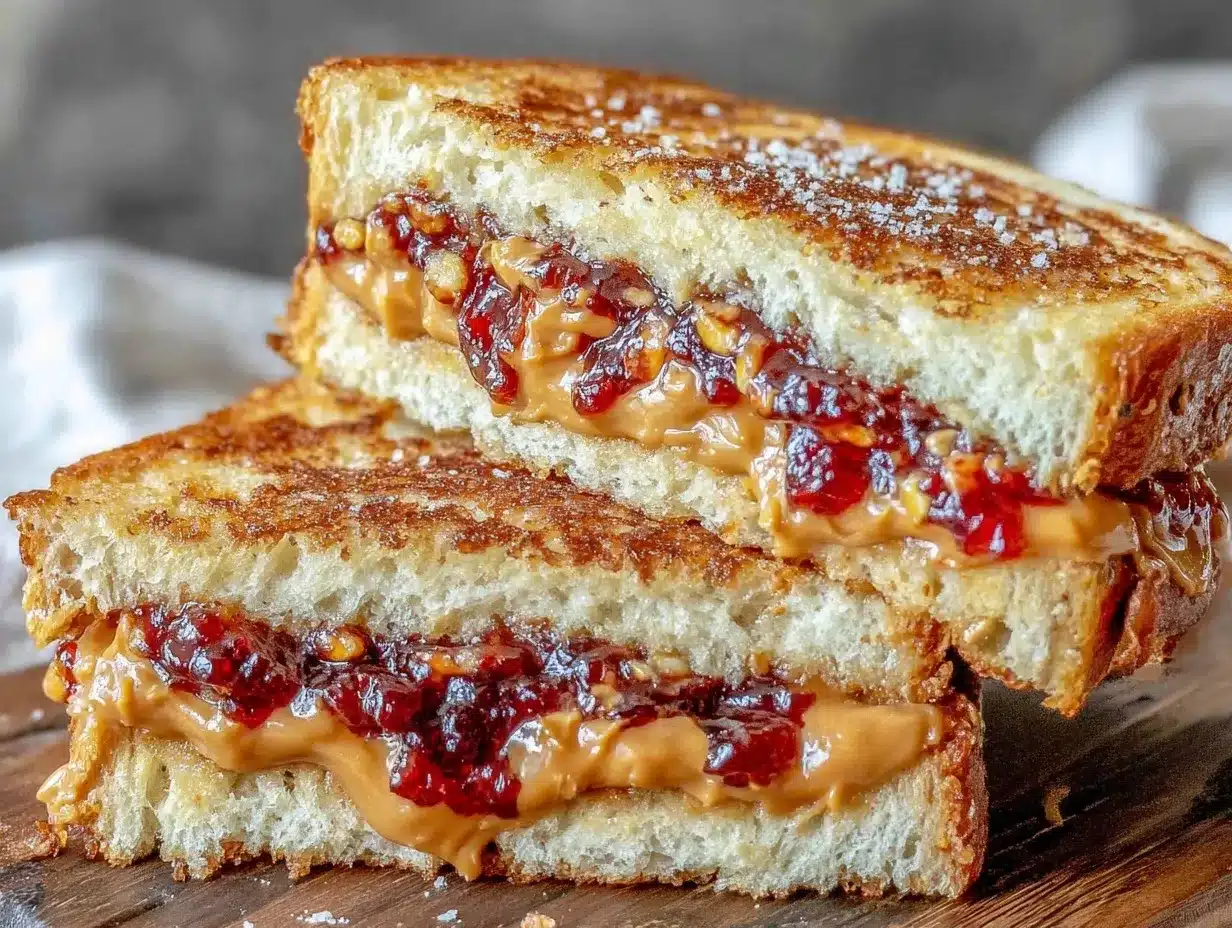
- A butter knife or spreader for smooth peanut butter application
- A spoon or small spatula for jelly spreading
- Optional: A toaster or skillet if you like your sandwich toasted (I use a non-stick skillet for even browning)
- Cutting board and a serrated knife for clean sandwich cutting
You don’t need anything fancy here—honestly, a simple butter knife does the job perfectly. If you want to toast the sandwich, a skillet gives you better control over the toastiness than a toaster, which can sometimes over-crisp the bread edges. I’ve found that a quick wipe after toasting keeps the skillet in good shape without buildup.
Preparation Method
- Prepare Your Ingredients (2 minutes): Lay out two slices of bread on your cutting board. Use a butter knife to scoop out about 2 tablespoons of peanut butter—spread it evenly across one slice, right to the edges but gentle enough to avoid tearing. You want a nice even layer for that perfect bite.
- Spread the Jelly (2 minutes): On the other slice, use a clean spoon or spatula to spread 2 tablespoons of your chosen jelly or jam. I find that spreading jelly after peanut butter helps keep the bread from getting soggy, but honestly, do what feels right to you.
- Assemble and Optional Toast (1-3 minutes): Carefully press the two slices together, peanut butter and jelly sides facing each other. If you want a toasted version, butter the outside lightly and place the sandwich in a warm skillet over medium heat. Toast each side for about 1-1.5 minutes until golden brown. Keep an eye on it—bread can burn fast! If you prefer it cold, just slice it diagonally and enjoy.
If your peanut butter is really thick, warming it slightly in the microwave for 10-15 seconds helps spread it easier. And hey, if you accidentally grab jam first and then peanut butter, no big deal—it still tastes great! I once made the sandwich with jelly on both sides (don’t ask), and surprisingly, it wasn’t awful.
Cooking Tips & Techniques
Making a great PB&J sandwich might sound foolproof, but I’ve learned a few tricks along the way to keep it perfect every time.
- Choose the Right Bread: Soft bread works best, but slightly thick-cut loaves hold up better if you like to toast. Avoid overly crusty bread unless you enjoy a crunch.
- Spread Peanut Butter First: This prevents the jelly from soaking into the bread too quickly, keeping your sandwich from turning soggy.
- Don’t Overdo the Jelly: Too much jelly can overpower the peanut butter and make the sandwich messy. Two tablespoons is usually ideal.
- Optional Toasting: Toasting adds a warm, crispy texture and melts the peanut butter slightly, which is just heavenly. Watch carefully to avoid burning.
- Multitasking: While spreading peanut butter and jelly, I like to prepare a glass of milk or a side fruit to save time.
One time, I tried to speed up spreading by using a spoon for peanut butter; big mistake—it was way messier! Stick to a butter knife or spreader for smooth application. Also, if you’re packing this for later, consider wrapping it tightly to keep it fresh and prevent sogginess.
Variations & Adaptations
This sandwich is endlessly adaptable, so feel free to tweak it to suit your tastes or dietary needs.
- Nut-Free Version: Swap peanut butter with sunflower seed butter or soy nut butter for allergy-friendly options.
- Flavor Twists: Add sliced bananas or a sprinkle of cinnamon inside for extra flavor and texture.
- Healthier Substitutions: Use whole-grain or sprouted bread and natural nut butters with no added sugar for a nutrient boost.
- Grilled PB&J: Turn it into a grilled sandwich with a bit of butter in the pan for a warm, melty treat.
- Jam Alternatives: Try apricot preserves, raspberry jam, or even marmalade for a different fruity note.
I personally love a grilled PB&J on weekend mornings with a cup of coffee. It’s like your childhood favorite, but with a grown-up twist.
Serving & Storage Suggestions
The classic PB&J sandwich is best served fresh, whether toasted or cold. Slice it diagonally for that nostalgic triangle shape that just feels right. Pair it with a cold glass of milk, a handful of fresh berries, or some crunchy carrot sticks for a balanced snack.
If you’re making it ahead, wrap it tightly in plastic wrap or place it in an airtight container. It keeps well for up to 24 hours at room temperature, but refrigerate if you’re using fresh fruit or less sugary jelly to prevent spoilage.
Reheat gently in a skillet or microwave if you prefer it warm—just watch the bread so it doesn’t get too tough. Interestingly, the flavors meld nicely after a few hours, so an overnight PB&J can taste even better the next day!
Nutritional Information & Benefits
This classic comforting PB&J sandwich offers a balanced mix of protein, healthy fats, and carbohydrates, making it a quick energy boost. A typical sandwich (using 2 tbsp peanut butter and 2 tbsp jelly on white bread) provides roughly 350-400 calories, with about 8 grams of protein and 10 grams of fiber if you use whole wheat bread.
Peanut butter is rich in heart-healthy monounsaturated fats and provides vitamin E and magnesium, while the jelly adds a touch of sweetness and antioxidants, especially if using natural fruit preserves.
For those watching sugar intake, opt for low-sugar or no-added-sugar jams. Gluten-free and vegan versions are easily made with appropriate bread and spreads, making this snack widely accessible.
Conclusion
The classic comforting PB&J sandwich recipe is more than just a snack—it’s a little moment of joy you can make anytime. Whether you’re feeding kids after school, need a quick bite during work breaks, or craving a nostalgic treat, this recipe delivers. I love how it combines simplicity with satisfying flavors, and honestly, it’s one of those dishes that never gets old.
Feel free to make it your own—swap breads, try different nut butters, or add a personal twist. I’d love to hear what you come up with! Drop a comment below with your favorite variations or memories connected to this timeless snack. Let’s keep the love for PB&J alive and well.
Now, go ahead and make yourself that perfect sandwich—you deserve it!
FAQs
What type of bread works best for a PB&J sandwich?
Soft white or whole wheat bread are classic choices. Slightly thick slices hold up better if you want to toast the sandwich. Gluten-free bread works well too if needed.
Can I use other nut butters in this recipe?
Absolutely! Almond butter, cashew butter, or sunflower seed butter are great alternatives, especially for those with peanut allergies.
How do I prevent the bread from getting soggy?
Spread peanut butter on one slice and jelly on the other to create a barrier. Also, avoid using too much jelly and assemble the sandwich close to serving time.
Is it better to eat the sandwich toasted or cold?
Both are delicious! Toasted gives a warm, melty texture, while cold keeps the bread soft and classic. Try both to see which you prefer.
Can I prepare PB&J sandwiches ahead of time?
Yes, wrap them tightly and keep at room temperature for up to 24 hours or refrigerate if using fresh ingredients. Toast or reheat gently before serving if desired.
Pin This Recipe!
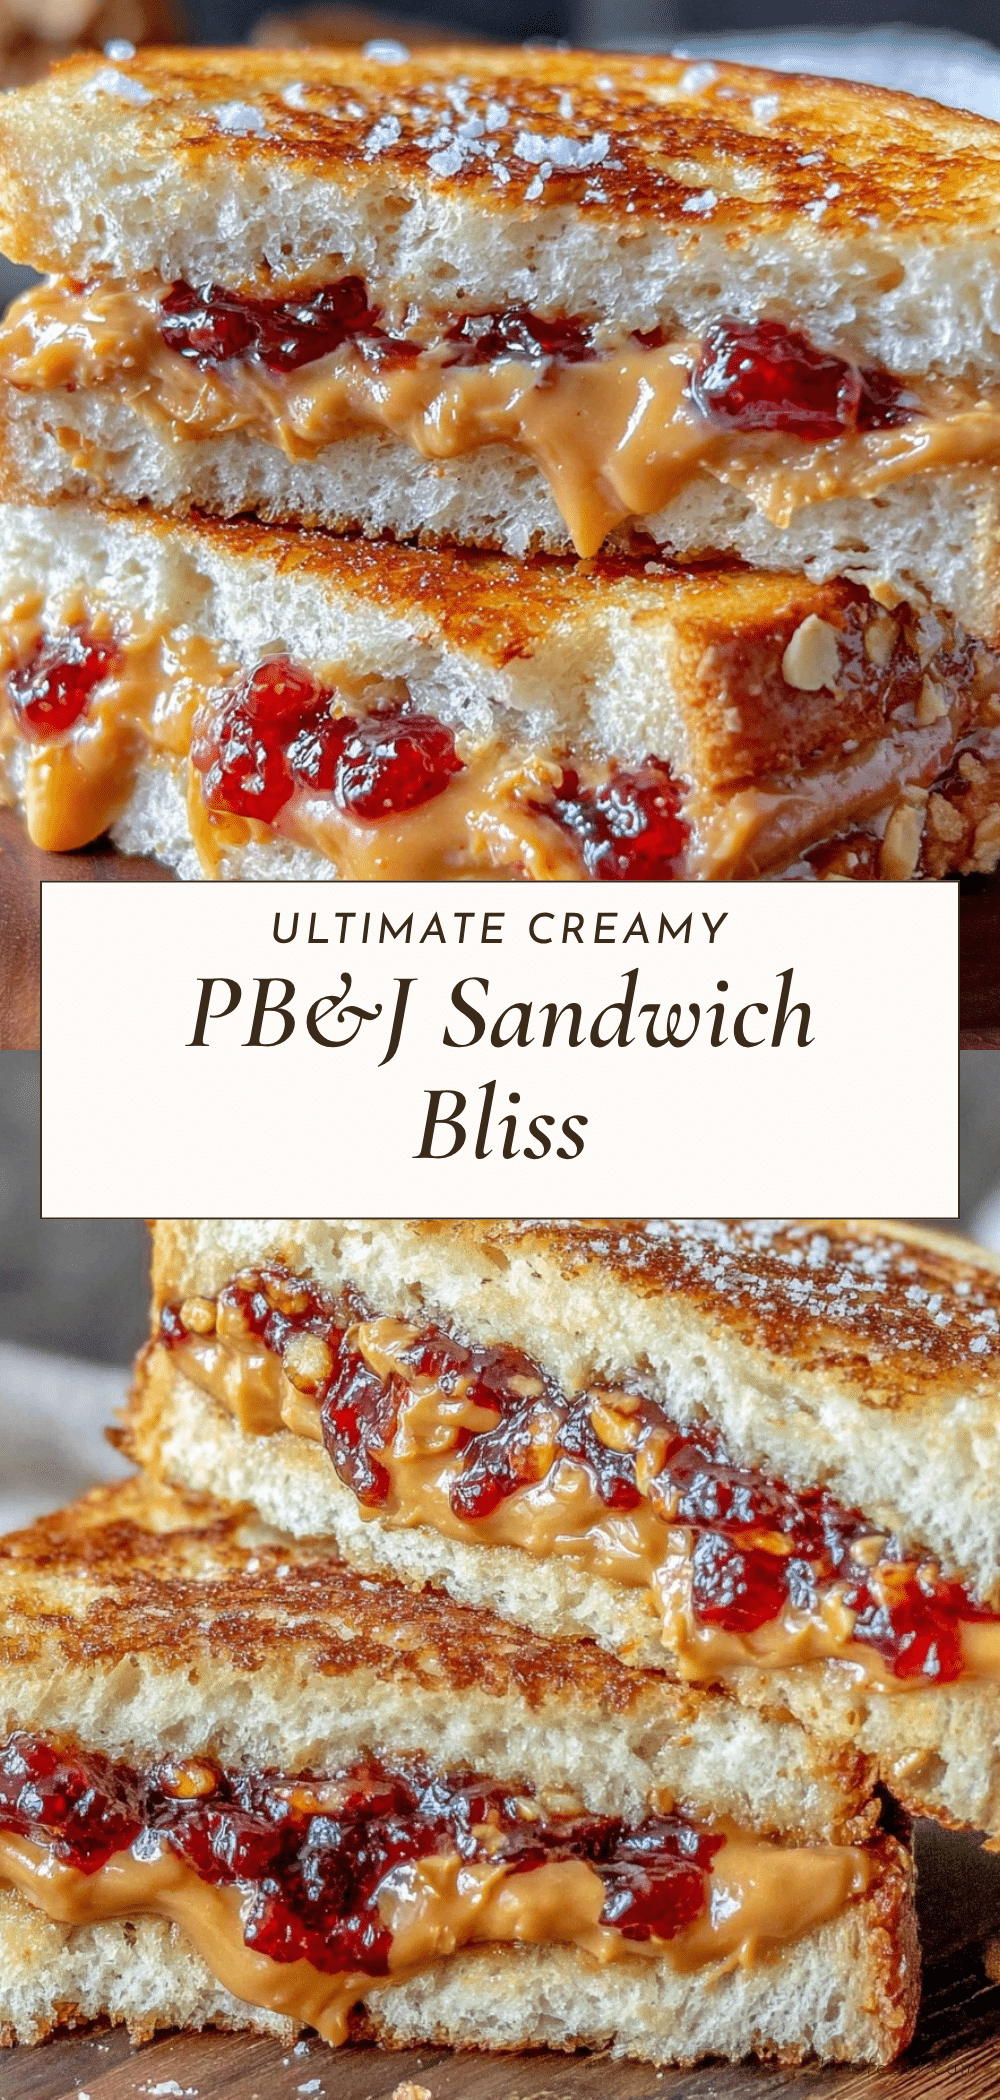
Classic Comforting PB&J Sandwich Recipe
A quick and easy peanut butter and jelly sandwich recipe that delivers nostalgic comfort with simple pantry staples. Perfect for a satisfying snack or lunch in just a few minutes.
- Prep Time: 4 minutes
- Cook Time: 3 minutes
- Total Time: 7 minutes
- Yield: 1 sandwich 1x
- Category: Snack
- Cuisine: American
Ingredients
- 2 slices of soft white or whole wheat bread
- 2 tablespoons peanut butter, creamy or crunchy
- 2 tablespoons jelly or jam, grape or strawberry
- 1 teaspoon softened butter (optional, for toasting)
Instructions
- Lay out two slices of bread on a cutting board. Use a butter knife to scoop out about 2 tablespoons of peanut butter and spread it evenly across one slice, being gentle to avoid tearing the bread.
- On the other slice, use a clean spoon or spatula to spread 2 tablespoons of jelly or jam evenly.
- Press the two slices together with peanut butter and jelly sides facing each other. For a toasted sandwich, lightly butter the outside and place it in a warm skillet over medium heat. Toast each side for about 1 to 1.5 minutes until golden brown. Slice diagonally and serve.
Notes
Spread peanut butter on one slice and jelly on the other to prevent soggy bread. Use slightly thick-cut bread for sturdiness, especially if toasting. Warm thick peanut butter slightly to ease spreading. Wrap tightly if preparing ahead to keep fresh. Toast carefully to avoid burning.
Nutrition
- Serving Size: 1 sandwich
- Calories: 375
- Sugar: 15
- Sodium: 300
- Fat: 16
- Saturated Fat: 3
- Carbohydrates: 45
- Fiber: 3
- Protein: 8
Keywords: peanut butter and jelly, PB&J, sandwich, quick snack, easy recipe, comfort food, kid-friendly



