“You’d never guess this started from a last-minute scramble,” my friend Mia chuckled as she fussed over a mishmash of crackers and cheeses on a sunlit Sunday afternoon. I had arrived unannounced, and honestly, my plan was just to grab a quick snack. What happened next was pure magic—a quick, beautiful charcuterie board that looked like it came straight from a glossy magazine. The secret? It wasn’t about having the fanciest ingredients or hours of prep. It was all about knowing how to put simple things together with a little flair.
The first time I tried assembling a charcuterie board, it was a bit of a mess—cheese cubes tumbling off the board, olives rolling away, and me nearly dropping the honey jar. But Mia, who swore she wasn’t any sort of expert, showed me how a few basic principles could turn a chaotic snack into an eye-catching spread. Maybe you’ve been there too—scrambling for something quick to impress guests or feeling overwhelmed by the idea of “charcuterie” being fancy or complicated.
That afternoon, with a cracked wooden board and a half-empty bottle of rosé, I learned that assembling an easy gorgeous charcuterie board isn’t about perfection. It’s about layering textures, balancing flavors, and playing with colors to create something inviting and delicious. Now, whenever I prepare a board for friends or family, it’s that relaxed, no-stress vibe I aim for. Honestly, this recipe stayed with me because it turns entertaining from a chore into a joyful experience—and I know it’ll do the same for you.
Why You’ll Love This Easy Gorgeous Charcuterie Board Assembly
After testing countless combinations and layouts, I can confidently say this approach to charcuterie board assembly is truly a game changer. It’s designed for home cooks who want wow-factor results without spending hours or buying a dozen specialty items. Here’s what makes it stand out:
- Quick & Easy: You can pull together this board in under 20 minutes—perfect for last-minute guests or casual get-togethers.
- Simple Ingredients: No need for fancy cheeses or rare meats; most items are pantry staples or easy to find at your local store.
- Perfect for Any Occasion: Whether it’s a cozy night in, a brunch, or a holiday gathering, this board fits right in.
- Crowd-Pleaser: It offers a balanced mix of savory, sweet, crunchy, and creamy that everyone loves.
- Visually Stunning: Using basic design tricks, you’ll make your board look professional—even if you’re not.
What really sets this recipe apart is the focus on intuitive assembly rather than strict rules. For example, layering soft and hard textures next to each other or arranging colors to create natural flow. This isn’t just another charcuterie board; it’s your shortcut to effortless entertaining that feels personal and polished.
What Ingredients You Will Need
This recipe uses simple, wholesome ingredients to deliver bold flavor and satisfying texture without the fuss. Most are easy to swap based on your pantry or preferences.
- Cheeses:
- Soft cheese (e.g., Brie or Camembert, room temperature for creamy texture)
- Firm cheese (e.g., aged cheddar or gouda, sliced or cubed)
- Blue cheese or goat cheese for a tangy punch (optional)
- Cured Meats:
- Thinly sliced prosciutto
- Soppressata or salami (rolled or folded for visual interest)
- Chorizo slices (adds a smoky kick)
- Crackers & Bread:
- Assorted crackers (I like multigrain and water crackers for variety)
- Baguette slices (toasted or fresh)
- Fresh Fruits & Vegetables:
- Grapes or sliced apples (adds sweetness and freshness)
- Cherry tomatoes or cucumber slices for crunch
- Extras:
- Mixed nuts (almonds, walnuts, or pistachios for texture)
- Olives (green and black for color contrast)
- Honey or fig jam (small bowl for drizzling or dipping)
- Fresh herbs (rosemary or thyme sprigs for aroma and decoration)
Pro tip: I recommend brands like BelGioioso for creamy cheeses and Fiorucci for cured meats—they have consistent quality that makes assembly easier. If you’re looking for a gluten-free option, swap crackers for gluten-free varieties or serve extra sliced fruit and nuts. Seasonal swaps work great too—berries in summer, dried apricots in winter.
Equipment Needed
You really only need a few simple tools to create a gorgeous charcuterie board:
- A large wooden or slate board (about 12×16 inches or bigger) — it’s the canvas for your creation.
- A small knife for slicing cheeses and meats (a serrated knife works wonders for soft cheese).
- Small bowls or ramekins for dips, olives, and jams.
- Tongue tweezers or tongs (optional but handy for placing small items precisely).
- Cheese markers or toothpicks (great for labeling if you’re hosting a crowd).
If you don’t have a fancy board, no worries—any large plate, cutting board, or even a clean wooden tray works perfectly. I once used a baking sheet when I forgot my usual board during a picnic. It looked quirky but still delicious! Just make sure whatever you use is clean and has enough space to spread everything out without crowding.
Preparation Method
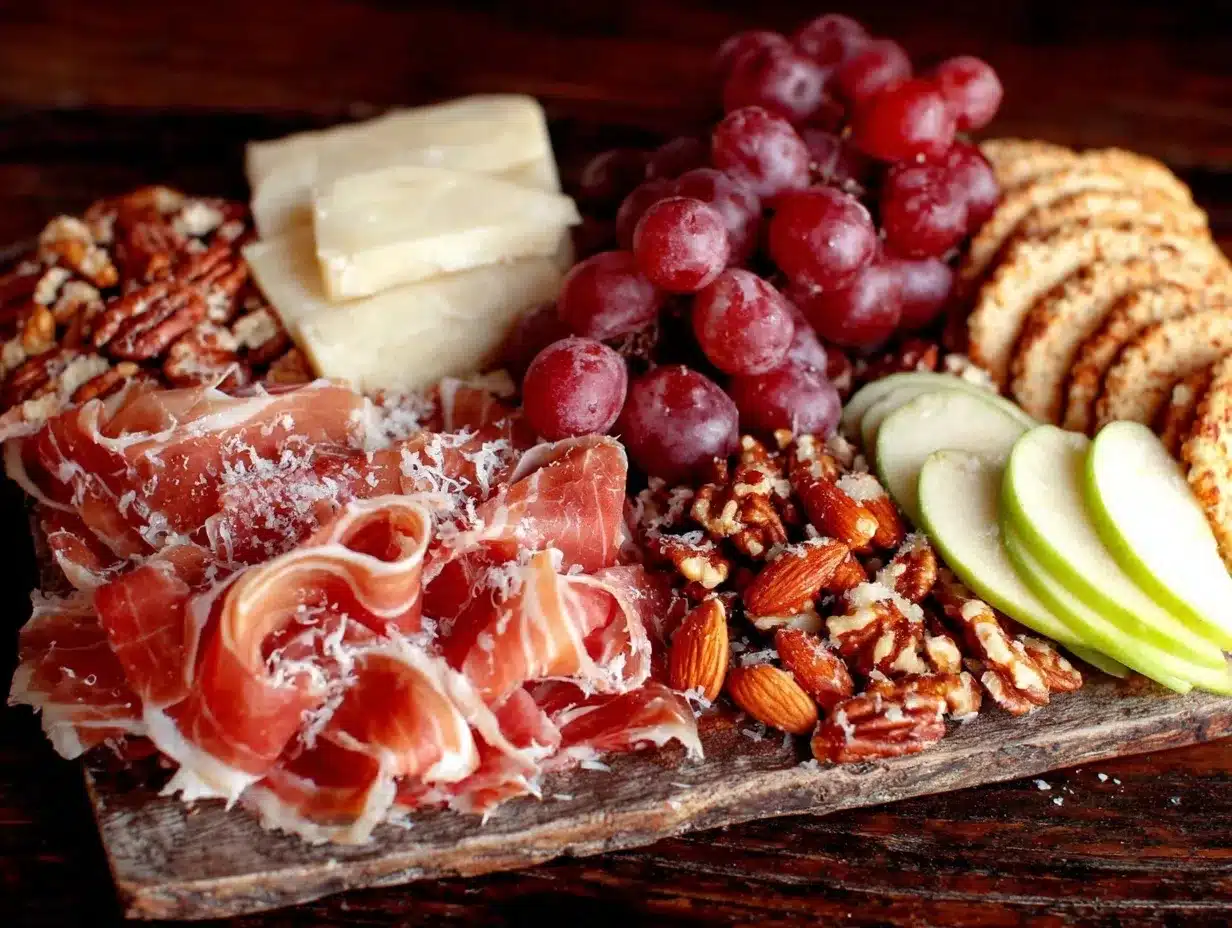
- Gather and prep ingredients (5-10 minutes): Remove cheeses from the fridge to soften (room temperature helps flavor and texture). Slice firm cheeses and meats as needed. Arrange small bowls for olives, nuts, and dips.
- Place bowls on the board (2-3 minutes): Start by placing your ramekins or small bowls evenly spaced on the board. These act as anchors for your layout.
- Arrange cheeses (5 minutes): Position soft cheese first—leave it whole or cut into wedges. Then place firm cheeses nearby but not touching. Scatter blue cheese or goat cheese in small dollops or slices.
- Add meats (5 minutes): Fold or roll cured meats and nestle them around the cheeses and bowls. Vary shapes to add visual interest—some rolled, some layered flat.
- Fill gaps with crackers and bread (5 minutes): Fan out crackers and baguette slices in empty spaces. Don’t overfill; leave some board visible to keep it airy and inviting.
- Incorporate fresh fruits and veggies (5 minutes): Cluster grapes or apple slices near cheeses for easy pairing. Add cucumber or cherry tomatoes in small bunches to balance color and texture.
- Scatter extras (3 minutes): Sprinkle nuts around the board, tuck in olives in clusters, and place honey or jam bowl with a small spoon near the cheeses.
- Garnish and final touches (2 minutes): Add fresh herb sprigs for aroma and a pop of green. Step back and fill any empty spots with extra crackers or nuts.
Watch out for common pitfalls: don’t crowd everything or place wet items next to crackers (they’ll get soggy). If you’re short on time, focus on a smaller board with fewer items but keep the balance of sweet, savory, soft, and crunchy. Trust your eye—sometimes a bit of imperfection makes the board feel more approachable and real.
Cooking Tips & Techniques
Honestly, assembling a charcuterie board is part art, part science. Here are some tips I’ve picked up along the way to keep your board looking fresh and tasting amazing:
- Think about balance: Mix textures and flavors—soft cheeses with crunchy crackers, salty meats with sweet fruit. It keeps the palate interested.
- Use odd numbers: Odd numbers of items (like 3 cheese varieties or 5 meat slices) are more visually appealing than even numbers.
- Keep color in mind: Contrast dark and light items, like green grapes near pale cheeses or bright red tomatoes beside meats.
- Don’t overdo the crowding: Leave some board space showing. It prevents the spread from feeling cluttered and makes it easier to pick items.
- Prep in advance: Cheese can be sliced the day before and kept wrapped loosely in parchment paper (to prevent drying out). Meats can be arranged just before serving.
- Label your cheeses: Especially if you have guests, little labels or toothpicks with names help everyone know what they’re tasting.
- Keep perishables chilled until serving: To keep cheeses and meats fresh, place the assembled board in the fridge for up to an hour before guests arrive.
I once forgot to take the cheese out early enough, and it was rock hard. No fun! So, let your cheeses warm up to room temp for that melt-in-your-mouth feel. Also, don’t hesitate to play with arrangement—sometimes rotating items or adjusting placement after a few minutes makes all the difference.
Variations & Adaptations
This easy gorgeous charcuterie board assembly is super flexible and can be tailored to your tastes or dietary needs.
- Vegetarian Version: Skip the meats and add more fresh veggies like roasted peppers, marinated artichokes, and hummus for dipping. Add hearty cheeses like halloumi or smoked mozzarella.
- Seasonal Twist: Use seasonal fruits—like figs and pomegranate seeds in fall, or fresh berries and melon in summer—to give your board a fresh vibe.
- Gluten-Free Option: Replace crackers with gluten-free varieties, seed crackers, or simply add more nuts and sliced veggies for crunch.
- International Flair: Swap traditional cheeses and meats for international favorites—think manchego with chorizo for Spanish style or feta with olives for a Mediterranean feel.
- Personal Favorite: I love adding a small bowl of spicy honey or fig jam I make at home; it pairs wonderfully with sharp cheeses and adds a sweet heat that surprises guests.
Serving & Storage Suggestions
Serve your charcuterie board at room temperature for the best flavor and texture. I like to set my board out about 20 minutes before guests arrive to let the cheeses soften up a bit.
Pair it with a crisp white wine, a fruity rosé, or even a light beer depending on your crowd. Fresh sparkling water with lemon is a great non-alcoholic option that keeps the palate fresh.
If you have leftovers (and you might!), wrap cheeses tightly in parchment paper and store cured meats in an airtight container in the fridge. Crackers and bread should be kept separately to avoid sogginess.
Reheat bread slices lightly in a toaster or oven before serving again. Leftover fruit and nuts can be stored in sealed containers but are best eaten within a couple of days.
Fun fact: flavors on a charcuterie board tend to meld nicely if you let the assembled board rest briefly—just don’t wait too long or the crackers get sad!
Nutritional Information & Benefits
This easy gorgeous charcuterie board offers a balanced mix of nutrients depending on your choices. Cheeses provide calcium and protein, while nuts offer healthy fats and fiber. Fruits add natural sweetness plus vitamins and antioxidants.
Opting for leaner meats and plenty of fresh veggies can reduce saturated fat content and boost fiber. Gluten-free crackers or veggies keep it friendly for those with sensitivities.
Be mindful of portion sizes—charcuterie can be indulgent, but it’s perfect for sharing and savoring slowly. I love how this board fits into a balanced lifestyle, letting you enjoy rich flavors without feeling overstuffed.
Conclusion
Honestly, this easy gorgeous charcuterie board assembly has become my go-to for casual entertaining and spontaneous gatherings. It’s approachable, visually stunning, and truly flexible to match your mood or pantry contents. I love how it turns simple ingredients into something that feels special without the stress.
Give yourself permission to make it your own—swap in what you love, play with layouts, and don’t sweat the little messes (they happen, trust me). When you serve this board, you’re not just offering snacks; you’re creating an experience that invites conversation and connection.
If you try this recipe, I’d love to hear how you customize your board or what unexpected combinations you discover. Leave a comment below and share your charcuterie stories—let’s keep the delicious inspiration flowing!
Frequently Asked Questions About Easy Gorgeous Charcuterie Board Assembly
What’s the best way to keep cheese fresh on a charcuterie board?
Keep cheeses refrigerated until about 20 minutes before serving to let them soften slightly. Wrap leftovers in parchment paper and store in the fridge to maintain texture and flavor.
Can I prepare the charcuterie board ahead of time?
You can prep ingredients and slice cheese ahead, but assemble the board close to serving time to keep everything fresh and prevent crackers from getting soggy.
How do I make a visually appealing charcuterie board?
Use odd numbers of items, mix colors and textures, place small bowls for dips, and leave some empty space for an inviting, balanced look.
What should I serve with a charcuterie board?
Crisp white wines, rosé, or light beer work well. For non-alcoholic options, sparkling water with citrus or herbal iced tea complements the flavors nicely.
Are there good substitutions for cured meats?
Yes! For vegetarians, use marinated tofu, smoked cheese, or more nuts and veggies. For different flavors, try smoked salmon or roasted chickpeas for crunch.
For those interested in expanding your appetizer repertoire, you might enjoy the crispy garlic chicken recipe that pairs beautifully with a wine and cheese spread. Also, if you’re looking for a fresh side to balance your board, the summer cucumber salad adds a refreshing crunch and bright flavor.
Pin This Recipe!
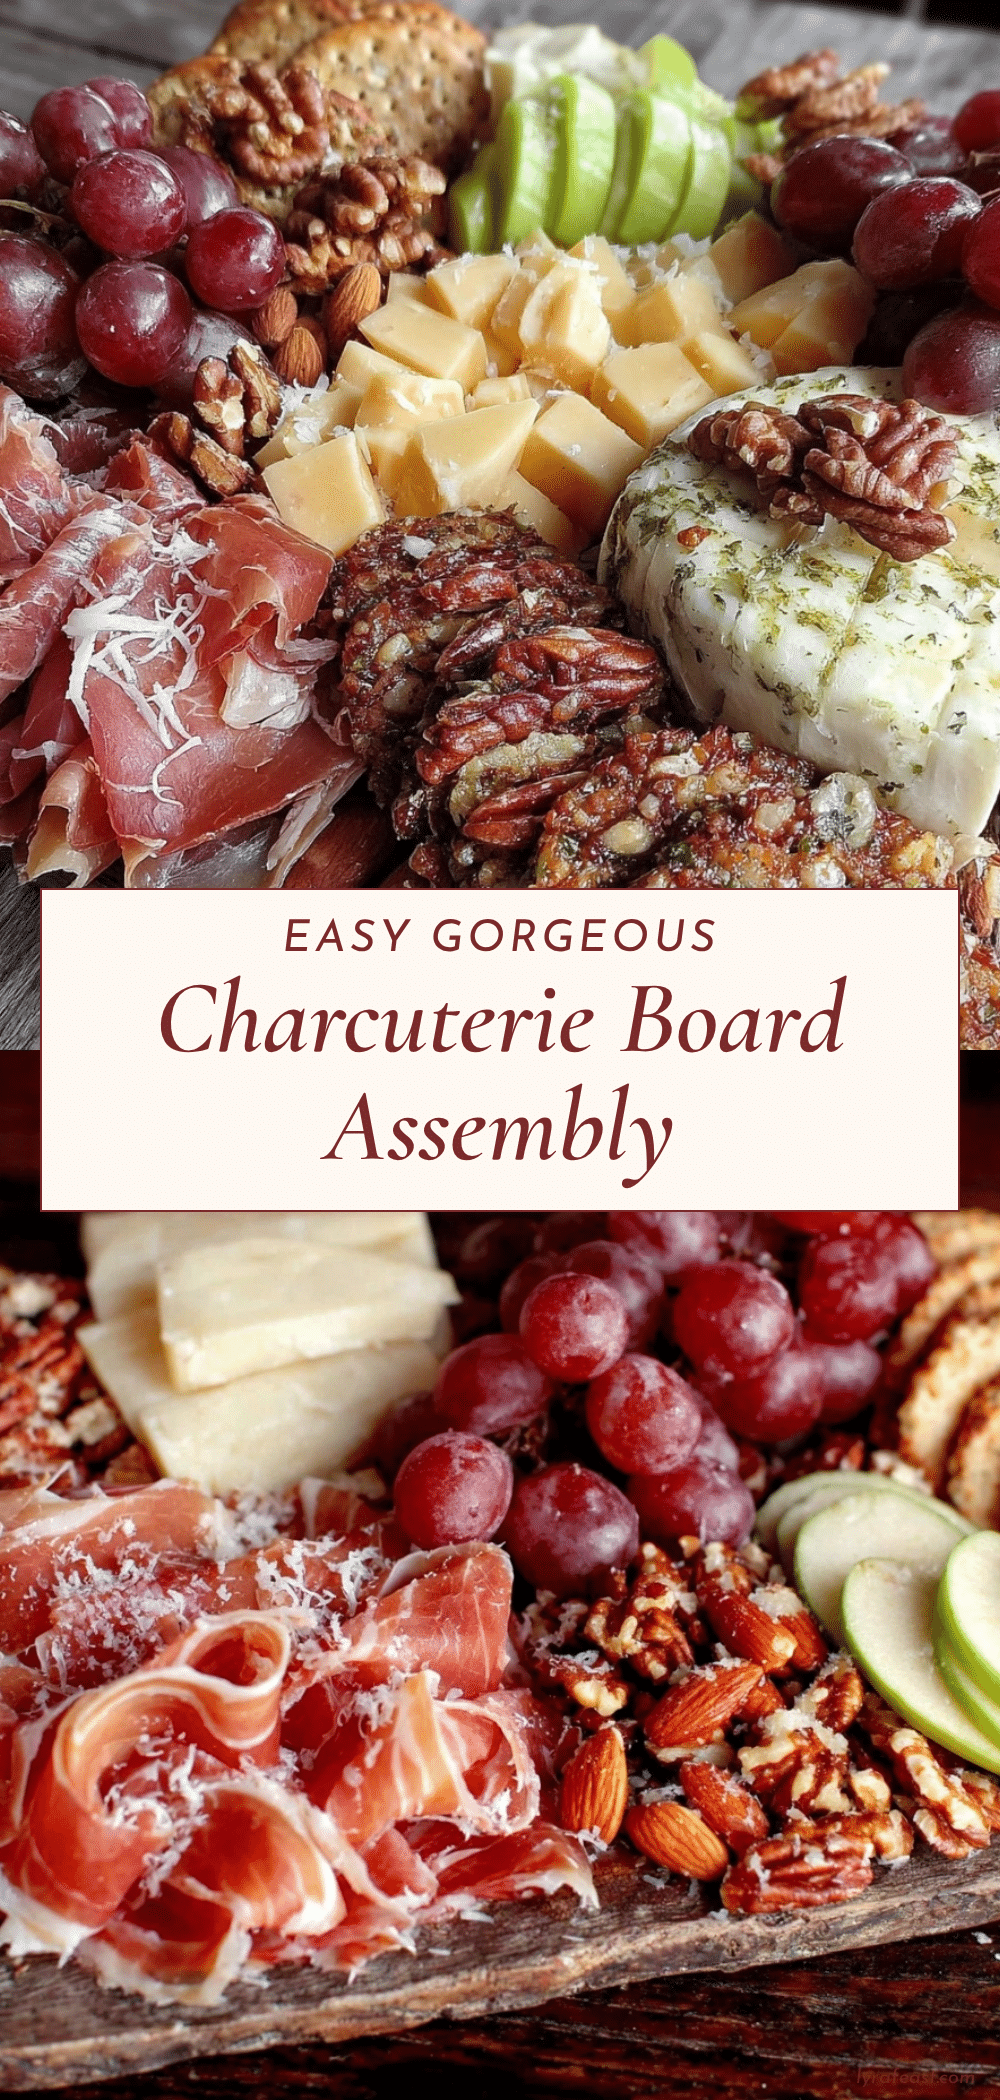
Easy Gorgeous Charcuterie Board Assembly Guide for Perfect Entertaining

A quick and easy guide to assembling a visually stunning and delicious charcuterie board using simple ingredients, perfect for any occasion and last-minute entertaining.
- Prep Time: 10 minutes
- Cook Time: 0 minutes
- Total Time: 10 minutes
- Yield: 6-8 servings
- Category: Appetizer
- Cuisine: American
Ingredients
- Soft cheese (e.g., Brie or Camembert, room temperature for creamy texture)
- Firm cheese (e.g., aged cheddar or gouda, sliced or cubed)
- Blue cheese or goat cheese (optional)
- Thinly sliced prosciutto
- Soppressata or salami (rolled or folded)
- Chorizo slices
- Assorted crackers (multigrain and water crackers recommended)
- Baguette slices (toasted or fresh)
- Grapes or sliced apples
- Cherry tomatoes or cucumber slices
- Mixed nuts (almonds, walnuts, or pistachios)
- Olives (green and black)
- Honey or fig jam (small bowl for drizzling or dipping)
- Fresh herbs (rosemary or thyme sprigs)
Instructions
- Gather and prep ingredients (5-10 minutes): Remove cheeses from the fridge to soften. Slice firm cheeses and meats as needed. Arrange small bowls for olives, nuts, and dips.
- Place bowls on the board (2-3 minutes): Place ramekins or small bowls evenly spaced on the board as anchors for your layout.
- Arrange cheeses (5 minutes): Position soft cheese first—leave whole or cut into wedges. Place firm cheeses nearby but not touching. Scatter blue cheese or goat cheese in small dollops or slices.
- Add meats (5 minutes): Fold or roll cured meats and nestle them around cheeses and bowls. Vary shapes for visual interest.
- Fill gaps with crackers and bread (5 minutes): Fan out crackers and baguette slices in empty spaces, leaving some board visible.
- Incorporate fresh fruits and veggies (5 minutes): Cluster grapes or apple slices near cheeses. Add cucumber or cherry tomatoes in small bunches.
- Scatter extras (3 minutes): Sprinkle nuts around the board, tuck in olives in clusters, and place honey or jam bowl near cheeses.
- Garnish and final touches (2 minutes): Add fresh herb sprigs for aroma and color. Fill any empty spots with extra crackers or nuts.
Notes
Keep cheeses refrigerated until 20 minutes before serving to soften. Use odd numbers of items for visual appeal. Avoid crowding the board to keep it inviting. Prep cheese the day before if desired. Label cheeses for guests. Store leftovers properly to maintain freshness.
Nutrition
- Serving Size: Approximately 1/6 to
- Calories: 250
- Sugar: 5
- Sodium: 400
- Fat: 18
- Saturated Fat: 7
- Carbohydrates: 12
- Fiber: 2
- Protein: 8
Keywords: charcuterie board, easy charcuterie, entertaining, appetizer, cheese board, party snacks, quick snacks, simple ingredients