“Last December, the power flickered just as I was about to start dessert for our office holiday party. I was halfway through baking a cake when my coworker Jenna showed up with a box of Oreo cookies and a mischievous grin. ‘Trust me,’ she said, ‘you want to try making these black velvet Oreo cake pops with festive swirls instead.’
Honestly, I was skeptical at first—cake pops? Oreos? Black velvet? It sounded like a kitchen experiment waiting to happen, especially since I’d never worked with black cocoa powder before. But Jenna, who’s secretly a dessert wizard, guided me through her simple process as we improvised with the dim lighting and a cracked mixing bowl that threatened to spill. The result? These glossy, decadent pops that looked like little holiday ornaments with their beautiful swirls of white and red chocolate, almost too pretty to eat.
That night, everyone at the party was sneaking second and third bites, and I caught myself staring a little too much at the leftover batch the next morning. Maybe you’ve been there—where a recipe surprises you and sticks with you because it’s both easy and unexpectedly stunning. That’s exactly why these Perfect Black Velvet Oreo Cake Pops with Festive Swirls have become my go-to treat whenever I want something special but fuss-free.
Why You’ll Love This Recipe
After testing this recipe a handful of times (and yes, sneaking plenty of cake pops in the process), I can say with confidence it’s a total winner. Whether you’re a novice baker or just need a festive crowd-pleaser fast, these cake pops check a lot of boxes.
- Quick & Easy: You can whip these up in under an hour, perfect for last-minute holiday parties or impromptu celebrations.
- Simple Ingredients: No obscure items here—Oreos, cream cheese, and a few baking staples you likely have on hand.
- Perfect for Festive Gatherings: Their elegant black velvet base contrasted with striking swirls makes them stand out on any dessert table.
- Crowd-Pleaser: Kids, adults, picky eaters—everyone loves these. They’re like bite-sized magic.
- Unbelievably Delicious: The rich, velvety texture combined with creamy coating is downright addictive.
What sets this recipe apart? It’s the use of black cocoa powder that gives the cake pops a deep, almost mystical color, paired with a creamy cheesecake binder that keeps them moist and flavorful. Then, the festive swirls—created by swirling colored chocolate coatings—add a playful, artistic touch without complicated steps. Honestly, this isn’t just another cake pop recipe; it’s the one you’ll want to make again and again, especially when you want to impress without stress.
What Ingredients You Will Need
This recipe uses simple, wholesome ingredients to deliver bold flavor and satisfying texture without the fuss. Most are pantry staples, and where necessary, I’ll suggest easy swaps for dietary needs.
- For the Black Velvet Cake Pop Base:
- 24 Oreo cookies (classic, filling included)
- 4 ounces (115 g) cream cheese, softened
- 2 tablespoons black cocoa powder (for that signature deep color)
- 1/4 teaspoon vanilla extract
- For the Festive Swirl Coating:
- 12 ounces (340 g) white chocolate melting wafers or candy melts
- Red candy melts or red-colored white chocolate (for swirls)
- Black food coloring gel (optional, to deepen white chocolate if needed)
- Sprinkles or edible glitter (optional, for extra holiday sparkle)
- For Assembly:
- 20-24 cake pop sticks or lollipop sticks
- Styrofoam block or cake pop stand (to hold pops while coating dries)
TIP: I prefer using Oreo Double Stuf for extra creaminess, but classic Oreos work perfectly well. For cream cheese, Philadelphia brand gives a smooth texture that blends beautifully. If you want a dairy-free version, try vegan cream cheese and check for dairy-free white chocolate options. The black cocoa powder is critical—it’s different from regular cocoa and gives that rich black velvet color, so don’t skip it!
Equipment Needed
- Food processor or strong blender (to crush Oreos finely)
- Mixing bowls (one large for mixing the base, one for melting chocolate)
- Microwave-safe bowl or double boiler (for melting chocolate gently)
- Cake pop sticks (essential for handling and dipping)
- Styrofoam block or cake pop stand (to dry cake pops upright)
- Baking sheet lined with parchment paper (for chilling cake pops)
Personally, I started with a small hand mixer to combine the cream cheese and Oreo crumbs, but a sturdy spoon works too if you don’t mind a little elbow grease. If you don’t have a food processor, placing Oreos in a sealed plastic bag and crushing them with a rolling pin is a great budget-friendly alternative. For melting chocolate, I recommend a double boiler if you have one—it prevents burning—but the microwave on short bursts with stirring in between works fine.
Preparation Method
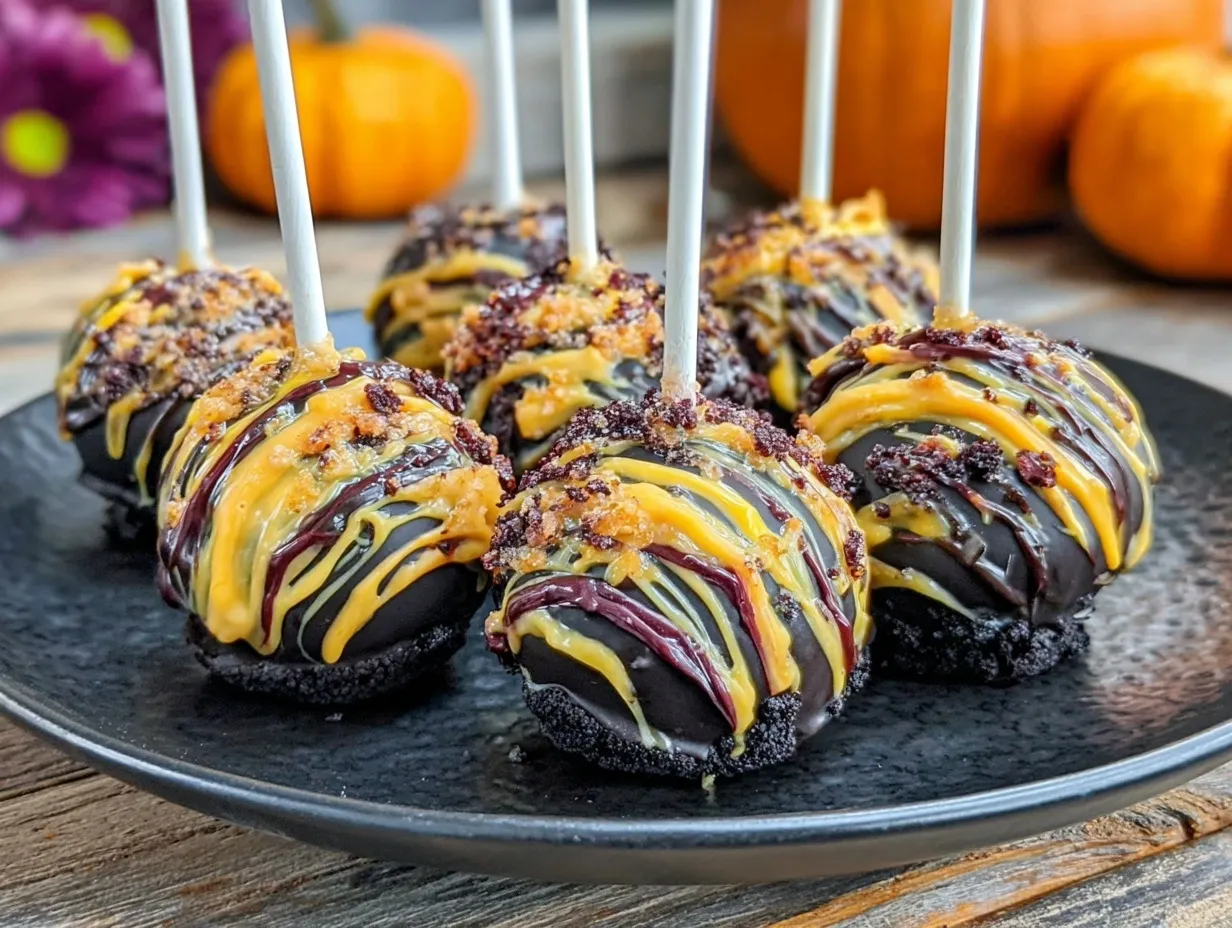
- Crush the Oreos: Place 24 Oreo cookies in a food processor and pulse until you get fine crumbs. If you don’t have a processor, place the Oreos in a sealed plastic bag and crush them with a rolling pin until fine. (About 2 minutes)
- Mix with cream cheese: Transfer crumbs to a large bowl. Add 4 ounces (115 g) softened cream cheese, 2 tablespoons black cocoa powder, and 1/4 teaspoon vanilla extract. Stir together until fully combined and smooth. The mixture should be firm but pliable—if it feels too wet, add a bit more crushed Oreos. (5 minutes)
- Form into balls: Using a cookie scoop or tablespoon, scoop out about 1.5 tablespoons (20 g) of mixture and roll into smooth balls between your palms. Place them on a parchment-lined baking sheet. You should get around 20-24 balls. (10 minutes)
- Chill the balls: Refrigerate the cake balls for at least 1 hour or freeze for 20 minutes until firm. This helps them hold their shape during dipping.
- Melt the white chocolate: In a microwave-safe bowl, melt 12 ounces (340 g) white chocolate wafers in 30-second increments, stirring between each, until smooth. If you want deeper black swirls, add a drop of black gel coloring and stir carefully. (5 minutes)
- Dip the sticks: Dip one end of each cake pop stick about 1 inch (2.5 cm) into the melted chocolate, then insert into the center of each chilled cake ball. This acts like glue to hold the stick in place. Return to the fridge for 10 minutes.
- Coat the cake pops: Warm the white chocolate again if needed. Holding the stick, dip each cake pop fully into the white chocolate, letting excess drip off. Immediately before the coating sets, use a thin brush or toothpick to add red candy melts swirls. You can create festive swirl patterns by gently dragging the red chocolate over the white coating. (15–20 minutes)
- Dry upright: Stick the coated cake pops into a Styrofoam block or cake pop stand to dry completely. Add sprinkles or edible glitter while the coating is still wet, if desired. (30 minutes)
- Serve or store: Once dry, these pops are ready to enjoy or store in an airtight container in the fridge for up to 5 days.
Troubleshooting tip: If the chocolate thickens too much while dipping, stir in a small amount of vegetable oil to thin it out. Also, don’t skip chilling the cake balls—it really helps keep them from falling apart during coating.
Cooking Tips & Techniques
Making these Perfect Black Velvet Oreo Cake Pops with Festive Swirls is easier than it looks, but a few tricks go a long way to get that flawless finish.
- Use black cocoa powder, not regular cocoa: It provides that truly deep black color essential for the velvet effect. Regular cocoa will give a brownish hue.
- Chill everything: Chilling the cake balls and the stick after dipping in chocolate helps prevent dripping and cracking. Trust me, it’s worth the wait.
- Gentle melting: Melt your chocolate slowly to avoid overheating and burning, which ruins texture and shine.
- Swirl technique: Use a toothpick or small brush to create festive red swirls on the white chocolate coating immediately after dipping. If you wait too long, the coating sets and won’t blend.
- Work quickly: Chocolate sets fast once removed from heat. Prepare your setup before melting to work smoothly.
- Keep the cake pops upright while drying: This prevents uneven coatings and ugly flat spots.
Lesson learned the hard way: I once tried to skip chilling and ended up with cake pops sliding off the sticks mid-dip. Not fun! Also, don’t rush the swirl step or the lovely festive patterns won’t form well. Patience pays off.
Variations & Adaptations
One of the best things about these cake pops is how easy they are to customize.
- Dietary swaps: Use gluten-free Oreos and dairy-free cream cheese to make a vegan version. There are also vegan candy melts for the coating.
- Flavor twists: Add a teaspoon of peppermint extract to the cream cheese for a holiday minty kick or a dash of espresso powder for a mocha vibe.
- Color themes: Swap red swirls for green or gold candy melts for other festive occasions or birthdays.
- Seasonal toppings: Try crushed candy canes or colored sugar sprinkles for extra texture and flair.
- Cooking method adjustment: If you want to avoid candy melts, try dipping in tempered white chocolate and adding colored cocoa butter for swirls.
Personally, I once made these with lavender-infused white chocolate swirls for a spring party, and the combination was unexpectedly delightful. Feel free to experiment!
Serving & Storage Suggestions
These cake pops taste best chilled but served at room temperature. Take them out of the fridge about 15 minutes before serving to let the flavors bloom and the coating soften slightly.
Present them standing upright in a decorative foam block or in a festive mug lined with tissue paper for a charming display. They also pair wonderfully with a warm cup of coffee or hot chocolate—perfect for cozy winter gatherings.
Store leftover cake pops in an airtight container in the refrigerator for up to 5 days. For longer storage, freeze them on a baking sheet, then transfer to a freezer bag for up to 2 months. To reheat, thaw in the fridge overnight and bring to room temperature before serving.
Note: The swirls may soften slightly in the fridge, but that just makes them easier to bite into!
Nutritional Information & Benefits
Each Perfect Black Velvet Oreo Cake Pop contains roughly:
- Calories: 150-180
- Fat: 8-10 grams
- Carbohydrates: 18-22 grams
- Protein: 1-2 grams
While they’re definitely a treat, using cream cheese adds a bit of protein and calcium compared to butter-based cake pops. Black cocoa powder is rich in antioxidants, and Oreos provide that nostalgic flavor punch everyone loves.
These cake pops are gluten-friendly if made with gluten-free Oreos, and can be dairy-free with proper substitutions. Just be mindful of potential allergens like dairy and soy in the chocolate coatings.
From my perspective, these pops strike a nice balance: indulgent yet approachable, festive but fuss-free. They’re a reminder that sometimes, the best recipes bring joy with simple, familiar ingredients.
Conclusion
The Perfect Black Velvet Oreo Cake Pops with Festive Swirls are a celebration in every bite. They blend the classic Oreo crunch with creamy richness and a dazzling look that makes any occasion feel special. Whether you’re a seasoned baker or just looking for a fun project, this recipe is forgiving, quick, and endlessly customizable.
I love how these pops bring a festive spirit to my kitchen without the stress of complicated baking. Plus, they’re a joy to share—watching friends and family smile as they spot those shiny swirls never gets old.
Give these a try, and don’t hesitate to tweak the flavors or colors to fit your style. I’d love to hear how your batch turns out—drop a comment below or share your creative twists. Happy baking, and may your holidays be as sweet as these cake pops!
Frequently Asked Questions
- Can I make these cake pops ahead of time?
Yes! You can prepare and store them in the fridge for up to 5 days or freeze them for longer storage. - What if I don’t have black cocoa powder?
Regular cocoa powder will give a brown color, not black. For the signature black velvet look, black cocoa is recommended. - How do I prevent the cake pops from falling off the sticks?
Dip the stick end into melted chocolate before inserting into the cake ball, and chill before coating. - Can I use regular chocolate instead of candy melts?
Yes, tempered white chocolate works well but can be trickier to work with due to tempering requirements. - What’s the best way to store leftover cake pops?
Keep them in an airtight container in the fridge. To freeze, place on a tray until firm, then transfer to a freezer bag.
Pin This Recipe!
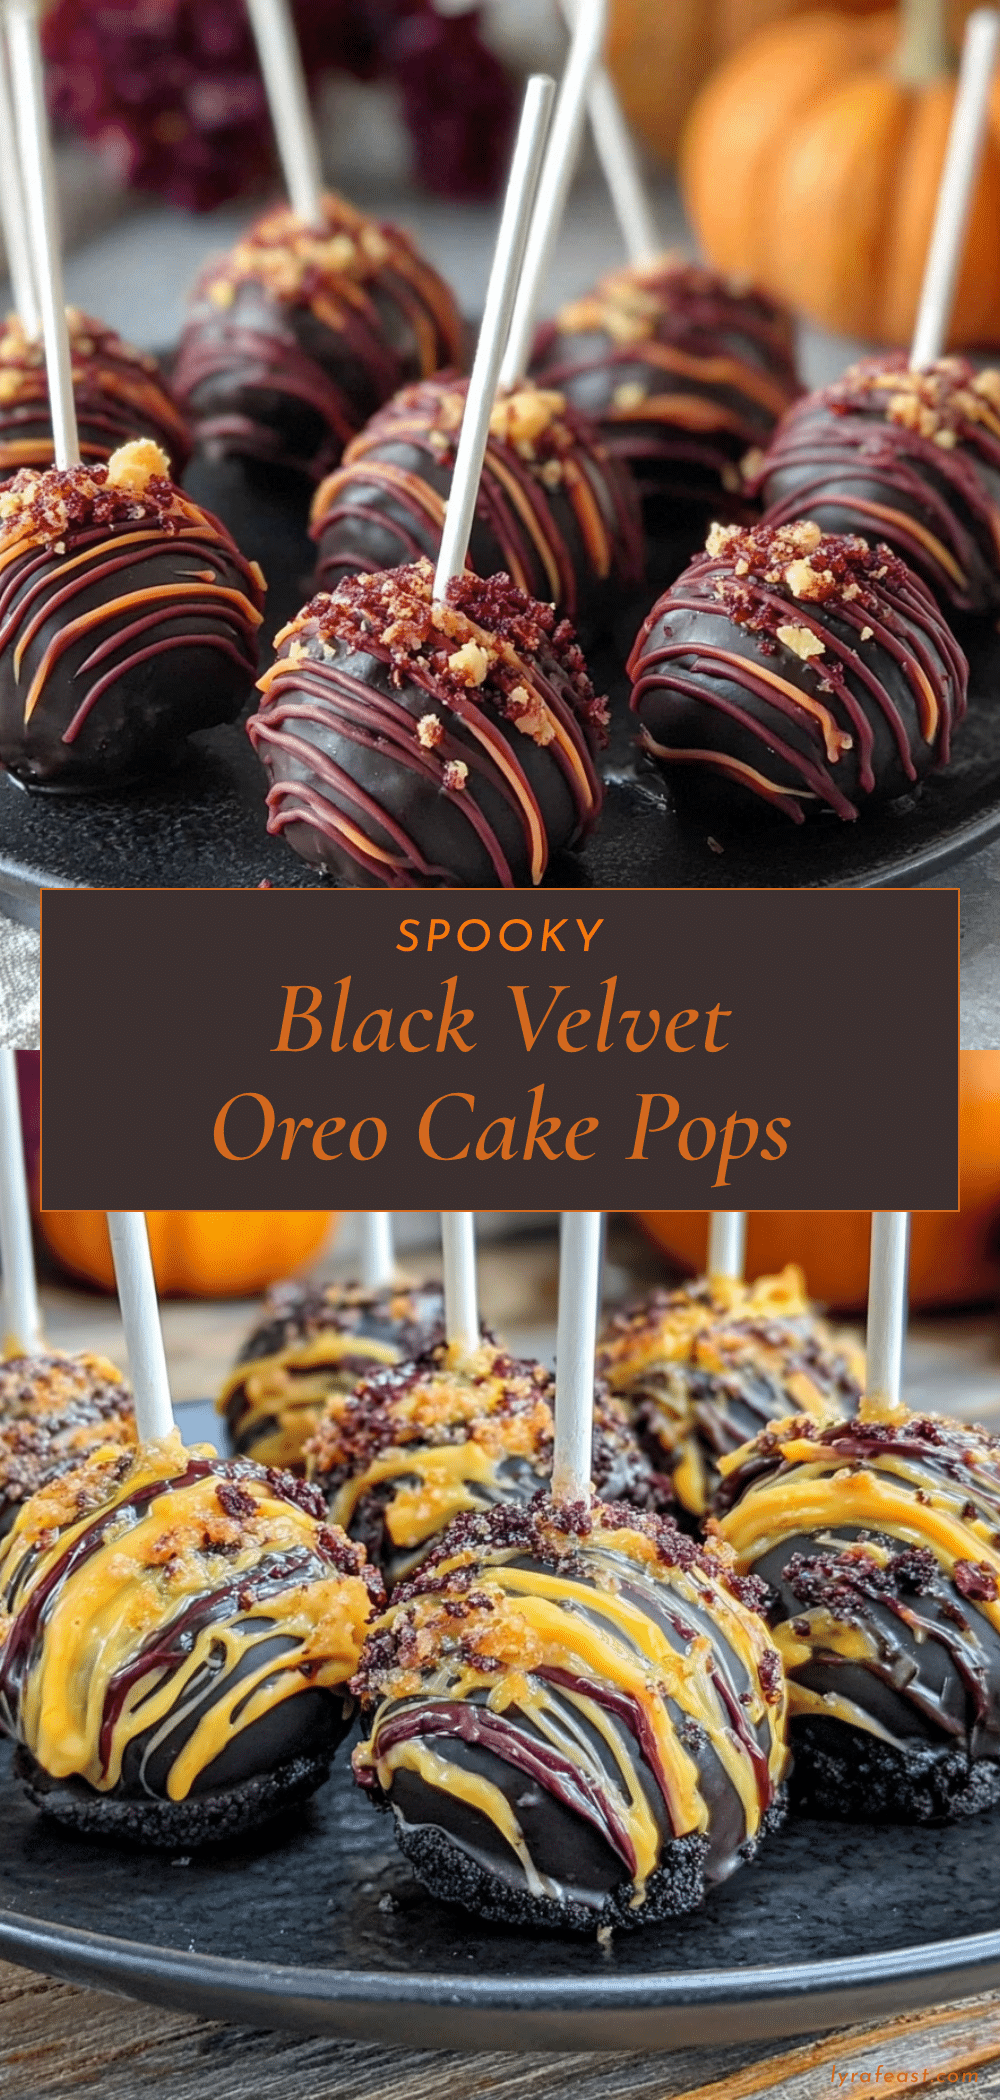
Perfect Black Velvet Oreo Cake Pops Recipe Easy Festive Swirls Tutorial

These black velvet Oreo cake pops feature a rich, velvety texture with a creamy cheesecake binder and festive swirls of white and red chocolate, perfect for holiday parties and celebrations.
- Prep Time: 20 minutes
- Cook Time: 40 minutes
- Total Time: 1 hour
- Yield: 20-24 cake pops 1x
- Category: Dessert
- Cuisine: American
Ingredients
- 24 Oreo cookies (classic, filling included)
- 4 ounces (115 g) cream cheese, softened
- 2 tablespoons black cocoa powder
- 1/4 teaspoon vanilla extract
- 12 ounces (340 g) white chocolate melting wafers or candy melts
- Red candy melts or red-colored white chocolate (for swirls)
- Black food coloring gel (optional)
- Sprinkles or edible glitter (optional)
- 20–24 cake pop sticks or lollipop sticks
- Styrofoam block or cake pop stand
Instructions
- Place 24 Oreo cookies in a food processor and pulse until fine crumbs. Alternatively, crush Oreos in a sealed plastic bag with a rolling pin until fine (about 2 minutes).
- Transfer crumbs to a large bowl. Add 4 ounces softened cream cheese, 2 tablespoons black cocoa powder, and 1/4 teaspoon vanilla extract. Stir until fully combined and smooth. Mixture should be firm but pliable (5 minutes).
- Using a cookie scoop or tablespoon, scoop about 1.5 tablespoons (20 g) of mixture and roll into smooth balls. Place on a parchment-lined baking sheet. Yield about 20-24 balls (10 minutes).
- Refrigerate the cake balls for at least 1 hour or freeze for 20 minutes until firm.
- Melt 12 ounces white chocolate wafers in a microwave-safe bowl in 30-second increments, stirring between each until smooth. Add black gel coloring if desired (5 minutes).
- Dip one end of each cake pop stick about 1 inch into melted chocolate, then insert into the center of each chilled cake ball. Return to fridge for 10 minutes.
- Warm white chocolate again if needed. Holding the stick, dip each cake pop fully into white chocolate, letting excess drip off. Immediately add red candy melts swirls using a thin brush or toothpick (15–20 minutes).
- Stick coated cake pops into Styrofoam block or cake pop stand to dry completely. Add sprinkles or edible glitter while coating is wet (30 minutes).
- Once dry, serve or store in an airtight container in the fridge for up to 5 days.
Notes
Use black cocoa powder for the signature deep black color. Chill cake balls and sticks before dipping to prevent falling off. Melt chocolate gently to avoid burning. Work quickly when adding swirls as chocolate sets fast. If chocolate thickens, stir in a small amount of vegetable oil to thin. Store cake pops in airtight container in fridge up to 5 days or freeze up to 2 months.
Nutrition
- Serving Size: 1 cake pop
- Calories: 165
- Sugar: 16
- Sodium: 90
- Fat: 9
- Saturated Fat: 5
- Carbohydrates: 20
- Fiber: 1
- Protein: 1.5
Keywords: black velvet cake pops, Oreo cake pops, festive cake pops, holiday desserts, easy cake pops, chocolate swirls, party treats