Introduction
“You gotta try my backyard bacon cheeseburger,” my next-door neighbor, Mike, said last summer as he flipped patties on his grill. Honestly, I wasn’t expecting much—just another burger, right? But the moment I bit into that juicy, smoky masterpiece, I was hooked. The sizzle of bacon mingling with melted cheese and that perfectly seasoned beef took me straight to burger heaven.
It all started on a lazy Saturday afternoon, the kind where the sun’s warm but not too hot, and the smell of charred meat fills the air. Mike’s grill was smoking up a storm, and his easygoing style with just five simple steps made me realize how approachable backyard BBQ cooking can be. Maybe you’ve been there—standing over a grill, trying to nail that perfect burger that’s juicy, flavorful, and a little messy (in the best way).
What surprised me most was how this classic bacon cheeseburger recipe feels like home, yet has a little twist of bold BBQ character that turns a simple meal into an event. I mean, sometimes the best recipes come from casual chats and random afternoons like that one. Since then, I’ve made this recipe my go-to for weekend cookouts, quick dinners, and even those unexpected cravings that hit late at night. Let me tell you—this isn’t just any burger; it’s the kind you keep coming back to, bite after satisfying bite.
Why You’ll Love This Recipe
This classic bacon cheeseburger recipe isn’t just a crowd-pleaser—it’s a reliable favorite that you can whip up with ease. After testing countless burger variations, I can confidently say this recipe nails the balance between smoky, juicy, and cheesy every single time. Here’s why you’ll want to make it a staple at your next BBQ or dinner:
- Quick & Easy: Ready in about 30 minutes, perfect for those busy weeknights or last-minute grill sessions.
- Simple Ingredients: No fancy or hard-to-find items—just quality beef, crispy bacon, melty cheese, and classic toppings.
- Perfect for Backyard BBQs: This burger brings that unmistakable smoky flavor that screams summer cookout.
- Crowd-Pleaser: Kids, adults, meat lovers, and casual eaters alike will be asking for seconds.
- Unbelievably Delicious: The crispy bacon combined with juicy beef and gooey cheese creates a flavor combo that’s downright addictive.
What sets this classic bacon cheeseburger apart is the way the beef is seasoned just enough to highlight its natural richness while the bacon adds a smoky crunch that complements the melty cheese perfectly. Plus, the grilling method locks in juices without drying out the patty. Honestly, I’ve tried other recipes, but this one strikes the perfect balance—no gimmicks, just real backyard BBQ flavor that feels like a warm hug on a bun.
What Ingredients You Will Need
This recipe uses straightforward, wholesome ingredients to deliver that bold, juicy burger flavor without fuss. You likely have most of these pantry staples and fridge favorites already, making it an easy option for a satisfying meal anytime.
- Ground beef (80/20 blend): 1 pound (450g) — the fat content keeps the burger juicy and flavorful. I prefer grass-fed beef from my local butcher for the best taste.
- Bacon strips: 4 slices — thick-cut works best for that perfect crispy texture.
- Cheddar cheese slices: 4 slices — sharp or mild based on your preference; I like sharp for extra punch.
- Hamburger buns: 4 — lightly toasted for a soft yet sturdy base.
- Onion: 1 small, thinly sliced — raw or caramelized depending on your mood.
- Tomato: 1 large, sliced.
- Lettuce leaves: Fresh and crisp, iceberg or romaine both work.
- Pickles: Sliced, optional but highly recommended for that tangy crunch.
- BBQ sauce: ¼ cup (60 ml) — choose your favorite brand or homemade for that backyard flavor.
- Salt and black pepper: To taste — freshly ground pepper always makes a difference.
- Olive oil or vegetable oil: 1 tablespoon for grilling the patties if needed.
For substitutions, you can swap cheddar with American cheese for a creamier melt or use turkey bacon for a leaner version. If gluten is a concern, gluten-free buns or lettuce wraps work like a charm. I sometimes mix in a teaspoon of smoked paprika or garlic powder into the beef for an extra flavor layer, but that’s totally optional.
Equipment Needed
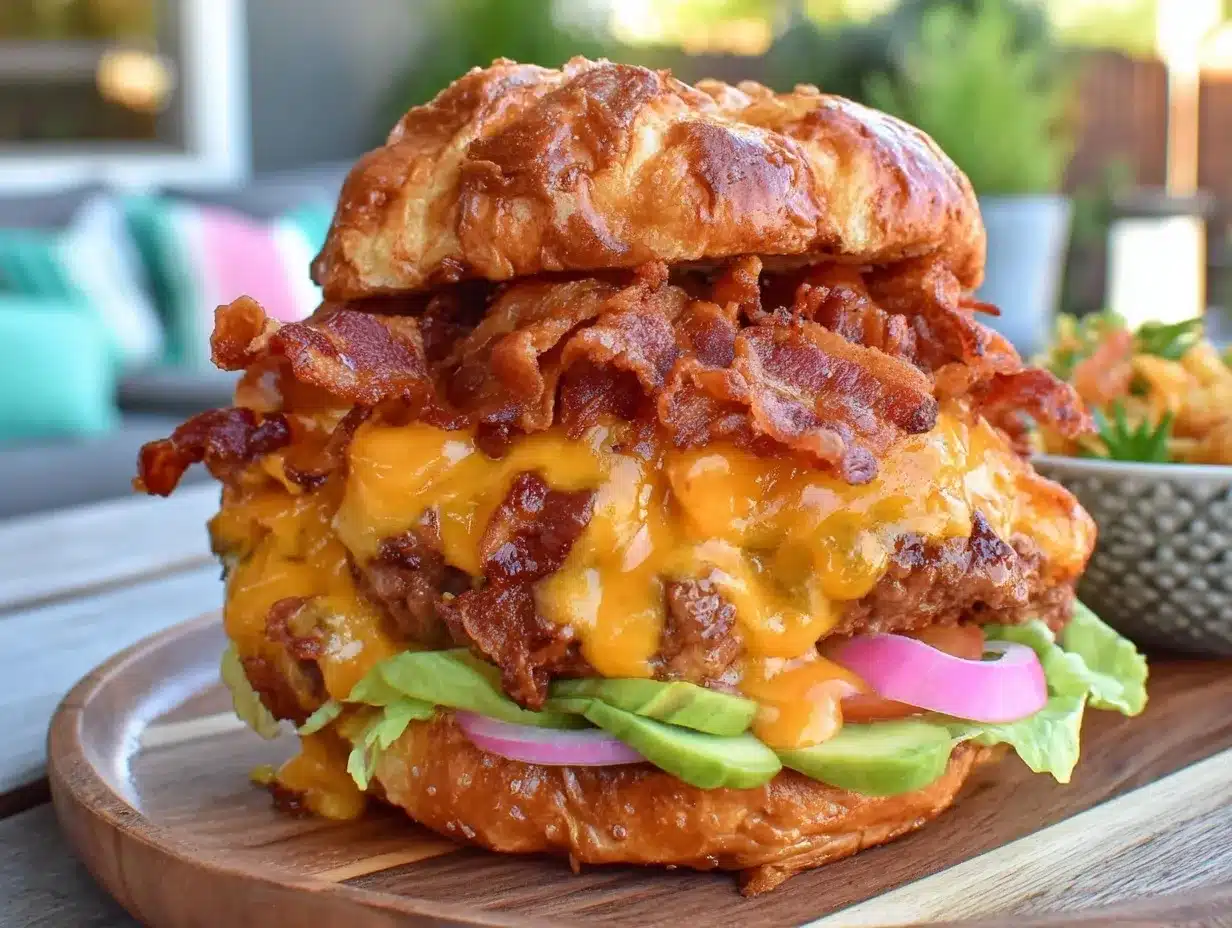
- Grill or grill pan: A charcoal or gas grill works best to get that authentic smoky flavor, but a heavy skillet or cast iron pan can do the trick indoors.
- Spatula: A sturdy metal spatula helps flip the patties without breaking them.
- Meat thermometer: Optional but handy to check for doneness (aim for 160°F / 71°C).
- Basting brush: Useful for applying BBQ sauce evenly.
- Plate lined with paper towels: To drain excess grease from cooked bacon.
- Knife and cutting board: For prepping toppings like onions, lettuce, and tomato.
If you don’t have a grill, a cast iron skillet with a little oil and high heat creates a nice crust on the patties. I’ve found that using a grill press can speed up cooking evenly, but it’s not necessary. Just make sure your tools are clean and well-maintained; for example, a rusty spatula can make flipping a nightmare. Budget-wise, a simple grill pan and good sharp knife will get you started without breaking the bank.
Preparation Method
- Prepare the bacon: Cook 4 slices of thick-cut bacon in a skillet over medium heat until crispy, about 6-8 minutes. Transfer to a paper towel-lined plate to drain excess fat. Set aside. (Tip: Don’t toss that bacon fat; you can use a teaspoon to brush on buns for added flavor!)
- Form the beef patties: In a bowl, gently mix 1 pound (450g) of ground beef with salt and freshly ground black pepper—about 1 tsp salt and ½ tsp pepper. Avoid over-mixing to keep the patties tender. Divide into four equal portions and shape into ¾-inch (2 cm) thick patties, making a slight indentation in the center of each to prevent puffing up while cooking.
- Preheat your grill or pan: Heat to medium-high (around 375°F / 190°C). If using a pan, add a tablespoon of oil and let it get hot before adding the patties.
- Cook the patties: Place patties on the grill or pan. Cook for about 4-5 minutes on the first side without pressing down (this keeps juices inside!). Flip carefully and cook another 3-4 minutes. During the last minute, add a slice of cheddar cheese on top of each patty and close the grill lid or cover the pan to melt the cheese perfectly.
- Toast the buns: While the cheese melts, place hamburger buns cut-side down on the grill or skillet for about 1-2 minutes until golden and slightly crispy.
- Assemble the burger: Spread BBQ sauce on the bottom bun, add the cheesy patty, top with crispy bacon strips, lettuce, tomato slices, onions, and pickles if using. Finish with the top bun.
Pro tip: Keep an eye on the patties so they don’t overcook and dry out. Remember that resting the burgers for a couple of minutes after cooking helps the juices redistribute, making every bite juicy and satisfying.
Cooking Tips & Techniques
One trick I learned the hard way is not to pack the beef too tightly when forming patties. Overworking the meat can make the burger dense and tough. So, handle it gently—think of it like giving the meat a light hug rather than a bear squeeze.
Also, the little dimple in the center of each patty is a game-changer. Without it, the burger tends to bulge in the middle and cook unevenly. That indentation helps the patty stay flat for even cooking and a better bite.
When flipping, resist the urge to press down with your spatula. I know, it’s tempting because you want it to cook faster, but honestly, it just squeezes out all that delicious juice. Let the grill do its magic.
If you’re using a charcoal grill, placing the patties over indirect heat after searing helps avoid flare-ups and burning. This step wasn’t obvious to me at first, and I ended up with some blackened burgers until I figured it out.
Timing is key—multitask by toasting buns while cheese melts on the patties to save time. And finally, don’t forget to rest the burgers for at least 2 minutes off the heat before stacking them up. That little pause makes a big difference in juiciness.
Variations & Adaptations
If you want to switch things up or cater to different diets, here are some tasty variations I’ve tried and loved:
- Spicy Kick: Mix in a teaspoon of cayenne pepper or hot sauce into the beef before shaping patties for a subtle heat.
- BBQ Chicken Burger: Swap beef for ground chicken and add smoked paprika to mimic that BBQ flavor. Grill carefully since chicken cooks faster.
- Vegetarian Option: Use a hearty portobello mushroom cap or a black bean patty seasoned with BBQ spices and topped with melted cheese and bacon-style tempeh strips.
- Low-Carb: Wrap the burger in large lettuce leaves instead of buns for a fresh, keto-friendly option.
- Cheese Swap: Try pepper jack or smoked gouda for a different melty cheesiness.
One personal favorite I stumbled upon (accidentally, of course) was adding a thin smear of mayo mixed with a little chipotle powder on the top bun. It added a smoky, creamy layer that paired perfectly with the bacon’s crunch.
Serving & Storage Suggestions
This classic bacon cheeseburger is best served hot off the grill, with the cheese still gooey and the bacon crispy. I like to plate it with a side of crunchy coleslaw or crispy sweet potato fries to complement the smoky richness.
For beverages, a cold craft beer or an ice-cold lemonade balances the flavors nicely. If you’re serving at a backyard BBQ, a simple tossed salad or grilled corn on the cob rounds out the meal beautifully.
Leftover patties can be stored in an airtight container in the refrigerator for up to 3 days. To reheat, gently warm them in a skillet over low heat to preserve juiciness, or pop them in a microwave with a damp paper towel to avoid drying out.
Buns are best toasted fresh, but if you must store, keep them in a sealed bag to maintain softness. The flavors of the burger actually deepen a bit if you assemble and refrigerate for a few hours before eating—just reheat gently before serving.
Nutritional Information & Benefits
A classic bacon cheeseburger packs a satisfying punch of protein and essential nutrients when made with quality ingredients. One burger (including bacon and cheese) contains roughly 550-650 calories depending on portion size and toppings, with about 35g of protein.
The beef provides iron and zinc, important for energy and immune support, while the bacon adds flavor and fat that keeps you full longer. Lettuce, tomato, and onions contribute fiber and vitamins, rounding out the meal nicely.
For those watching carbs, swapping to a lettuce wrap reduces carbohydrate content significantly. Using leaner beef or turkey bacon lowers fat and calorie counts without sacrificing flavor.
Overall, this burger fits well into a balanced diet when enjoyed in moderation and paired with fresh sides.
Conclusion
If you’re after a burger that’s juicy, smoky, cheesy, and just downright satisfying, this classic bacon cheeseburger recipe is your new best friend. It’s simple enough for a quick dinner but special enough to impress guests at your next backyard BBQ. I love that it’s flexible too—you can customize toppings, cheese, and even the type of meat to suit your mood or dietary needs.
Honestly, every time I make this burger, it reminds me of those easy, laid-back afternoons with friends and family, sharing good food and laughter. So go ahead, try it out, and don’t forget to tell me how it turned out or what twist you added. Your perfect juicy backyard BBQ burger awaits!
FAQs
What’s the best beef blend for juicy cheeseburgers?
An 80/20 blend (80% lean, 20% fat) is ideal for juicy, flavorful burgers because the fat keeps the meat moist during cooking.
Can I make the bacon cheeseburger indoors without a grill?
Absolutely! Use a cast iron skillet or grill pan on medium-high heat. It won’t have the smoky outdoor flavor, but you’ll still get a delicious crust and juicy burger.
How do I prevent my burger from falling apart?
Don’t overwork the ground beef when forming patties and make a slight indentation in the center to help keep shape while cooking.
What cheese melts best on a bacon cheeseburger?
Cheddar is classic, but American, pepper jack, or smoked gouda also melt beautifully and add unique flavors.
Can I prepare the patties ahead of time?
Yes, you can form patties and store them in the fridge for up to 24 hours before cooking. Just cover them tightly to prevent drying out.
Pin This Recipe!
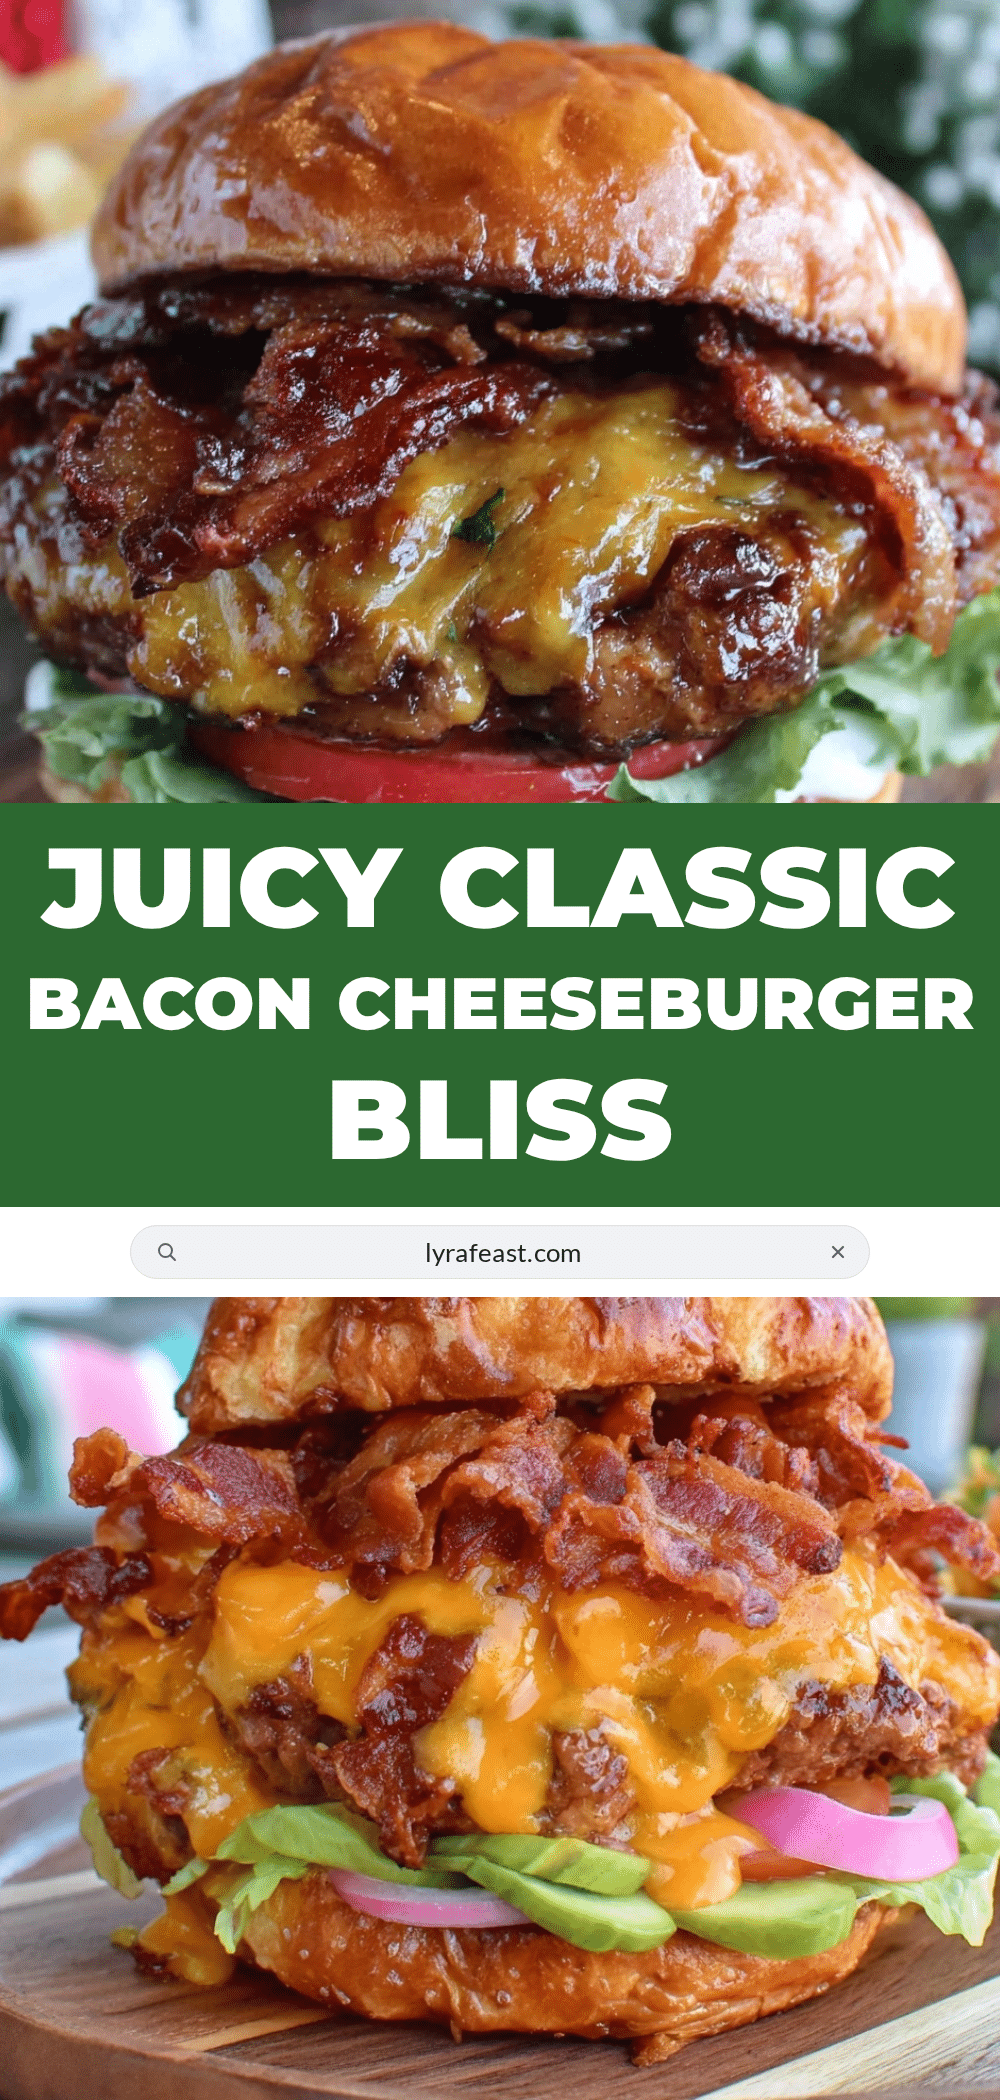
Classic Bacon Cheeseburger
A juicy, smoky backyard BBQ bacon cheeseburger with melted cheddar cheese and crispy bacon, perfect for quick weeknight dinners or weekend cookouts.
- Prep Time: 10 minutes
- Cook Time: 20 minutes
- Total Time: 30 minutes
- Yield: 4 servings 1x
- Category: Main Course
- Cuisine: American
Ingredients
- 1 pound (450g) ground beef (80/20 blend)
- 4 slices thick-cut bacon
- 4 slices cheddar cheese (sharp or mild)
- 4 hamburger buns, lightly toasted
- 1 small onion, thinly sliced
- 1 large tomato, sliced
- Lettuce leaves (iceberg or romaine)
- Pickles, sliced (optional)
- 1/4 cup (60 ml) BBQ sauce
- Salt to taste
- Black pepper to taste
- 1 tablespoon olive oil or vegetable oil
Instructions
- Cook 4 slices of thick-cut bacon in a skillet over medium heat until crispy, about 6-8 minutes. Transfer to a paper towel-lined plate to drain excess fat and set aside.
- In a bowl, gently mix 1 pound (450g) of ground beef with about 1 tsp salt and 1/2 tsp freshly ground black pepper. Avoid over-mixing. Divide into four equal portions and shape into 3/4-inch (2 cm) thick patties, making a slight indentation in the center of each.
- Preheat your grill or pan to medium-high heat (around 375°F / 190°C). If using a pan, add 1 tablespoon of oil and let it get hot before adding the patties.
- Place patties on the grill or pan. Cook for about 4-5 minutes on the first side without pressing down. Flip carefully and cook another 3-4 minutes. During the last minute, add a slice of cheddar cheese on top of each patty and close the grill lid or cover the pan to melt the cheese.
- While the cheese melts, place hamburger buns cut-side down on the grill or skillet for about 1-2 minutes until golden and slightly crispy.
- Assemble the burger by spreading BBQ sauce on the bottom bun, adding the cheesy patty, topping with crispy bacon strips, lettuce, tomato slices, onions, and pickles if using. Finish with the top bun.
Notes
Do not overwork the beef when forming patties to keep them tender. Make a slight indentation in the center of each patty to prevent puffing up. Avoid pressing down on patties while cooking to retain juices. Rest burgers for 2 minutes after cooking for juiciness. Bacon fat can be used to brush buns for extra flavor. If cooking indoors, a cast iron skillet works well.
Nutrition
- Serving Size: 1 burger
- Calories: 600
- Sugar: 5
- Sodium: 900
- Fat: 40
- Saturated Fat: 15
- Carbohydrates: 30
- Fiber: 2
- Protein: 35
Keywords: bacon cheeseburger, BBQ burger, backyard burger, grilled cheeseburger, classic burger, juicy burger, bacon, cheddar cheese



