This was supposed to be a simple jar of bread and butter pickles. I grabbed the wrong jar—turns out it was my favorite quart-sized Mason jar, already half-full with dill sprigs from the farmer’s market—and I was already running late for an afternoon picnic with friends. The stove burner was on way too high, and I was juggling phone calls about a last-minute work thing. What came out was nothing like the sweet, sugary pickles I’d planned. Instead, I ended up with crunchy, tangy, quick refrigerator dill pickles that tasted like they’d been fermenting for weeks. Honestly, I couldn’t believe it. If you’ve ever had a kitchen moment where disaster looms and you just throw things together hoping for the best, you know that weird magic of “oops” cooking.
I remember staring at that jar, the cucumbers swimming in cloudy brine, smelling the sharp dill and garlic mingling with vinegar, and thinking, “Well, this might actually be better.” And it was. This easy quick refrigerator dill pickle recipe became my go-to snack — no canning, no fuss, just straightforward, crisp pickles ready in a few days. Maybe you’ve been there too, where the best flavors come from happy mistakes. That’s why I keep making these pickles, even when real dill pickles call for hours or days of attention. They’re just that satisfying.
Why You’ll Love This Recipe
After countless trials, tweaks, and taste tests (and a few more “wrong jar” moments), this easy quick refrigerator dill pickles recipe has proven itself a kitchen winner. Here’s why I genuinely trust it, and why you might want to keep it in your back pocket:
- Quick & Easy: Ready to eat in as little as 48 hours and perfectly crunchy in under a week — ideal for when you want a tangy snack without the wait.
- Simple Ingredients: No need for fancy spices or hard-to-find items. Most ingredients are pantry staples or fresh from your local market.
- Perfect for Snacking & Entertaining: Great for picnic baskets, lunchboxes, or adding crunch to sandwiches and burgers.
- Crowd-Pleaser: Kids, adults, and pickle lovers alike give it rave reviews because it strikes just the right balance of sour, salty, and garlicky.
- Unbelievably Delicious: The brine has a fresh dill punch, complemented by garlic and mustard seeds, giving these pickles a unique flavor that stands out from store-bought versions.
This recipe isn’t just another quick pickle—it’s a result of real kitchen chaos turned into something reliably tasty. The method skips canning, so it’s perfect for those who might shy away from traditional preservation but still want homemade flavor. Plus, it’s flexible enough to tinker with, letting you customize the tanginess or spice level. Honestly, it’s comfort food in a jar without the stress.
What Ingredients You Will Need
This recipe uses a straightforward lineup of fresh and pantry ingredients to deliver bold flavor and crunchy texture without fuss. These are mostly easy to find and pantry-friendly, with some fresh herbs and vegetables to keep things lively.
- Cucumbers: 2 pounds (about 900 grams) of small to medium-sized pickling cucumbers, washed and sliced into spears or rounds. I prefer firm, fresh cucumbers from local markets — they stay crunchy better than supermarket ones.
- Fresh dill: 4-5 sprigs of fresh dill (or about 2 tablespoons of dill seeds if fresh isn’t available) — the star flavor here. I like using dill from my herb garden or the farmers’ market.
- Garlic: 3-4 cloves, peeled and smashed — this adds a punchy depth that’s not too overpowering.
- White vinegar: 1 cup (240 ml) — I use plain white distilled vinegar for clean, sharp acidity.
- Water: 1 cup (240 ml), preferably filtered or distilled to keep the brine clear and fresh.
- Pickling salt or kosher salt: 2 tablespoons — essential for crispness and flavor balance. Avoid iodized table salt as it can cloud the brine.
- Mustard seeds: 1 tablespoon for a subtle spice and texture.
- Black peppercorns: 1 teaspoon whole — adds a gentle warmth.
- Optional: Red pepper flakes (1/2 teaspoon) if you want a little heat, or a pinch of sugar to balance acidity (though I usually skip sugar).
For substitutions, if you need gluten-free or low-sodium options, just adjust salt quantity or use a salt substitute cautiously. If fresh dill isn’t around, dill seeds do a fine job. And you can swap garlic for shallots or onion slices for a different flavor twist. I usually recommend sticking to fresh cucumbers rather than supermarket varieties labeled “pickling” because freshness really impacts crunch.
Equipment Needed
- Glass jars or food-safe containers: Quart-sized Mason jars or any airtight glass container work best. Plastic can absorb flavors and sometimes smells, so I avoid it.
- Measuring cups and spoons: For precise vinegar, water, and salt measurements.
- Mixing bowl: To combine brine ingredients before pouring over cucumbers.
- Knife and cutting board: For slicing cucumbers and smashing garlic cloves.
- Small saucepan: To gently heat the vinegar, water, salt, and spices — heating helps the salt dissolve and flavors marry.
If you don’t have Mason jars, any clean glass jar with a tight lid will do. I sometimes use reused pickle jars, just make sure they’re sterilized. For budget-friendly options, thrift stores often have perfect pint or quart glass jars. And a simple wooden spoon or spatula helps gently press cucumbers down as you pack the jars.
Preparation Method
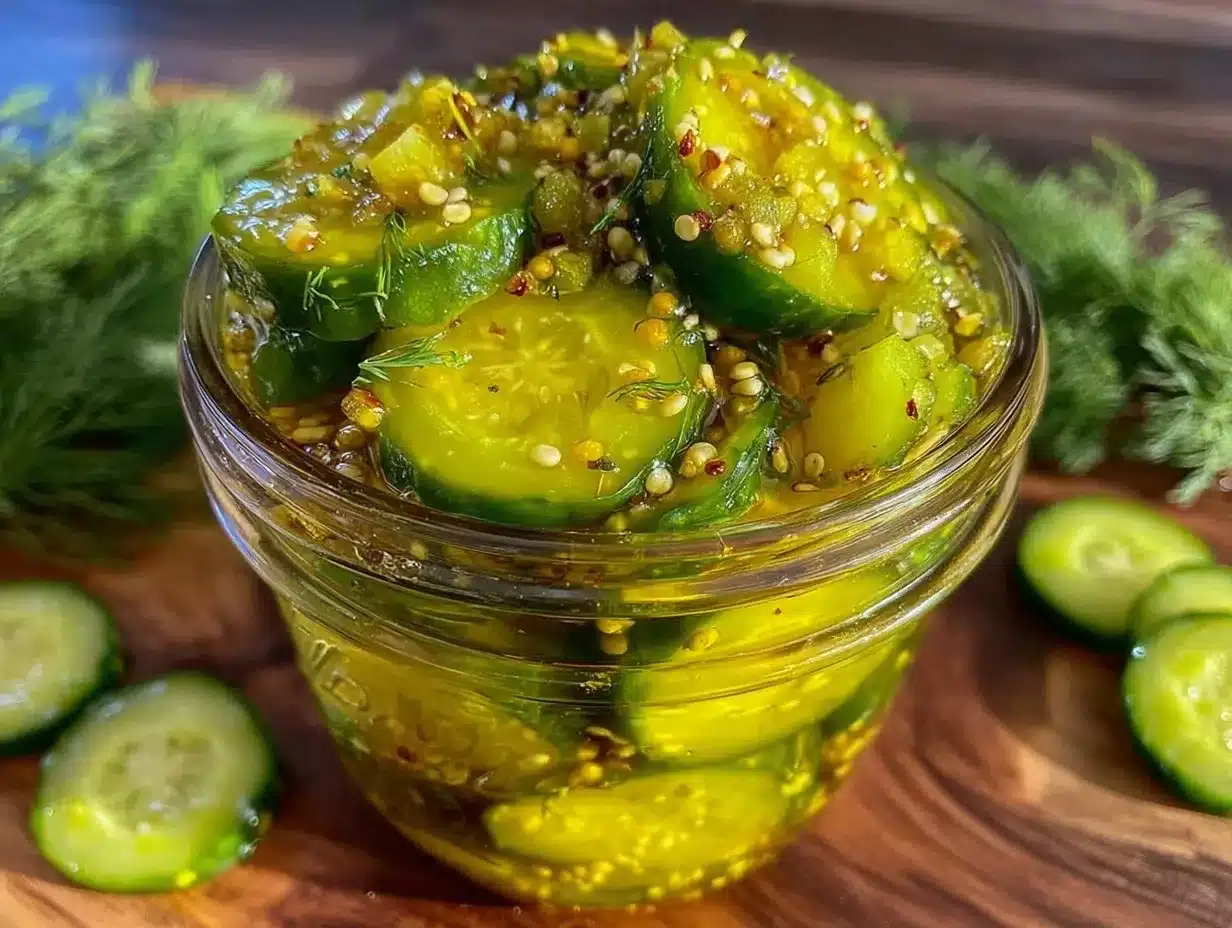
- Prepare the cucumbers: Wash 2 pounds (900 g) of pickling cucumbers thoroughly. Slice them into spears about 3-4 inches long or into 1/4-inch thick rounds, depending on your preference. Pat dry with a clean towel to remove excess moisture. (Time: 10 minutes)
- Pack the jars: Place 4-5 sprigs of fresh dill, 3-4 smashed garlic cloves, 1 tablespoon mustard seeds, and 1 teaspoon whole black peppercorns evenly into each quart-sized jar. Then pack the cucumber slices in tightly but without crushing. Leave about 1/2 inch of headspace at the top to allow brine circulation. (Time: 10 minutes)
- Make the brine: In a small saucepan, combine 1 cup (240 ml) white vinegar, 1 cup (240 ml) water, and 2 tablespoons pickling salt. Optional: add 1/2 teaspoon red pepper flakes for heat. Heat the mixture over medium heat, stirring occasionally until the salt dissolves completely. Do not boil—just hot enough to dissolve salt and marry flavors. (Time: 5 minutes)
- Pour the brine: Carefully pour the hot brine over the cucumbers in the jars, submerging them fully. If needed, use a clean utensil to press cucumbers down gently. Seal the jars tightly with lids. (Time: 5 minutes)
- Cool and refrigerate: Let jars cool to room temperature before placing them in the refrigerator. The pickles will start tasting good after 48 hours but reach peak flavor around 5-7 days. (Time: 5 minutes, plus chilling time)
Note: If your cucumbers float, placing a small weight or a clean zip-top bag filled with water on top can help keep them submerged. Also, remember to always use clean utensils when removing pickles to avoid contamination. If the brine turns cloudy or smells off after a week, best to discard and make a fresh batch.
Pro tip: I like to make a double batch and keep one jar for snacking and another for quick additions to sandwiches and salads during the week. This method saves me from last-minute trips to the store for pickles.
Cooking Tips & Techniques
Making refrigerator dill pickles is straightforward, but a few insider tricks help get consistent, crunchy, and flavorful results every time:
- Choose fresh, firm cucumbers: Wrinkled or soft cucumbers will give you mushy pickles. I’ve learned the hard way that freshness is key to crunch.
- Don’t skip the salt: Pickling or kosher salt is essential for texture and flavor. Table salt contains additives that cloud the brine and can affect taste.
- Use the right vinegar: White distilled vinegar’s acidity is perfect here. Avoid malt or apple cider vinegar unless you want a different flavor profile.
- Keep cucumbers submerged: Air exposure can cause softening and spoilage. Using weights or packing tightly helps.
- Patience is a virtue: These aren’t instant pickles, but they’re pretty close. Give them at least 48 hours to develop flavor, and you’ll be rewarded.
- Store in the fridge only: This recipe requires refrigeration since it’s not canned or shelf-stable.
- Multitasking tip: While the brine heats and dissolves, prep your cucumbers and spices to save time — I often do this while waiting for water to boil for tea.
Personally, I once tried skipping the heating step on the brine and ended up with salty granules at the bottom of the jar. Heating the brine might feel like an extra step, but it really smooths out the flavor and dissolves the salt perfectly. Also, crushing garlic instead of finely chopping it brings out a mellow garlic aroma without overpowering the pickles.
Variations & Adaptations
This easy quick refrigerator dill pickle recipe is a canvas for your flavor preferences and dietary needs. Here are some ways I’ve adapted it:
- Spicy Dill Pickles: Add more red pepper flakes or a sliced jalapeño for a hotter kick. I like to toss in a few black peppercorns and a pinch of cayenne.
- Low-Sodium Version: Reduce the salt to 1 tablespoon and add a splash of lemon juice for brightness to compensate for less saltiness.
- Herb Variations: Swap dill with fresh tarragon or fresh rosemary for a different herbal note. I tried rosemary once and loved the piney freshness it added.
- Garlic-Free: Omit garlic and add sliced onions or shallots for a milder allium flavor if you’re sensitive to garlic.
- Quick Bread and Butter Style: Add 1 tablespoon sugar and 1 teaspoon turmeric to the brine for a sweeter, colorful twist.
You can also make smaller batches in pint jars if you don’t want to commit to a quart. Just halve the recipe accordingly. Some friends have even tried fermenting these in a jar with a weighted lid for a day or two to boost tanginess, but that’s a different technique altogether.
Serving & Storage Suggestions
These refrigerator dill pickles are best served chilled straight from the fridge. They make a refreshing crunchy snack, a perfect tangy topping for burgers, sandwiches, and hot dogs, or a zesty side for grilled meats.
- Serve with sandwiches, potato salad, or alongside a cheese platter for a flavorful contrast.
- Try them chopped and mixed into tuna or chicken salad for an extra pop of flavor.
- Store pickles in the refrigerator for up to 3 weeks — the flavor deepens and mellows after the first week.
- When reheating is required (rarely necessary), briefly warm the pickles in a skillet with some butter for a warm, garlicky side.
I’ve noticed that over time, the pickles develop a more complex, mellow flavor, so if you can wait a week, you’re rewarded with something truly special. Just remember to keep the pickles submerged and always use a clean fork to remove them.
Nutritional Information & Benefits
Here’s an estimate per 1-ounce (28g) serving of these easy quick refrigerator dill pickles:
| Calories | 5 |
|---|---|
| Total Fat | 0g |
| Sodium | 230mg |
| Carbohydrates | 1g |
| Fiber | 0.3g |
| Sugar | 0g |
| Protein | 0g |
These pickles are low in calories and carbs, making them a guilt-free snack. Cucumbers provide hydration and small amounts of antioxidants. Dill is known for digestive benefits, and garlic adds immune-supportive compounds. If you watch your sodium intake, you can adjust salt amounts to meet your needs. This recipe is naturally gluten-free and vegan. I appreciate having a snack that fits my healthier lifestyle without sacrificing flavor or crunch.
Conclusion
This easy quick refrigerator dill pickles recipe is proof that sometimes, the best dishes come from unexpected moments and a little improvisation. It’s simple, fast compared to traditional pickling, and reliably crunchy with a fresh, garlicky dill punch. Whether you’re a pickle fanatic or just looking for a snack that adds some zing to your meals, this recipe is worth trying.
Feel free to tweak the spices, heat level, or herbs to suit your taste. I love knowing that I can whip up a batch in less than 10 minutes and have a jar ready in a couple of days — no canning stress involved. If you give this recipe a try, I’d love to hear how you made it your own. Drop a comment, share your variations, or let me know if this recipe helped you tame your kitchen chaos too!
Happy pickling, and remember: sometimes, mistakes in the kitchen lead to the tastiest discoveries.
FAQs about Easy Quick Refrigerator Dill Pickles
How long do refrigerator dill pickles last?
They typically last up to 3 weeks in the refrigerator. Always check for any off smells or mold before eating.
Can I use regular cucumbers instead of pickling cucumbers?
You can, but pickling cucumbers are firmer and crunchier. Regular cucumbers might result in softer pickles.
Do I need to boil the jars before making these pickles?
No, since these are refrigerator pickles, sterilizing jars isn’t necessary, but they should be clean to avoid contamination.
Can I make this recipe vegan and gluten-free?
Yes! This recipe is naturally vegan and gluten-free as it contains only vegetables, herbs, vinegar, and spices.
How can I make my pickles more sour?
Increase the vinegar slightly or let the pickles sit longer in the fridge, up to 7 days, for a tangier flavor.
Pin This Recipe!
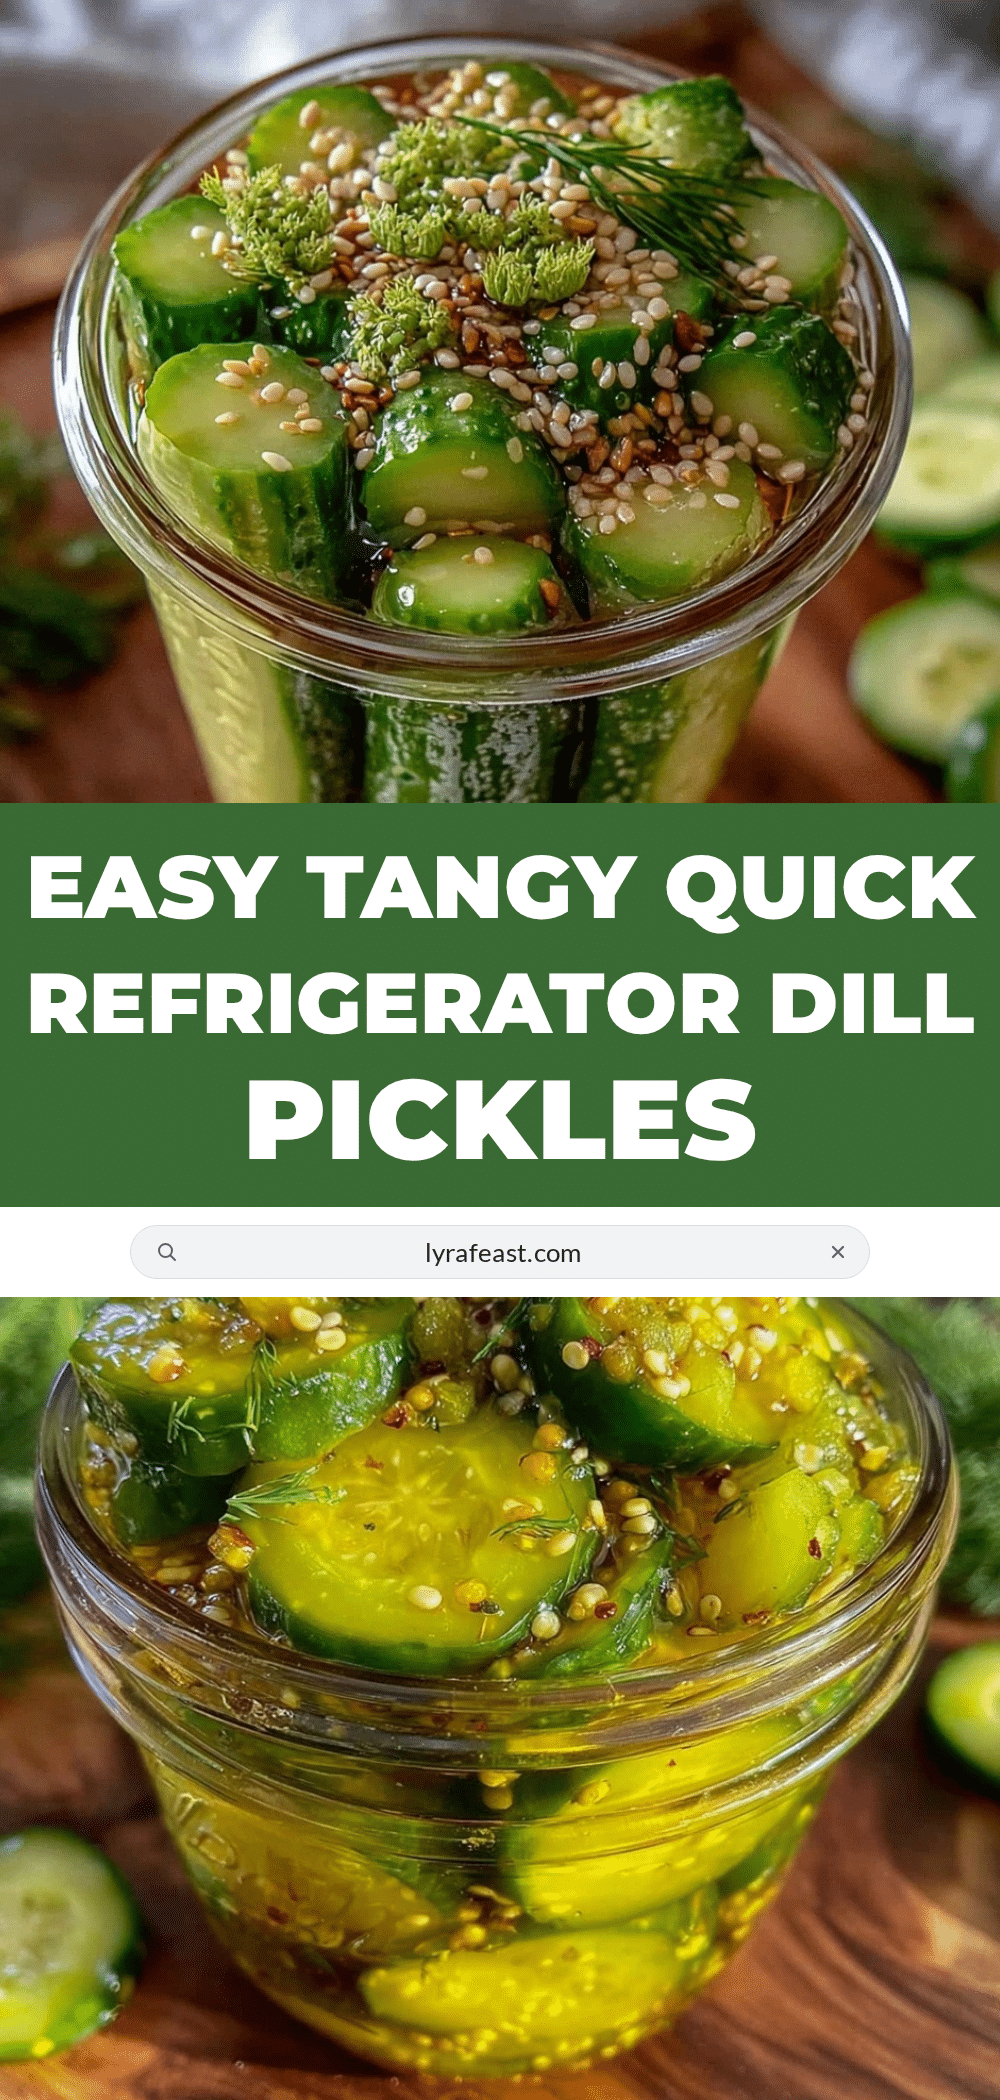
Easy Quick Refrigerator Dill Pickles Recipe for Perfect No-Canning Snacks
A quick and easy refrigerator dill pickle recipe that delivers crunchy, tangy pickles ready in as little as 48 hours without any canning required.
- Prep Time: 25 minutes
- Cook Time: 5 minutes
- Total Time: 30 minutes plus 48 hours chilling
- Yield: 4 servings 1x
- Category: Snack
- Cuisine: American
Ingredients
- 2 pounds (about 900 grams) small to medium-sized pickling cucumbers, washed and sliced into spears or rounds
- 4–5 sprigs fresh dill or 2 tablespoons dill seeds
- 3–4 cloves garlic, peeled and smashed
- 1 cup (240 ml) white distilled vinegar
- 1 cup (240 ml) water, preferably filtered or distilled
- 2 tablespoons pickling salt or kosher salt
- 1 tablespoon mustard seeds
- 1 teaspoon whole black peppercorns
- Optional: 1/2 teaspoon red pepper flakes
- Optional: pinch of sugar
Instructions
- Wash 2 pounds (900 g) of pickling cucumbers thoroughly. Slice into spears about 3-4 inches long or into 1/4-inch thick rounds. Pat dry with a clean towel to remove excess moisture. (10 minutes)
- Place 4-5 sprigs of fresh dill, 3-4 smashed garlic cloves, 1 tablespoon mustard seeds, and 1 teaspoon whole black peppercorns evenly into each quart-sized jar. Pack cucumber slices tightly without crushing, leaving about 1/2 inch headspace. (10 minutes)
- In a small saucepan, combine 1 cup white vinegar, 1 cup water, and 2 tablespoons pickling salt. Optionally add 1/2 teaspoon red pepper flakes. Heat over medium heat, stirring occasionally until salt dissolves. Do not boil. (5 minutes)
- Pour the hot brine over cucumbers in jars, fully submerging them. Use a clean utensil to press cucumbers down gently if needed. Seal jars tightly with lids. (5 minutes)
- Let jars cool to room temperature, then refrigerate. Pickles start tasting good after 48 hours and reach peak flavor in 5-7 days. (5 minutes plus chilling time)
Notes
Use fresh, firm cucumbers for best crunch. Avoid iodized table salt to prevent cloudy brine. Keep cucumbers submerged using weights or a zip-top bag filled with water. Always use clean utensils to avoid contamination. Store pickles in the refrigerator for up to 3 weeks. Heating the brine helps dissolve salt and marry flavors but do not boil.
Nutrition
- Serving Size: 1 ounce (28 grams)
- Calories: 5
- Sodium: 230
- Carbohydrates: 1
- Fiber: 0.3
Keywords: quick pickles, refrigerator pickles, dill pickles, no canning, easy pickles, crunchy pickles, tangy pickles, homemade pickles