There used to be a tiny sandwich shop tucked between a laundromat and a used bookstore on the corner of Elm and 4th that made the most perfect little sealed sandwiches. When they closed three summers ago—just a handwritten sign on the door saying “Thanks for 22 years”—I honestly felt a little lost. Their turkey and cheese pockets were my go-to lunch for years, the ones with the perfectly crimped edges and the way the bread got just slightly pressed from the sealing process. After eleven tries—some where the filling exploded out, others where the bread tore in all the wrong places—I finally cracked the code. The secret was way simpler than I thought, and honestly, I felt a little silly for not figuring it out sooner.
These Easy 5-Ingredient Turkey and Cheese Uncrustables are my little victory lap. They’re not fancy, and that’s exactly the point. The first time I made a batch that actually worked, I stood there in my kitchen eating one while leaning against the counter, and I swear I could almost hear the hum of that old sandwich press from the shop. Maybe you’ve been there—chasing a food memory that feels just out of reach until suddenly, it’s right there in your hands. That’s what this recipe is for me. It’s the lunch I craved, recreated in my own kitchen with ingredients I already had, and it comes together in less time than it takes to decide what to order for delivery.
Why You’ll Love This Recipe
Let me tell you why these little pockets of goodness have become a staple in my kitchen. After testing this recipe more times than I care to admit—including one memorable disaster where I forgot to seal the edges and ended up with a cheese puddle on the baking sheet—I can confidently say this version is foolproof.
- Quick & Easy: From start to finish, these come together in under 15 minutes. Perfect for those mornings when you’re running late or those afternoons when you need lunch on the table fast.
- Simple Ingredients: No fancy grocery trips needed. You likely already have everything in your kitchen right now. Bread, turkey, cheese, butter, and a little seasoning—that’s it.
- Perfect for Lunchboxes: These hold up beautifully in lunch bags, and kids absolutely love the sealed edges and pocket shape. No more sad, soggy sandwiches at lunchtime.
- Crowd-Pleaser: I’ve brought these to picnics, potlucks, and even a casual game night, and they disappear every single time. Adults and kids grab them without hesitation.
- Unbelievably Delicious: The way the cheese gets all melty inside while the bread stays soft but slightly toasted on the outside? It’s next-level comfort food hiding in a simple package.
What makes this recipe different from every other sandwich you’ve made is the technique. Instead of just slapping ingredients between two slices of bread, we’re creating a sealed pocket that traps all the goodness inside. No more turkey sliding out or cheese dripping onto your plate. Every single bite has the perfect ratio of bread, meat, and cheese. It’s the kind of lunch that makes you close your eyes after the first bite, even if you’re just standing in your kitchen eating over the sink.
What Ingredients You Will Need
This recipe uses simple, everyday ingredients to create something genuinely satisfying. The beauty is in the simplicity—each ingredient plays a specific role, and together they create something greater than the sum of their parts.
- 8 slices of white bread (or your favorite sandwich bread—I prefer a soft, slightly thick bread for best results. Whole wheat works great too, just make sure it’s fresh and pliable)
- 8 ounces of thinly sliced turkey breast (deli counter turkey is ideal here. I recommend Boar’s Head or your local grocery store’s premium roast turkey for the best flavor. Avoid the pre-packaged stuff if you can—it tends to be too wet and makes the bread soggy)
- 4 slices of cheddar cheese (medium cheddar melts perfectly without getting greasy. You can also use provolone, Swiss, or even pepper jack for a little kick. Just make sure it’s a slice that melts well)
- 2 tablespoons of salted butter, softened (this is what gives the bread that beautiful golden color and helps the edges seal properly. Don’t skip it—I tried using oil once and it was a disaster)
- Pinch of garlic powder and black pepper (optional but highly recommended. This little seasoning boost makes a huge difference. Just a light sprinkle on the inside before sealing)
A quick note about bread selection: I’ve tested this recipe with everything from classic white bread to hearty sourdough, and the best results come from bread that’s soft but sturdy. Fresh bread is essential—if your bread is too dry or stale, it will crack when you try to seal the edges. If you only have older bread, try warming it slightly in the microwave for about 10 seconds to make it more pliable. That little trick has saved me more than once when I was down to the last few slices in the bag.
For the turkey, I’ve found that asking the deli counter to slice it on the thinner side gives you the best texture. Thick-cut turkey doesn’t fold as nicely inside the pocket, and you end up with awkward lumps. Thin slices layer beautifully and create that perfect bite every time.
Equipment Needed
You don’t need any fancy gadgets for this recipe, which is honestly one of my favorite things about it. Here’s what you’ll need:
- A rolling pin (or a clean wine bottle if you’re improvising—I’ve done it, it works fine)
- A fork (for crimping the edges. This is your secret weapon for getting that perfect seal)
- A skillet or griddle (non-stick works best, but any flat pan will do. Cast iron gives a beautiful even heat)
- A small bowl (for the butter, unless you’re just spreading it straight from the tub)
- A sharp knife or pizza cutter (for trimming crusts if you want that classic uncrustable look)
If you happen to have a sandwich press or panini maker, you can absolutely use that instead of the skillet method. I actually prefer the skillet because I like being able to watch the browning and flip them at exactly the right moment. The first time I used a panini press, I walked away for two minutes and came back to very dark, very sad sandwiches. Learn from my mistakes, friends.
Preparation Method
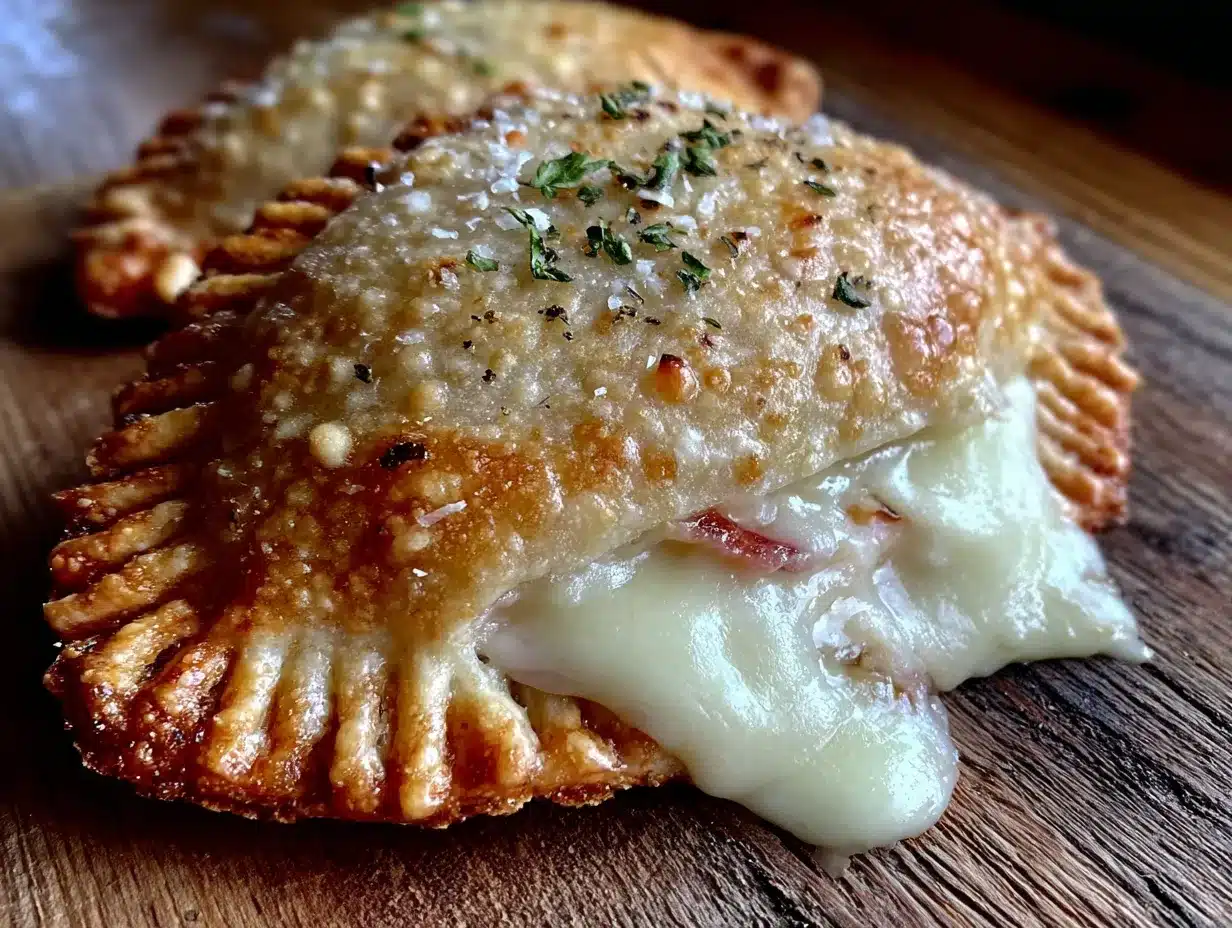
Let me walk you through this step by step. I’ve made these so many times that I could do it in my sleep, but I’ll share all the little tricks I’ve learned along the way.
- Start by softening your butter. Take the butter out of the fridge about 15 minutes before you start, or give it a quick 10-second zap in the microwave. You want it spreadable but not melted. I learned this the hard way—melted butter just soaks into the bread instead of creating that nice golden crust.
- Lay out 4 slices of bread on your work surface. Using a rolling pin, gently roll each slice until it’s about 1/4 inch thick. Don’t go too thin or the bread will tear. You’re just flattening it enough to make it more pliable and easier to seal. This step makes a huge difference—trust me on this one.
- Spread a thin layer of softened butter on one side of each slice. This buttered side will be the outside of your uncrustable. Make sure you get all the way to the edges—that’s what creates that beautiful golden crust. I like to use about 1/2 teaspoon per slice, just enough to coat it lightly.
- Flip the bread over so the buttered side is facing down. Now you’re working with the unbuttered side facing up. This is where the filling goes. Sprinkle a tiny pinch of garlic powder and pepper on this side if you’re using the seasoning.
- Layer your fillings on one half of each slice. Place one slice of cheese on the left half of the bread, then fold a couple slices of turkey on top of the cheese. Don’t overstuff—I know it’s tempting, but too much filling makes it impossible to seal properly. About 2 ounces of turkey per sandwich is perfect.
- Fold the empty half of the bread over the filling. You’re creating a half-moon shape. Press down gently along the edges to start the sealing process. The bread should feel slightly tacky from the butter, which helps everything stick together.
- Now for the crimping—this is the most important step. Take your fork and press down firmly along the curved edge of the half-moon. Start at one end and work your way to the other, making sure the tines go all the way through both layers of bread. This creates that classic sealed edge that keeps all the filling inside. I press down twice—once to create the indentations, then again to make sure the seal is tight.
- Trim off the crusts if you want that classic uncrustable look. Use a sharp knife or pizza cutter to follow the curve of your fork crimps, cutting off the excess bread. Don’t throw away the crusts—I save them in a bag in the freezer and use them for breadcrumbs or stuffing later.
- Heat your skillet over medium heat. You don’t need any oil or butter in the pan because the butter is already on the bread. Place your uncrustables in the pan, leaving a little space between each one. Cook for 2-3 minutes on the first side, until the bottom is golden brown and crispy.
- Carefully flip and cook for another 2-3 minutes. The cheese should be melted and the bread should be golden on both sides. If you see any cheese starting to escape, that’s your sign that the seal wasn’t tight enough—no worries, just eat that one first!
- Let them rest for 2 minutes before serving. I know it’s hard to wait, but that melted cheese is basically lava straight out of the pan. Give it a couple minutes to set up, and you’ll avoid burning the roof of your mouth. Ask me how I know this.
Cooking Tips & Techniques
After making these more times than I can count, I’ve collected a few tricks that make the whole process smoother. Let me share what I’ve learned through trial and error.
The biggest mistake people make is overstuffing. I get it—you want a hearty sandwich. But when you cram too much turkey and cheese in there, the edges won’t seal properly, and you’ll end up with filling leaking out into the pan. Trust the process. Two thin slices of turkey and one slice of cheese is the perfect amount. If you want more filling, make two sandwiches instead of trying to overload one.
Temperature control is everything. Medium heat is your friend here. If your pan is too hot, the bread will brown before the cheese has a chance to melt. Too low, and the bread will dry out before it gets golden. I test my pan by sprinkling a drop of water on it—if it sizzles and evaporates immediately, it’s ready. If it just sits there, give it another minute.
Here’s a trick I wish I’d known from the beginning: After you crimp the edges with the fork, give each sandwich a gentle press with your palm. This helps the layers adhere to each other and creates a more uniform thickness. I started doing this after my third batch came out lumpy, and it made a world of difference.
If you’re making these for a crowd, you can assemble them ahead of time and refrigerate them on a baking sheet for up to 4 hours. Just cook them right before serving. I’ve also frozen them successfully—assemble the uncrustables, place them on a baking sheet in the freezer for an hour, then transfer to a freezer bag. Cook from frozen, adding about 2 minutes to the cooking time. This is a game-changer for busy mornings.
Variations & Adaptations
One of the best things about this recipe is how easy it is to customize. Here are some variations I’ve tried and loved:
Cheese Swap: I’ve made these with provolone, mozzarella, pepper jack, and even brie. Each cheese gives a completely different vibe. Provolone is milder and melts beautifully. Pepper jack adds a nice kick if you’re in the mood for something spicy. Brie gets wonderfully creamy but can be a little messy—worth it though.
Meat Alternatives: Not a turkey fan? No problem. Roast beef, ham, or even leftover rotisserie chicken work perfectly. I’ve also made vegetarian versions with hummus and roasted vegetables, and they’re honestly just as good. Just make sure whatever you use isn’t too wet, or you’ll end up with soggy bread.
Seasoning Variations: Beyond garlic powder and pepper, try adding a sprinkle of dried oregano, a pinch of paprika, or even a tiny bit of everything bagel seasoning. I made a batch with za’atar spice blend last week, and it was incredible—the earthy, tangy flavors paired perfectly with the turkey and cheese.
Bread Options: While white bread gives you that classic uncrustable texture, whole wheat, sourdough, and even gluten-free bread all work. Just keep in mind that gluten-free bread can be more fragile, so handle it gently during the rolling and crimping steps. I’ve also used leftover dinner rolls for mini versions—perfect for appetizers or kids’ lunches.
Serving & Storage Suggestions
These uncrustables are best served warm, when the cheese is still melty and the bread has that perfect golden crust. I like to serve them with a simple side of baby carrots and apple slices for a complete lunch that feels special without being complicated.
For dipping, try a little honey mustard, ranch dressing, or even some warm tomato soup. The combination of the crispy bread and the creamy filling with a dip is absolutely next-level. My kids love them with ketchup, which I pretend to be horrified by while secretly sneaking one myself.
Storage: If you have leftovers (unlikely, but possible), let them cool completely, then store in an airtight container in the refrigerator for up to 3 days. The texture won’t be quite as perfect as fresh, but they’re still delicious. To reheat, pop them in a toaster oven or air fryer at 350°F for about 5 minutes. The microwave works in a pinch, but the bread will be softer and less crispy.
Freezer instructions: As I mentioned earlier, these freeze beautifully. Assemble them completely, then place on a baking sheet in the freezer for an hour. Transfer to a freezer bag and store for up to 3 months. Cook from frozen, adding a couple extra minutes to the cooking time. This is my secret weapon for busy weeks—I make a big batch on Sunday and have lunches ready for weeks.
The flavors actually develop nicely after a day in the fridge, by the way. Something about the cheese and turkey mingling together makes the second-day version taste even better. Not that they usually last that long around here.
Nutritional Information & Benefits
Per serving (one uncrustable), here’s the approximate nutritional breakdown:
- Calories: 320
- Protein: 22g
- Carbohydrates: 28g
- Fat: 14g
- Fiber: 2g
- Sodium: 680mg
These numbers will vary based on your specific ingredients and bread choice, but this gives you a general idea. The turkey provides a solid protein boost, which helps keep you full and satisfied through the afternoon. Cheese adds calcium and a little extra protein, plus that irresistible melty texture.
If you’re watching your sodium intake, look for low-sodium turkey at the deli counter and use unsalted butter. You can also reduce the cheese to half a slice per sandwich, though I think that’s a sad compromise. Everything in moderation, right?
For a lighter version, try using whole wheat bread and low-fat cheese. The protein content stays high while the fat and calories come down a bit. I’ve tested this version and it’s still delicious—just not quite as indulgent as the original.
Conclusion
These Easy 5-Ingredient Turkey and Cheese Uncrustables have become such a staple in my kitchen that I honestly can’t remember what I did before I figured out this recipe. They’re the kind of thing that makes you feel like you’re getting away with something—how can something this simple be this good? But that’s the beauty of it. Sometimes the best recipes aren’t the ones with twenty ingredients and complicated techniques. Sometimes they’re just bread, turkey, cheese, butter, and a little patience.
I hope you give these a try and make them your own. Maybe you’ll add a different cheese or try a new seasoning blend. Maybe you’ll make them for your kids’ lunchboxes or for a lazy Sunday afternoon snack. Whatever you do, I’d love to hear about it. Drop a comment below and tell me how yours turned out, or share your own twist on the recipe. Did you try a different meat? A secret spice? Let me know—I’m always looking for new ideas to test in my kitchen.
Until next time, happy cooking, and remember: the best meals are the ones made with love, even if they only take fifteen minutes.
Frequently Asked Questions
Can I make these uncrustables in an air fryer?
Absolutely! Preheat your air fryer to 350°F, place the uncrustables in a single layer, and cook for 5-6 minutes, flipping halfway through. The air fryer gives them an extra crispy exterior that’s really lovely. Just keep an eye on them—air fryers run hot, and you don’t want burnt bread.
How do I keep the cheese from leaking out?
The key is a good seal. Make sure you press down firmly with your fork along the entire curved edge, and don’t overstuff the sandwich. If you’re still having trouble, try using a little less cheese or cutting the cheese slice in half so it fits better inside the pocket.
Can I use gluten-free bread for this recipe?
Yes, but handle it gently. Gluten-free bread can be more fragile and prone to cracking. I recommend using a brand that’s soft and fresh, and roll it out very gently. You might also want to let the sandwiches rest in the fridge for 10 minutes before cooking—this helps the bread hold together better.
How long do these stay fresh in the fridge?
Cooked uncrustables will keep in an airtight container in the refrigerator for up to 3 days. They’re best within the first 24 hours, but they’re still perfectly edible after that. Just reheat them in a toaster oven or air fryer to bring back some of the crispiness.
Can I use a different type of cheese?
Definitely! Almost any melting cheese works well. Provolone, mozzarella, Swiss, and pepper jack are all great options. Avoid cheeses that don’t melt well, like halloumi or very aged cheddar. And if you’re feeling fancy, try a slice of havarti or gouda—they melt like a dream.
Pin This Recipe!
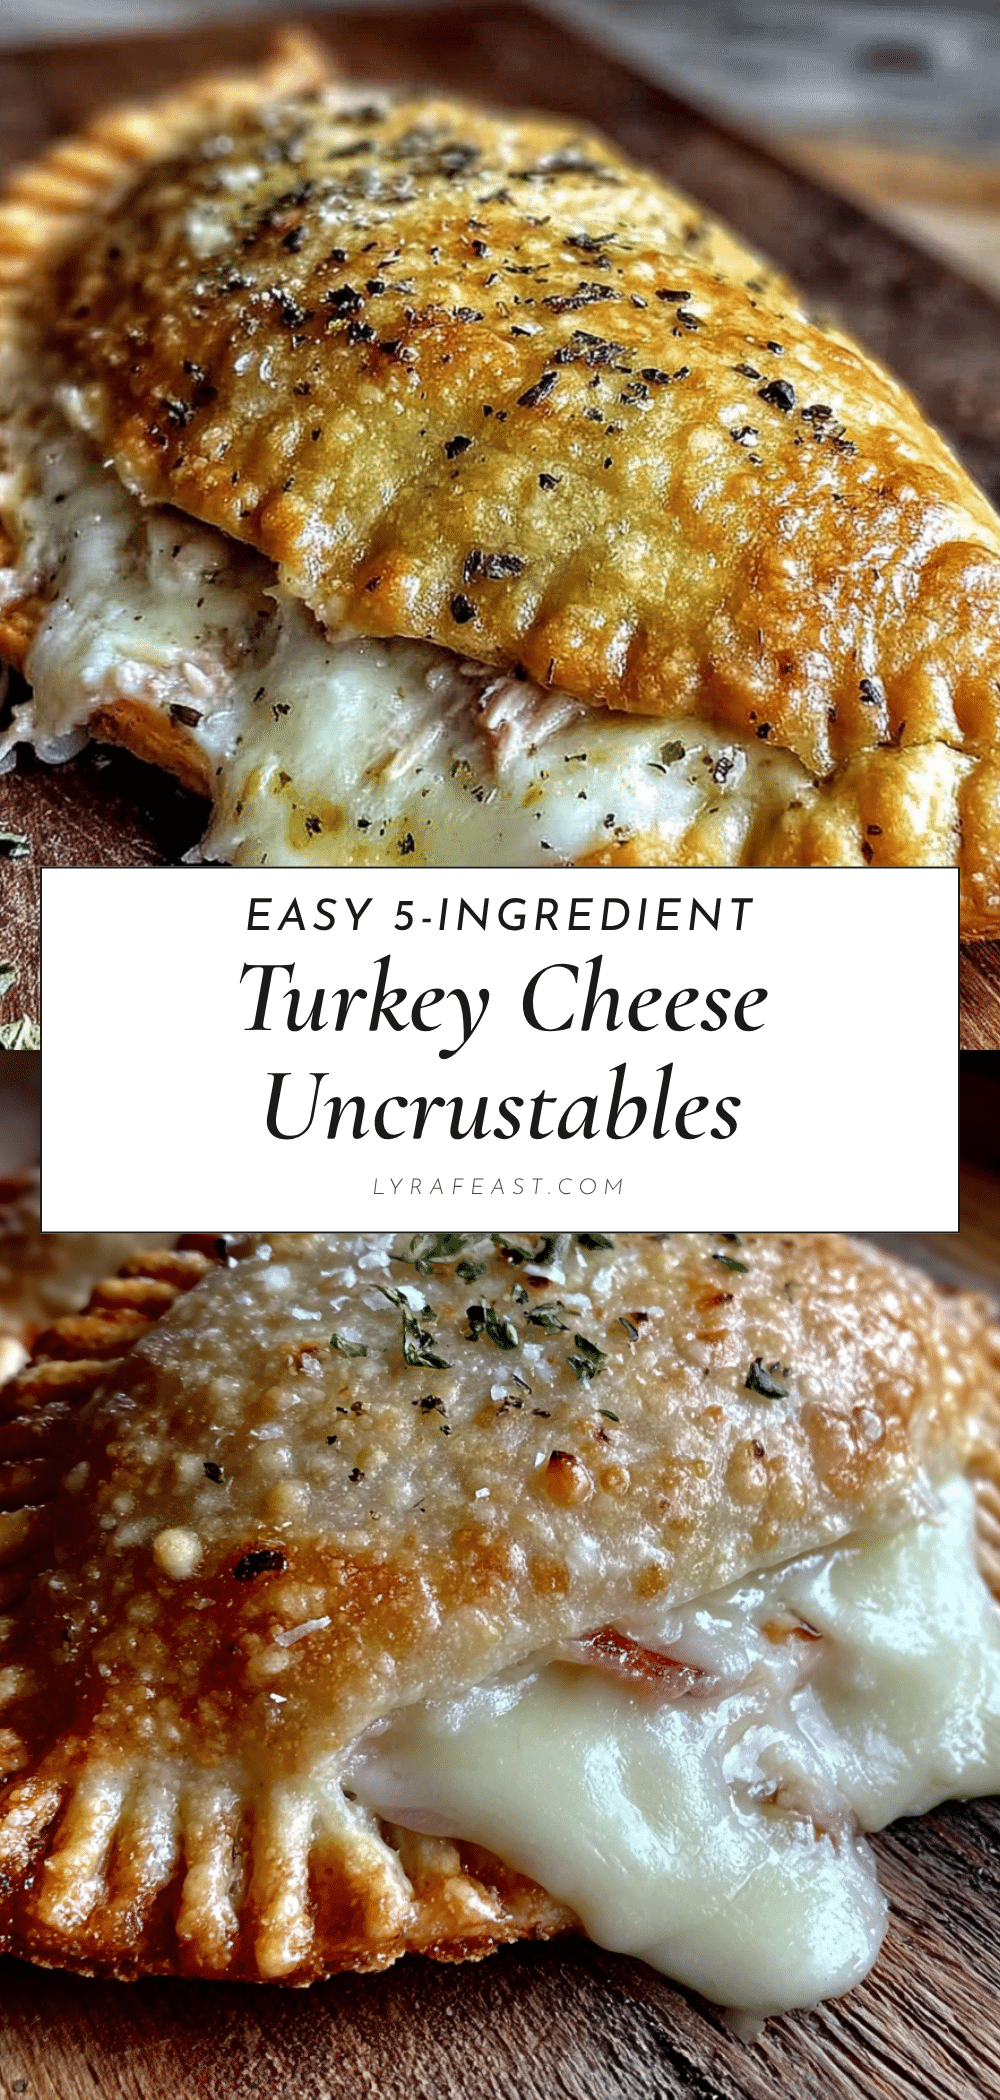
Easy 5-Ingredient Turkey and Cheese Uncrustables

These Easy 5-Ingredient Turkey and Cheese Uncrustables are a quick and delicious lunch option, featuring a sealed pocket of melty cheese and turkey in golden, buttery bread. Perfect for lunchboxes, picnics, or a simple meal that comes together in under 15 minutes.
- Prep Time: 10 minutes
- Cook Time: 6 minutes
- Total Time: 16 minutes
- Yield: 4 servings 1x
- Category: Main Course
- Cuisine: American
Ingredients
- 8 slices of white bread (or your favorite sandwich bread)
- 8 ounces of thinly sliced turkey breast (deli counter recommended)
- 4 slices of cheddar cheese (medium cheddar melts perfectly)
- 2 tablespoons of salted butter, softened
- Pinch of garlic powder and black pepper (optional)
Instructions
- Start by softening your butter. Take the butter out of the fridge about 15 minutes before you start, or give it a quick 10-second zap in the microwave. You want it spreadable but not melted.
- Lay out 4 slices of bread on your work surface. Using a rolling pin, gently roll each slice until it’s about 1/4 inch thick. Don’t go too thin or the bread will tear.
- Spread a thin layer of softened butter on one side of each slice. This buttered side will be the outside of your uncrustable. Make sure you get all the way to the edges.
- Flip the bread over so the buttered side is facing down. Now you’re working with the unbuttered side facing up. Sprinkle a tiny pinch of garlic powder and pepper on this side if using.
- Layer your fillings on one half of each slice. Place one slice of cheese on the left half of the bread, then fold a couple slices of turkey on top of the cheese. Don’t overstuff.
- Fold the empty half of the bread over the filling. You’re creating a half-moon shape. Press down gently along the edges to start the sealing process.
- Now for the crimping—this is the most important step. Take your fork and press down firmly along the curved edge of the half-moon. Start at one end and work your way to the other, making sure the tines go all the way through both layers of bread. Press down twice to ensure a tight seal.
- Trim off the crusts if you want that classic uncrustable look. Use a sharp knife or pizza cutter to follow the curve of your fork crimps, cutting off the excess bread.
- Heat your skillet over medium heat. Place your uncrustables in the pan, leaving a little space between each one. Cook for 2-3 minutes on the first side, until the bottom is golden brown and crispy.
- Carefully flip and cook for another 2-3 minutes. The cheese should be melted and the bread should be golden on both sides.
- Let them rest for 2 minutes before serving. The melted cheese is very hot straight out of the pan.
Notes
For best results, use fresh, soft bread. If bread is older, warm it in the microwave for 10 seconds to make it more pliable. Avoid overstuffing to ensure a good seal. For a lighter version, use whole wheat bread and low-fat cheese. These can be assembled ahead and refrigerated for up to 4 hours before cooking, or frozen for up to 3 months.
Nutrition
- Serving Size: 1 uncrustable
- Calories: 320
- Sugar: 3
- Sodium: 680
- Fat: 14
- Saturated Fat: 7
- Carbohydrates: 28
- Fiber: 2
- Protein: 22
Keywords: turkey and cheese uncrustables, easy lunch, kid-friendly, 5-ingredient, sandwich pockets, lunchbox ideas