The guy at the meat counter looked at my cart—three bags of chips, a jar of salsa, and a tub of pre-made dip—and just shook his head. “You know,” he said, wiping his hands on his apron, “my wife makes these little brownie things with peanut butter for the big game. Takes her no time at all. People fight over them.” He didn’t give me a recipe right then. He just described them. The fudgy center. The salty peanut butter swirl on top. The way they disappeared before the first quarter even ended. I stood there holding my bag of tortilla chips feeling honestly a little embarrassed. Here I was, taking the easy way out, and this guy was practically reciting poetry about dessert.
I didn’t get the recipe from him that day—he said he’d have to ask his wife, and I figured that was code for “never going to happen.” But the idea stuck. I spent the next three Sundays working on my own version. The first batch was too dry. The second one, I forgot the salt entirely. By the third try, I had something that made my neighbor knock on my door to ask what smelled so good. These Game Day Peanut Butter Brownie Bites are the result of that obsession. They’re the thing I now bring to every watch party, and honestly, I’ve never brought any home. Maybe you’ve been there—showing up to a friend’s house with something you hope is good, only to watch the whole tray vanish in twenty minutes. That’s this recipe. It’s the one that makes people forget about the chips.
Why You’ll Love This Recipe
Let me tell you why these little bites have earned a permanent spot in my game day rotation. First off, they come together in under thirty minutes. I mean it—from the moment you start mixing to the moment you’re pulling them out of the oven, it’s a half hour. That’s faster than a quarter of football. When you’re scrambling to get food on the table before kickoff, that kind of speed is a lifesaver.
Here’s what makes them stand out:
- Quick & Easy: Ready in 30 minutes flat. Mix, bake, done. No chilling, no complicated steps.
- Simple Ingredients: You probably have everything in your pantry right now. Flour, sugar, cocoa powder, peanut butter, eggs. Nothing fancy.
- Perfect for Game Day: Bite-sized means no plates needed. People can grab one, keep watching, and come back for more during the commercial break.
- Crowd-Pleaser: I’ve seen grown adults literally argue over the last one. Kids love them. Guys who “don’t eat sweets” eat four.
- Unbelievably Delicious: The combo of fudgy chocolate and salty peanut butter is next-level. It’s the kind of dessert that makes people close their eyes for a second after the first bite.
What makes this recipe different from every other brownie bite out there is the technique. Instead of just swirling peanut butter on top, I mix a little into the batter itself and then add a thick dollop on top before baking. This creates a layer of almost molten peanut butter in the center while the top gets that classic crackly brownie crust. It’s not just another version—it’s the best version I’ve found after way too many test batches.
This recipe isn’t just good. It’s the kind of dessert that makes you look like you spent way more effort than you actually did. Perfect for impressing guests without stress, or turning a simple game day snack into something people text you about the next day asking for the recipe.
What Ingredients You Will Need
This recipe uses simple, everyday ingredients to deliver that rich, fudgy brownie texture with a salty peanut butter kick. Nothing weird, nothing hard to find. Most of these are probably in your kitchen right now.
For the Brownie Base
- 1/2 cup (113g) unsalted butter, melted – Adds richness and that fudgy texture. I use salted butter in a pinch and just reduce the added salt slightly.
- 1 cup (200g) granulated sugar – Gives structure and sweetness. You can reduce to 3/4 cup if you prefer less sweet brownies.
- 2 large eggs, room temperature – Room temperature eggs mix in more evenly. If you forgot to take them out, place them in warm water for 5 minutes.
- 1 teaspoon vanilla extract – Enhances the chocolate flavor. I prefer pure vanilla extract over imitation, but either works.
- 1/2 cup (60g) unsweetened cocoa powder – Use a good quality cocoa like Ghirardelli or Hershey’s Special Dark for deeper flavor.
- 1/2 cup (65g) all-purpose flour – Spoon and level it—don’t scoop directly from the bag or you’ll get too much.
- 1/4 teaspoon salt – Balances the sweetness and brings out the chocolate.
For the Peanut Butter Swirl
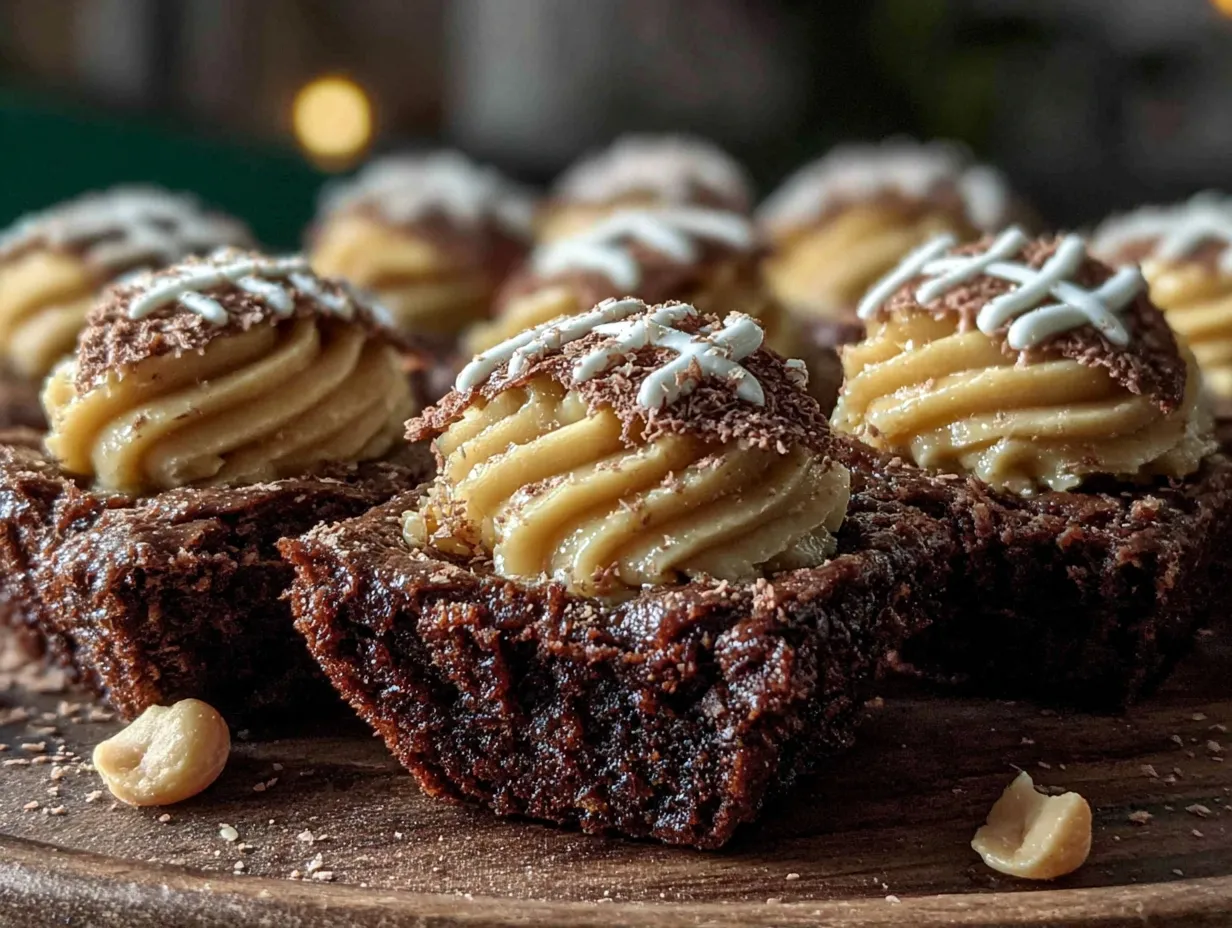
- 1/3 cup (85g) creamy peanut butter – Use a no-stir kind like Jif or Skippy. Natural peanut butter that separates can make the swirl grainy.
- 2 tablespoons powdered sugar – Helps the peanut butter hold its shape and adds a touch of sweetness.
- 1 tablespoon unsalted butter, softened – Makes the swirl smooth and easy to dollop.
Optional Add-Ins
- 1/3 cup (55g) semi-sweet chocolate chips – Fold these into the batter for extra chocolate pockets.
- Flaky sea salt – Sprinkle on top right out of the oven for that salted chocolate vibe.
For the peanut butter, I’ve tested this with both creamy and crunchy. Creamy gives you that smooth swirl that looks prettier. Crunchy adds little bits of peanut that are honestly great if you’re a texture person. Just don’t use the all-natural stuff that separates—it can make the swirl oily and separate during baking. I learned that the hard way.
Equipment Needed
You don’t need much for these bites. Here’s what you’ll want to have ready:
- Muffin tin (24 mini cups) – A standard mini muffin pan with 24 cups. If you only have a 12-cup pan, just bake in two batches.
- Mixing bowls – One large for the wet ingredients, one small for the dry.
- Whisk – For mixing the batter by hand. No mixer needed.
- Rubber spatula – For scraping every last bit of batter into the pan.
- Cookie scoop (1 tablespoon size) – Makes filling the mini muffin cups so much faster and cleaner. A spoon works too, but the scoop is worth it.
- Mini spatula or butter knife – For smoothing the peanut butter swirl.
- Cooling rack – Lets the bites cool evenly so the bottoms don’t get soggy.
If you don’t have a mini muffin tin, you can use a regular 12-cup muffin tin and bake for 18-20 minutes instead. The bites will be bigger, so adjust your expectations. I’ve also made these in an 8×8 inch pan and cut them into squares—just bake for 22-25 minutes. The mini muffin size is best for game day though. People can grab one and keep watching the game without needing a plate.
Preparation Method
Preheat your oven to 350°F (175°C). Spray your mini muffin tin with non-stick cooking spray or butter the cups well. These bites are fudgy, so they can stick if you skip this step.
- Melt the butter. Place the 1/2 cup of butter in a large microwave-safe bowl and heat in 30-second bursts until fully melted. Let it cool for a minute—you don’t want it hot enough to cook the eggs when you add them.
- Mix the wet ingredients. Whisk the sugar into the melted butter until combined. It will look a little grainy—that’s fine. Add the eggs one at a time, whisking well after each. Stir in the vanilla extract. The mixture should look smooth and slightly glossy.
- Add the dry ingredients. Sift the cocoa powder, flour, and salt over the wet mixture. Fold gently with a rubber spatula until just combined. Do not overmix—stop as soon as you don’t see any more flour streaks. Overmixing makes brownies tough instead of fudgy.
- Make the peanut butter swirl. In a small bowl, stir together the peanut butter, powdered sugar, and softened butter until smooth. It should be thick but spreadable. If it’s too stiff, microwave it for 10 seconds.
- Fill the muffin cups. Use your cookie scoop to drop a rounded tablespoon of batter into each mini muffin cup. Fill them about 3/4 full—they will rise a little but not much. I usually get about 22-24 bites from one batch.
- Add the peanut butter. Drop a small dollop (about 1/2 teaspoon) of the peanut butter mixture onto the center of each brownie bite. Use a toothpick or the tip of a knife to gently swirl it into the batter. Don’t over-swirl—you want distinct pockets of peanut butter, not a fully mixed batter.
- Bake. Place the pan in the preheated oven and bake for 10-12 minutes. At 10 minutes, check them—the edges should look set and the tops should be slightly cracked. A toothpick inserted in the center should come out with a few moist crumbs, not wet batter. If it comes out clean, you’ve overbaked them.
- Cool in the pan. Let the bites cool in the muffin tin for 5 minutes. This is important—they’re very delicate when hot and will fall apart if you try to remove them immediately. After 5 minutes, transfer them to a wire rack to cool completely.
A note about timing: These cool fast. In about 15 minutes they’ll be firm enough to eat. I usually make them an hour before guests arrive so they’re at room temperature by game time. They taste best when fully cooled—the texture sets up and the peanut butter swirl firms up nicely.
Cooking Tips & Techniques
I’ve made these Game Day Peanut Butter Brownie Bites at least twenty times, and I’ve messed up plenty along the way. Here’s what I’ve learned so you don’t have to repeat my mistakes.
Don’t overbake. This is the number one mistake. Brownie bites continue cooking from residual heat after you pull them out of the oven. The moment the edges look set and a toothpick comes out with moist crumbs, take them out. If you wait until the toothpick is clean, you’ll have dry, cakey bites instead of fudgy ones. I’ve done this more times than I want to admit.
Room temperature eggs matter. Cold eggs seize the melted butter and create a lumpy batter. If you forget to take them out ahead of time, place them in a bowl of warm water for 5 minutes. It makes a real difference in how smooth the batter comes together.
Let the batter rest. After mixing, let the batter sit for 5 minutes before scooping. This gives the flour time to absorb the moisture, resulting in a denser, fudgier texture. It’s a small step but it works.
Use a cookie scoop for even sizes. A 1-tablespoon cookie scoop ensures every bite is the same size and bakes evenly. If you use spoons, some will be bigger and some smaller, leading to uneven baking. I bought a cheap scoop at the grocery store for $3 and it’s one of my most used tools.
Swirl gently. When adding the peanut butter, resist the urge to swirl it aggressively. You want distinct ribbons of peanut butter running through the brownie. Over-swirling blends it into the batter and you lose that beautiful contrast.
Grease the pan well. These are fudgy, which means they stick. I use butter and then dust the cups with cocoa powder instead of flour to avoid white spots on the finished bites. Non-stick spray works too, but I find butter gives a cleaner release.
Cool completely before storing. If you stack them while still warm, they’ll stick together and the peanut butter swirl will smear. Let them cool fully on a wire rack before moving to a container.
Variations & Adaptations
One of the best things about this recipe is how easy it is to change up. Here are some variations I’ve tried and loved.
Gluten-Free Version: Swap the all-purpose flour for a 1:1 gluten-free baking flour. I use Bob’s Red Mill and it works perfectly. Don’t use almond flour or coconut flour—they change the texture too much and make the bites crumbly.
Double Chocolate: Fold 1/3 cup of mini chocolate chips into the batter before scooping. The little pockets of melted chocolate pair beautifully with the peanut butter swirl. I like semi-sweet chips for balance, but dark chocolate works too.
Spicy Kick: Add 1/4 teaspoon of cayenne pepper to the dry ingredients. The heat sneaks up on you after the sweetness and peanut butter hit first. It’s surprisingly good and always gets people talking.
Peanut Butter Cup Version: Instead of making the swirl, press a mini peanut butter cup into the center of each brownie bite before baking. Push it down gently so it’s surrounded by batter. The candy melts into a gooey center that’s absolutely decadent.
Nut-Free Option: Use sunflower seed butter instead of peanut butter for the swirl. SunButter works well and has a similar consistency. The taste is different but still delicious—just add an extra tablespoon of powdered sugar to balance the slight bitterness.
Air Fryer Method: Place the filled mini muffin cups in an air fryer basket lined with parchment. Cook at 320°F (160°C) for 7-9 minutes. Check at 7 minutes—air fryers run hot. The tops get a little crispier this way, which I actually prefer.
I once made a batch with crunchy peanut butter and added bacon bits on top before baking. It was for a particularly rowdy Super Bowl party and honestly, it worked. The salty, smoky bacon with the sweet brownie and peanut butter was ridiculous in the best way. Just saying.
Serving & Storage Suggestions
These Game Day Peanut Butter Brownie Bites are best served at room temperature. The texture is fudgy and the peanut butter swirl is soft but not runny. If you serve them straight from the fridge, the brownie gets dense and the swirl firms up too much—still tasty, but not ideal.
For game day, I arrange them on a large platter or wooden board. They’re small enough that people can grab one with a napkin and keep watching the game. I sometimes dust them with a little powdered sugar for a prettier presentation, but honestly, they disappear too fast for anyone to notice.
Storage: Keep leftovers (if there are any) in an airtight container at room temperature for up to 3 days. Place a sheet of parchment paper between layers to prevent sticking. Do not refrigerate—the fridge dries out brownies and makes them less fudgy.
Freezing: These freeze beautifully. Arrange the cooled bites on a baking sheet and freeze for 1 hour until solid. Transfer to a freezer-safe bag or container. They’ll keep for up to 3 months. To thaw, leave them at room temperature for about 30 minutes. You can also microwave one for 15 seconds for a warm, gooey treat.
Reheating: For that just-baked experience, warm individual bites in the microwave for 10-12 seconds. The peanut butter gets soft and the brownie becomes extra fudgy. Don’t overheat or the chocolate can seize.
The flavors actually develop over time. Day-old bites taste even richer than fresh ones. The cocoa deepens, the peanut butter melds with the chocolate, and the texture settles into that perfect fudgy consistency. If you can make them a day ahead, do it.
Nutritional Information & Benefits
Here’s the honest truth: these are a treat. They’re not health food, and I’m not going to pretend otherwise. But they do have some redeeming qualities worth mentioning.
Per brownie bite (based on 24 servings):
- Calories: Approximately 145
- Fat: 8g
- Carbohydrates: 17g
- Protein: 3g
- Fiber: 1g
- Sugar: 12g
The peanut butter adds a small amount of protein and healthy monounsaturated fats. Cocoa powder is rich in antioxidants called flavonoids, which can support heart health. Dark chocolate in particular has been linked to improved mood and brain function—though let’s be real, the sugar probably helps with that too.
For dietary considerations: These contain gluten, dairy, eggs, and peanuts. To make them dairy-free, use a plant-based butter substitute. For a lower sugar version, reduce the granulated sugar to 3/4 cup and use a sugar-free powdered sweetener in the peanut butter swirl. The texture will be slightly less tender, but they’re still good.
I personally see these as a “everything in moderation” kind of food. They’re small, which helps with portion control. One or two after a meal or during a game is perfectly reasonable. The whole pan in one sitting? That’s between you and your conscience.
Conclusion
These Game Day Peanut Butter Brownie Bites have become my signature party dish, and for good reason. They’re fast, they’re simple, and they deliver that perfect combination of fudgy chocolate and salty peanut butter that people can’t resist. The recipe is forgiving enough for beginners but impressive enough to make you look like you know what you’re doing in the kitchen.
I love that I can make them in the time it takes to preheat the oven and clean up before kickoff. I love that they use ingredients I always have on hand. And I love watching that platter empty out before halftime. There’s something deeply satisfying about bringing a dish that makes people happy, and these little bites do exactly that.
Don’t be afraid to make them your own. Add chocolate chips. Throw in some bacon. Use crunchy peanut butter if that’s your thing. The recipe is a starting point, not a rulebook. The best version is the one that makes you excited to share it.
If you make these, come back and let me know how they turned out. Did you try a variation? Did they disappear as fast as mine always do? Drop a comment below—I genuinely love hearing about your kitchen wins. And if you’re looking for another quick dessert for your next gathering, you might enjoy these easy no-bake chocolate oat bars that come together in even less time.
Now go preheat that oven. Game time is coming.
Frequently Asked Questions
Can I make these in advance?
Absolutely. Make them up to 2 days ahead and store in an airtight container at room temperature. They actually taste better the next day as the flavors meld together.
Can I use natural peanut butter?
You can, but I don’t recommend it for the swirl. Natural peanut butter tends to separate and can make the swirl oily during baking. Use a no-stir creamy peanut butter for best results.
Why did my brownie bites turn out dry?
You likely overbaked them. Pull them out when a toothpick inserted in the center comes out with moist crumbs, not clean. Remember they continue cooking from residual heat after leaving the oven.
Can I double this recipe?
Yes. Double all ingredients and bake in batches or use two mini muffin tins. The baking time stays the same—just rotate the pans halfway through if using two.
How do I get clean, even swirls?
Drop the peanut butter mixture in the center and use a toothpick to make just two or three circular motions. Less is more. Over-swirling blends the peanut butter into the batter and you lose the distinct pockets.
Pin This Recipe!
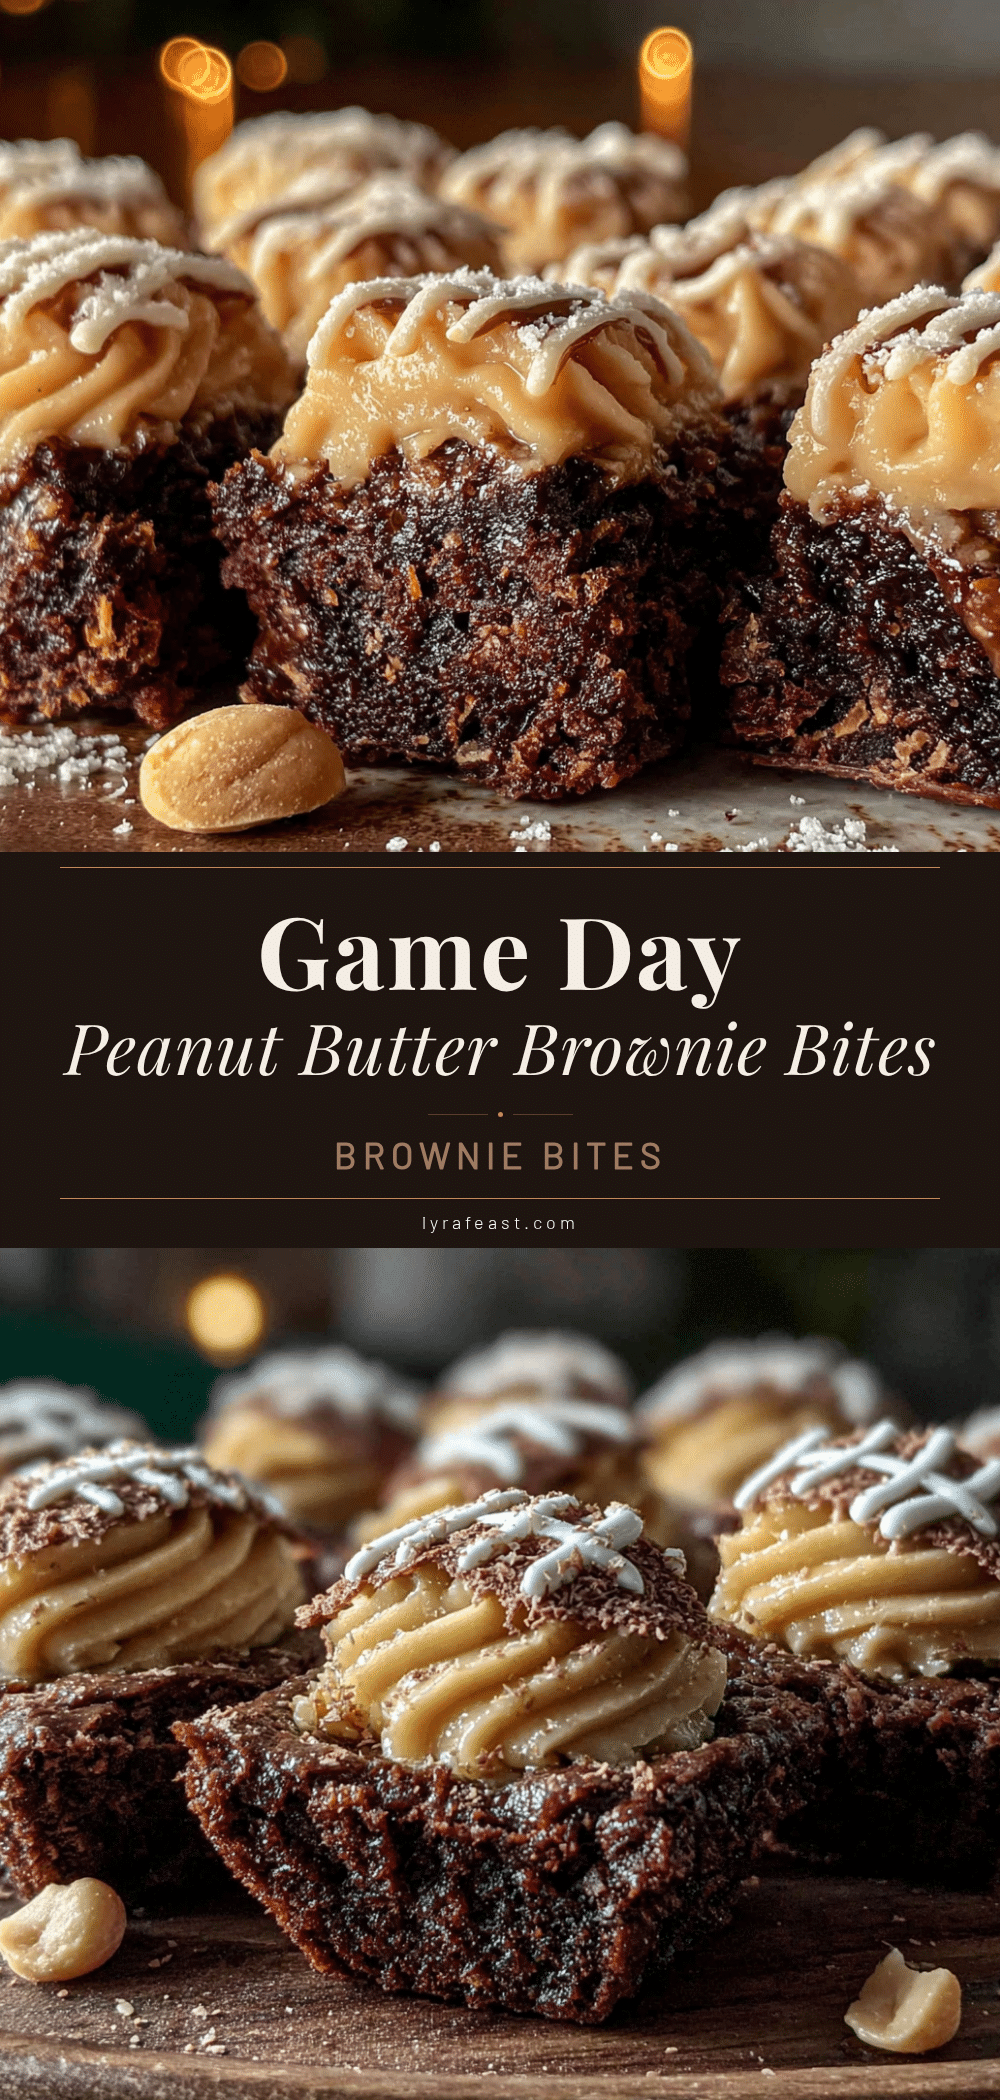
Game Day Peanut Butter Brownie Bites: Easy 30-Minute Treat

Fudgy chocolate brownie bites with a salty peanut butter swirl, ready in 30 minutes. Perfect for game day gatherings and guaranteed to disappear fast.
- Prep Time: 15 minutes
- Cook Time: 12 minutes
- Total Time: 27 minutes
- Yield: 24 servings 1x
- Category: Dessert
- Cuisine: American
Ingredients
- 1/2 cup (113g) unsalted butter, melted
- 1 cup (200g) granulated sugar
- 2 large eggs, room temperature
- 1 teaspoon vanilla extract
- 1/2 cup (60g) unsweetened cocoa powder
- 1/2 cup (65g) all-purpose flour
- 1/4 teaspoon salt
- 1/3 cup (85g) creamy peanut butter
- 2 tablespoons powdered sugar
- 1 tablespoon unsalted butter, softened
- 1/3 cup (55g) semi-sweet chocolate chips (optional)
- Flaky sea salt (optional)
Instructions
- Preheat oven to 350°F (175°C). Spray a 24-cup mini muffin tin with non-stick spray or butter well.
- Melt 1/2 cup butter in a large microwave-safe bowl in 30-second bursts. Let cool for 1 minute.
- Whisk sugar into melted butter until combined. Add eggs one at a time, whisking well after each. Stir in vanilla extract until smooth and glossy.
- Sift cocoa powder, flour, and salt over the wet mixture. Fold gently with a rubber spatula until just combined. Do not overmix.
- In a small bowl, stir together peanut butter, powdered sugar, and softened butter until smooth. Microwave for 10 seconds if too stiff.
- Use a 1-tablespoon cookie scoop to drop batter into each mini muffin cup, filling about 3/4 full.
- Drop a small dollop (about 1/2 teaspoon) of peanut butter mixture onto the center of each brownie bite. Gently swirl with a toothpick or knife tip.
- Bake for 10-12 minutes, until edges are set and tops are slightly cracked. A toothpick should come out with moist crumbs.
- Cool in the pan for 5 minutes, then transfer to a wire rack to cool completely.
Notes
Don’t overbake; pull when toothpick has moist crumbs. Use room temperature eggs for smooth batter. Let batter rest 5 minutes before scooping for fudgier texture. Grease pan well to prevent sticking. Cool completely before storing.
Nutrition
- Serving Size: 1 brownie bite
- Calories: 145
- Sugar: 12
- Sodium: 85
- Fat: 8
- Saturated Fat: 4
- Carbohydrates: 17
- Fiber: 1
- Protein: 3
Keywords: peanut butter brownie bites, game day dessert, easy brownie recipe, 30-minute dessert, mini brownie bites



