I was standing in the middle of a hardware store last October, of all places, when the smell hit me. It wasn’t paint or sawdust or those weird pine-scented candles they push near the checkout. It was cinnamon. Someone had walked past with one of those plug-in air fresheners, and the scent was so sharp and sweet that my brain just… short-circuited. Suddenly I was seven years old, sitting on a cracked vinyl stool in my Aunt Lou’s kitchen, watching her pull a baking sheet out of the oven. The cookies were pale gold with a crackled top, dusted in cinnamon sugar that looked like tiny crystals of amber. She’d slide one onto a napkin for me, and I’d burn my tongue every single time because I couldn’t wait. I never learned. Honestly, I still haven’t.
Aunt Lou passed about five years ago now, and I don’t have her recipe box. Nobody does. It just sort of vanished after the estate sale. But I remember the way that kitchen smelled—a mix of warm butter, nutmeg, and that specific, almost floral cinnamon she used. I’ve been chasing that scent ever since, trying to recreate it in my own kitchen. And let me tell you, I’ve had some spectacular failures. One batch came out so flat they looked like cinnamon-sugar tortillas. Another was so dry my husband politely asked if we could dunk them in milk. But this version? These pumpkin snickerdoodle cookies? They’re the closest I’ve ever gotten.
The funny thing is, I didn’t even set out to make a pumpkin cookie. I was trying to replicate Aunt Lou’s classic recipe, and I kept thinking something was missing. Then I had a can of pumpkin puree sitting on the counter from a failed pie attempt, and I just… threw it in. It was a desperate move, honestly. But that extra moisture, that slight earthiness from the pumpkin, it softened the edges of the cinnamon in a way I couldn’t believe. Maybe you’ve been there—standing over a mixing bowl, convinced you’ve ruined everything, only to pull out a tray of cookies that make you close your eyes on the first bite. That’s this recipe. It’s the one I keep coming back to, and the one I bring to every single gathering. It’s the cookie that stole the table.
Why You’ll Love This Recipe
I’ve tested this recipe more times than I care to admit. I’ve swapped flours, adjusted sugar ratios, tried different pumpkin brands, and even experimented with chilling times. What I landed on is a cookie that’s soft in the center, slightly crisp at the edges, and absolutely loaded with that warm, spiced flavor everyone craves in the fall. But it’s not just about the taste—it’s about how easy it is to pull off, especially when you’re hosting.
- Quick & Easy: These come together in about 30 minutes, start to finish. No chilling required, which means you can whip up a batch while your guests are sipping wine and you’re pretending you’ve had this planned all week.
- Simple Ingredients: You probably have most of this in your pantry right now. Butter, sugar, flour, eggs, cinnamon, and a can of pumpkin. No weird extracts or specialty flours.
- Perfect for Hosting: These cookies are a showstopper on a dessert table. They look rustic and homemade, but they taste like you spent hours perfecting them. I’ve brought them to potlucks, Friendsgiving dinners, and even a casual backyard barbecue, and they always disappear first.
- Crowd-Pleaser: Kids love the cinnamon-sugar coating. Adults love the subtle pumpkin flavor that isn’t overpowering. Even people who say they don’t like pumpkin cookies end up reaching for a second one.
- Unbelievably Delicious: The texture is what gets me every time. The pumpkin keeps them incredibly soft and almost cake-like, while the cinnamon-sugar crust adds a little crunch. It’s the kind of cookie that makes you pause mid-bite and just… appreciate it.
What makes this recipe different from the dozens of other pumpkin cookie recipes out there? It’s the balance. So many pumpkin cookies are either too dense or too cakey, or they’re so spiced that you can’t taste anything else. This one uses just enough pumpkin to add moisture without turning the cookie into a muffin. And the cinnamon-sugar coating? It’s not just a dusting—it’s a full roll, which means every single bite has that crunchy, sweet exterior. It’s the best version I’ve found, and I’ve tried a lot.
Honestly, this recipe is the kind that makes you look good without trying too hard. It’s comfort food reimagined for a crowd—faster, simpler, but with the same soul-soothing satisfaction. Perfect for impressing guests without stress, or turning a simple Tuesday into something a little more special.
What Ingredients You Will Need
This recipe uses simple, wholesome ingredients that come together to create something truly special. Most of these are pantry staples, which makes it easy to whip up a batch on a whim—or when you realize you forgot to bring a dessert to a dinner party.
- Unsalted butter, softened (1 cup / 2 sticks or 226g): I always use unsalted so I can control the salt level. Let it sit out for about 30 minutes before you start—it should be soft but not melted. If you’re in a rush, you can microwave it in 10-second bursts, but be careful not to melt it.
- Granulated sugar (1 cup / 200g): This provides the sweetness and helps create that slightly crisp edge. I’ve tried using coconut sugar, and it works, but the texture isn’t quite the same.
- Pumpkin puree (¾ cup / 170g): Make sure you’re using pure pumpkin puree, not pumpkin pie filling. The filling has added sugar and spices that will throw off the balance. I prefer Libby’s brand for its consistent texture, but store brands work fine too.
- Large egg (1): Room temperature is best. If you forget to take it out, place it in a bowl of warm water for 5 minutes.
- Vanilla extract (1 teaspoon): Pure vanilla extract adds a warmth that complements the spices. Imitation vanilla works in a pinch, but the flavor is a bit one-dimensional.
- All-purpose flour (2 cups / 250g): Spoon and level your flour—don’t scoop directly from the bag. Scooping packs the flour and leads to dry cookies. I learned this the hard way after a batch that crumbled like sand.
- Baking soda (1 teaspoon): This helps the cookies spread just enough without becoming flat.
- Baking powder (½ teaspoon): Adds a little lift for that soft, cake-like center.
- Salt (½ teaspoon): Balances the sweetness and enhances the spices. I use fine sea salt.
- Ground cinnamon (1 teaspoon): The star of the show. I recommend Saigon cinnamon for its bold, slightly sweet flavor. It’s pricier, but worth it for the depth it adds.
- Ground nutmeg (½ teaspoon): Freshly grated nutmeg is a game-changer if you have it. The pre-ground stuff is fine, but fresh adds a warmth that feels more complex.
- Ground cloves (¼ teaspoon): Just a pinch—cloves are potent and can easily overpower the other spices.
For the Cinnamon-Sugar Coating:
- Granulated sugar (¼ cup / 50g): Mixed with the cinnamon for that crackly crust.
- Ground cinnamon (2 tablespoons): Yes, that’s a lot. But trust me, you want a generous coating. It’s what makes these cookies unforgettable.
Substitution Guidance: If you’re dairy-free, you can use vegan butter sticks (like Miyoko’s) with good results. For a gluten-free version, swap the all-purpose flour with a 1:1 gluten-free baking blend. I’ve used Bob’s Red Mill with success, though the cookies are slightly more delicate. And if you don’t have pumpkin puree, butternut squash puree works surprisingly well—just make sure it’s not too watery.
Equipment Needed
You don’t need a lot of fancy tools for this recipe, which is part of its charm. Here’s what I use:
- Mixing bowls (2 medium-sized): One for the wet ingredients, one for the dry. I prefer glass or stainless steel because they don’t absorb odors.
- Electric hand mixer or stand mixer: You can do this by hand with a wooden spoon, but the mixer makes creaming the butter and sugar much easier. I’ve done it both ways, and the mixer gives a fluffier texture.
- Rubber spatula: For scraping down the sides of the bowl and folding in the dry ingredients.
- Baking sheets (2): I use light-colored aluminum sheets for even baking. Dark sheets can cause the bottoms to brown too quickly.
- Parchment paper or silicone baking mats: Parchment is my go-to—it prevents sticking and makes cleanup a breeze. Silicone mats work too, but the cookies spread slightly less.
- Cookie scoop (1.5-inch or medium): This ensures uniform cookies that bake evenly. If you don’t have one, use a tablespoon measure.
- Cooling rack: Essential for letting the cookies cool without steaming on the pan.
- Shallow bowl: For the cinnamon-sugar coating. A pie plate works perfectly.
If you’re on a budget, skip the cookie scoop and use two spoons to portion the dough. The cookies won’t be perfectly round, but they’ll taste the same. And honestly, the slightly imperfect look adds to the homemade charm.
Preparation Method
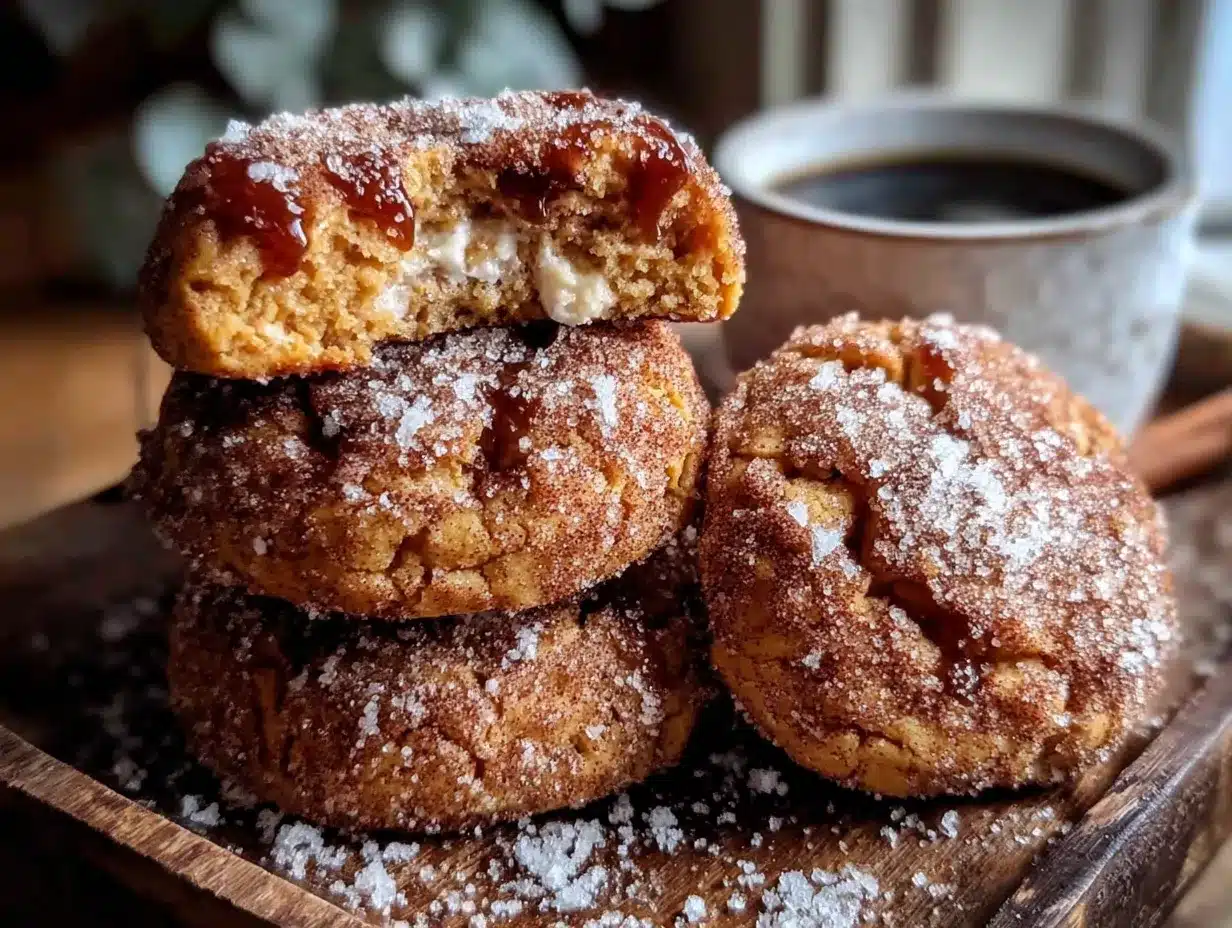
Let’s get to the fun part. I’ll walk you through this step by step, with all the little notes I’ve picked up from my many trials and errors.
- Preheat your oven to 350°F (175°C). Line two baking sheets with parchment paper. I always do this first so the oven is hot and ready by the time I’m done mixing.
- Make the cinnamon-sugar coating. In a shallow bowl, whisk together ¼ cup (50g) granulated sugar and 2 tablespoons ground cinnamon. Set aside. This might seem like a lot of cinnamon, but trust me—it’s what makes these cookies stand out.
- Cream the butter and sugar. In a large mixing bowl, beat 1 cup (226g) softened unsalted butter with 1 cup (200g) granulated sugar until light and fluffy, about 2-3 minutes. You want it to look pale and almost doubled in volume. Scrape down the sides of the bowl with a spatula halfway through.
- Add the wet ingredients. Beat in ¾ cup (170g) pumpkin puree, 1 large egg, and 1 teaspoon vanilla extract until just combined. Don’t overmix here—it’s okay if there are a few streaks of pumpkin. Overmixing at this stage can make the cookies tough.
- Combine the dry ingredients. In a separate bowl, whisk together 2 cups (250g) all-purpose flour, 1 teaspoon baking soda, ½ teaspoon baking powder, ½ teaspoon salt, 1 teaspoon ground cinnamon, ½ teaspoon ground nutmeg, and ¼ teaspoon ground cloves. Whisking ensures the leavening agents and spices are evenly distributed.
- Fold the dry ingredients into the wet. Add the dry mixture to the wet mixture in two additions, folding gently with a rubber spatula. Stop as soon as you no longer see streaks of flour. The dough will be soft and slightly sticky—that’s exactly what you want.
- Chill the dough (optional but recommended). If you have time, pop the dough in the fridge for 15-20 minutes. This makes it easier to handle and prevents the cookies from spreading too much. I’ve baked them straight away, and they’re still great—just slightly flatter.
- Shape and coat the cookies. Using a cookie scoop or tablespoon, portion out rounded tablespoons of dough (about 1.5 inches in diameter). Roll each ball between your palms until smooth, then drop it into the cinnamon-sugar mixture. Roll it around until fully coated, then place it on the prepared baking sheet, spacing them about 2 inches apart. I usually fit 12 cookies per sheet.
- Bake. Bake for 10-12 minutes, or until the edges are set and the tops look slightly cracked. The centers will still look soft and puffy—that’s fine. They’ll continue to set as they cool. For softer cookies, bake for 10 minutes. For slightly crispier edges, go for 12.
- Cool. Let the cookies rest on the baking sheet for 5 minutes. This step is crucial—they’re too fragile to move right away. After 5 minutes, transfer them to a wire rack to cool completely. If you try to move them too soon, they’ll crumble. I’ve learned this the hard way more times than I care to admit.
Sensory Cues: When the cookies are done, your kitchen should smell like a fall candle exploded. The tops will have a matte, slightly crackled appearance, and the edges will be a light golden brown. If you gently press the center, it should spring back slightly.
Cooking Tips & Techniques
Over the years, I’ve made every mistake you can imagine with these cookies. Here’s what I’ve learned so you don’t have to repeat my failures.
Don’t overmix the dough. I know it’s tempting to keep stirring until everything is perfectly smooth, but overmixing develops the gluten and makes the cookies tough. Mix just until the flour disappears, then stop. A few streaks are fine.
Use a cookie scoop for uniform sizes. This isn’t just about looks—uniform cookies bake evenly. If some are bigger than others, you’ll end up with a tray of half-burnt, half-raw cookies. A scoop costs a few bucks and is worth every penny.
Rotate your baking sheets halfway through. Most ovens have hot spots. I rotate my sheets halfway through baking (front to back, top to bottom) to ensure even browning. It takes 10 seconds and makes a noticeable difference.
Don’t skip the cooling step. I know you’re eager to taste one, but moving the cookies too soon will cause them to fall apart. Let them rest on the pan for exactly 5 minutes. Use a timer if you have to.
If your dough is too sticky to handle, pop it in the fridge for 15 minutes. This firms up the butter and makes the dough easier to roll. If it’s still sticky after chilling, lightly dampen your hands with water before rolling.
My biggest failure? I once forgot the baking soda entirely. The cookies came out like dense little pucks. They still tasted okay, but they had zero spread and looked more like hockey pucks than cookies. So double-check your leavening agents before you start.
Timing tip: While the first batch bakes, scoop and roll the second batch. This keeps the workflow smooth and prevents you from standing around waiting. I usually have the second batch ready to go by the time the first one comes out.
Variations & Adaptations
This recipe is surprisingly versatile. Here are a few ways I’ve adapted it over the years:
1. Gluten-Free Version: Swap the all-purpose flour with a 1:1 gluten-free baking blend. I’ve used King Arthur’s Measure for Measure blend with great results. The cookies are slightly more delicate, so handle them gently when transferring to the cooling rack.
2. Dairy-Free Version: Use vegan butter sticks (like Miyoko’s or Country Crock Plant Butter) in place of regular butter. The texture is almost identical, and the flavor is just as rich. Avoid margarine spreads, which have a higher water content and can make the cookies spread too much.
3. Add-Ins: Fold in ½ cup of white chocolate chips or chopped pecans for extra texture. White chocolate pairs beautifully with the pumpkin and cinnamon. I tried dark chocolate once, and while it wasn’t bad, it overpowered the delicate pumpkin flavor.
4. Spice It Up: If you like a warmer spice profile, add ¼ teaspoon of ground ginger or cardamom. Ginger adds a subtle heat, while cardamom gives a floral, almost citrusy note. I’ve done both, and my personal favorite is a pinch of cardamom.
5. Pumpkin Cream Cheese Frosting: For an indulgent treat, sandwich two cookies together with a simple cream cheese frosting. Beat 4 oz softened cream cheese with 2 tablespoons softened butter, 1 cup powdered sugar, and ½ teaspoon vanilla extract. It’s over-the-top, but perfect for special occasions.
6. Mini Cookies for Parties: Use a smaller scoop (about 1 teaspoon) and bake for 7-8 minutes. These are perfect for dessert tables or cookie platters. I made a batch for a holiday party last year, and they were gone in 20 minutes.
Personal Variation: I once added a tablespoon of bourbon to the dough on a whim. It added a subtle warmth that was incredible. Just be aware that the alcohol doesn’t bake out completely, so it’s not for kids or anyone avoiding alcohol.
Serving & Storage Suggestions
These cookies are best served slightly warm, when the cinnamon-sugar coating is still a little crunchy and the center is soft and pillowy. If you’re hosting, I recommend baking them just before your guests arrive so they’re fresh out of the oven. But they’re also delicious at room temperature—honestly, I’ve eaten them straight from the freezer and still enjoyed them.
Presentation Tips: Arrange the cookies on a rustic wooden board or a white platter for contrast. Sprinkle a little extra cinnamon sugar over the top for a polished look. I like to stack them in a pyramid for visual interest. Pair them with a hot apple cider, a pumpkin spice latte, or even a glass of cold milk.
Storage: Store the cookies in an airtight container at room temperature for up to 5 days. Place a slice of bread in the container to keep them soft—the bread absorbs excess moisture and releases it slowly. Change the bread every other day.
Freezing: These cookies freeze beautifully. Place them in a single layer on a baking sheet and freeze for 1 hour, then transfer to a freezer-safe bag or container. They’ll keep for up to 3 months. To thaw, let them sit at room temperature for 15 minutes, or pop them in a 300°F oven for 5 minutes to re-crisp the coating.
Reheating: For that fresh-from-the-oven experience, microwave a cookie for 10-15 seconds. It won’t be as crunchy as the original, but the center will be warm and gooey. If you want to restore the crunch, reheat in a 350°F oven for 3-4 minutes.
Flavor Development: Interestingly, these cookies taste even better the next day. The spices meld together overnight, creating a more rounded flavor. So if you’re planning ahead, bake them a day in advance—your guests will never know.
Nutritional Information & Benefits
These cookies are a treat, so I won’t pretend they’re health food. But they do have some redeeming qualities. Here’s the estimated nutritional breakdown per cookie (based on 24 cookies):
| Nutrient | Amount per Cookie |
|---|---|
| Calories | 145 |
| Total Fat | 7g |
| Saturated Fat | 4g |
| Cholesterol | 25mg |
| Sodium | 95mg |
| Total Carbohydrates | 20g |
| Dietary Fiber | 1g |
| Sugars | 12g |
| Protein | 2g |
| Vitamin A | 15% DV |
Health Benefits: Pumpkin is rich in vitamin A, which supports eye health and immune function. It’s also a good source of fiber and antioxidants. Cinnamon has anti-inflammatory properties and may help regulate blood sugar levels. Of course, these benefits are modest given the sugar and butter content, but it’s nice to know there’s a little something good in every bite.
Dietary Considerations: This recipe contains gluten, dairy, and eggs. For gluten-free and dairy-free options, see the variations section above. The cookies are nut-free as written, making them safe for school events or parties where allergies are a concern.
From a wellness perspective, I believe in balance. I’ll enjoy a couple of these cookies with my coffee, and I don’t feel guilty about it. Life’s too short to skip dessert, especially when it tastes this good.
Conclusion
These pumpkin snickerdoodle cookies are more than just a recipe—they’re a little piece of my childhood, recreated and shared. They’re the cookie I bring to every gathering, the one that always gets asked for, and the one that makes me feel like Aunt Lou is still in the kitchen with me, sliding a warm cookie onto a napkin.
I hope you’ll make them your own. Maybe you’ll add a pinch of cardamom like I did. Maybe you’ll double the cinnamon-sugar coating because you can never have too much. Or maybe you’ll keep them exactly as written and discover that this is the pumpkin cookie you’ve been searching for all along.
Whatever you do, don’t be afraid to experiment. Baking is supposed to be fun, not stressful. And if your first batch doesn’t turn out perfect? That’s okay. You’ll try again, and you’ll get closer each time. That’s the beauty of it.
Now go preheat your oven. Your guests are waiting.
Have you tried these cookies? I’d love to hear how they turned out! Drop a comment below, share your photos on Pinterest, or tag me in your creations. And if you have a variation that works wonders, please share it—I’m always looking for new ideas.
Frequently Asked Questions
Can I use pumpkin pie filling instead of pumpkin puree?
No, I really don’t recommend it. Pumpkin pie filling has added sugar, spices, and thickeners that will completely change the texture and sweetness of the cookies. Stick with 100% pure pumpkin puree for the best results.
Why did my cookies turn out flat?
This usually happens for one of two reasons: the butter was too soft or melted, or the dough wasn’t chilled. Make sure your butter is softened but still holds its shape, and try chilling the dough for 15-20 minutes before baking. Also, check that your baking soda isn’t expired—old leavening agents lose their power.
Can I make the dough ahead of time?
Absolutely. You can prepare the dough, roll it into balls, and store them in the fridge for up to 48 hours. When you’re ready to bake, roll the chilled dough balls in the cinnamon-sugar mixture and bake as directed. You may need to add 1-2 minutes to the baking time since the dough is cold.
How do I keep the cookies soft?
The pumpkin puree already helps keep these cookies incredibly moist. For extra softness, store them with a slice of bread in the container—the bread releases moisture and keeps the cookies from drying out. Also, avoid overbaking; pull them out when the edges are set but the centers still look soft.
Can I double this recipe?
Yes, this recipe doubles beautifully. Just make sure you have enough oven space or bake in batches. If you’re using a stand mixer, be careful not to overfill the bowl—double the ingredients and mix in two batches if needed. The cookies freeze well, so you can always save half for later.
Pin This Recipe!
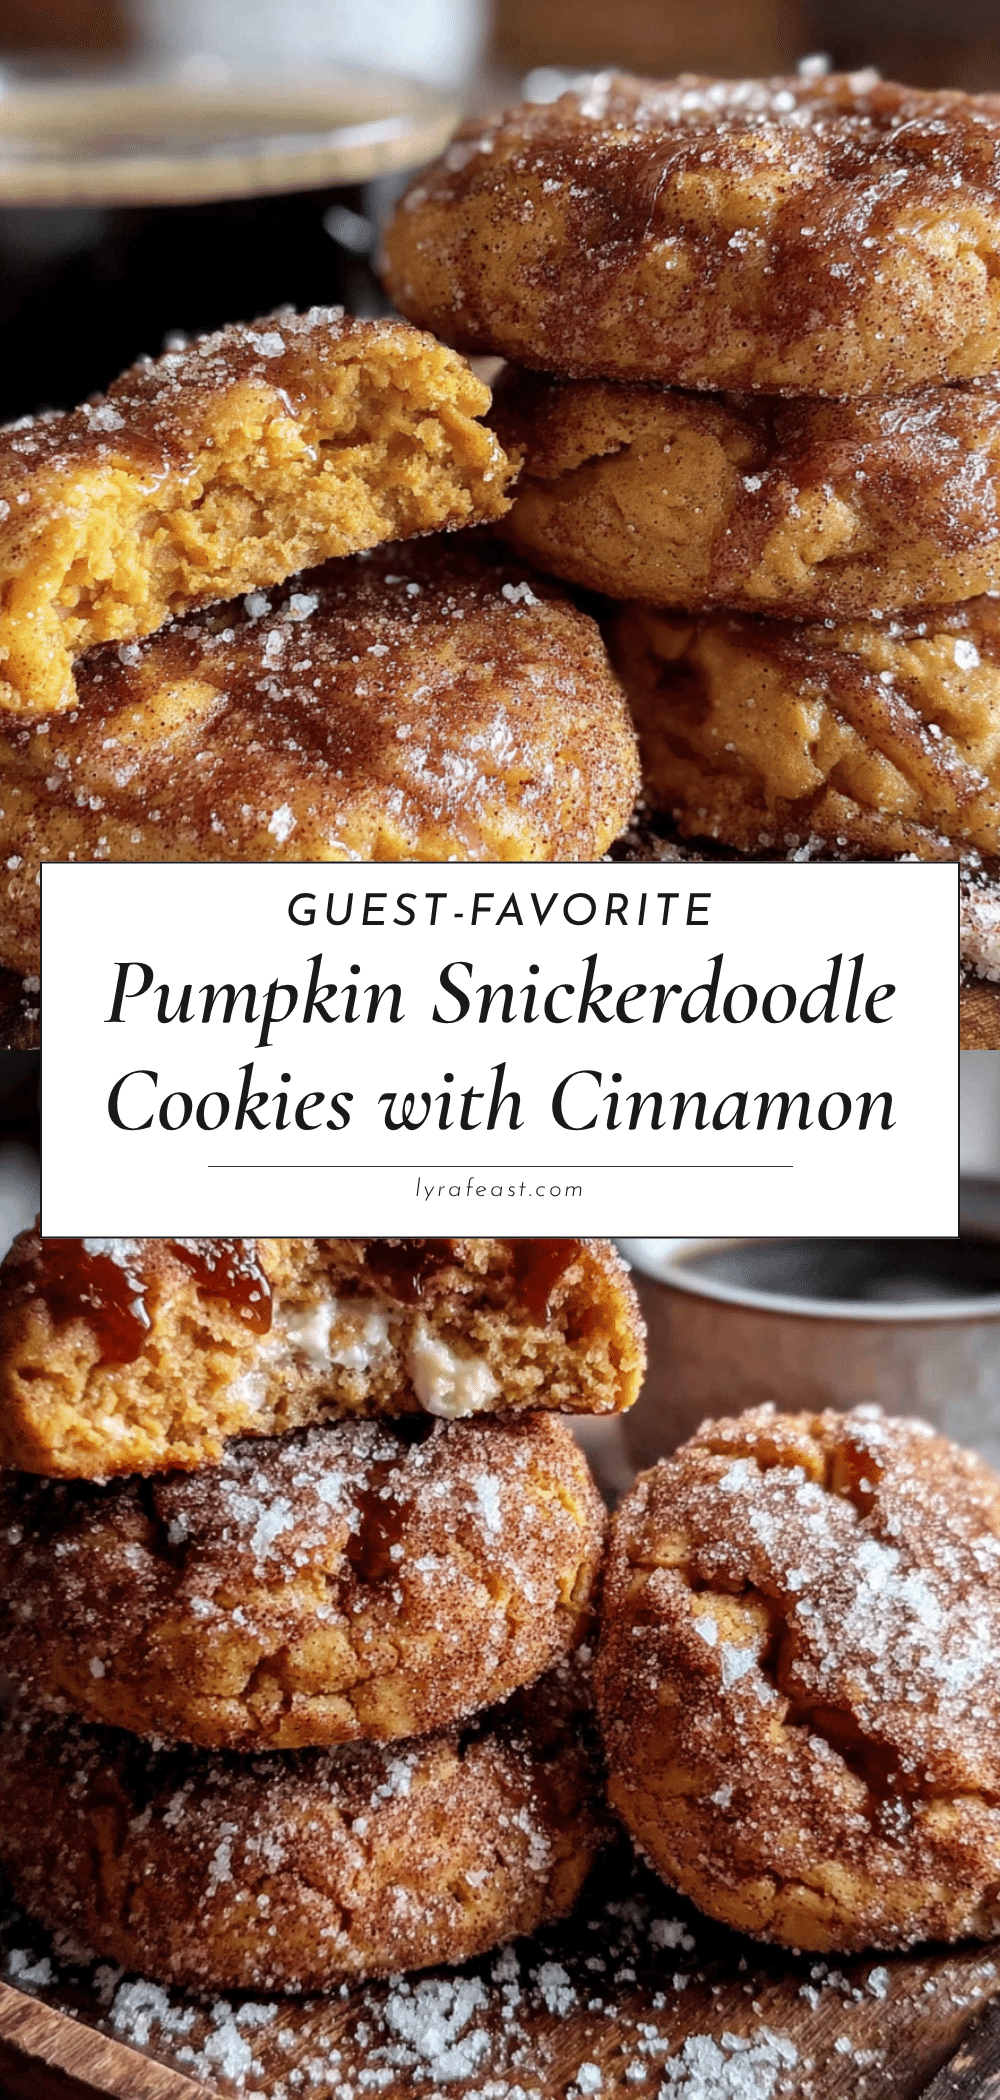
Best Easy Pumpkin Snickerdoodle Cookies with Cinnamon Sugar
These pumpkin snickerdoodle cookies are soft in the center, slightly crisp at the edges, and loaded with warm, spiced flavor. They come together in about 30 minutes with simple ingredients and no chilling required, making them perfect for fall gatherings.
- Prep Time: 15 minutes
- Cook Time: 12 minutes
- Total Time: 27 minutes
- Yield: 24 servings 1x
- Category: Dessert
- Cuisine: American
Ingredients
- 1 cup (2 sticks or 226g) unsalted butter, softened
- 1 cup (200g) granulated sugar
- 3/4 cup (170g) pumpkin puree (not pumpkin pie filling)
- 1 large egg, room temperature
- 1 teaspoon vanilla extract
- 2 cups (250g) all-purpose flour
- 1 teaspoon baking soda
- 1/2 teaspoon baking powder
- 1/2 teaspoon salt
- 1 teaspoon ground cinnamon (preferably Saigon cinnamon)
- 1/2 teaspoon ground nutmeg
- 1/4 teaspoon ground cloves
- For the cinnamon-sugar coating:
- 1/4 cup (50g) granulated sugar
- 2 tablespoons ground cinnamon
Instructions
- Preheat your oven to 350°F (175°C). Line two baking sheets with parchment paper.
- Make the cinnamon-sugar coating: In a shallow bowl, whisk together 1/4 cup (50g) granulated sugar and 2 tablespoons ground cinnamon. Set aside.
- Cream the butter and sugar: In a large mixing bowl, beat 1 cup (226g) softened unsalted butter with 1 cup (200g) granulated sugar until light and fluffy, about 2-3 minutes. Scrape down the sides of the bowl halfway through.
- Add the wet ingredients: Beat in 3/4 cup (170g) pumpkin puree, 1 large egg, and 1 teaspoon vanilla extract until just combined. Do not overmix.
- Combine the dry ingredients: In a separate bowl, whisk together 2 cups (250g) all-purpose flour, 1 teaspoon baking soda, 1/2 teaspoon baking powder, 1/2 teaspoon salt, 1 teaspoon ground cinnamon, 1/2 teaspoon ground nutmeg, and 1/4 teaspoon ground cloves.
- Fold the dry ingredients into the wet: Add the dry mixture to the wet mixture in two additions, folding gently with a rubber spatula until no streaks of flour remain. The dough will be soft and slightly sticky.
- Chill the dough (optional but recommended): If you have time, refrigerate the dough for 15-20 minutes to make it easier to handle and prevent excessive spreading.
- Shape and coat the cookies: Using a cookie scoop or tablespoon, portion out rounded tablespoons of dough (about 1.5 inches in diameter). Roll each ball between your palms until smooth, then roll in the cinnamon-sugar mixture until fully coated. Place on prepared baking sheets, spacing them about 2 inches apart.
- Bake: Bake for 10-12 minutes, or until the edges are set and the tops look slightly cracked. For softer cookies, bake for 10 minutes; for crispier edges, bake for 12.
- Cool: Let the cookies rest on the baking sheet for 5 minutes, then transfer to a wire rack to cool completely.
Notes
For best results, use pure pumpkin puree (not pumpkin pie filling). If dough is too sticky, chill for 15 minutes. Rotate baking sheets halfway through baking for even browning. Cookies taste even better the next day as flavors meld.
Nutrition
- Serving Size: 1 cookie
- Calories: 145
- Sugar: 12
- Sodium: 95
- Fat: 7
- Saturated Fat: 4
- Carbohydrates: 20
- Fiber: 1
- Protein: 2
Keywords: pumpkin snickerdoodle cookies, easy pumpkin cookies, fall cookies, cinnamon sugar cookies, soft pumpkin cookies



