My neighbor, Carol, swore she hated pumpkin bread. For years. Every fall, when my kitchen started smelling like a Yankee Candle factory explosion, she’d politely decline a slice with a little grimace. “Too sweet,” she’d say. “And the texture is always… mushy.” I just nodded. Honestly, I got it. A lot of pumpkin breads are dense, wet bricks of sugar that leave you feeling like you need a nap. But last Tuesday, I had a single, overripe banana on my counter and half a can of pumpkin leftover from a pie I made for a book club that got cancelled. I wasn’t about to make a full loaf—what was I going to do with all that temptation? So, I threw together this small-batch pumpkin banana bread, mostly out of spite for the wasted ingredients. I was just pulling it out of the oven, the top a perfect, crackled dome, when Carol came over to borrow a whisk. She caught me mid-slice, steam rising. “Okay,” she said, eyeing it suspiciously. “Maybe just one bite.” She ate three slices. While I was standing there. She didn’t even ask for the recipe; she just stared at the pan like I’d performed a magic trick. That’s the power of a recipe that actually works—it doesn’t need to be big to be life-changing.
This cozy small-batch pumpkin banana bread is that recipe. It is the perfect size for a quiet weekend, a rainy afternoon, or a Tuesday when you just need something warm and sweet. It uses that single banana that’s been sitting on your counter and just enough pumpkin to make it taste like fall without committing to a whole can. Let me tell you, the texture is where this thing shines. It’s moist, but not wet. Dense, but with a tender crumb that almost melts. The banana adds a natural sweetness and keeps it from being just another pumpkin bread, while the pumpkin gives it that cozy, spiced soul. If you’ve been burned by mushy, overly sweet pumpkin bread before, I get it. This one is different. It’s the one that changes minds.
Why You’ll Love This Recipe
There are a million pumpkin bread recipes out there, and I’ve tested more than my fair share. This one is the keeper. It’s not just another version—it’s the version I make when I want something that feels special without a ton of effort. Here is why it works so well.
- Quick & Easy: From start to finish, this comes together in about an hour. The active prep time is less than 15 minutes. Perfect for a lazy Sunday morning or a spontaneous after-dinner treat.
- Simple Ingredients: You likely have everything in your pantry right now. No trips to a specialty store for weird flours or extracts. It uses pantry staples in a smart way.
- Perfect for a Cozy Day In: This is the ultimate “rainy day” or “first crisp fall morning” bread. It fills your home with that warm, spiced aroma without committing to a giant loaf that goes stale before you finish it.
- Just the Right Size: This is a true small-batch recipe. It makes one standard 8×4-inch loaf. No leftovers that tempt you for days, unless you want them. It’s portion control that feels generous.
- Unbelievably Delicious: The combination of pumpkin and banana creates a flavor that’s more complex than either alone. The banana adds a subtle tropical sweetness that balances the earthy pumpkin beautifully. It’s comfort food, reimagined.
This isn’t just good pumpkin bread. It’s the kind that makes you close your eyes after the first bite. It’s perfect for a quiet morning with a cup of coffee, or for impressing a neighbor without any stress. It is my best version of a classic, and I think it will become yours too.
What Ingredients You Will Need
This recipe uses simple, wholesome ingredients to deliver that perfect, moist texture and warm, spiced flavor. I’ve tested it with a few different brands and variations, so I’ve included my best tips for success.
- 1 cup (120g) all-purpose flour: Spoon and level your flour for the best results. Scooping directly from the bag can pack it down and make your bread dry. I’ve had great luck with King Arthur Flour for consistent texture.
- ½ teaspoon baking soda: This helps the bread rise and creates a tender crumb. Make sure it’s fresh—test it by dropping a tiny bit into vinegar; it should fizz vigorously.
- ½ teaspoon baking powder: For a little extra lift. It works with the baking soda to give the bread a nice dome.
- ¼ teaspoon salt: Don’t skip this! Salt balances the sweetness and enhances all the warm spices.
- 1 ½ teaspoons pumpkin pie spice: You can use a store-bought blend or make your own with ¾ teaspoon cinnamon, ½ teaspoon ginger, ¼ teaspoon nutmeg, and a pinch of cloves. I personally prefer the homemade mix—it feels brighter.
- ½ cup (100g) granulated sugar: Adds sweetness and helps with the tender texture. You can reduce this to ⅓ cup if you like a less sweet bread, but don’t go lower or it will affect the moisture.
- ¼ cup (50g) packed light brown sugar: This adds moisture and a deeper, almost caramel-like flavor. Make sure it’s packed firmly into the measuring cup.
- 1 large egg, room temperature: A room-temperature egg emulsifies better into the batter, creating a more even crumb. If you forgot to take it out, place it in a bowl of warm water for 5 minutes.
- ¼ cup (60ml) vegetable oil: This is my go-to for moist bread. You can substitute melted coconut oil or melted unsalted butter. If using butter, let it cool slightly before adding to the wet ingredients.
- ½ cup (120g) pumpkin puree: Not pumpkin pie filling! Make sure it’s 100% pure pumpkin. Libby’s is a reliable brand. This is a great way to use up that half-can from another recipe.
- ½ cup (about 120g) mashed ripe banana: This usually means one medium-to-large very ripe banana. The riper the better—lots of brown spots mean more sweetness and flavor. Mash it well with a fork until it’s almost a liquid.
- ½ teaspoon vanilla extract: A good quality vanilla adds depth and rounds out the flavors. I use Nielsen-Massey, but any pure vanilla extract works.
- Optional: ¼ cup mix-ins: Chocolate chips, chopped pecans, or walnuts are all excellent. I love using dark chocolate chips for a little bitterness against the sweet bread.
Equipment Needed
You don’t need a fancy kitchen to make this bread. Here is what you’ll need to get the job done.
- One 8×4-inch loaf pan: This is the standard size for a small loaf. A 9×5-inch pan will work, but your bread will be shorter and will need less baking time. I personally use a USA Pan for even baking and easy release.
- Two mixing bowls: One medium for dry ingredients and one large for wet ingredients. Any bowl will do.
- Whisk: For combining dry ingredients and smoothing out the wet mixture.
- Rubber spatula: Essential for folding the batter together without overmixing. I have a few cheap ones from the grocery store that have lasted years.
- Measuring cups and spoons: For accuracy. I recommend a set of dry measuring cups for flour and sugar, and a liquid measuring cup for the oil and vanilla.
- Parchment paper: Lining your pan makes for the easiest cleanup and ensures the bread lifts out perfectly. You can also use butter and flour to grease the pan.
- Cooling rack: A wire rack lets air circulate around the loaf so it cools evenly and doesn’t get a soggy bottom.
Preparation Method
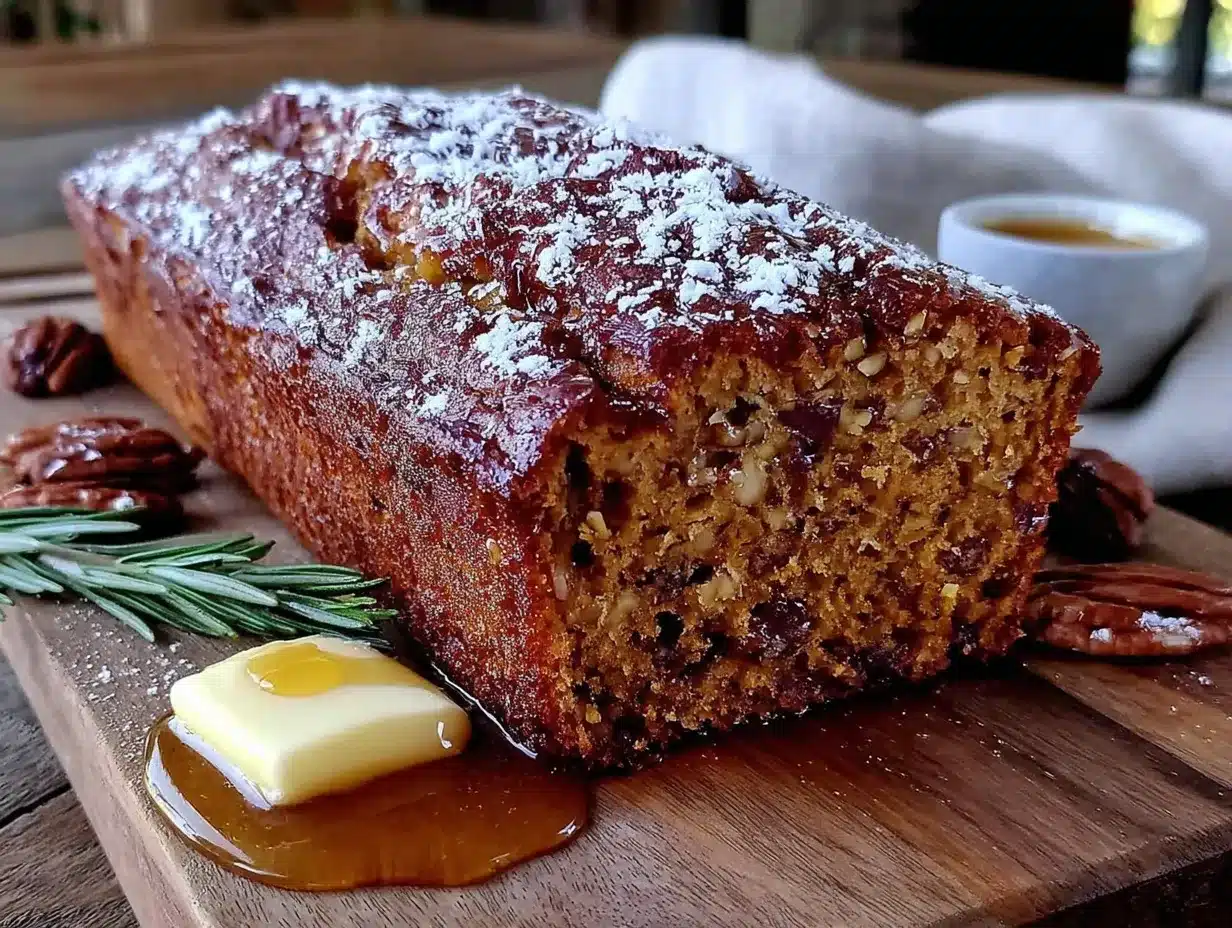
Follow these steps carefully, and you’ll have a perfect loaf every time. The key is not to overmix the batter—that’s the number one mistake that leads to tough, dense bread.
- Preheat and Prep: Preheat your oven to 350°F (175°C). Line your 8×4-inch loaf pan with a strip of parchment paper, leaving an overhang on the two long sides. This creates “handles” to lift the bread out later. Lightly grease the exposed ends of the pan with a little butter or non-stick spray.
- Mix the Dry Ingredients: In a medium bowl, whisk together the 1 cup of all-purpose flour, ½ teaspoon baking soda, ½ teaspoon baking powder, ¼ teaspoon salt, and 1 ½ teaspoons pumpkin pie spice. Whisk for about 20 seconds to make sure everything is evenly distributed. Set this bowl aside.
- Combine the Wet Ingredients: In a large bowl, whisk together the ½ cup granulated sugar and ¼ cup packed light brown sugar. Break up any clumps of brown sugar with your fingers. Add the 1 large egg and whisk vigorously for about 30 seconds until the mixture is pale and slightly thickened. This step helps create a lighter texture.
- Add the Oil and Flavorings: Pour in the ¼ cup vegetable oil, ½ cup pumpkin puree, ½ cup mashed ripe banana, and ½ teaspoon vanilla extract. Whisk until everything is completely smooth and combined. The batter will look a little thin at this point—that’s normal.
- Fold in the Dry Ingredients: Pour the dry ingredient mixture into the bowl with the wet ingredients. Using your rubber spatula, fold gently. Use a “cut and scrape” motion: cut through the center of the batter, scrape the bottom, and fold over. Turn the bowl a quarter turn and repeat. Stop as soon as you see no more streaks of flour. A few small lumps are fine. Overmixing at this stage will develop gluten and make your bread tough.
- Add Mix-ins (Optional): If you are using ¼ cup of chocolate chips or nuts, sprinkle them over the batter now. Gently fold them in with just two or three strokes. Don’t overmix.
- Bake the Bread: Pour the batter into your prepared loaf pan and spread it into an even layer. Tap the pan on the counter a couple of times to release any air bubbles. Bake for 45 to 55 minutes. Start checking at 45 minutes. The bread is done when a toothpick inserted into the center comes out clean or with just a few moist crumbs attached. The top should be a deep golden brown and spring back when you gently press it.
- Cool Completely: Let the bread cool in the pan on a wire rack for 15 minutes. This allows it to set. Then, using the parchment paper handles, lift the bread out of the pan and transfer it directly to the wire rack to cool completely. Do not slice it while it is hot! It will be too tender and will crumble. Patience is key here. It needs at least 1 hour to cool fully.
Cooking Tips & Techniques
I have made this bread more times than I can count, and I have definitely learned a few things the hard way. Here are my best tips to ensure you get a perfect loaf every single time.
- The Banana Must Be Ripe: This is non-negotiable. A green or barely yellow banana won’t mash properly and won’t provide enough sweetness or moisture. You want a banana that is heavily speckled with brown spots or even mostly brown. If your banana isn’t ripe enough, you can place it (unpeeled) on a baking sheet in a 300°F oven for 15-20 minutes until the skin turns black. Let it cool, then scoop out the softened flesh.
- Don’t Overmix the Batter: I cannot stress this enough. Overmixing creates a tough, rubbery bread. Mix just until the flour disappears. Those few little lumps are your friends. They will bake out perfectly.
- Check for Doneness Correctly: Ovens vary wildly. My old oven used to take a full 55 minutes, while my new one is done at 48. Use the toothpick test, but also look for the edges pulling away slightly from the pan. The top should feel firm and spring back. If the top is browning too quickly but the center is still raw, tent the pan loosely with aluminum foil for the last 10-15 minutes of baking.
- Cooling is Crucial: I once cut into a loaf after 20 minutes because I couldn’t wait. It was a gummy, sticky mess. The structure needs time to set as it cools. Slicing too early traps steam inside and ruins the texture. Trust me, the wait is worth it.
- Measure Flour Correctly: Using too much flour is the most common mistake in baking. Always spoon the flour into your measuring cup and level it off with a knife. Never scoop directly from the bag with the cup.
Variations & Adaptations
This recipe is a great base for experimentation. Here are a few ways I’ve adapted it, and they’ve all been delicious in their own way.
- Gluten-Free Version: I have successfully made this with a 1:1 gluten-free all-purpose flour blend, like Bob’s Red Mill. The texture is slightly more tender and crumbly, but the flavor is still fantastic. Add an extra tablespoon of oil to help with moisture.
- Dairy-Free Adaptation: This recipe is naturally dairy-free if you use vegetable oil! Just make sure your chocolate chips (if using) are dairy-free. It’s that simple.
- Spice It Up: For a bolder flavor, add a pinch of ground cardamom or a tiny pinch of black pepper to the spice mix. The pepper sounds weird, but it really makes the pumpkin flavor pop. I tried this on a whim last fall and it was a game-changer.
- Add a Streusel Topping: For a bakery-style loaf, mix together 2 tablespoons of cold butter, 3 tablespoons of flour, 2 tablespoons of brown sugar, and a pinch of cinnamon. Sprinkle this over the batter before baking. It creates a crunchy, sweet crust that is absolutely divine.
- Mini Loaves or Muffins: This batter makes about 6 standard muffins or 3 mini loaves. Bake muffins for 18-22 minutes and mini loaves for 25-30 minutes. Check for doneness with a toothpick.
Serving & Storage Suggestions
This bread is wonderful on its own, but a little something extra never hurts. Here is how I like to serve it and keep it fresh.
- Serving: Serve slices at room temperature or slightly warmed. To warm, pop a slice in the microwave for 10-15 seconds or in a toaster oven for a few minutes. A pat of salted butter melting into a warm slice is pure heaven. It’s also fantastic with a smear of cream cheese or a drizzle of honey.
- Storage: Store the completely cooled bread wrapped tightly in plastic wrap or in an airtight container at room temperature. It will stay moist and delicious for up to 3 days. The flavors actually meld and deepen overnight, so it’s often even better on day two!
- Freezing: This bread freezes beautifully. Wrap the cooled loaf (or individual slices) tightly in plastic wrap, then again in a layer of aluminum foil. Freeze for up to 3 months. To thaw, leave it at room temperature for a few hours or pop a frozen slice in the toaster. It’s a great way to have a little cozy treat ready whenever you need it.
Nutritional Information & Benefits
While this is a treat, it does have a few redeeming qualities. Here is a quick look at the estimated nutritional profile per slice (assuming 8 slices).
| Nutrient | Amount Per Slice |
|---|---|
| Calories | ~260 kcal |
| Fat | ~9g |
| Carbohydrates | ~42g |
| Fiber | ~2g |
| Sugar | ~24g |
| Protein | ~3g |
The pumpkin is a great source of Vitamin A and fiber, while the banana adds potassium and natural sweetness. This allows us to use a little less refined sugar. It is a more balanced way to enjoy a classic fall dessert. Of course, it contains gluten and eggs, so it’s not suitable for those with related allergies.
Conclusion
This cozy small-batch pumpkin banana bread is more than just a recipe—it’s a little moment of peace in a busy day. It’s the smell of fall, the warmth of a fresh-baked treat, and the satisfaction of knowing you made something that tastes like a hug. It’s forgiving, it’s simple, and it works every single time.
I love this recipe because it never fails to make me smile. It turns a lonely banana and a leftover splash of pumpkin into something wonderful. I hope you give it a try, and I hope it becomes a little tradition in your home too. Maybe you’ll even change a neighbor’s mind about pumpkin bread.
Have you tried this recipe? Did you add any fun mix-ins? I would love to hear about it in the comments below! Share your photos and tag me on Pinterest—I can’t wait to see your beautiful loaves. Happy baking, friends!
Frequently Asked Questions
Can I use a 9×5-inch loaf pan instead?
Yes, you can. The loaf will be shorter and will bake more quickly. Start checking for doneness at around 35-40 minutes. Keep a close eye on it so it doesn’t dry out.
Can I make this without the banana?
You can, but it changes the recipe significantly. Replace the ½ cup mashed banana with an additional ½ cup of pumpkin puree and increase the sugar by 2 tablespoons. The texture will be slightly different—more dense and less tender.
Why is my pumpkin bread gummy in the middle?
This usually happens for one of two reasons: it was underbaked, or it was sliced too soon. Make sure a toothpick comes out clean, and let it cool completely in the pan for 15 minutes, then on a wire rack for at least an hour.
Can I use pumpkin pie filling instead of pumpkin puree?
No, I do not recommend it. Pumpkin pie filling is pre-sweetened and contains spices and thickeners. It will throw off the sugar and spice balance of this recipe. Always use 100% pure pumpkin puree.
How do I know when my banana is ripe enough?
Look for a banana that has plenty of brown spots on the peel. It should feel soft to the touch and smell sweet. If you have a green banana, you can speed up the ripening process by placing it in a brown paper bag with an apple overnight.
Pin This Recipe!
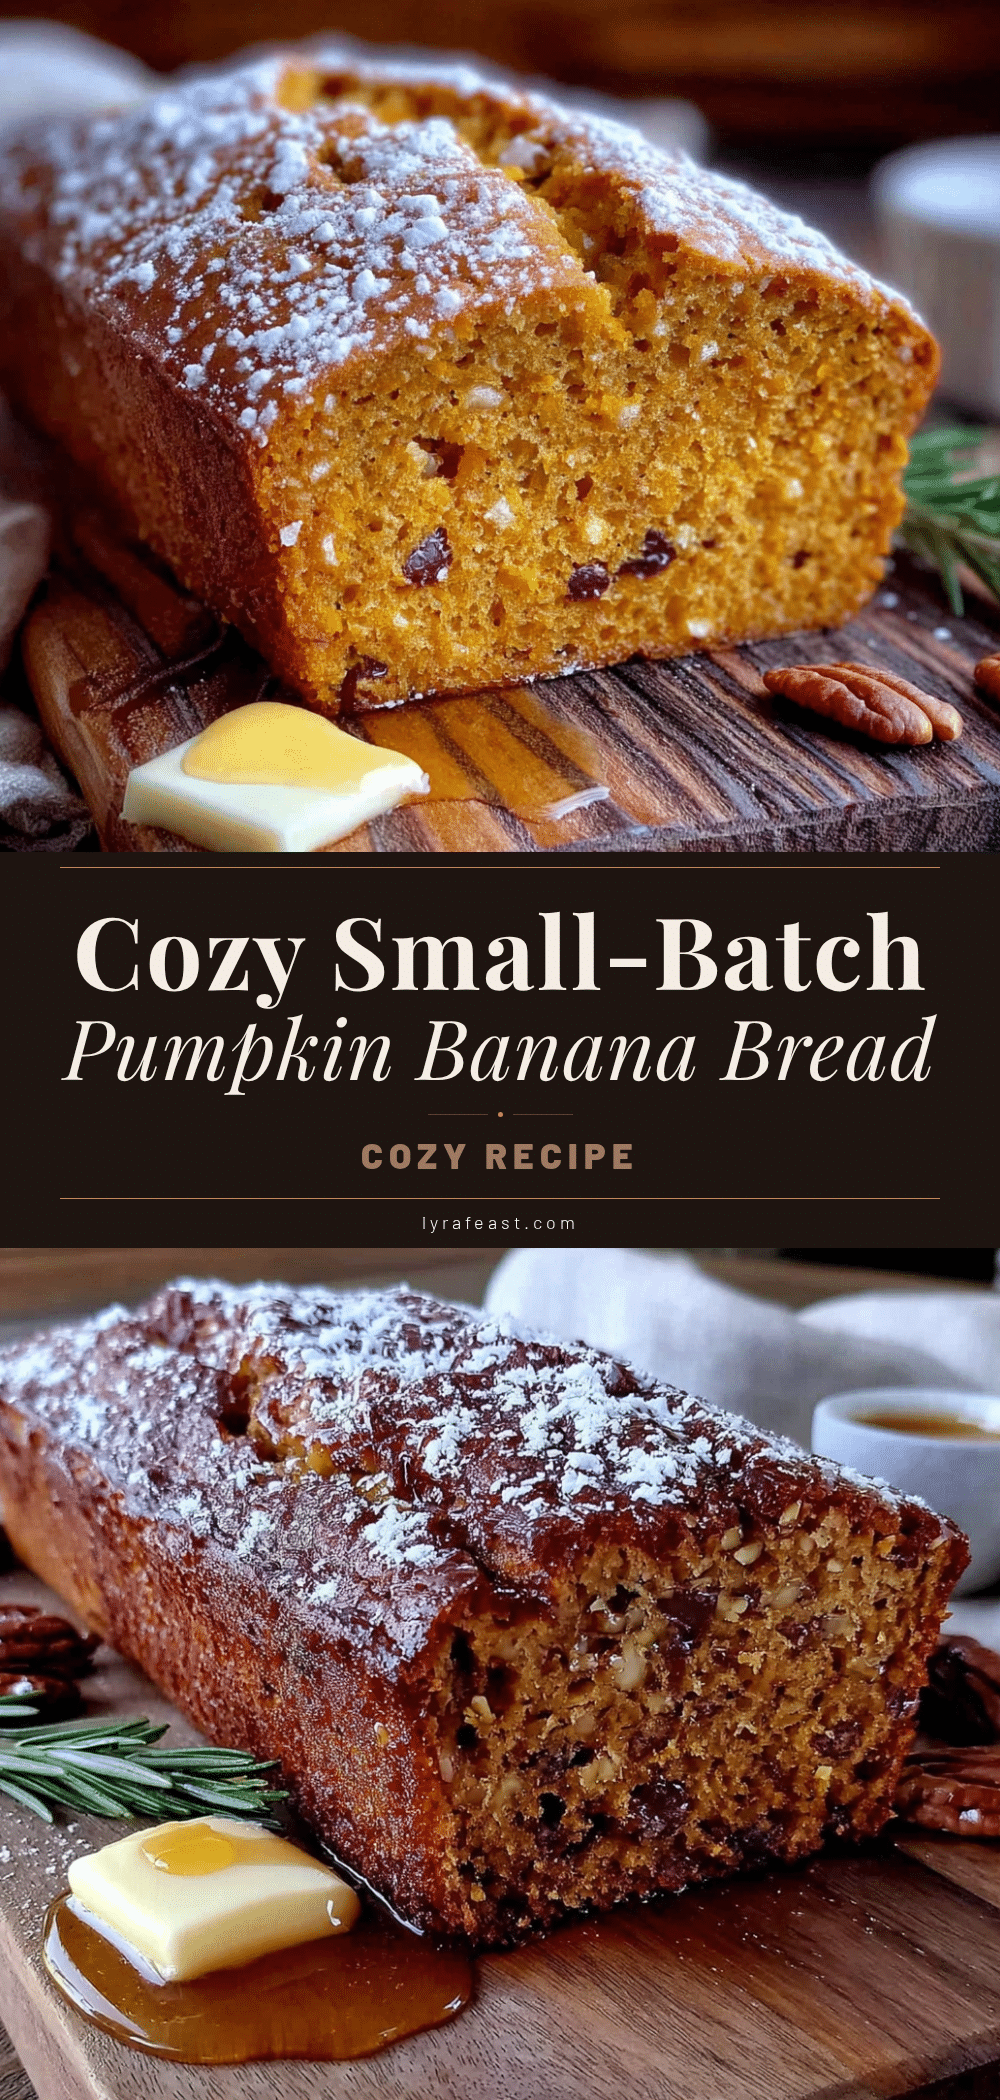
Cozy Small-Batch Pumpkin Banana Bread: Easy One-Loaf Recipe
This cozy small-batch pumpkin banana bread is the perfect size for a quiet weekend or a rainy afternoon. It uses a single ripe banana and just enough pumpkin to taste like fall, with a moist, tender crumb that melts in your mouth.
- Prep Time: 15 minutes
- Cook Time: 50 minutes
- Total Time: 1 hour 5 minutes
- Yield: 8 servings 1x
- Category: Dessert
- Cuisine: American
Ingredients
- 1 cup (120g) all-purpose flour
- ½ teaspoon baking soda
- ½ teaspoon baking powder
- ¼ teaspoon salt
- 1 ½ teaspoons pumpkin pie spice
- ½ cup (100g) granulated sugar
- ¼ cup (50g) packed light brown sugar
- 1 large egg, room temperature
- ¼ cup (60ml) vegetable oil
- ½ cup (120g) pumpkin puree
- ½ cup (about 120g) mashed ripe banana
- ½ teaspoon vanilla extract
- Optional: ¼ cup mix-ins (chocolate chips, chopped pecans, or walnuts)
Instructions
- Preheat your oven to 350°F (175°C). Line an 8×4-inch loaf pan with a strip of parchment paper, leaving an overhang on the two long sides. Lightly grease the exposed ends of the pan with butter or non-stick spray.
- In a medium bowl, whisk together the flour, baking soda, baking powder, salt, and pumpkin pie spice for about 20 seconds. Set aside.
- In a large bowl, whisk together the granulated sugar and packed light brown sugar, breaking up any clumps. Add the egg and whisk vigorously for about 30 seconds until pale and slightly thickened.
- Add the vegetable oil, pumpkin puree, mashed ripe banana, and vanilla extract. Whisk until completely smooth and combined.
- Pour the dry ingredients into the wet ingredients. Using a rubber spatula, fold gently with a cut-and-scrape motion until no streaks of flour remain. Do not overmix; a few small lumps are fine.
- If using mix-ins, sprinkle them over the batter and fold in with just two or three strokes.
- Pour the batter into the prepared loaf pan and spread evenly. Tap the pan on the counter a couple of times to release air bubbles.
- Bake for 45 to 55 minutes, until a toothpick inserted into the center comes out clean or with a few moist crumbs. The top should be deep golden brown and spring back when gently pressed.
- Let the bread cool in the pan on a wire rack for 15 minutes. Then, using the parchment paper handles, lift the bread out and transfer to the wire rack to cool completely (at least 1 hour) before slicing.
Notes
Use a very ripe banana (heavily speckled with brown spots) for best sweetness and moisture. Do not overmix the batter to avoid tough bread. Let the bread cool completely before slicing to prevent a gummy texture. For a gluten-free version, use a 1:1 gluten-free all-purpose flour blend and add an extra tablespoon of oil. For a streusel topping, mix 2 tablespoons cold butter, 3 tablespoons flour, 2 tablespoons brown sugar, and a pinch of cinnamon, and sprinkle over batter before baking.
Nutrition
- Serving Size: 1 slice
- Calories: 260
- Sugar: 24
- Sodium: 180
- Fat: 9
- Saturated Fat: 1.5
- Carbohydrates: 42
- Fiber: 2
- Protein: 3
Keywords: pumpkin banana bread, small batch pumpkin bread, easy pumpkin bread, one loaf pumpkin bread, fall baking, cozy bread



