Introduction
“I never planned to start canning, honestly. One rainy Saturday afternoon, I found myself standing in the produce aisle, eyeing a towering pile of rhubarb stalks that looked way too vibrant to ignore. I’d heard whispers about making jam but always imagined it was some complicated process—too much fuss for someone who barely had time to boil water. But that day, armed with just three ingredients and a curious spirit, I gave it a shot.
Let me tell you, it wasn’t all smooth sailing—I forgot to sterilize one jar properly and made a bit of a sticky mess on my counter (don’t ask how many paper towels it took). Yet, the result was surprisingly delightful: tangy, sweet, and perfectly jammy rhubarb goodness that stuck around in my fridge and heart for weeks. Maybe you’ve been there, staring at a beautiful bunch of rhubarb, wondering if you could ever turn it into something magical without getting overwhelmed.
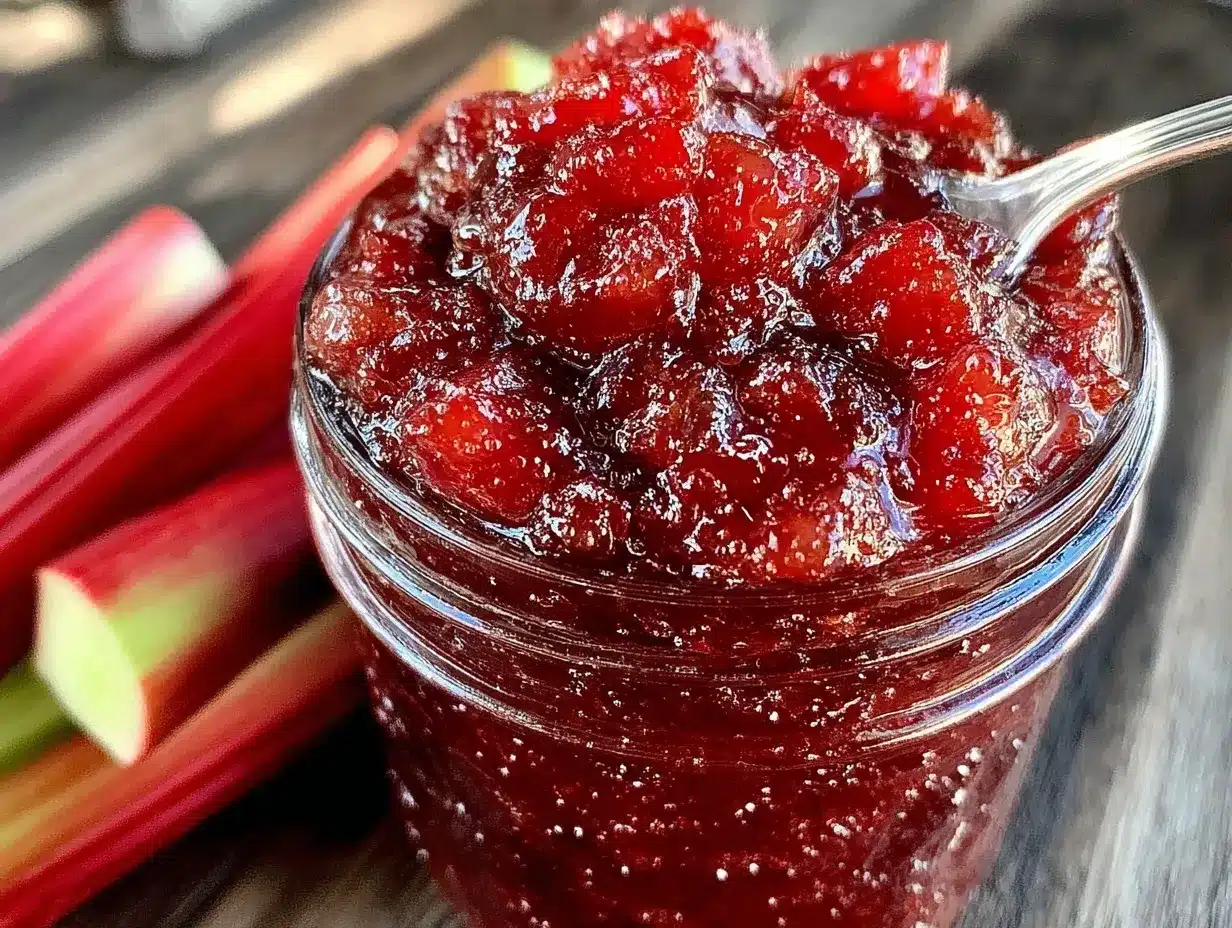
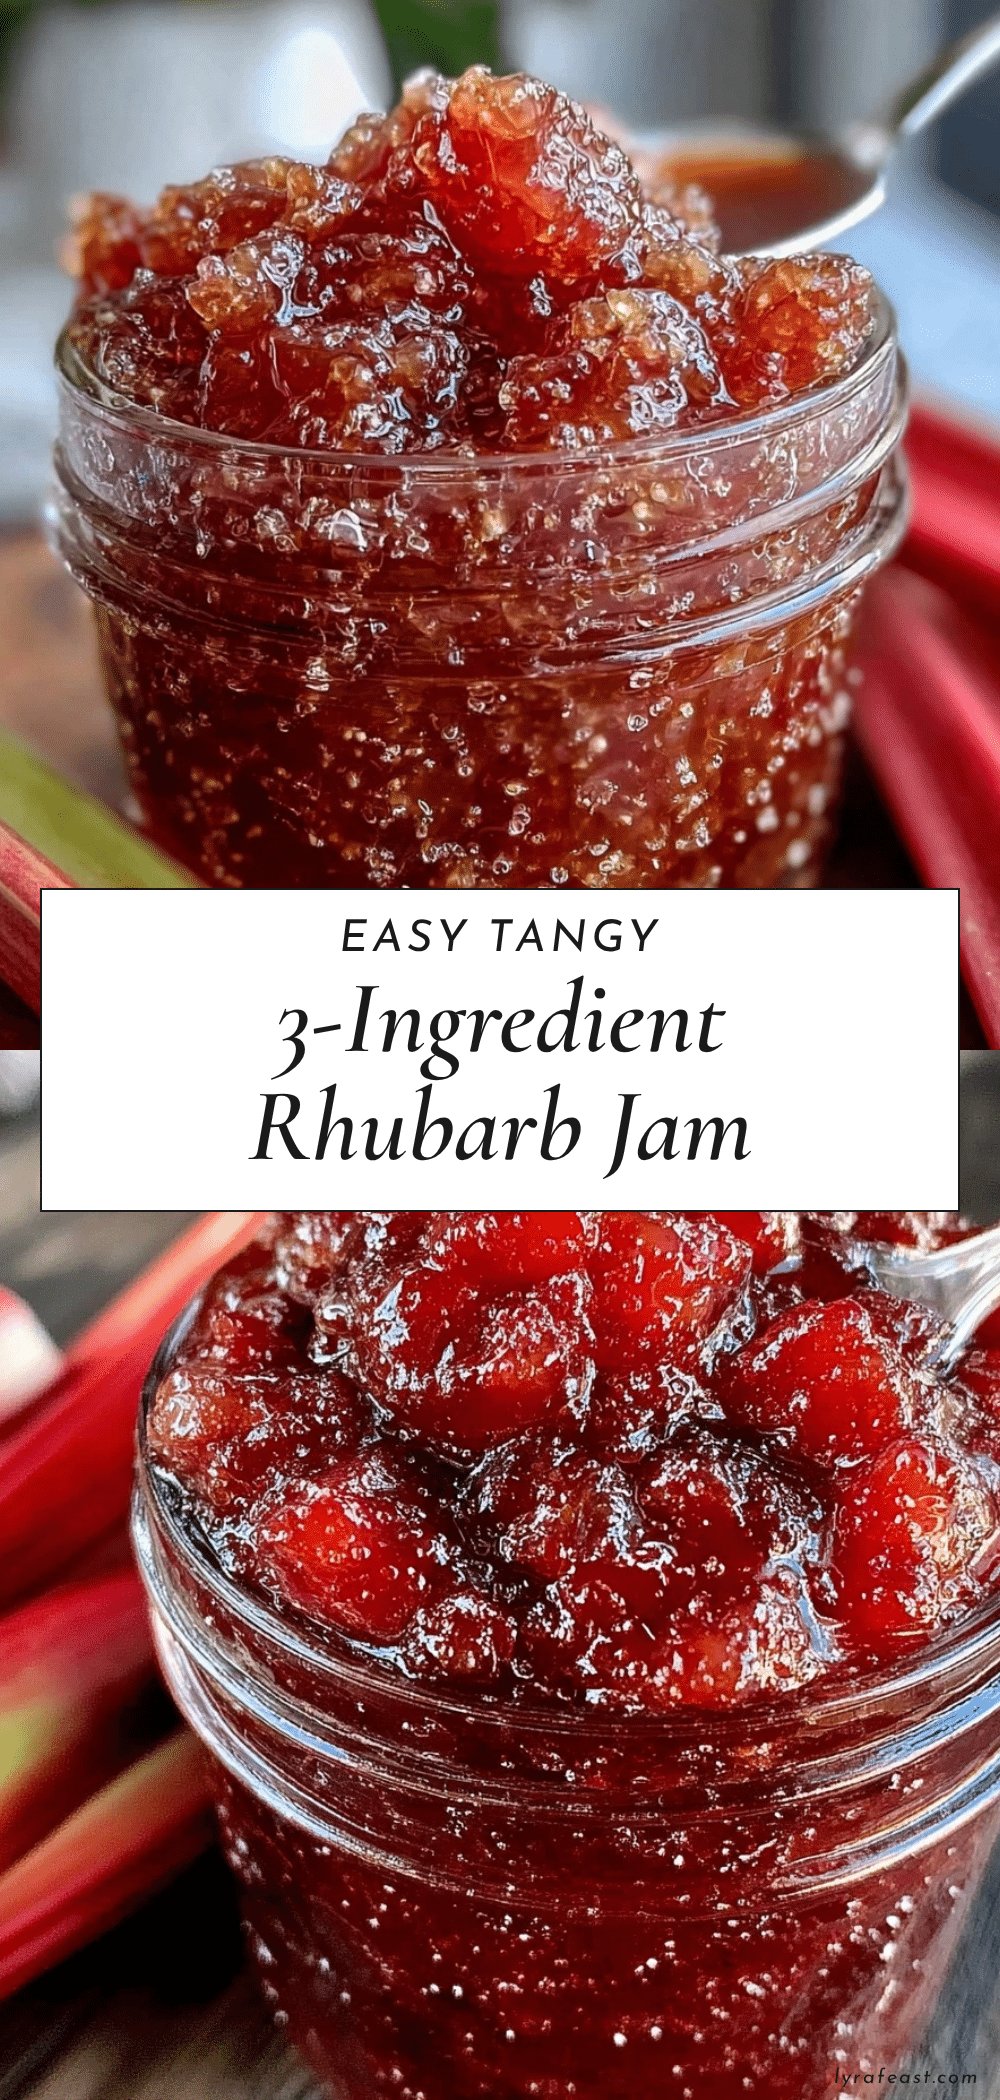
That first batch of easy 3-ingredient rhubarb jam changed how I saw canning forever. It’s straightforward enough for beginner canners but offers that satisfying feeling of making something from scratch. Plus, it’s the kind of jam you’ll want to slather on toast, spoon over yogurt, or gift to friends because honestly, who doesn’t love a little homemade sweetness in their life?
Why You’ll Love This Recipe
After several kitchen trials and a few sticky fingers later, I can say this rhubarb jam recipe is a keeper. Whether you’re new to canning or just craving a simple preserve, this jam checks all the boxes. Here’s why it stands out:
- Quick & Easy: Comes together in under 30 minutes, perfect for those spontaneous cooking moods or last-minute gifts.
- Simple Ingredients: Only rhubarb, sugar, and lemon juice—no need for fancy pectin or mysterious additives.
- Perfect for Beginner Canners: Minimal steps and equipment reduce the intimidation factor, making your first canning experience a breeze.
- Crowd-Pleaser: The tart-sweet flavor combo makes it a hit with both jam newbies and seasoned spread lovers.
- Unbelievably Delicious: The natural tang of rhubarb shines through, balanced perfectly with just the right amount of sweetness.
What sets this recipe apart is its purity and simplicity. I swear by using fresh, firm rhubarb stalks from local farmers’ markets when possible, and squeezing fresh lemon juice rather than bottled for that bright zing. No complicated steps or extra ingredients to get in the way—just honest jam that tastes like summer in a jar. Honestly, this recipe has become my go-to whenever I stumble upon a rhubarb haul, and I suspect it might be yours too after your first spoonful.
What Ingredients You Will Need
This recipe uses simple, wholesome ingredients to deliver bold flavor and satisfying texture without the fuss. Most are pantry staples or fresh finds from your local market.
- Fresh rhubarb stalks (about 4 cups chopped, roughly 600 grams) – Look for firm, crisp stalks with vibrant color. Avoid any that are wilted or overly fibrous.
- Granulated sugar (2 cups or 400 grams) – Regular white sugar works great here. If you want a slightly deeper flavor, organic cane sugar is a lovely alternative.
- Fresh lemon juice (2 tablespoons or 30 ml) – The acidity brightens the jam and helps with preservation. I always squeeze fresh lemons for the best zing.
If you want to experiment, you can swap part of the sugar for honey or maple syrup, but keep in mind it may alter the setting slightly. Also, for those seeking a low-sugar option, reducing sugar will affect the jam’s texture and shelf life, so proceed with caution. I recommend starting with this classic balance before trying substitutions.
Equipment Needed
- Large heavy-bottomed saucepan: Essential for even heat distribution and preventing scorching while cooking the jam.
- Wooden spoon or silicone spatula: For stirring the jam gently but thoroughly.
- Measuring cups and spoons: For precise ingredient amounts—accuracy matters in jam making!
- Clean glass jars with lids: Pint-sized canning jars are perfect. You’ll need around 2-3 jars depending on size.
- Jar lifter or tongs: Helpful for handling hot jars safely during the canning process.
- Optional: Food mill or blender: If you prefer a smoother jam texture, but honestly, I like leaving some chunks for character.
You don’t need fancy gadgets to make this jam. A trusted heavy pan and clean jars will do just fine. If you’re on a budget, standard mason jars work perfectly and can be reused multiple times. Taking care of your jars by sterilizing them properly is key, but I’ll guide you through that in the next section.
Preparation Method
- Prepare your jars: Place clean glass jars and lids in a large pot of boiling water for 10 minutes to sterilize. Keep them warm until ready to use.
- Wash and chop rhubarb: Rinse stalks well, trim off leaves (discard), then chop into 1/2-inch (1.25 cm) pieces. You should have about 4 cups (600 grams).
- Combine ingredients: In your saucepan, add rhubarb, sugar, and fresh lemon juice. Stir gently to mix.
- Cook the jam: Place the pan over medium heat. Stir occasionally until the sugar dissolves and rhubarb starts to break down, about 10 minutes. Then increase heat slightly and let it simmer gently for 15-20 minutes.
- Check consistency: To test, place a small spoonful on a chilled plate. Let it cool for a minute, then push with your finger—if it wrinkles and holds shape, it’s ready. If not, simmer a few minutes longer.
- Remove from heat: Let the jam cool for a couple of minutes but don’t wait too long or it might begin to set.
- Fill jars: Carefully ladle hot jam into sterilized jars, leaving about 1/4 inch (0.6 cm) headspace. Wipe rims clean and seal with lids immediately.
- Process jars: Place jars in a boiling water bath for 10 minutes to seal properly. Remove and let cool undisturbed for 12-24 hours. You’ll hear the satisfying “pop” as lids seal.
Pro tip: Keep a damp cloth handy to clean up any sticky spills as you fill your jars. Also, if you accidentally forget the lemon juice, your jam might not set properly, so that’s one step not to skip. The first time I made this, I got distracted and left it out—lesson learned the sticky way!
Cooking Tips & Techniques
Jam making sounds fancy but really, it’s all about timing and attention. Here are some tips I’ve picked up the hard way:
- Don’t rush the simmer: Letting the rhubarb break down slowly helps develop flavor and texture. Stir gently to avoid shredding the fruit too much.
- Use fresh lemon juice: It’s key for acidity and also helps the jam thicken naturally. Bottled juice can sometimes dull the brightness.
- Test the set regularly: Jam thickens as it cools, but knowing when to stop cooking is a balancing act. Use the chilled plate test to avoid overcooking into a paste.
- Clean your jar rims: Before sealing, wipe rims with a damp cloth to ensure a tight seal and prevent spoilage.
- Work quickly when filling jars: Jam sets fast once off heat, so have everything ready to go before you start ladling.
One time, I left the jam sitting too long before filling jars, and it got too thick to pour easily—definitely frustrating! I now set a timer as a reminder to fill jars promptly. Also, multitasking during canning can be tempting but can lead to mistakes, so I try to keep focused on one step at a time.
Variations & Adaptations
This jam recipe is wonderfully flexible. Here are some ways to make it your own:
- Seasonal Twist: Add fresh strawberries or raspberries during the last 5 minutes of cooking for a fruity rhubarb blend.
- Diet-Friendly: Substitute sugar with natural sweeteners like honey or agave, but expect a softer set.
- Texture Preference: For a smoother jam, pulse the cooked mixture briefly in a blender or use a food mill before jar filling.
- Spice it Up: Stir in a pinch of ground ginger or cinnamon for subtle warmth and complexity.
- Allergen Note: This jam is naturally gluten-free and vegan, making it great for many dietary needs.
I once tried adding a splash of vanilla extract at the end, and it gave the jam a surprisingly cozy depth—definitely worth experimenting! Feel free to play around; rhubarb’s tartness pairs well with many flavors.
Serving & Storage Suggestions
This rhubarb jam is best served slightly chilled or at room temperature. It’s fantastic spread on warm toast, folded into Greek yogurt, or even dolloped on vanilla ice cream for a tangy treat.
Store unopened jars in a cool, dark place for up to a year. Once opened, keep refrigerated and use within 3 weeks. If you find yourself with a big batch, this jam freezes well—just spoon it into freezer-safe containers and thaw gently before use.
Reheating gently on the stove or in the microwave helps revive the jam’s spreadability if it’s been refrigerated. Over time, flavors meld and deepen, so don’t be shy about making your jam a few weeks ahead of time.
Nutritional Information & Benefits
Per 2-tablespoon (30g) serving, this rhubarb jam contains approximately:
| Calories | 60 |
|---|---|
| Carbohydrates | 16g |
| Sugar | 15g |
| Fiber | 1g |
| Fat | 0g |
Rhubarb is a good source of vitamin K and antioxidants, while lemon juice adds vitamin C and acidity that supports preservation. This jam is naturally gluten-free and vegan, making it a friendly option for many dietary lifestyles. Just keep in mind it’s still a sweet treat, so moderation is key.
From a wellness perspective, I like how this recipe offers homemade goodness without processed additives or preservatives, giving you control over what goes into your food.
Conclusion
This easy 3-ingredient rhubarb jam is a sweet little miracle for beginner canners and jam lovers alike. It’s simple, honest, and rewarding—transforming humble rhubarb into a tangy-sweet spread that brightens breakfasts and snacks.
Feel free to tweak the sugar level, add your favorite flavors, or try different textures. Trust me, this recipe is forgiving and fun. I keep coming back to it because it reminds me of that rainy day discovery and the joy of making something from scratch that’s truly yours.
If you give this jam a try, I’d love to hear how you customize it or any kitchen stories you have along the way. Sharing your experiences keeps the love of home cooking alive!
FAQs
Can I use frozen rhubarb for this jam?
Yes, frozen rhubarb works fine. Just thaw and drain excess liquid before cooking to avoid a watery jam.
Do I need to add pectin to this recipe?
Nope! The natural pectin in rhubarb combined with sugar and lemon juice helps the jam set beautifully.
How long will the jam keep once canned?
Properly canned and sealed jars can last up to a year stored in a cool, dark place.
Can I make this jam without canning it?
Absolutely. You can refrigerate the jam and use it within 3 weeks, or freeze it for longer storage.
What’s the best way to sterilize jars at home?
Boil jars and lids in water for at least 10 minutes before filling with hot jam. Keep them warm until use to prevent cracking.
Pin This Recipe!
Easy 3-Ingredient Rhubarb Jam Recipe Perfect for Beginner Canners

A simple and quick rhubarb jam recipe using only three ingredients, perfect for beginner canners looking to make a tangy, sweet homemade preserve.
- Prep Time: 15 minutes
- Cook Time: 25 minutes
- Total Time: 40 minutes
- Yield: 2-3 pint jars 1x
- Category: Preserve
- Cuisine: American
Ingredients
- 4 cups chopped fresh rhubarb stalks (about 600 grams or 1.3 pounds)
- 2 cups granulated sugar (400 grams)
- 2 tablespoons fresh lemon juice (30 ml)
Instructions
- Prepare your jars: Place clean glass jars and lids in a large pot of boiling water for 10 minutes to sterilize. Keep them warm until ready to use.
- Wash and chop rhubarb: Rinse stalks well, trim off leaves (discard), then chop into 1/2-inch (1.25 cm) pieces. You should have about 4 cups (600 grams).
- Combine ingredients: In your saucepan, add rhubarb, sugar, and fresh lemon juice. Stir gently to mix.
- Cook the jam: Place the pan over medium heat. Stir occasionally until the sugar dissolves and rhubarb starts to break down, about 10 minutes. Then increase heat slightly and let it simmer gently for 15-20 minutes.
- Check consistency: To test, place a small spoonful on a chilled plate. Let it cool for a minute, then push with your finger—if it wrinkles and holds shape, it’s ready. If not, simmer a few minutes longer.
- Remove from heat: Let the jam cool for a couple of minutes but don’t wait too long or it might begin to set.
- Fill jars: Carefully ladle hot jam into sterilized jars, leaving about 1/4 inch (0.6 cm) headspace. Wipe rims clean and seal with lids immediately.
- Process jars: Place jars in a boiling water bath for 10 minutes to seal properly. Remove and let cool undisturbed for 12-24 hours. You’ll hear the satisfying “pop” as lids seal.
Notes
Use fresh, firm rhubarb stalks and fresh lemon juice for best flavor and proper setting. Test jam set with chilled plate test. Work quickly when filling jars to avoid jam setting too soon. Sterilize jars properly before use. Variations include adding berries, spices, or using natural sweeteners but may affect texture and set.
Nutrition
- Serving Size: 2 tablespoons (30 gr
- Calories: 60
- Sugar: 15
- Carbohydrates: 16
- Fiber: 1
Keywords: rhubarb jam, easy jam recipe, beginner canning, homemade jam, 3-ingredient jam, rhubarb preserve, simple jam, vegan jam, gluten-free jam