“You know that moment when you’re rushing to get your kids ready for soccer practice, and suddenly you realize the snack stash is empty?” That was me last Thursday afternoon, standing in the kitchen with one hand tying shoelaces and the other hunting for something quick and healthy. Honestly, it felt like a mini crisis—until I remembered a quick fix I’d stumbled on during a chaotic weekend with my neighbor, Tom.
Tom, who’s more of a weekend warrior than a chef, casually tossed together these easy no-bake peanut butter protein balls while we were watching the kids play. I didn’t expect much, but those little bites packed a punch—nutritious, tasty, and best of all, no oven required. The kids devoured them between drills, and I was hooked.
Maybe you’ve been there, too—scrambling for a snack that’s both kid-friendly and gives a bit of fuel without the sugar crash. These protein balls became my go-to for sports days, quick after-school bites, or even a last-minute travel snack. Let me tell you, they’re as simple as tossing ingredients in a bowl, rolling them up, and done. It’s the kind of recipe that feels like a secret weapon in the busy-parent arsenal.
So, if you’re juggling practice schedules and fridge raids like me, keep reading—I’m sharing everything you need to whip up these delightful little energy bombs that your kids will actually ask for again. Spoiler: You might find yourself sneaking one or two, no judgment here.
Why You’ll Love This Recipe
After testing this recipe countless times (including a few “oops” moments where I forgot to add an ingredient or mixed up quantities), I can confidently say these no-bake peanut butter protein balls are a winner for busy families. Here’s why you’ll want to keep this recipe handy:
- Quick & Easy: Ready in under 20 minutes with minimal cleanup—perfect when you’re juggling everything from homework to practice schedules.
- Simple Ingredients: No fancy, hard-to-find items. You likely have most of this in your pantry already.
- Perfect for Sports Snacks: They pack protein and energy without the sugar highs or artificial junk that often come with store-bought options.
- Crowd-Pleaser: Kids love them! They’re sweet but not overpowering, with a satisfying chewy texture.
- Unbelievably Delicious: The combination of peanut butter and oats creates a comforting, nutty flavor that hits the spot every time.
What makes this recipe stand out? It’s the balance—no overly sticky mess, no baking fuss, and the option to tweak it based on what you have on hand. Plus, the addition of a bit of honey and a touch of vanilla really brings the flavors together. Honestly, it’s comfort food reimagined for the active kiddo, and it’s saved me more than once when I was racing the clock.
What Ingredients You Will Need
This recipe uses simple, wholesome ingredients to deliver bold flavor and satisfying texture without the fuss. These are mostly pantry staples, and if you’re missing something, I’ve included substitutions to keep it flexible.
- Rolled oats (1 ½ cups / 135 g) – I recommend old-fashioned oats for the best chewiness. Quick oats work but can make the balls a bit mushier.
- Natural peanut butter (1 cup / 250 g) – Choose creamy or chunky based on preference. I prefer brands like Smucker’s Natural for that pure, rich peanut flavor.
- Honey (⅓ cup / 80 ml) – Adds natural sweetness and helps bind the balls together. Maple syrup works well as a vegan alternative.
- Ground flaxseed (2 tbsp / 14 g) – Boosts fiber and omega-3s. You can leave this out but it adds a nice nutritional edge.
- Mini chocolate chips (½ cup / 90 g) – Optional, but kids love the little sweet bursts. Use dairy-free chips if needed.
- Vanilla extract (1 tsp / 5 ml) – Just a splash for flavor depth.
- Salt (a pinch) – Enhances all the flavors, especially the peanut butter.
Feel free to switch oats for gluten-free oats if you’re avoiding gluten or substitute peanut butter with almond or sunflower seed butter for nut-free versions. I once swapped in pumpkin seeds for flaxseed when I ran out, and it worked surprisingly well.
Equipment Needed
Not much gear is needed for this recipe, which is part of the appeal. Here’s what I use:
- Mixing bowl: A large one – I personally like a sturdy glass bowl but any medium to large bowl works.
- Measuring cups and spoons: Accurate measurements keep things consistent, especially if you’re doubling the recipe.
- Spoon or spatula: For mixing – a silicone spatula is great for scraping the sides.
- Baking sheet or plate: To place the rolled balls on. I line mine with parchment for easy cleanup, but it’s not mandatory.
- Optional: Food processor – If you want a finer oat texture, pulse the oats a few times, but honestly, I usually skip this step.
If you don’t have parchment paper, a lightly greased plate works fine. For budget-friendly options, plastic mixing bowls from dollar stores get the job done perfectly.
Preparation Method
- Combine dry ingredients: In your large mixing bowl, stir together 1 ½ cups (135 g) rolled oats, 2 tablespoons (14 g) ground flaxseed, ½ cup (90 g) mini chocolate chips, and a pinch of salt. This mix forms the base and texture of your protein balls. (About 2 minutes)
- Add wet ingredients: Spoon in 1 cup (250 g) natural peanut butter, ⅓ cup (80 ml) honey, and 1 teaspoon (5 ml) vanilla extract. Use a sturdy spoon or spatula to mix everything until it’s well combined. The mixture should be sticky but manageable—if it feels too dry, add a teaspoon of water or more honey, a little at a time. (3-5 minutes)
- Check consistency: Here’s a tip: pinch a small amount and roll it between your fingers. If it crumbles, it needs a bit more moisture. If it feels too sticky, add a sprinkle of oats. (1 minute)
- Roll into balls: Scoop out tablespoon-sized portions and roll them into tight balls with your hands. This part is a bit messy but fun—you might get some on your fingers, but hey, that’s snack sampling! (5-7 minutes)
- Set to chill: Place the balls on a parchment-lined baking sheet or plate and pop them into the fridge for at least 30 minutes to firm up. This step helps them hold shape and makes them easier to pack for snacks. (30 minutes minimum)
- Store and enjoy: Once chilled, transfer the balls to an airtight container. They’re ready to grab whenever hunger strikes.
Pro tip: If you’re short on time, you can freeze the balls directly after rolling. Just thaw for 10 minutes before serving.
Cooking Tips & Techniques
From my experience, these tips will help your no-bake peanut butter protein balls turn out just right:
- Mix gently but thoroughly: Overmixing can make the texture dense, but under-mixing leaves dry pockets. A few minutes of folding with a spatula usually does the trick.
- Adjust sweetness carefully: Honey is both a sweetener and binder; add it gradually. If your peanut butter is very sweet already, you might want to start with less honey.
- Keep your hands slightly damp: Rolling sticky dough can be tricky. Lightly wetting your palms helps prevent sticking without adding moisture to the mixture.
- Don’t skip chilling: The fridge helps the balls firm up, making them hold shape longer and taste better.
- Personal lesson: Once, I forgot the vanilla extract and the whole batch felt a bit flat. That little splash really brightens the flavor—don’t miss it!
- Multitask: While the balls chill, use that time to prep drinks or pack bags, making your snack prep more efficient.
Variations & Adaptations
Want to mix things up? Here are a few ways to customize these protein balls to suit your taste or dietary needs:
- Nut-Free Version: Swap peanut butter for sunflower seed butter and add pumpkin seeds instead of flaxseed.
- Chocolate Boost: Add 2 tablespoons of unsweetened cocoa powder to the dry mix for a richer, chocolaty flavor.
- Seasonal Twist: Stir in dried cranberries or chopped dried apricots for a fruity surprise, especially nice during fall or winter.
- Protein Powder Addition: Mix in a scoop (about 30 g) of your favorite protein powder to increase the protein content, perfect for older kids or teens.
- My personal favorite: I once tried adding shredded coconut and a pinch of cinnamon—unexpected but delicious!
If you want to bake them for a firmer texture, 10 minutes at 350°F (175°C) can work, but honestly, the no-bake version is where the magic is.
Serving & Storage Suggestions
These protein balls are best served chilled or at room temperature. They make a perfect grab-and-go snack for sports practice, after school, or even as a quick breakfast bite.
Pair them with a cool glass of milk or a fruit smoothie for a balanced snack that keeps kids energized. For a fun twist, serve alongside sliced apples or celery sticks as a crunchy contrast.
Store the balls in an airtight container in the refrigerator for up to one week. For longer storage, pop them in the freezer—they freeze beautifully for up to three months. When you want to enjoy them, just thaw at room temperature or in the fridge for about 10 minutes.
Flavors actually deepen over time, so if you make these ahead, they taste even better the next day. Just don’t tell the kids you planned that far ahead—they’ll think you’re a magician.
Nutritional Information & Benefits
Each peanut butter protein ball (makes about 20) roughly contains:
| Nutrient | Per Ball |
|---|---|
| Calories | 90-110 kcal |
| Protein | 4-5 g |
| Carbohydrates | 10-12 g |
| Fiber | 2-3 g |
| Fat | 5-7 g (mostly healthy fats) |
The combination of peanut butter and oats offers heart-healthy fats, fiber, and sustained energy without the sugar spikes found in many commercial snacks. Ground flaxseed adds omega-3 fatty acids, which support brain development—a great bonus for growing kids.
This recipe is gluten-free if you use certified gluten-free oats and can be made dairy-free by choosing dairy-free chocolate chips. Just watch out for nut allergies and swap accordingly.
Conclusion
These easy no-bake peanut butter protein balls have become a staple in my household, especially on those hectic sports days when I need a reliable, wholesome snack that kids actually love. They’re simple, quick, and flexible enough to fit into just about any diet or taste preference. Honestly, I never thought a snack so easy could become such a favorite.
Give them a try, and feel free to tweak the recipe to fit your family’s style. Maybe add a dash of cinnamon, swap the chocolate chips, or throw in some seeds—it’s all about making it work for you. And hey, if your kids end up asking for these as much as mine do, I’d love to hear how you made them your own!
Drop a comment below sharing your favorite tweaks or any questions you have. Sharing your version could inspire someone else juggling the snack-time scramble. Let’s keep the snack magic going!
FAQs
Can I make these peanut butter protein balls ahead of time?
Yes! They store well in the fridge for up to a week and freeze beautifully for up to three months. Just thaw before serving.
Are these suitable for kids with nut allergies?
You can substitute peanut butter with sunflower seed butter or soy nut butter to make a nut-free version. Just double-check the rest of the ingredients for allergens.
Can I use crunchy peanut butter instead of creamy?
Absolutely! Crunchy peanut butter adds a bit of extra texture, which some kids really enjoy.
What if I don’t have ground flaxseed?
It’s optional but great for nutrition. You can leave it out or replace it with chia seeds or finely chopped nuts.
How can I make these more protein-packed?
Adding a scoop of your favorite protein powder to the mix works well. Just adjust the honey or oats slightly to maintain the right texture.
Before you go, if you’re interested in other kid-friendly snacks, you might enjoy my healthy homemade granola bars or the easy fruit and yogurt parfaits that are perfect for lunchboxes and after-school treats.
Pin This Recipe!
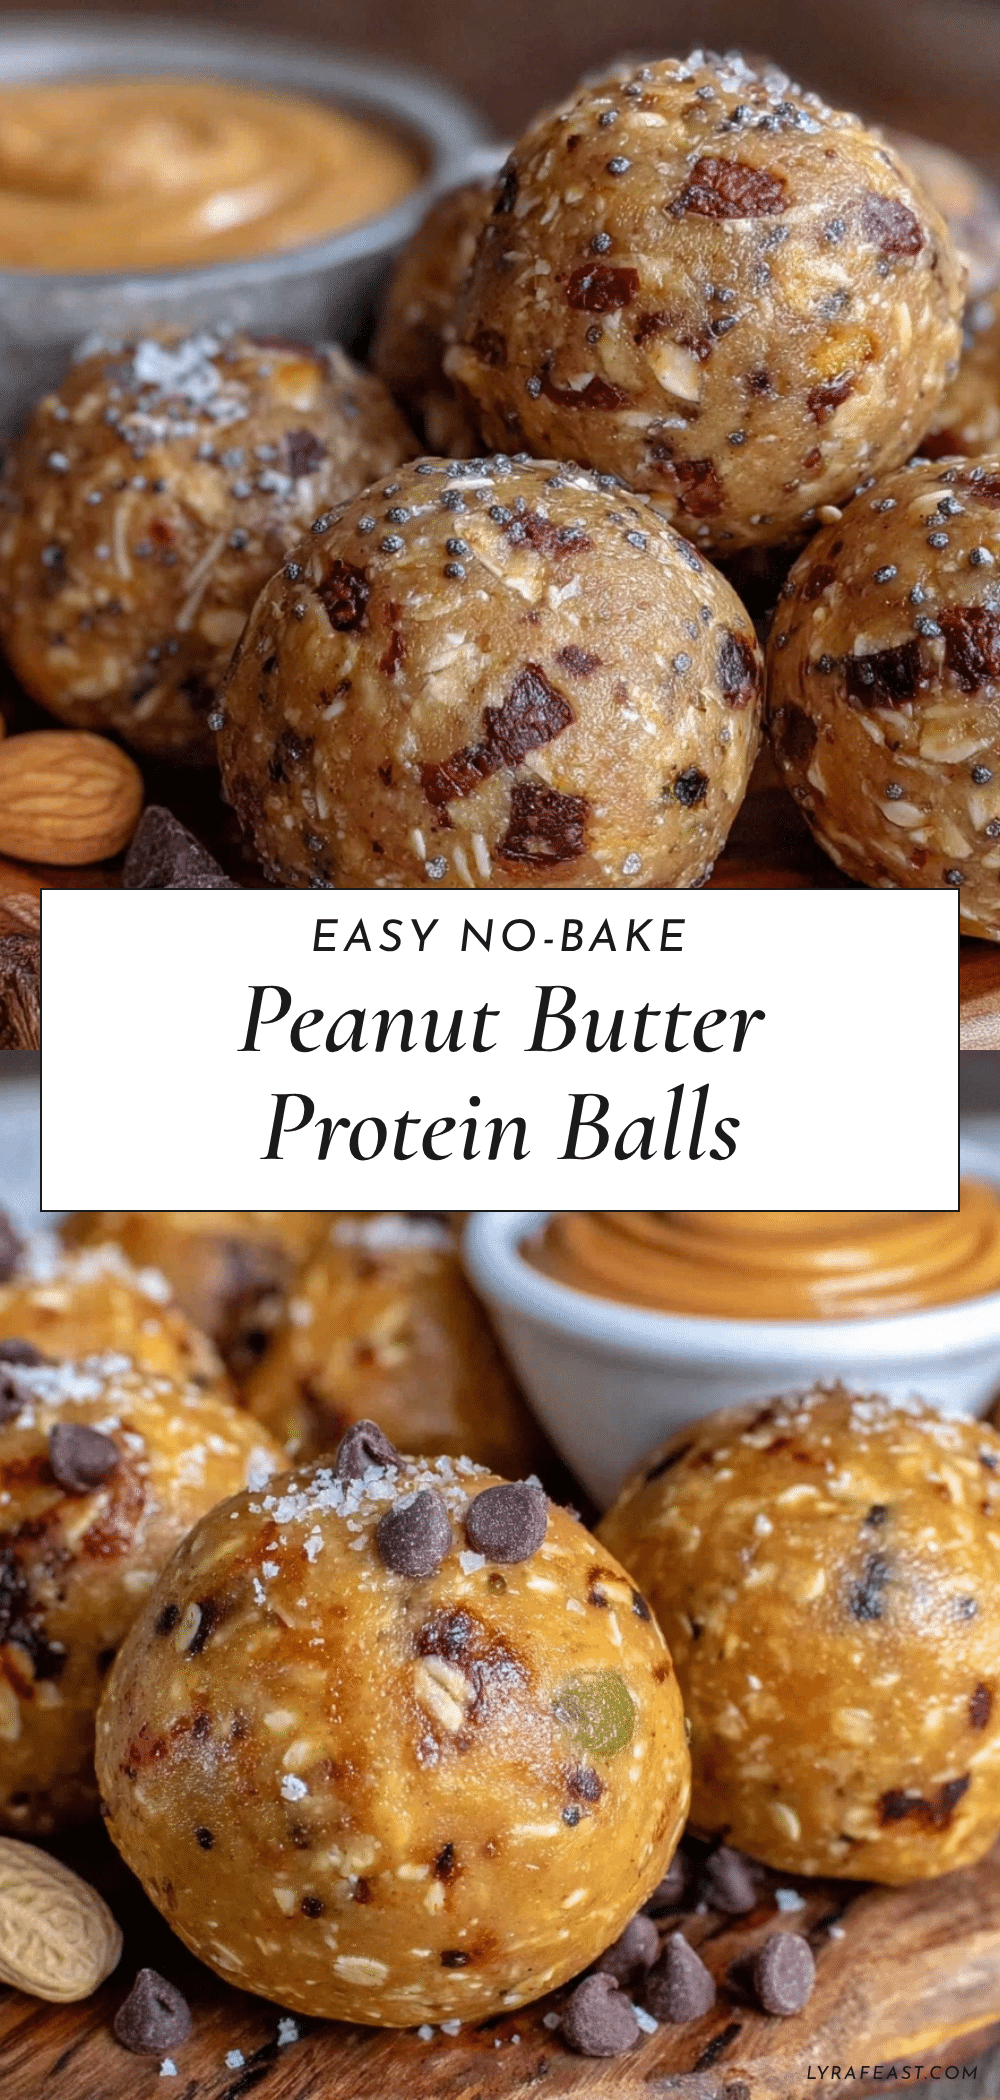
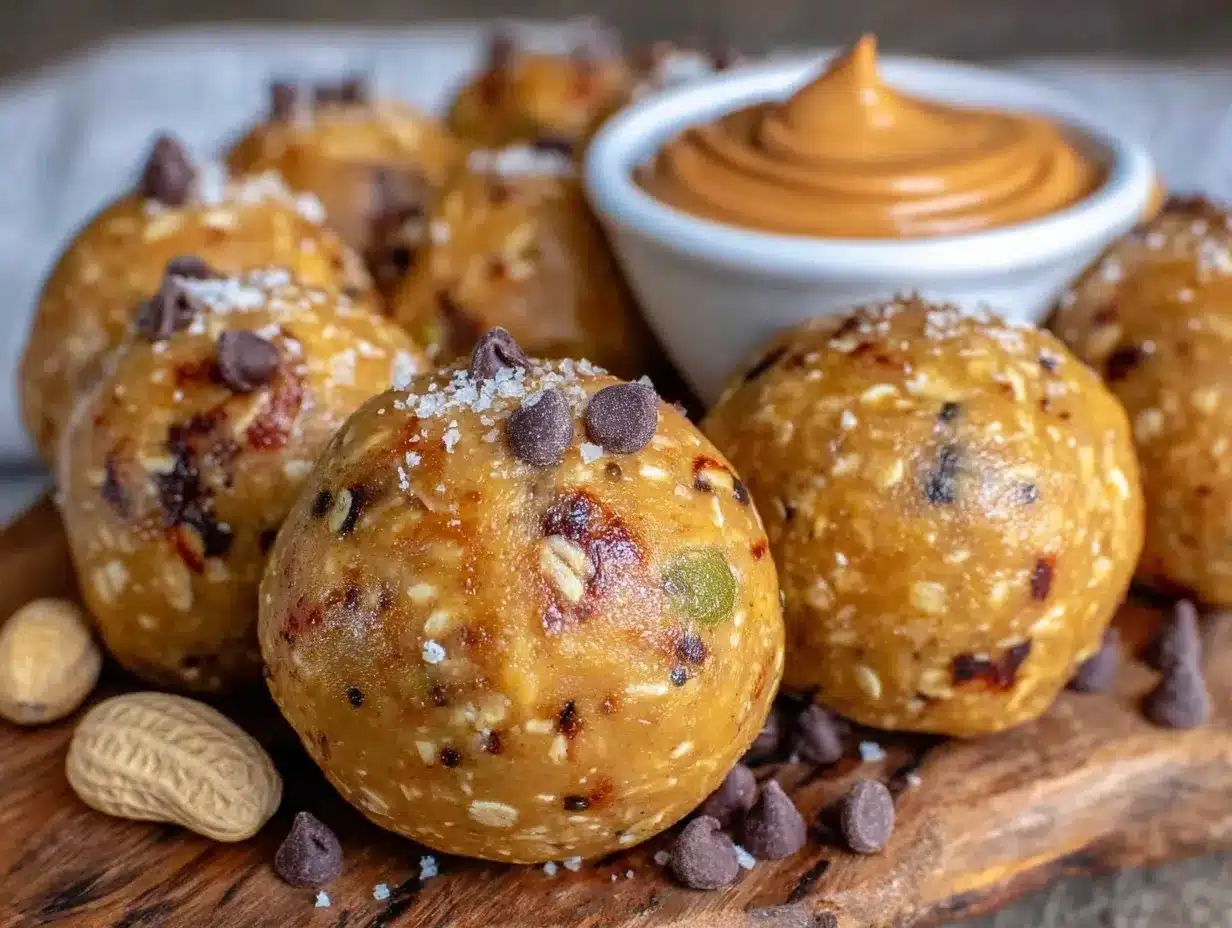
Easy No-Bake Peanut Butter Protein Balls Recipe for Kids Sports Snacks

Quick and easy no-bake peanut butter protein balls that are perfect for kids’ sports snacks, packed with protein and energy without the sugar crash.
- Prep Time: 10 minutes
- Cook Time: 0 minutes
- Total Time: 40 minutes
- Yield: About 20 balls 1x
- Category: Snack
- Cuisine: American
Ingredients
- 1 ½ cups (135 g) rolled oats (old-fashioned recommended)
- 1 cup (250 g) natural peanut butter (creamy or chunky)
- ⅓ cup (80 ml) honey (maple syrup as vegan alternative)
- 2 tablespoons (14 g) ground flaxseed (optional)
- ½ cup (90 g) mini chocolate chips (optional, dairy-free if needed)
- 1 teaspoon (5 ml) vanilla extract
- Pinch of salt
Instructions
- Combine 1 ½ cups rolled oats, 2 tablespoons ground flaxseed, ½ cup mini chocolate chips, and a pinch of salt in a large mixing bowl.
- Add 1 cup natural peanut butter, ⅓ cup honey, and 1 teaspoon vanilla extract to the dry ingredients and mix thoroughly until sticky but manageable. Add water or more honey if needed.
- Check consistency by rolling a small amount between fingers; adjust moisture by adding oats or liquid as necessary.
- Scoop tablespoon-sized portions and roll into tight balls with your hands.
- Place the balls on a parchment-lined baking sheet or plate and chill in the refrigerator for at least 30 minutes to firm up.
- Store the chilled balls in an airtight container and enjoy as a quick snack.
Notes
If mixture is too dry, add a teaspoon of water or more honey gradually. Keep hands slightly damp when rolling to prevent sticking. Chilling is essential for firm texture. Can freeze for up to three months; thaw 10 minutes before serving. Variations include nut-free versions, adding cocoa powder, dried fruit, or protein powder.
Nutrition
- Serving Size: 1 protein ball
- Calories: 90110
- Fat: 57
- Carbohydrates: 1012
- Fiber: 23
- Protein: 45
Keywords: no-bake, peanut butter, protein balls, kids snacks, sports snacks, healthy snack, quick snack, easy recipe