“I never thought a simple sandwich could cause such a stir,” my friend Jenna confessed last Saturday as we prepped for her daughter’s birthday party. The idea was straightforward—bring something easy, healthy, and fun for the kids. But when she showed me the star-shaped sandwiches she’d made, I was honestly impressed. The kids swarmed around the platter like it was treasure, and adults couldn’t help but sneak a bite or two. It reminded me of a night a few years back when I was rummaging through my kitchen late at night, trying to whip up something quick for my niece who’d just announced she was “starving” after a long day at school. I grabbed some bread, cheese, and ham, and with a cookie cutter that had been buried in the drawer, I made star shapes. What started as a late-night craving fix turned into a tradition for any kid’s party in our circle.
Maybe you’ve been there—scrambling to find snacks that are simple, wholesome, and kid-approved. “Fun Homemade Star-Shaped Sandwiches for Kids” aren’t just cute; they’re a little game-changer for busy parents and caregivers who want something that looks delightful but doesn’t take forever to prepare. Plus, they’re a great way to sneak in some nutrition without the usual fuss. Let me tell you, there’s something magical about handing a child a sandwich that looks like a star—it’s like handing them a tiny celebration on a plate. Honestly, this recipe stayed with me because it’s fun, flexible, and somehow turns the everyday sandwich into something memorable. So, if you’re ready to bring a little sparkle to snack time, keep reading—you’re going to love this!”
Why You’ll Love This Recipe
Having made these fun homemade star-shaped sandwiches countless times for school events, playdates, and even simple afternoon snacks, I can say they truly hit the mark. Here’s why this recipe stands out and why you’ll want to keep it in your rotation:
- Quick & Easy: You can whip up a batch in under 20 minutes—perfect when time’s tight or when unexpected guests arrive.
- Simple Ingredients: No need for fancy stuff—just basics you likely already have in your kitchen.
- Perfect for Parties: Whether it’s a birthday, picnic, or school snack day, these sandwiches steal the show with minimal effort.
- Crowd-Pleaser: Kids love the fun shapes, and adults appreciate the neat presentation and taste.
- Unbelievably Delicious: The combination of fresh bread, creamy cheese, and tasty fillings makes every bite satisfying.
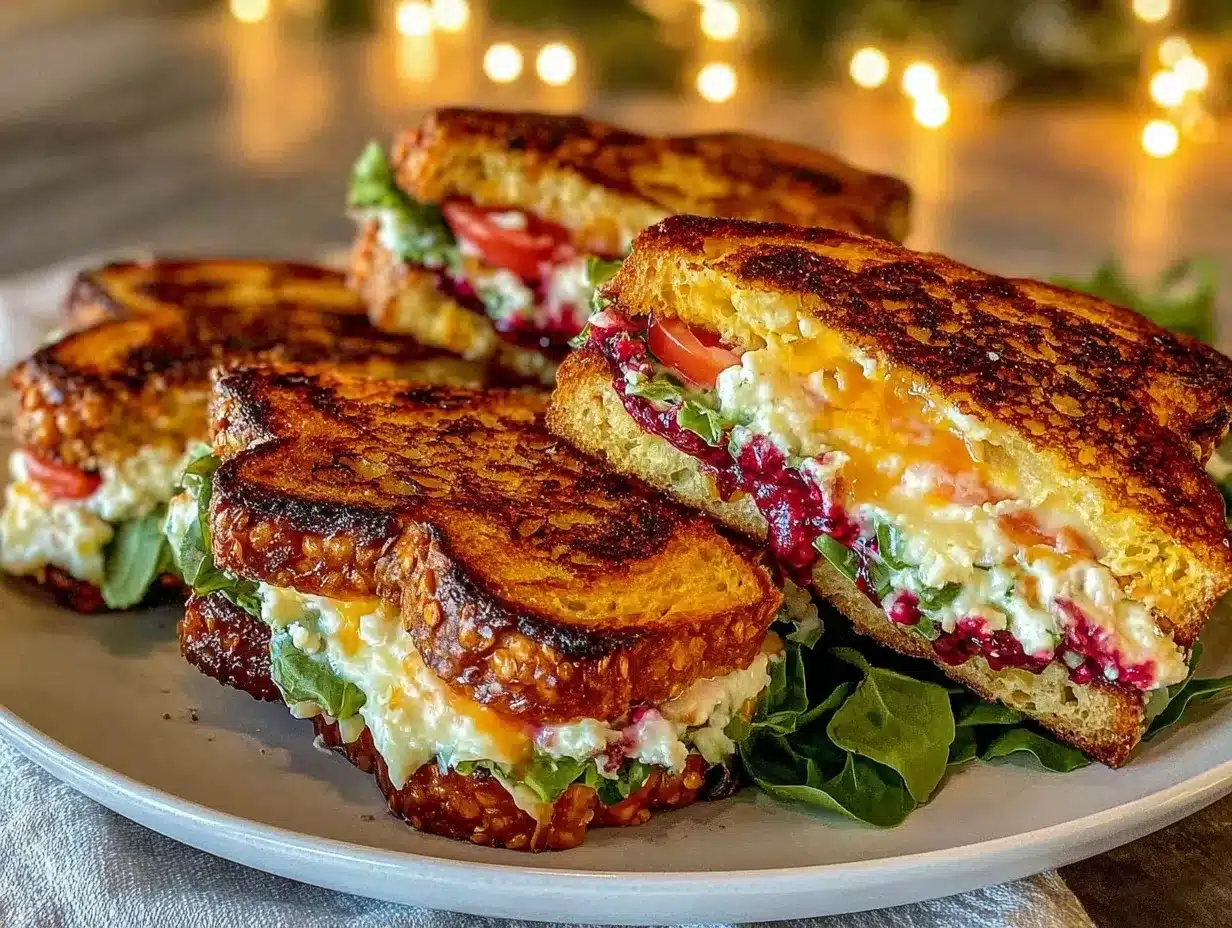
What makes this recipe special is the star shape itself. It’s not just a cutout; the way you layer the fillings and gently press the sandwich together keeps everything intact without squishing the bread. I also like to add a little herb or spice to the spread to add an unexpected flavor twist. The beauty here is in the balance—simple, fresh, and inviting. It’s not just a sandwich; it’s a conversation starter at any gathering. Honestly, once you try these, you’ll find yourself thinking up new shapes and filling combos. This recipe is like a little canvas for creativity, and trust me, kids notice that.
What Ingredients You Will Need
This recipe uses simple, wholesome ingredients to deliver bold flavor and satisfying texture without the fuss. Most are pantry staples, and you can easily swap or add based on what your kids like or what you have on hand.
- Bread: White, whole wheat, or multigrain sandwich bread (choose soft slices for easy cutting)
- Cheese: Sliced cheddar, mozzarella, or your child’s favorite cheese (I prefer mild cheddar for its creamy melt)
- Lunch Meat: Thinly sliced ham, turkey, or chicken breast (look for nitrate-free options if possible)
- Spread: Mayonnaise, cream cheese, or hummus (for a healthier twist, try mashed avocado or Greek yogurt mixed with a little lemon juice)
- Optional add-ins: Thin cucumber slices, shredded carrot, or baby spinach leaves (adds crunch and nutrition)
- Seasoning: A pinch of salt, pepper, or a sprinkle of dried oregano or basil (optional but adds a subtle flavor boost)
- Butter: Unsalted, softened (for toasting or sealing edges, if desired)
If you want to make these gluten-free, swap the bread for your preferred gluten-free brand—my go-to is a soft almond flour bread that cuts easily. For dairy-free versions, use plant-based cheese slices and spreads. Also, in warmer months, adding fresh herbs like chopped parsley or dill really brightens the flavor.
Equipment Needed
- Star-shaped cookie cutter: The key to these sandwiches! Sizes around 3 to 4 inches work best to hold fillings without falling apart.
- Butter knife or spreading knife: For even spreading of mayo or cream cheese.
- Cutting board: A sturdy surface to cut and assemble sandwiches.
- Serrated bread knife: Helpful if you need to trim crusts or slice bread evenly.
- Optional toaster or grill pan: If you prefer toasted sandwiches, a non-stick pan or sandwich press works well.
I’ve tried making these with smaller cutters, but the filling tends to spill out too much. Also, if you don’t have a star cutter, a simple heart or circle cutter will still make fun shapes. Just remember to press firmly but gently to keep the bread from tearing. For budget-friendly options, check dollar stores or kitchen supply shops for affordable cookie cutters—they work just fine. Cleaning the cutters right after use helps maintain their sharp edges, making future sandwiches cleaner and easier to cut.
Preparation Method
- Prepare your ingredients: Lay out your bread slices on a clean cutting board. If your bread isn’t fresh, a quick toast can make it easier to work with. Gather your cheese, lunch meat, and spreads. (Time: 5 minutes)
- Apply the spread: Using a butter knife, spread a thin, even layer of mayonnaise, cream cheese, or hummus on one side of each bread slice. This not only adds flavor but creates a moisture barrier so the bread doesn’t get soggy. (Tip: Don’t overload—too much spread can make the sandwich slippery and hard to cut.)
- Layer the fillings: Place your cheese slice on half of the bread slices, then add lunch meat evenly over the cheese. If you’re adding veggies, layer thin slices of cucumber or shredded carrot on top. Season lightly with salt, pepper, or herbs if you like. (Tip: Avoid overstuffing; thinner layers help keep the sandwich together.)
- Assemble sandwiches: Top with the remaining bread slices, spread side down, creating a sandwich. Press gently but firmly to compact the layers slightly. (Time: 2 minutes)
- Cut the star shapes: Press your star-shaped cookie cutter straight down into the sandwich until it goes through all layers. Wiggle gently and then lift. If the sandwich doesn’t release easily, use a small knife to loosen edges and pop it out. (Tip: Keep a damp cloth nearby to wipe crumbs off the cutter between cuts.)
- Optional toasting: If you want warm sandwiches, lightly butter the outsides and toast in a skillet over medium heat for 2-3 minutes per side until golden and melty. (Warning: handle carefully to keep star shape intact!)
- Arrange and serve: Place the star-shaped sandwiches on a colorful platter or lunchbox. Add some fresh fruit or veggie sticks on the side for a balanced snack. (Time: 3 minutes)
One time, I accidentally forgot to spread the mayo before layering, and the sandwich was a little dry, so trust me—don’t skip that step! Also, if your bread is too soft, the cutter can squish it, so chilling the sandwiches for 10 minutes before cutting can make the shapes cleaner. I learned that the hard way when I ended up with a handful of bread crumbs instead of stars.
Cooking Tips & Techniques
Honestly, making these star-shaped sandwiches is straightforward but a few tricks make the process smoother and the results prettier every time.
- Use firm but soft bread: Slices that are too fresh or airy can tear when cutting, while stale bread won’t taste good. Slightly day-old bread or lightly toasted slices hit the sweet spot.
- Don’t overload fillings: Keeping thin, even layers prevents the sandwich from falling apart and makes cutting shapes easier.
- Press sandwiches gently: Compacting the sandwich slightly before cutting helps the layers stick together without crushing the bread.
- Chill before cutting: Refrigerate assembled sandwiches for about 10-15 minutes. This firms them up and leads to cleaner cuts.
- Clean cutter often: Wiping the cutter between sandwiches reduces crumb build-up and helps maintain sharp edges.
- Experiment with spreads: I once tried mixing a little honey into cream cheese for a sweeter touch, and it was a hit with the kids!
- Multitasking tip: While sandwiches chill, use that time to prep fruit or other snacks—maximizing efficiency.
One personal lesson: trying to cut too many stars from a single loaf at once makes the bread dry out and crumbly. Better to work in smaller batches. Also, if you want more color and nutrition, adding a thin layer of pesto or sun-dried tomato spread livens up the flavor without intimidating picky eaters.
Variations & Adaptations
These star-shaped sandwiches are a perfect blank canvas you can easily customize to suit different tastes, diets, and occasions.
- Vegetarian version: Swap lunch meat with grilled veggies like zucchini or roasted peppers and add a slice of mozzarella or cheddar. A little pesto spread adds extra flavor punch.
- Gluten-free adaptation: Use gluten-free bread—brands like Udi’s or Canyon Bakehouse work well. The cutting technique remains the same.
- Sweet sandwich twist: Replace savory fillings with cream cheese and fruit jam, or peanut butter and banana slices. These are fantastic for an afternoon snack or lunchbox surprise.
- Seasonal flavors: In fall, try adding thin apple slices and a drizzle of honey inside for a cozy twist.
- Personal favorite: I once made a batch with smoked turkey, cranberry sauce spread, and cream cheese for a Thanksgiving-themed snack. It was a hit and felt festive without fuss.
Adjust the fillings based on what your kids enjoy and don’t hesitate to sneak in healthier veggies or unique spreads. The star shape adds whimsy but the real magic is in the filling combinations you create.
Serving & Storage Suggestions
Serve these sandwiches fresh at room temperature or slightly chilled—they hold up well for a few hours, making them great for picnics or packed lunches. Presentation-wise, arranging the stars on a colorful plate with fruit slices or veggie sticks brightens things up visually and nutritionally.
For storage, place leftover sandwiches in an airtight container lined with a paper towel to absorb moisture. Keep refrigerated for up to 24 hours. Avoid freezing as the bread texture changes.
When reheating toasted versions, a quick 20-second zap in the microwave or a brief toast in a skillet restores warmth without sogginess. The flavors actually mellow and meld nicely after resting a bit, so if you make them in advance, they often taste even better.
Pairing star-shaped sandwiches with a fresh fruit salad or simple smoothie can round out the meal perfectly. I often serve them alongside carrot sticks and a small cup of ranch dip when hosting playdates.
Nutritional Information & Benefits
Each star-shaped sandwich provides a balanced mix of protein, carbs, and fats, making it a satisfying snack or light meal for kids. Bread offers energy-boosting carbohydrates; cheese and lunch meat contribute protein and calcium; veggies add fiber and vitamins.
Depending on your ingredient choices, these sandwiches can be gluten-free, low-sugar, or dairy-free. Using whole grain bread ups the fiber content, supporting digestion and sustained energy.
From a wellness perspective, these sandwiches help avoid processed snack foods by offering fresh, homemade options that kids actually want to eat. Including vegetables and healthy spreads also helps expand their palate, making mealtime less of a battle.
Conclusion
Fun homemade star-shaped sandwiches for kids are more than just a cute snack—they’re a practical, tasty, and creative way to brighten up lunchboxes and parties. With simple ingredients, minimal equipment, and a bit of playful spirit, you can make something kids adore and adults appreciate. I love this recipe because it turns everyday ingredients into a little celebration, and honestly, it’s a joy to see kids’ faces light up when handed a star-shaped treat.
Feel free to tweak the fillings and shapes to fit your family’s tastes and occasions. If you give this recipe a try, I’d love to hear how your star sandwiches turned out or what fun variations you came up with—drop a comment below and share your story. Now, go ahead and make snack time shine bright!
FAQs
Can I use different shaped cookie cutters for this recipe?
Absolutely! Hearts, circles, or animals work just as well. The key is to pick a size that holds the fillings together without falling apart.
What bread works best for making star-shaped sandwiches?
Soft sandwich bread like white, whole wheat, or multigrain slices is ideal. Slightly day-old or lightly toasted bread cuts cleaner and holds fillings better.
How can I make these sandwiches ahead of time?
Assemble and cut the sandwiches, then store them in an airtight container with a paper towel in the fridge. Eat within 24 hours for best freshness.
Are these sandwiches suitable for picky eaters?
Yes! The fun shape often encourages kids to try them, and you can customize fillings to suit their preferences.
Can I make these sandwiches gluten-free or dairy-free?
Definitely. Use gluten-free bread and substitute cheese and spreads with plant-based alternatives to fit dietary needs.
By the way, if you’re interested in other kid-friendly snack ideas, you might enjoy my crispy garlic chicken recipe or the colorful veggie-packed rainbow quinoa salad—both great for family meals with a twist!
Pin This Recipe!
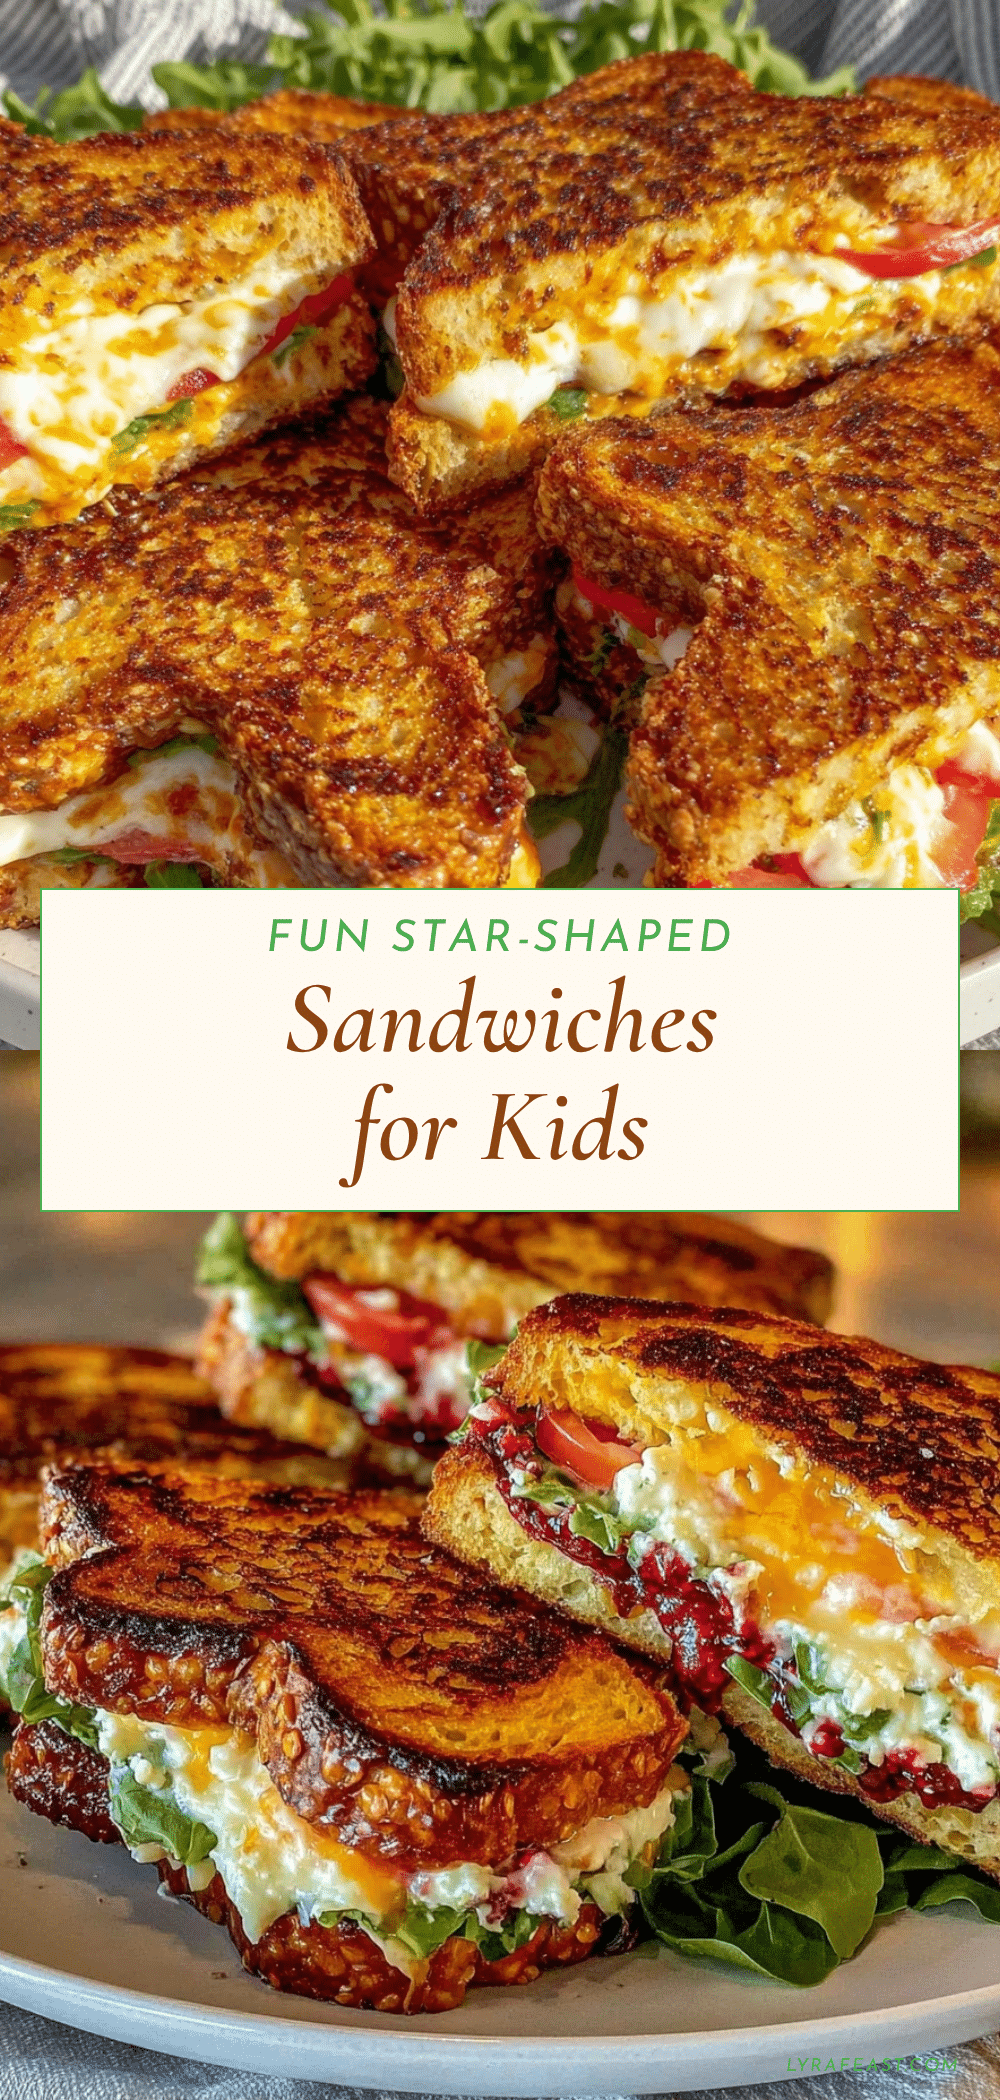
Fun Homemade Star-Shaped Sandwiches for Kids

These fun homemade star-shaped sandwiches are a quick, easy, and healthy snack perfect for kids’ parties, playdates, or lunchboxes. They combine simple ingredients with a playful shape to make snack time delightful and nutritious.
- Prep Time: 10 minutes
- Cook Time: 6 minutes
- Total Time: 16 minutes
- Yield: 8 star-shaped sandwiches
- Category: Snack
- Cuisine: American
Ingredients
- Bread: white, whole wheat, or multigrain sandwich bread (soft slices for easy cutting)
- Cheese: sliced cheddar, mozzarella, or your child’s favorite cheese
- Lunch meat: thinly sliced ham, turkey, or chicken breast (nitrate-free if possible)
- Spread: mayonnaise, cream cheese, or hummus (or mashed avocado or Greek yogurt with lemon juice for a healthier twist)
- Optional add-ins: thin cucumber slices, shredded carrot, or baby spinach leaves
- Seasoning: pinch of salt, pepper, or dried oregano or basil (optional)
- Butter: unsalted, softened (for toasting or sealing edges, if desired)
Instructions
- Prepare your ingredients: Lay out bread slices on a clean cutting board. Toast lightly if bread isn’t fresh. Gather cheese, lunch meat, and spreads. (5 minutes)
- Apply the spread: Spread a thin, even layer of mayonnaise, cream cheese, or hummus on one side of each bread slice. Avoid overloading.
- Layer the fillings: Place cheese slice on half of the bread slices, add lunch meat evenly over cheese. Add optional veggies and season lightly if desired.
- Assemble sandwiches: Top with remaining bread slices, spread side down. Press gently but firmly to compact layers slightly. (2 minutes)
- Cut the star shapes: Press star-shaped cookie cutter straight down through all layers. Wiggle gently and lift. Use a small knife to loosen edges if needed.
- Optional toasting: Lightly butter outsides and toast in skillet over medium heat for 2-3 minutes per side until golden and melty.
- Arrange and serve: Place star-shaped sandwiches on a platter or lunchbox. Add fresh fruit or veggie sticks on the side. (3 minutes)
Notes
Use slightly day-old or lightly toasted bread for cleaner cuts. Chill sandwiches for 10-15 minutes before cutting for best shape retention. Clean cookie cutter between cuts to avoid crumbs. Experiment with spreads and fillings for variety. Store leftovers in airtight container with paper towel in fridge up to 24 hours. Avoid freezing.
Nutrition
- Serving Size: 1 star-shaped sandwi
- Calories: 150
- Sugar: 2
- Sodium: 300
- Fat: 7
- Saturated Fat: 3
- Carbohydrates: 15
- Fiber: 1
- Protein: 7
Keywords: star-shaped sandwiches, kids snacks, party snacks, easy sandwiches, healthy snacks, fun food for kids, homemade sandwiches