The cashier at the corner market watched me stare at the bag of Halloween candy I was holding—a mix I’d grabbed on impulse, mostly because the little ghost faces on the wrappers made me smile. She didn’t say anything at first. Then she leaned over the counter and said, “You know, that candy tastes better if you put it on something. An apple, maybe.” I laughed and told her I was just buying it for the sugar rush, honestly. But she shrugged and went back to ringing up my milk, and for some reason, that tiny exchange stuck with me.
I walked home thinking about it. I mean, I’d seen caramel apples before—who hasn’t? But the idea of using leftover Halloween candy as the topping? That felt different. That felt like a secret the universe handed you through a stranger at a checkout line. So I grabbed a few apples from the fridge, some caramels I had stashed from a baking project, and I started experimenting. The first batch was a mess, let me tell you. The caramel slid right off, the candy bits went everywhere, and I ended up with sticky fingers and a very sticky countertop. But the second try? That was the one.
These Easy Halloween Candy Caramel Apple Slices are now my go-to for October parties, movie nights, and honestly, any Tuesday that needs a little extra fun. They’re not fancy. They’re not complicated. They’re just good—the kind of good that makes you close your eyes after the first bite. Maybe you’ve been there, standing in a kitchen with a pile of candy and no idea what to do with it. If so, this recipe is for you.
Why You’ll Love This Recipe
Let me be honest with you—I’ve tested this recipe more times than I care to admit. I’ve tried different apples, different caramels, different ways of sticking the candy on without it all falling into your lap. And after all that trial and error, here’s what I can promise you:
- Quick & Easy : This comes together in under 20 minutes. No boiling sugar, no candy thermometers, no stress. Perfect for those last-minute Halloween parties or when the kids come home sugared up and you need a slightly less chaotic treat.
- Simple Ingredients : You probably have most of this in your kitchen right now. Apples, caramels, and whatever Halloween candy is lingering in your pantry. No fancy grocery trips required.
- Perfect for Halloween : These slices are basically the edible version of a costume party—fun, colorful, and a little bit messy. Great for potlucks, classroom treats, or just a cozy night in.
- Crowd-Pleaser : Kids love them because, well, candy. Adults love them because they’re nostalgic without being overwhelming. I’ve watched people go from skeptical to grabbing a second slice in under 30 seconds.
- Unbelievably Delicious : The combination of crisp apple, soft caramel, and crunchy candy bits is next-level comfort food. It hits every texture and flavor note you could want.
What makes this recipe different from all the other caramel apple recipes out there? It’s the fact that you’re using actual Halloween candy—the stuff that’s been sitting in your pantry since October 1st. Instead of plain sprinkles or nuts, you get chunks of chocolate bars, crushed cookies, and those weird orange peanut butter things that nobody eats but everyone has. It’s a creative twist that turns leftover candy into something genuinely special.
This recipe isn’t just good—it’s the kind that makes you close your eyes after the first bite. It’s comfort food reimagined, faster and easier, but with the same soul-soothing satisfaction. Perfect for impressing guests without stress, or turning a simple snack into something memorable.
What Ingredients You Will Need
This recipe uses simple, everyday ingredients to deliver big flavor and that satisfying crunch without any fuss. Most of these are pantry staples or things you probably already have lying around post-Halloween.
For the Apples
- 4 medium apples (I prefer Granny Smith for their tartness, but Honeycrisp or Fuji work great too—just avoid mealy apples like Red Delicious)
- 2 tablespoons lemon juice (this keeps the apples from browning while you work)
- Wooden skewers or popsicle sticks (for easy dipping and serving)
For the Caramel Coating
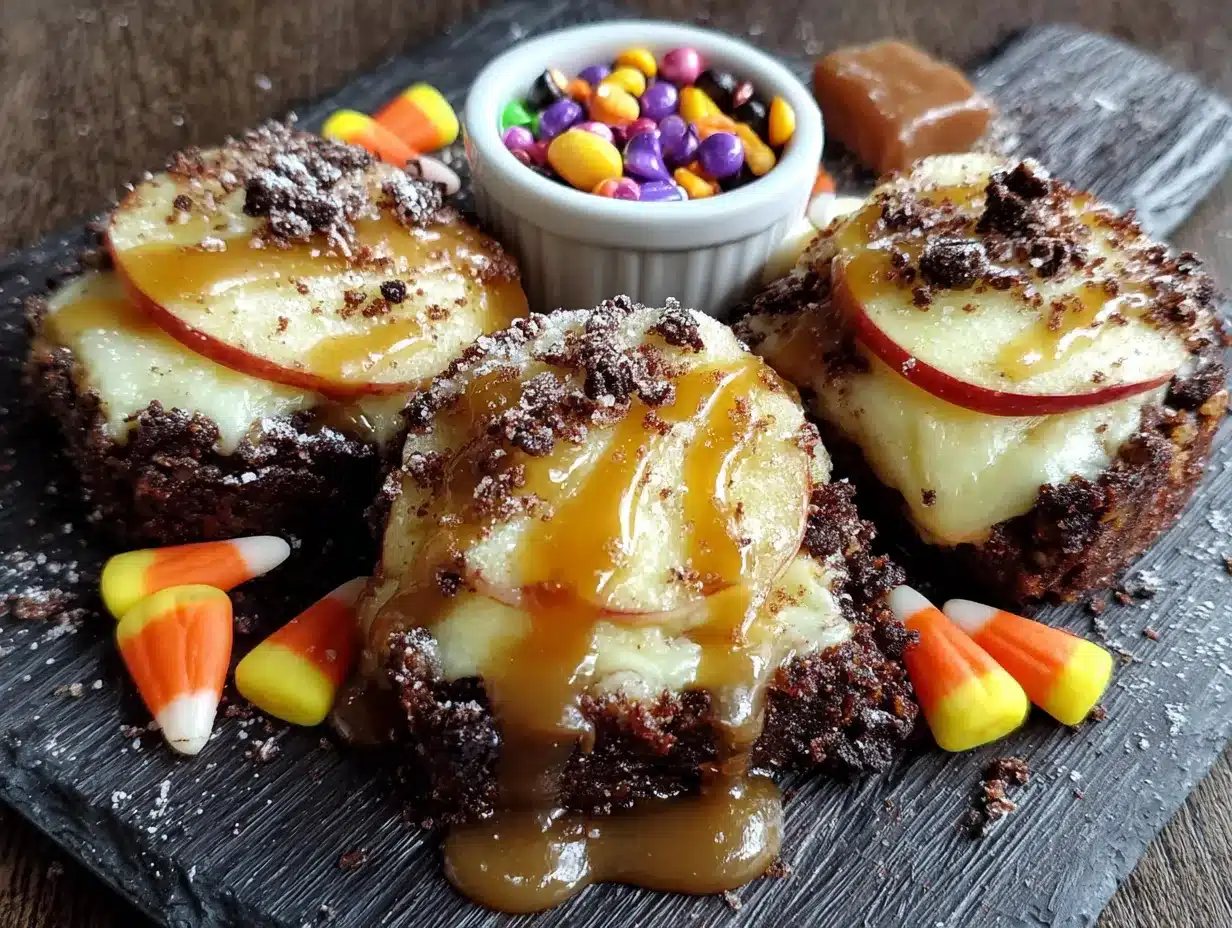
- 1 bag (11 ounces) soft caramels (I recommend Kraft or Werther’s—stay away from the hard, individually wrapped ones meant for baking)
- 2 tablespoons heavy cream (or whole milk in a pinch—it makes the caramel smoother and easier to dip)
- 1 teaspoon vanilla extract (adds warmth and depth to the caramel)
For the Candy Topping
- 1 to 1.5 cups assorted Halloween candy (chocolate bars like Snickers, Milky Way, or Reese’s; crushed Oreos; M&Ms candy corn; or whatever else you have—just make sure it’s chopped into small pieces)
- Optional: sea salt flakes (for that sweet-salty combo that makes everything better)
Ingredient Selection Tips: For the best texture, use firm apples that won’t turn mushy under the caramel. Granny Smith is my go-to because the tartness cuts through the sweetness beautifully. If you’re using softer apples like Gala, just be gentle when dipping so they don’t fall apart.
Substitution Guidance: No heavy cream? Use whole milk or even coconut cream for a dairy-free option. Need this to be vegan? Use dairy-free caramels (many brands exist now) and coconut cream. For a gluten-free version, just check your candy labels—most chocolate bars are gluten-free, but Oreos aren’t, so swap in gluten-free cookies instead.
Brand Preference: I’ve tried a few different caramel brands, and honestly, Kraft works best for me. They melt smoothly and don’t get grainy. But if you have a local brand you love, go for it—just make sure they’re soft caramels, not the hard ones.
Equipment Needed
You don’t need much for this recipe, which is part of why I love it. Here’s what you’ll want to have on hand:
- Sharp knife and cutting board (for slicing the apples and chopping candy)
- Small saucepan (for melting the caramel—use a heavy-bottomed one to prevent burning)
- Wooden spoon or silicone spatula (for stirring the caramel)
- Baking sheet lined with parchment paper or a silicone mat (for setting the finished slices)
- Microwave-safe bowl (if you prefer melting the caramel in the microwave—I do this when I’m in a hurry)
- Tongs or a fork (for dipping the apple slices into the caramel)
Budget-Friendly Options: Don’t have wooden skewers? Use popsicle sticks from a craft store, or even sturdy toothpicks for smaller slices. No parchment paper? Wax paper works fine, though it’s a bit less non-stick. And if you don’t have a silicone mat, just grease your baking sheet lightly with butter or cooking spray.
Personal Experience: I’ve made these with both a saucepan and a microwave, and honestly, I prefer the microwave method for speed. Just be careful—caramel can burn quickly if you overdo it. I learned that the hard way when I melted a batch for 90 seconds instead of 45. The smell of burnt caramel is not pleasant, let me tell you.
Preparation Method
Alright, let’s get to the fun part. Here’s how to make these Easy Halloween Candy Caramel Apple Slices without losing your mind or your patience.
Step 1: Prep the Apples
Wash and dry your apples thoroughly. Any wax or residue can prevent the caramel from sticking, so give them a good scrub. Core the apples, then slice each one into 6-8 wedges, depending on size. I like them about ½ inch thick—not too thin that they break, but not too thick that they’re hard to eat. Toss the slices in a bowl with the lemon juice and a splash of water, then pat them dry with a paper towel. This step is crucial—it stops the apples from browning while you work.
Step 2: Prep the Candy
While the apples are drying, chop your Halloween candy into small pieces. For chocolate bars, I cut them into ¼-inch chunks. For M&Ms, I leave them whole—they’re already the perfect size. Crush Oreos by putting them in a zip-top bag and smashing them with a rolling pin (or a heavy pan, if you’re feeling aggressive). Set the candy pieces aside in separate bowls or one big bowl—whatever works for you.
Step 3: Melt the Caramel
Unwrap all the caramels and place them in a small saucepan with the heavy cream. Heat over medium-low, stirring constantly with a wooden spoon, until the caramels are completely melted and the mixture is smooth. This usually takes about 5-7 minutes. Don’t rush it—high heat will scorch the caramel. Once melted, remove from heat and stir in the vanilla extract.
Microwave Method: If you’re short on time, combine the caramels and cream in a microwave-safe bowl. Microwave in 30-second intervals, stirring between each, until smooth. This usually takes about 2-3 minutes total. Be careful—the bowl gets hot!
Step 4: Dip the Apple Slices
Working one slice at a time, insert a wooden skewer or popsicle stick into the cut side of the apple slice (not the peel side—that’s the bottom). Dip the slice into the warm caramel, turning to coat all sides. Let the excess drip off for a few seconds, then place the slice on the prepared baking sheet. Repeat with all the slices. Work quickly—the caramel will start to set as it cools.
Pro Tip: If the caramel gets too thick while you’re working, just pop it back on the stove for 30 seconds to loosen it up. Don’t microwave it again—it can seize up.
Step 5: Add the Candy Topping
While the caramel is still wet and sticky, sprinkle your chopped candy over each slice. Press gently with your fingers to make sure the pieces stick. Don’t overdo it—you want a nice even coating, not a mountain of candy that will fall off when you bite into it. If you’re using sea salt, sprinkle a tiny pinch over each slice now.
Step 6: Set and Serve
Place the baking sheet in the refrigerator for at least 15-20 minutes to let the caramel set completely. The slices are ready when the caramel is firm to the touch. Serve immediately, or store as directed below.
Sensory Cue: The caramel should be glossy and smooth when you dip, and the apples should feel cool and crisp. When you bite into a finished slice, you should hear a satisfying crunch from the candy, followed by the soft chew of caramel and the juicy snap of apple.
Cooking Tips & Techniques
I’ve made these slices more times than I can count, and I’ve learned a few things along the way. Here’s what I wish someone had told me before my first sticky disaster:
- Dry your apples completely. This is the number one mistake people make. If there’s any moisture on the apple surface, the caramel will slide right off. I pat each slice dry with a paper towel right before dipping.
- Don’t overheat the caramel. I know it’s tempting to crank up the heat to speed things up, but low and slow is the way to go. Burnt caramel is bitter and grainy, and there’s no fixing it.
- Work in batches. Don’t dip all the slices at once—the caramel will thicken before you get to the last ones. I dip 4-5 slices at a time, then reheat the caramel if needed.
- Use a fork for dipping. If you don’t have skewers, a fork works perfectly. Just poke the tines into the apple slice and dip away. The holes are tiny and you won’t notice them.
- Chop candy while the caramel melts. Multitasking is your friend here. Get the candy ready while the caramel is heating up, and you’ll save yourself a lot of time.
Common Mistake: I once tried to make these with pre-sliced apples from a bag. Don’t do it. They’re too thin and they break apart in the caramel. Always slice your own apples from whole ones—it makes a huge difference.
Variations & Adaptations
One of the best things about this recipe is how customizable it is. Here are a few ways I’ve adapted it over the years:
Dietary Variations
- Vegan/Dairy-Free: Use dairy-free caramels (like those from Cocomels or homemade coconut caramels) and coconut cream instead of heavy cream. Most dark chocolate candies are vegan, but check labels for milk solids.
- Gluten-Free: Skip the Oreos (they contain wheat) and use gluten-free cookies or candies. Most chocolate bars, M&Ms, and candy corn are naturally gluten-free.
- Nut-Free: Avoid candies with nuts, like Snickers or Reese’s. Stick with plain chocolate bars, M&Ms, or Skittles.
Flavor Variations
- Salted Caramel: Add ½ teaspoon of flaky sea salt to the caramel while it melts, then sprinkle a little more on top before serving. The sweet-salty combo is incredible.
- Chocolate Drizzle: Melt some chocolate chips and drizzle it over the finished slices for an extra layer of decadence. I do this when I’m feeling fancy.
- Spiced Apple: Add ½ teaspoon of cinnamon or pumpkin pie spice to the caramel. It gives the slices a warm, fall flavor that’s perfect for Halloween.
Seasonal Adaptations
In the summer, swap the Halloween candy for crushed graham crackers and mini marshmallows for a s’mores-inspired version. In the spring, use pastel M&Ms and white chocolate drizzle for an Easter treat. The base recipe stays the same—just change the toppings to match the season.
Personal Variation: My favorite version uses crushed Butterfinger bars and a sprinkle of sea salt. The peanut butter crunch with the salt and caramel is absolutely addictive. I’ve made it three times this month alone.
Serving & Storage Suggestions
These slices are best served cold, straight from the fridge. The caramel is firm but chewy, and the apple stays crisp and refreshing. Here’s how to serve and store them:
Serving Ideas
- Arrange the slices on a platter with the skewers pointing outward for easy grabbing.
- Serve with a side of extra melted caramel for dipping (because why not?).
- Pair with a glass of cold apple cider or a warm mug of hot chocolate for the ultimate fall treat.
- For parties, place each slice in a small cup or holder to catch any drips.
Storage Instructions
Store leftover slices in an airtight container in the refrigerator for up to 3 days. The apples will stay crisp for the first 24 hours, but they’ll start to soften after that. For best results, eat them within 1-2 days.
Freezer Tip: You can freeze these slices for up to 2 months. Place them in a single layer on a baking sheet and freeze until solid, then transfer to a freezer-safe bag. Thaw in the refrigerator for about 30 minutes before serving. The texture won’t be quite as crisp, but they’re still delicious.
Reheating: Don’t microwave these—the caramel will melt and slide off. If you want them slightly warmer, let them sit at room temperature for 10-15 minutes before serving.
Flavor Development: Honestly, these are best the day you make them. The caramel stays glossy, the candy stays crunchy, and the apples are at their peak. After a day in the fridge, the candy can get a little soft, but they’re still tasty.
Nutritional Information & Benefits
Let’s be real—these are a treat, not a health food. But here’s the nutritional breakdown for one slice (based on using Granny Smith apples and a mix of chocolate candy):
| Nutrient | Amount per Slice |
|---|---|
| Calories | 180-220 |
| Total Fat | 8-10g |
| Saturated Fat | 4-5g |
| Carbohydrates | 28-35g |
| Sugar | 22-28g |
| Fiber | 2-3g |
| Protein | 2-3g |
Health Benefits: The apples provide fiber and vitamin C, and the caramel offers a small amount of calcium. The candy? Well, it’s candy—but it makes you happy, and that counts for something. If you want a slightly healthier version, use dark chocolate candies (more antioxidants) and skip the heavy cream by using coconut cream instead.
Dietary Considerations: This recipe contains dairy and may contain gluten and nuts depending on your candy choices. See the variations section for allergen-friendly swaps.
Personal Perspective: I don’t believe in demonizing treats. Life is short, and sometimes you need a caramel apple slice covered in leftover Halloween candy. Balance is key—enjoy these in moderation, and don’t feel guilty about it.
Conclusion
These Easy Halloween Candy Caramel Apple Slices are the kind of recipe that feels like a happy accident. They came from a random conversation with a cashier, a pile of leftover candy, and a willingness to try something new. And honestly, that’s what I love most about them—they’re proof that you don’t need fancy ingredients or complicated techniques to make something genuinely delicious.
I hope you give these a try, whether you’re making them for a Halloween party, a cozy night in, or just because you have a bag of candy staring at you from the pantry. Customize them however you like—swap in your favorite candy, add a drizzle of chocolate, or go wild with the sea salt. The recipe is just a starting point; the real magic happens when you make it your own.
If you make these, I’d love to hear about it. Leave a comment below and let me know what candy combinations you tried, or share a photo on social media and tag me. And if you’re looking for more easy Halloween treats, check out my spider web dip or these pumpkin patch cupcakes—they’re both crowd-pleasers that come together in no time.
Happy Halloween, friends. Go make something delicious.
Frequently Asked Questions
Can I use pre-made caramel sauce instead of soft caramels?
You can, but it won’t set as firmly. Pre-made caramel sauce is thinner and will stay sticky and messy. If you use it, expect drips and a less neat presentation. I prefer soft caramels for a reason—they give you that classic chewy texture.
How do I keep the apple slices from turning brown?
The lemon juice bath is your best friend here. Toss the slices in lemon juice and water right after slicing, then pat them dry before dipping. The acid in the lemon juice slows down oxidation. If you don’t have lemons, you can use a little vinegar or even pineapple juice.
Can I make these ahead of time for a party?
Absolutely. Make them up to 24 hours in advance and store them in the refrigerator. The apples will still be crisp the next day, though the candy might soften slightly. I wouldn’t recommend making them more than a day ahead—the texture starts to decline after that.
What’s the best way to chop the candy without making a huge mess?
Use a sharp chef’s knife and a stable cutting board. For chocolate bars, cut them into strips first, then chop crosswise. For sticky candies like caramel chews, freeze them for 10 minutes first—they’ll chop much cleaner. And yes, you will get chocolate on your hands. Embrace it.
Can I use a different fruit instead of apples?
Pears work surprisingly well, especially firm varieties like Bosc or Anjou. Just make sure they’re not too ripe, or they’ll fall apart. Bananas are too soft, and strawberries are too small. Stick with apples or pears for best results.
Pin This Recipe!
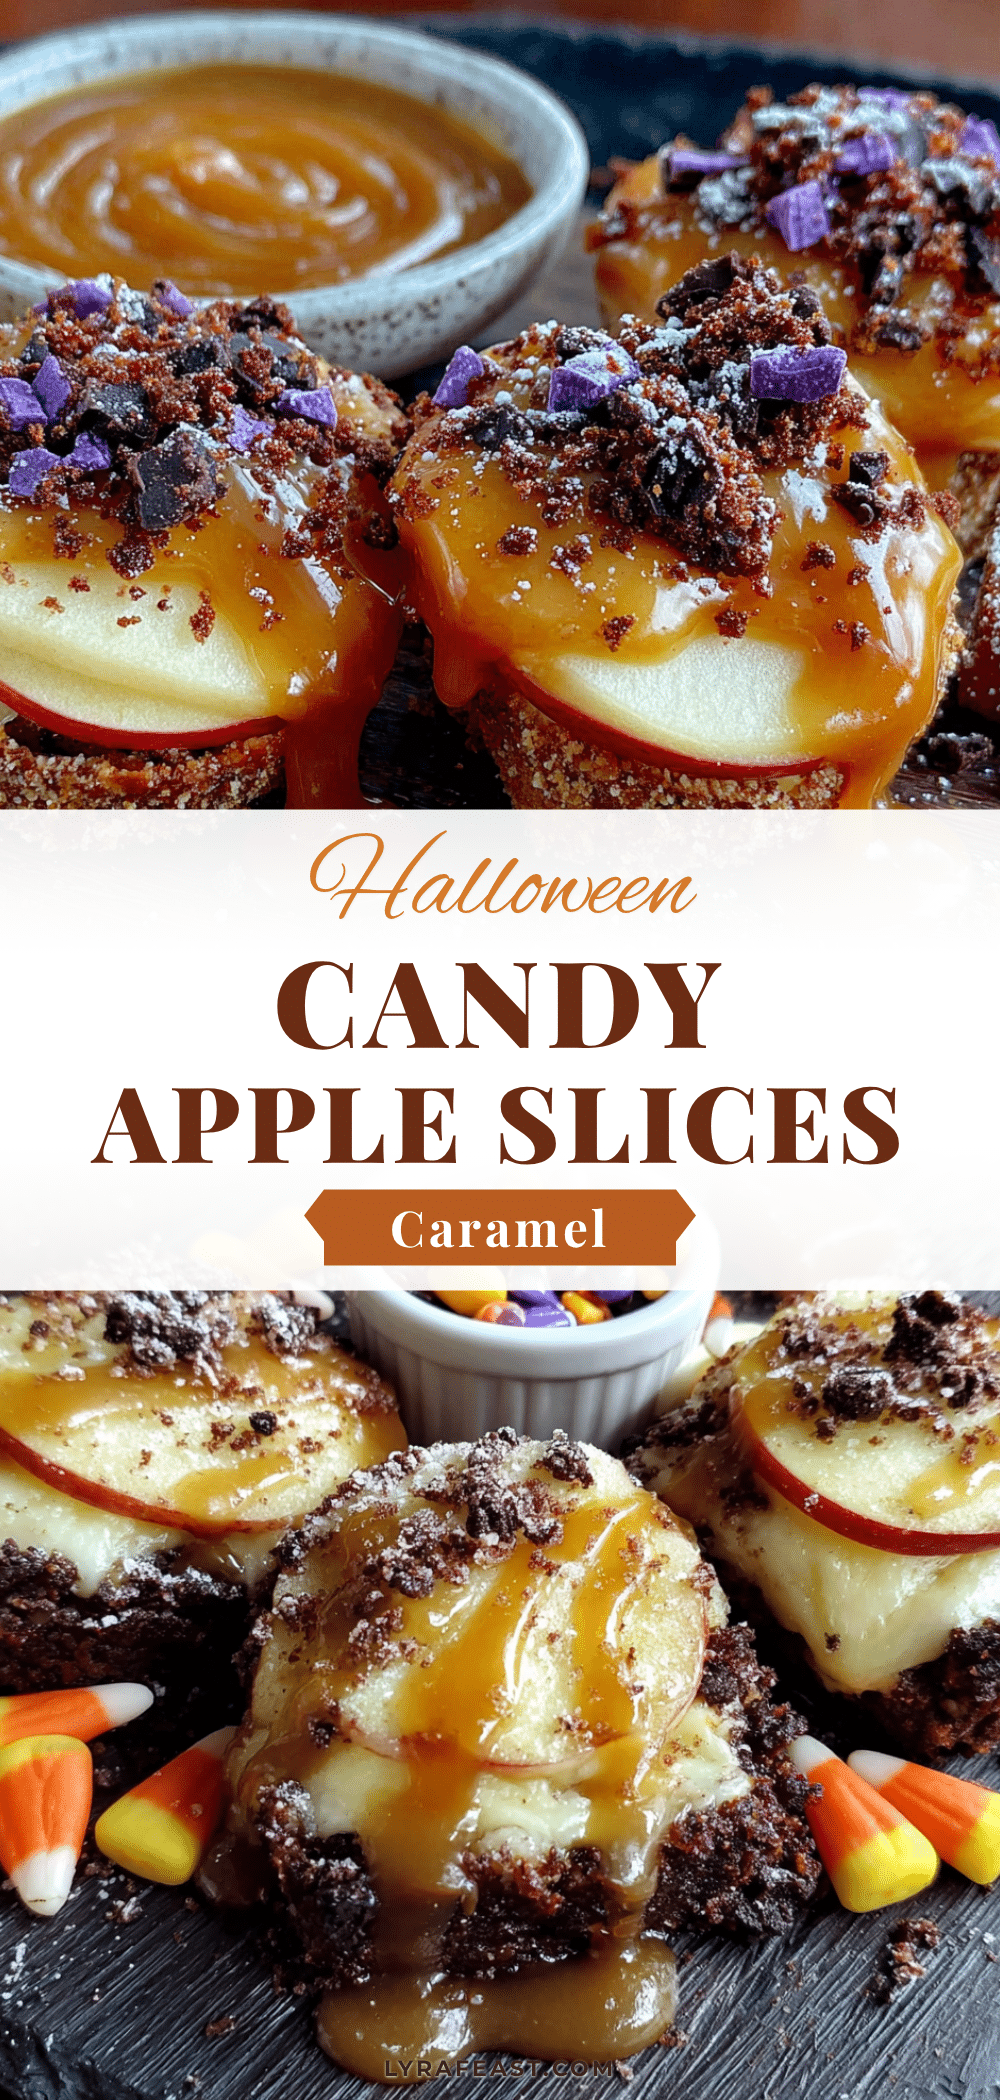
Easy Halloween Caramel Apple Slices Recipe

Quick and easy caramel apple slices topped with leftover Halloween candy. A fun, crowd-pleasing treat that comes together in under 20 minutes with simple ingredients.
- Prep Time: 10 minutes
- Cook Time: 5-7 minutes
- Total Time: 20 minutes
- Yield: 4 servings 1x
- Category: Dessert
- Cuisine: American
Ingredients
- 4 medium apples (Granny Smith, Honeycrisp, or Fuji)
- 2 tablespoons lemon juice
- Wooden skewers or popsicle sticks
- 1 bag (11 ounces) soft caramels (Kraft or Werther’s)
- 2 tablespoons heavy cream (or whole milk)
- 1 teaspoon vanilla extract
- 1 to 1.5 cups assorted Halloween candy (chopped chocolate bars, crushed Oreos, M&Ms, candy corn, etc.)
- Optional: sea salt flakes
Instructions
- Wash and dry apples thoroughly. Core and slice each apple into 6-8 wedges about ½ inch thick. Toss slices in lemon juice and water, then pat dry with paper towels.
- Chop Halloween candy into small pieces (¼-inch chunks for chocolate bars, leave M&Ms whole, crush Oreos in a bag). Set aside.
- Unwrap caramels and place in a small saucepan with heavy cream. Heat over medium-low, stirring constantly, until completely melted and smooth (5-7 minutes). Remove from heat and stir in vanilla extract. Alternatively, microwave caramels and cream in 30-second intervals, stirring between each, until smooth (2-3 minutes total).
- Insert a wooden skewer or popsicle stick into the cut side of each apple slice. Dip slice into warm caramel, turning to coat all sides. Let excess drip off, then place on a parchment-lined baking sheet. Repeat with remaining slices, working quickly.
- While caramel is still wet, sprinkle chopped candy over each slice. Press gently to adhere. Add a pinch of sea salt if desired.
- Refrigerate baking sheet for 15-20 minutes until caramel is firm. Serve immediately or store as directed.
Notes
Dry apples completely to prevent caramel from sliding off. Work in batches to keep caramel from thickening. For best texture, use firm apples like Granny Smith. Store in refrigerator for up to 3 days; best within 1-2 days. Can be frozen for up to 2 months.
Nutrition
- Serving Size: 1 slice
- Calories: 200
- Sugar: 25
- Sodium: 120
- Fat: 9
- Saturated Fat: 4.5
- Carbohydrates: 31
- Fiber: 2.5
- Protein: 2.5
Keywords: Halloween caramel apples, candy apple slices, easy caramel apples, leftover candy recipe, Halloween dessert, caramel apple wedges