My neighbor Brenda wasn’t trying to impress anyone. I’d stopped by to borrow a ladder—our fence had taken a beating in the wind—and the smell hit me before I even got past her welcome mat. Butter, marshmallow, something sweet and warm. It smelled like the inside of a carnival tent. I stood there for a second, ladder completely forgotten, trying to place it.
Brenda waved me inside like it was nothing. She had a huge glass baking dish on her counter, and it was full of these golden squares studded with orange and yellow and white. Candy corn, pressed right into the top. She saw me staring and shrugged. “Oh, just something quick for the kids’ Halloween party at school.” Just something quick. I mean, honestly, I would have paid money for a square of that “something quick.” She cut me one while I was still holding the ladder, and let me tell you—it was the kind of thing that makes you close your eyes without meaning to.
That night, I couldn’t stop thinking about those treats. Not because they were complicated—they weren’t. But because they were so perfectly, unapologetically fun. The crunch of the crispy rice, the soft chew of the marshmallow, that little pop of candy corn sweetness in every bite. Maybe you’ve been there, where a simple recipe just sticks with you. This one did for me. I asked Brenda for the basic method, and I’ve been tweaking it ever since. These Easy Halloween Rice Krispie Treats are my version—a little extra butter, a pinch of salt to balance the sweet, and candy corn because honestly, it’s the only time of year I buy the stuff.
Why You’ll Love This Recipe
I’ve made a lot of rice krispie treats in my life. Box mixes, from-scratch versions, ones with fancy chocolate drizzles. But these Easy Halloween Rice Krispie Treats are the ones I come back to every single October. They’re not just another recipe—they’re the one that disappears first at every party.
- Quick & Easy: From start to finish, you’re looking at about 15 minutes of active time. Perfect for those “I need a treat for the school party tomorrow” moments. We’ve all been there.
- Simple Ingredients: Butter, marshmallows, crispy rice cereal, and candy corn. That’s it. No fancy extracts, no specialty stores. Your pantry probably already has everything but the candy corn.
- Perfect for Halloween: These are made for costume parties, classroom celebrations, or just a fun snack while you hand out candy. The colors scream October.
- Crowd-Pleaser: Kids love them. Adults love them. I’ve seen people grab three at a party and not even pretend to be embarrassed about it.
- Unbelievably Delicious: The texture is spot-on—crispy on the edges, soft and chewy in the middle. The candy corn adds this little burst of sugary sweetness that makes every bite interesting.
What makes these different from every other rice krispie treat recipe out there? It’s the ratio. I use a bit more butter than most recipes call for, and I add the marshmallows in two stages. It gives you a treat that’s richer, more buttery, and stays softer longer. No rock-hard squares by day two. Plus, I press the candy corn into the top instead of mixing it all in. That way, every piece stays bright and colorful instead of melting into a sticky mess.
This is the kind of recipe that makes you feel like a hero with almost no effort. It’s comfort food dressed up in Halloween colors—fast, forgiving, and absolutely delicious.
What Ingredients You Will Need
This recipe uses simple, everyday ingredients to create something that feels special. No weird science here—just pantry staples that come together in minutes.
- 6 tablespoons unsalted butter (I use Kerrygold for the richer flavor, but any good unsalted butter works fine)
- 1 package (10 ounces) regular marshmallows (not mini, not jumbo—the standard size bag. Jet-Puffed is my go-to)
- 6 cups crispy rice cereal (Kellogg’s Rice Krispies are the classic, but store brands work just as well. Just make sure they’re fresh and crispy)
- 1 cup candy corn (I prefer Brach’s for the classic flavor, but any brand works. For Halloween-themed treats, you can also use candy pumpkins or a mix of both)
- 1/4 teaspoon fine sea salt (this is my secret weapon—it balances all that sweetness and makes the butter flavor pop)
A few notes on ingredients. For the butter, salted butter will work if that’s all you have. Just reduce or skip the added salt. For the marshmallows, freshness matters. Stale marshmallows won’t melt as smoothly and can give you a grainy texture. If your bag has been sitting in the pantry for months, buy a new one. Trust me on this.
For the crispy rice cereal, check the expiration date. Old cereal gets stale and won’t give you that satisfying crunch. And for the candy corn, here’s a tip I learned the hard way: don’t use the “autumn mix” that has those brown and dark orange pieces. Stick with classic candy corn for the best color contrast against the golden treats.
You can also add a splash of vanilla extract—about 1 teaspoon—if you want. I often do, but it’s not essential. The butter and marshmallow flavor is really the star here.
Equipment Needed
You don’t need much for this recipe, which is part of its charm. Here’s what you’ll need:
- Large pot or Dutch oven (at least 4-quart capacity. You need room to stir everything together without making a mess)
- Rubber spatula or wooden spoon (silicone spatulas are my favorite—they scrape the pot clean and don’t scratch your cookware)
- 9×13-inch baking dish (glass or metal both work. I prefer glass because I can see the sides to check for even pressing)
- Parchment paper (this is non-negotiable for easy removal. Trust me, you don’t want to scrape these out of the pan)
- Measuring cups and spoons (for accuracy—eyeballing butter never ends well)
- Sharp knife (for clean cuts. A serrated knife works best to avoid squishing the treats)
If you don’t have a 9×13 dish, you can use a 9×9 square pan for thicker treats. Just adjust the cooking time slightly—they’ll need a few extra minutes to set. I’ve also used disposable aluminum pans for parties, and they work perfectly. No cleanup!
For the spatula, I recommend a heavy-duty silicone one. Cheap spatulas can melt if they touch the hot pot for too long. I learned that one the hard way and spent 20 minutes scraping melted plastic off my pan.
Preparation Method
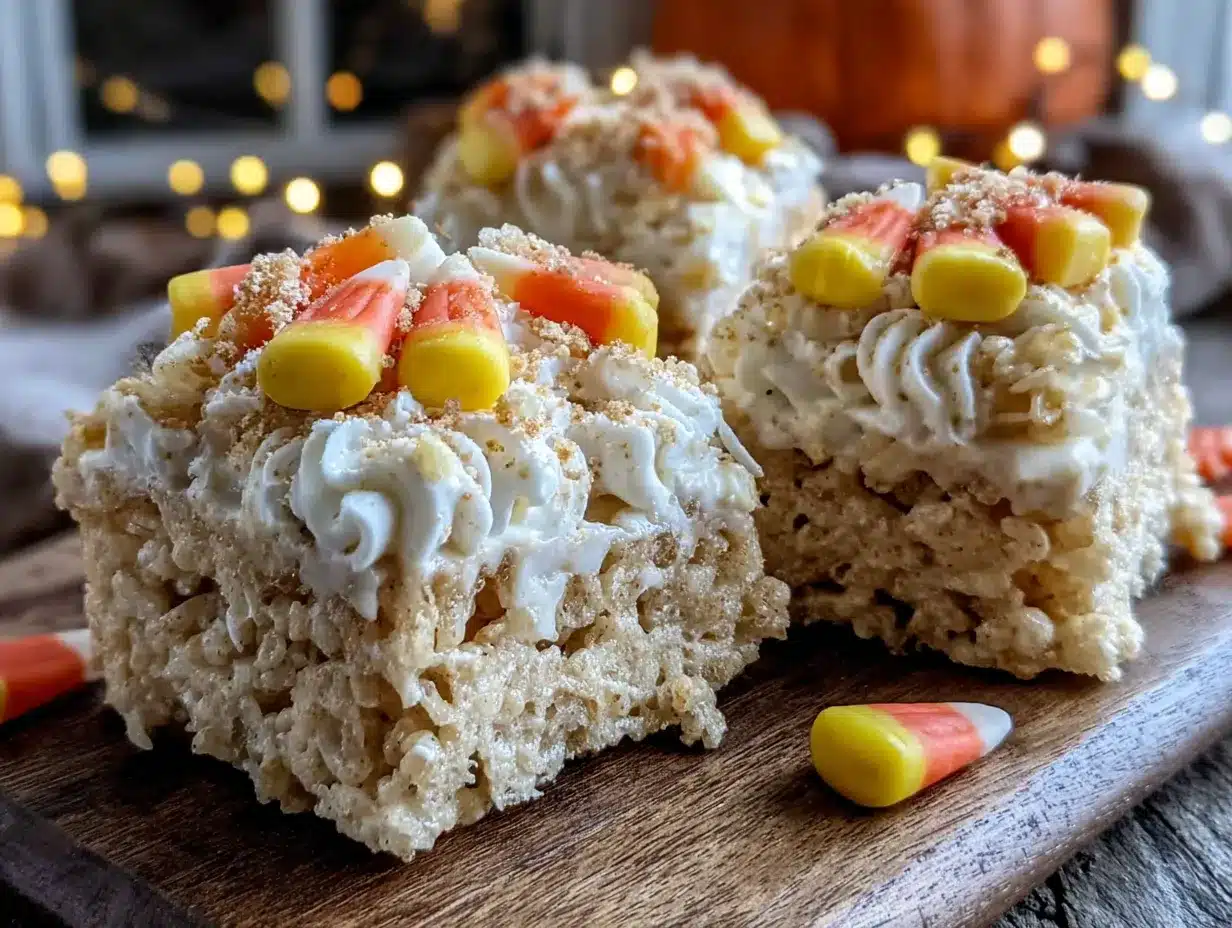
Let’s make these Easy Halloween Rice Krispie Treats. I’ll walk you through every step so you get perfect results the first time.
Step 1: Prepare your pan.
Line your 9×13-inch baking dish with parchment paper. Leave some overhang on two opposite sides—this creates handles for lifting the treats out later. Lightly spray the parchment with non-stick cooking spray. Don’t skip this. Even with parchment, the marshmallow can stick.
Step 2: Melt the butter.
Place your large pot over medium-low heat. Add the 6 tablespoons of butter. Let it melt slowly, swirling the pan occasionally. You want it fully melted but not bubbling or browning. This takes about 2-3 minutes. If your butter starts to brown, your heat is too high. Turn it down.
Step 3: Add the marshmallows.
Pour the entire 10-ounce bag of marshmallows into the melted butter. Stir constantly with your rubber spatula. The marshmallows will start to puff up and then collapse into a smooth, gooey mixture. This takes about 4-5 minutes. Keep stirring—don’t walk away. Burnt marshmallow is a tragedy.
Step 4: Add the salt.
Once the marshmallows are completely melted and smooth, sprinkle in the 1/4 teaspoon of fine sea salt. Stir to combine. You’ll notice the mixture becomes slightly less sweet and more balanced. This is the moment it transforms from “just sugary” to “actually delicious.”
Step 5: Add the cereal.
Remove the pot from the heat. Add the 6 cups of crispy rice cereal all at once. Fold everything together gently but thoroughly. Use a folding motion—cut through the center, scrape the bottom, bring the mixture up and over. You want every piece of cereal coated in marshmallow, but you don’t want to crush the cereal into dust. This takes about 1-2 minutes of gentle folding.
Step 6: Transfer to the pan.
Scrape the mixture into your prepared pan. Don’t dump it all in one spot—try to spread it evenly as you go. The mixture will be hot and sticky. That’s normal.
Step 7: Press it down.
Here’s the trick. Lightly spray your hands or a spatula with non-stick spray. Then gently press the mixture into an even layer. Don’t press too hard. If you compact the treats, they’ll turn out hard and dense instead of light and chewy. Just press until the top is relatively flat and even. Aim for about 1-inch thickness.
Step 8: Add the candy corn.
While the treats are still warm, press the candy corn into the top. Arrange them in rows or scatter them randomly—whatever looks good to you. Press each piece gently so it sticks but doesn’t sink all the way in. You want them visible on top. This is where the Halloween magic happens.
Step 9: Let them set.
Let the treats cool at room temperature for at least 30 minutes. Don’t put them in the fridge—that can make them hard. Just let them sit on the counter until they’re firm enough to cut. The wait is the hardest part.
Step 10: Cut and serve.
Lift the treats out of the pan using the parchment paper handles. Place them on a cutting board. Use a sharp knife to cut into squares. For clean cuts, wipe the knife clean between cuts. I usually get 12 large squares or 24 smaller ones, depending on the crowd.
Cooking Tips & Techniques
I’ve made this recipe probably two dozen times, and I’ve learned a few things the hard way. Here’s what I wish someone had told me.
Low and slow is the rule. Marshmallows burn fast. Keep your heat on medium-low and stir constantly. If you see any browning on the marshmallows, your heat is too high. Burnt marshmallow has a bitter, acrid taste that ruins the whole batch.
Don’t over-stir the cereal. Once you add the cereal, work quickly and gently. Over-mixing crushes the cereal and gives you dense, hard treats. You want light, airy squares that still have some crunch.
Wet your hands or spatula. The mixture is incredibly sticky. A light coat of non-stick spray or a little water on your hands makes pressing it into the pan so much easier. I’ve made the mistake of using dry hands exactly once. Never again.
Press gently. This is the most common mistake people make. They press the mixture down hard, thinking it needs to be compact. That’s what creates rock-hard treats. A light, even press is all you need. The treats will hold together just fine.
Fresh ingredients matter. Stale marshmallows don’t melt smoothly. Old cereal is soft and sad. Candy corn that’s been sitting in the pantry since last Halloween gets hard and chalky. For the best results, buy fresh ingredients. Your taste buds will thank you.
Room temperature is your friend. Let the treats cool on the counter, not in the fridge. The fridge draws out moisture and makes them tough. Patience pays off here.
Variations & Adaptations
One of the best things about this recipe is how easy it is to change up. Here are some variations I’ve tried and loved.
Chocolate Drizzle: Melt 1/2 cup of chocolate chips with 1 teaspoon of coconut oil and drizzle it over the cooled treats. The chocolate and candy corn combo is surprisingly good. I did this for a Halloween party last year, and people went crazy for it.
Peanut Butter Twist: Add 1/4 cup of creamy peanut butter to the marshmallow mixture after it melts. Stir until smooth before adding the cereal. The peanut butter adds a savory note that balances the sweetness. Just check for allergies if you’re serving these at a school event.
Spooky Sprinkles: Instead of candy corn, top the treats with Halloween-themed sprinkles. Orange and black jimmies, little eyeballs, or bat-shaped sprinkles all work great. This is a fun option if you’re not a candy corn fan.
Gluten-Free Option: Most crispy rice cereals are naturally gluten-free, but check the label to be sure. Some brands contain malt flavoring that has gluten. I’ve used both name-brand and store-brand gluten-free options, and they work perfectly.
Extra Crunch: Add 1/2 cup of chopped salted peanuts or pretzel pieces along with the cereal. The salty crunch is a nice contrast to the sweet marshmallow. I tried this on a whim one afternoon, and it’s become one of my favorite variations.
Serving & Storage Suggestions
These treats are best served at room temperature. The texture is perfect—soft, chewy, with just a little give when you bite into them. If you’ve refrigerated them, let them sit on the counter for 15-20 minutes before serving.
For presentation, I like to arrange them on a platter lined with orange or black napkins. The colors pop against a dark background. You can also stack them on a cake stand for a more dramatic look. For parties, I sometimes cut them into smaller bite-sized squares and serve them in cupcake liners. It makes them easy to grab and eat.
These pair beautifully with a cold glass of milk, a warm cup of apple cider, or even a pumpkin spice latte. The sweetness of the treats balances the warmth of the drinks. For a Halloween party, set them out next to a bowl of candy apples or a plate of pumpkin-shaped cookies.
Storage: Keep the treats in an airtight container at room temperature. They’ll stay fresh for up to 3 days. Layer them with parchment paper between each layer to prevent sticking. Do not refrigerate—the cold makes them hard and dry.
Freezing: You can freeze these for up to 2 months. Wrap each square individually in plastic wrap, then place them in a freezer-safe bag. To thaw, leave them at room temperature for about an hour. The texture won’t be quite as perfect as fresh, but they’re still delicious.
One thing I’ve noticed—these treats actually get better after a day. The flavors meld together, and the texture softens slightly. So if you can make them a day ahead, do it. Your future self will thank you.
Nutritional Information & Benefits
Let’s be honest—these are a treat, not a health food. But here’s the nutritional breakdown for one large square (based on 12 servings):
- Calories: Approximately 280
- Total Fat: 12g
- Saturated Fat: 7g
- Carbohydrates: 42g
- Sugar: 28g
- Protein: 2g
- Sodium: 180mg
These treats are not gluten-free if you use traditional Rice Krispies (they contain malt flavoring). Check the label if you need a gluten-free version. They also contain dairy from the butter. For a dairy-free option, use vegan butter or coconut oil.
The main health benefit here is the joy factor. Seriously. Sometimes you need a treat that’s purely fun and nostalgic. These treats are made with simple ingredients you can recognize—no preservatives, no artificial flavors (except the candy corn, but that’s the point). They’re a great option for Halloween parties because they’re easy to portion and they satisfy that sweet craving without going overboard.
If you’re watching your sugar intake, you can reduce the candy corn to 1/2 cup or skip it entirely. The treats will still be delicious—just less festive.
Conclusion
These Easy Halloween Rice Krispie Treats are everything I love about fall baking. They’re simple enough to make on a busy weekday, but special enough to bring to a party. The butter and marshmallow combination is pure comfort, and the candy corn adds that festive touch that makes Halloween feel magical.
I’ve made these for classroom parties, neighborhood gatherings, and quiet nights at home with a scary movie. Every single time, they disappear fast. There’s something about that combination of crispy, chewy, and sweet that just hits the spot.
I hope you give these a try. Customize them with your favorite Halloween candies, add a chocolate drizzle, or keep them classic. However you make them, they’re guaranteed to bring a smile to your face. And honestly, isn’t that what Halloween is all about?
If you make these, I’d love to hear about it. Leave a comment below and let me know how they turned out. Did you add your own twist? Did the kids love them? Share your stories—I read every single one. Happy Halloween, and happy snacking!
Frequently Asked Questions
Can I use mini marshmallows instead of regular ones?
Yes, you can. Use about 4 cups of mini marshmallows instead of the 10-ounce bag of regular ones. Mini marshmallows melt faster, so keep a close eye on them and stir constantly to prevent burning.
Why did my treats turn out hard?
This usually happens for two reasons. Either you pressed the mixture too firmly into the pan, or you overcooked the marshmallows. Next time, use a gentle hand when pressing and keep the heat on medium-low. The treats should be light and airy, not dense.
Can I use salted butter instead of unsalted?
Absolutely. Just reduce or skip the added salt in the recipe. Salted butter already has about 1/4 teaspoon of salt per stick, so you might not need extra. Taste the marshmallow mixture before adding the cereal to decide.
How do I keep the candy corn from falling off?
Press the candy corn into the treats while they’re still warm, but not hot. If the mixture is too hot, the candy corn will melt and lose its shape. If it’s too cool, the candy won’t stick. Aim for about 5 minutes after you’ve pressed the mixture into the pan.
Can I make these ahead of time?
Yes! These treats actually taste better the next day. Make them up to 2 days in advance and store them in an airtight container at room temperature. Just wait to add the candy corn until you’re ready to serve, or it may soften and lose its crunch.
Pin This Recipe!
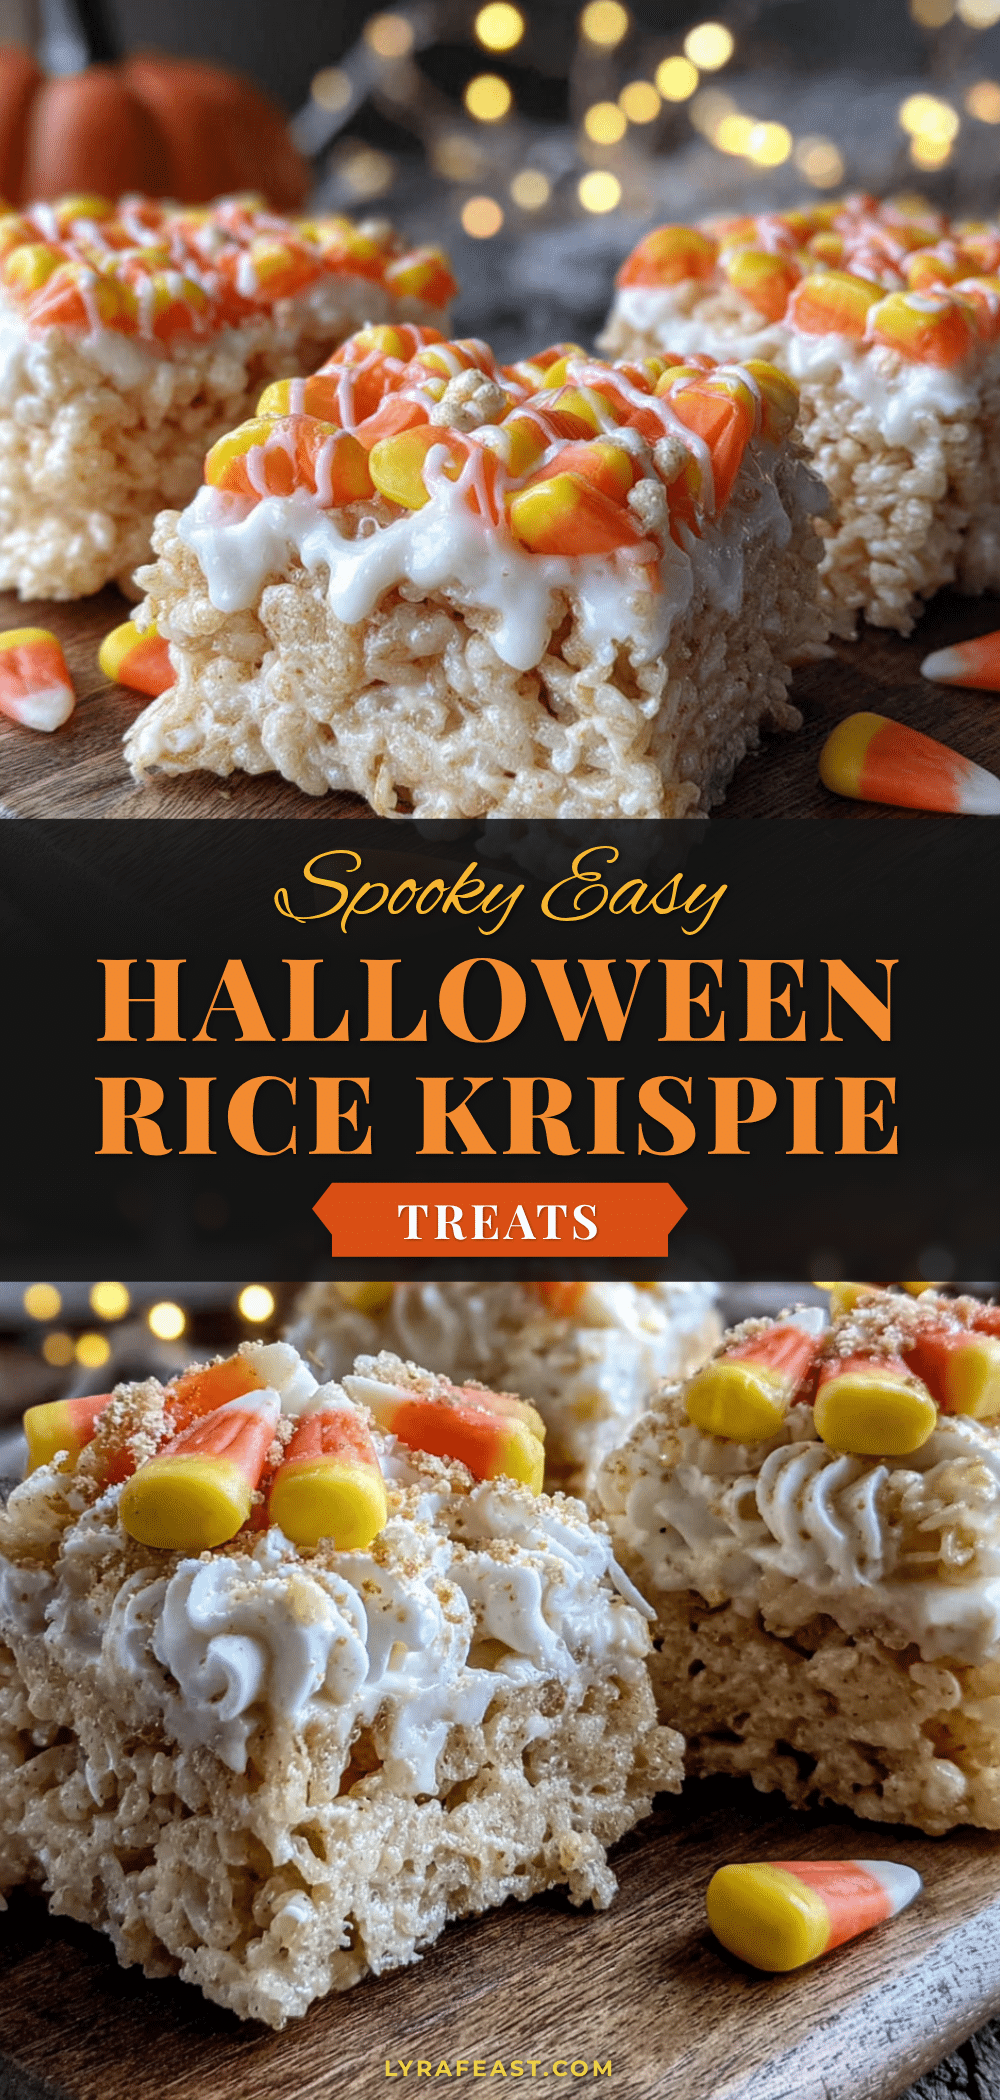
Easy Halloween Rice Krispie Treats {with Candy Corn}

These Easy Halloween Rice Krispie Treats are the perfect quick and fun treat for Halloween parties. Made with extra butter, a pinch of salt, and topped with candy corn, they’re crispy on the edges, soft and chewy in the middle, and disappear fast at any gathering.
- Prep Time: 15 minutes
- Cook Time: 10 minutes
- Total Time: 55 minutes
- Yield: 12 servings 1x
- Category: Dessert
- Cuisine: American
Ingredients
- 6 tablespoons unsalted butter
- 1 package (10 ounces) regular marshmallows
- 6 cups crispy rice cereal
- 1 cup candy corn
- 1/4 teaspoon fine sea salt
Instructions
- Line a 9×13-inch baking dish with parchment paper, leaving overhang on two opposite sides. Lightly spray the parchment with non-stick cooking spray.
- Place a large pot over medium-low heat. Add the butter and let it melt slowly, swirling occasionally, until fully melted but not bubbling or browning (about 2-3 minutes).
- Pour the entire bag of marshmallows into the melted butter. Stir constantly with a rubber spatula until the marshmallows are completely melted and smooth (about 4-5 minutes).
- Sprinkle in the salt and stir to combine.
- Remove the pot from the heat. Add the crispy rice cereal all at once and fold gently until every piece is coated, being careful not to crush the cereal (about 1-2 minutes).
- Scrape the mixture into the prepared pan, spreading it evenly.
- Lightly spray your hands or a spatula with non-stick spray, then gently press the mixture into an even layer about 1-inch thick. Do not press too hard.
- While the treats are still warm, press the candy corn into the top in rows or scattered, pressing gently so they stick but don’t sink in.
- Let the treats cool at room temperature for at least 30 minutes until firm enough to cut.
- Lift the treats out using the parchment handles, place on a cutting board, and cut into squares with a sharp knife, wiping the knife clean between cuts.
Notes
For best results, use fresh marshmallows and crispy rice cereal. Do not refrigerate the treats as it makes them hard. The treats actually taste better the next day. For a dairy-free option, use vegan butter or coconut oil. For gluten-free, check that the cereal is certified gluten-free (traditional Rice Krispies contain malt flavoring).
Nutrition
- Serving Size: 1 large square
- Calories: 280
- Sugar: 28
- Sodium: 180
- Fat: 12
- Saturated Fat: 7
- Carbohydrates: 42
- Protein: 2
Keywords: Halloween rice krispie treats, candy corn treats, easy Halloween dessert, no-bake Halloween treats, rice krispie treats with candy corn



