There used to be a tiny cheese shop tucked between a laundromat and a used bookstore in my old neighborhood that made the most beautiful grazing boards. When they closed—just a handwritten sign on the door one Tuesday saying “Thank you for ten wonderful years”—I honestly felt a little lost. That board was my go-to for everything: solo Friday nights, last-minute guests, even breakfast sometimes. After seven tries—some embarrassingly lopsided, one where the honey crystallized into a sticky mess—I finally cracked the code. This Easy Everyday Grazing Board with Honey and Nuts is the one that finally made me stop missing that shop.
I remember standing in my kitchen that first week after they closed, staring at a wedge of brie and wondering why mine never looked as effortless. You know that feeling when you’re trying to recreate something and it just feels… off? The cheese was fine, the nuts were fine, but it lacked that casual, abundant energy. It took me a while to realize the secret wasn’t in fancy ingredients—it was in how you layer things and, honestly, letting the honey do most of the heavy lifting. A good drizzle covers a multitude of sins.
This board became my little project. I’d test it on friends, on my neighbor who always borrows sugar, on my sister who’s brutally honest about food. Each time, I tweaked something small. More salt on the nuts. Less feta, more manchego. A different honey. The version I’m sharing today is the one that finally made my sister say, “Okay, this is better than the shop.” And let me tell you, that felt pretty good. Maybe you’ve been there—chasing a food memory that feels just out of reach. This one is worth the chase.
Why You’ll Love This Recipe
This isn’t just another cheese board recipe. It’s the one that makes you look like you spent hours when you really spent fifteen minutes. I’ve tested this on picky eaters, fancy dinner guests, and my own hungry self at 10 PM, and it delivers every single time.
- Quick & Easy: Comes together in under 15 minutes, perfect for last-minute guests or when you just want a fancy snack without the fuss.
- Simple Ingredients: Everything is from a regular grocery store. No specialty shops, no imported anything you can’t find easily.
- Perfect for Any Occasion: Works for date night, potlucks, holiday parties, or a lazy Sunday afternoon. It’s endlessly adaptable.
- Crowd-Pleaser: The combination of salty cheese, sweet honey, and crunchy nuts gets rave reviews from kids and adults alike. I’ve never had leftovers.
- Unbelievably Delicious: The texture contrast is pure magic—creamy cheese, sticky honey, crunchy nuts, and juicy fruit all in one bite.
What makes this different from the hundreds of other grazing boards out there? It’s the honey. Not just any honey—a good quality one that you warm slightly so it becomes this luscious, pourable gold. The honey ties everything together, from the sharp cheese to the salty prosciutto. It’s the secret weapon that makes this board feel intentional rather than thrown together. This isn’t just another version—it’s my best version, perfected over many, many test runs.
This recipe is the kind that makes you close your eyes after the first bite. It’s comfort food reimagined—faster, simpler, but with the same soul-soothing satisfaction. Perfect for impressing guests without stress, or turning a simple Tuesday into something memorable.
What Ingredients You Will Need
This recipe uses simple, high-quality ingredients to create a board that feels abundant and satisfying. Most of these are pantry staples or easy to find at any grocery store. I’ve included notes on what to look for and what you can swap.
- For the Cheese:
- 8 ounces brie cheese (I prefer double cream for extra richness)
- 6 ounces manchego cheese, sliced into thin wedges (adds a nutty, salty contrast)
- 4 ounces aged gouda, cubed (smoky flavor pairs beautifully with honey)
- 4 ounces fresh goat cheese log (creates a creamy spreadable element)
- For the Honey and Nuts:
- 1/3 cup high-quality honey (I use local wildflower honey for its floral notes)
- 1 cup mixed nuts (almonds, walnuts, and pecans work best)
- 2 tablespoons raw pumpkin seeds (for extra crunch and color contrast)
- 1 tablespoon flaky sea salt (Maldon is my go-to—it makes a difference)
- For the Meats (Optional but Recommended):
- 4 ounces prosciutto, torn into ribbons
- 3 ounces salami, thinly sliced (I like Genoa for its spice)
- For the Fruits and Accompaniments:
- 1 cup red grapes, washed and left in small clusters
- 1 large apple (Honeycrisp or Fuji), sliced thin and tossed in lemon juice to prevent browning
- 1/2 cup dried figs or dates (adds natural sweetness)
- Small handful of fresh rosemary sprigs (for garnish and aromatic contrast)
- Crackers and crusty bread for serving (about 8 ounces total)
Ingredient Tips: For the honey, avoid the stuff in the plastic bear—it’s too processed. Look for raw or local honey at your farmers market. For the nuts, I recommend toasting them lightly in a dry pan for 3-4 minutes before assembling. It wakes up their oils and makes them infinitely more flavorful. If you’re dairy-free, swap the cheeses for your favorite plant-based versions—just make sure they’re firm enough to slice. The honey and nuts will still carry the show.
Equipment Needed
You don’t need much for this board, which is part of its charm. Here’s what I use and what you can substitute if needed.
- Large wooden board or platter: About 12×16 inches is ideal. A slate board, marble slab, or even a large baking sheet lined with parchment works perfectly.
- Small bowls: Two or three for the honey, nuts, and any loose items like olives. I use small ceramic ramekins.
- Cheese knives: At least two—one for soft cheese, one for hard. A butter knife works in a pinch for brie.
- Honey drizzler or small spoon: A wooden honey stick is nice but not necessary. A regular spoon works fine.
- Cutting board and sharp knife: For slicing apples, cheese, and bread.
- Small skillet: For toasting the nuts if you choose to (highly recommended).
Personal Note: I found my favorite board at a thrift store for five dollars. It’s a little scratched and stained, which honestly makes it look more rustic and inviting. Don’t stress about having the perfect board—a clean cutting board or even a large dinner plate works. The food is the star, not the vessel.
Preparation Method
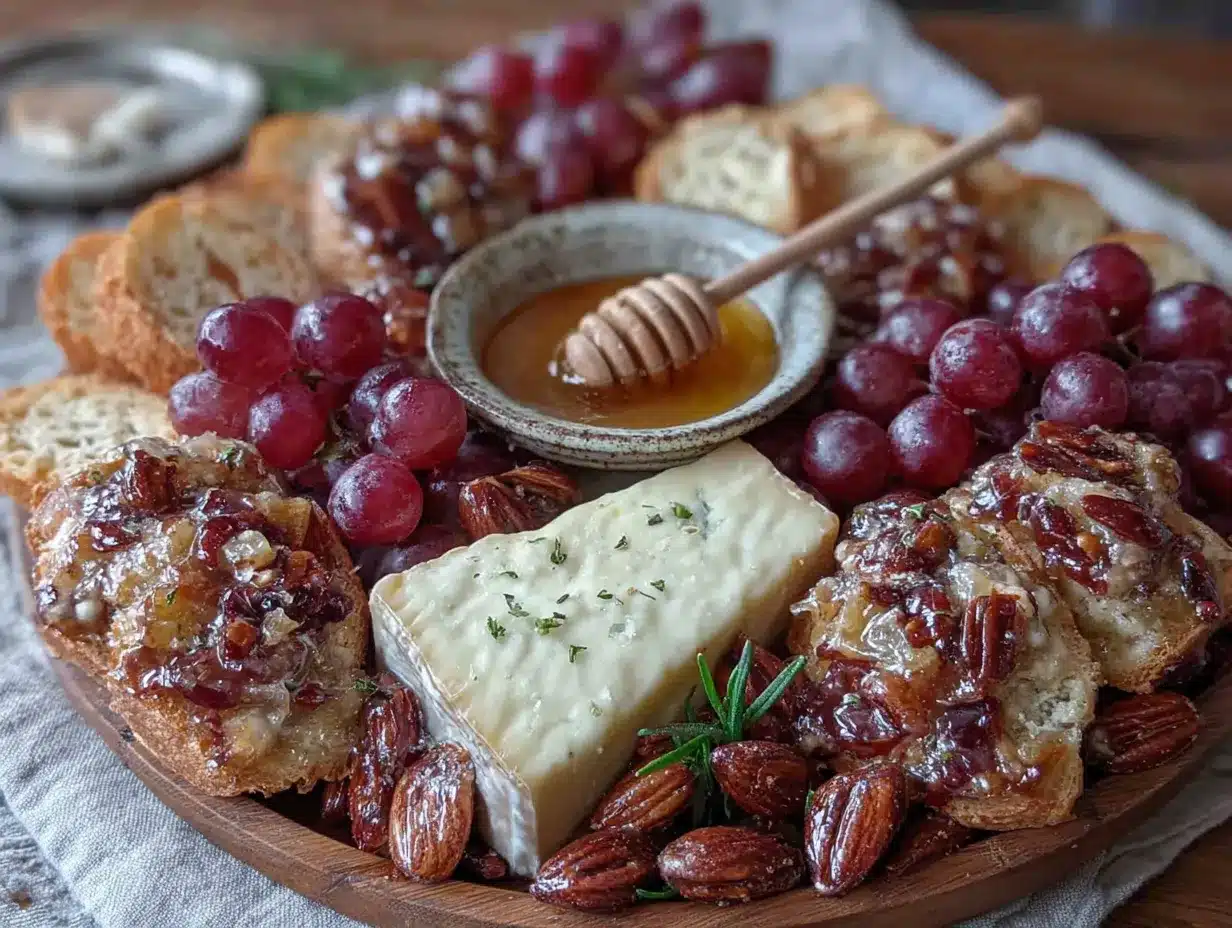
- Toast the nuts (5 minutes): Heat a small skillet over medium heat. Add the mixed nuts and pumpkin seeds. Toss frequently for 3-4 minutes until fragrant and lightly golden. Watch them carefully—they burn fast. Transfer to a bowl and let cool completely. This step wakes up their flavor dramatically.
- Warm the honey (2 minutes): Place the honey jar in a bowl of warm water for 5 minutes, or microwave in a small bowl for 10-15 seconds. You want it runny, not hot. Warm honey drizzles more smoothly and coats everything better.
- Prepare the cheese: Remove brie from the fridge 15 minutes before serving (room temperature cheese tastes better). Slice manchego into thin triangles. Cube the aged gouda. Leave the goat cheese log whole—guests can slice what they want.
- Prep the fruits: Wash grapes and leave them in small clusters—they look more natural that way. Slice the apple just before serving and toss with a squeeze of lemon juice to keep it from browning. Halve the dried figs or dates lengthwise.
- Arrange the board (10 minutes): Start with the cheese. Place the brie on one side, manchego opposite, gouda cubes scattered, and goat cheese in between. Space them out so guests can easily reach each one.
- Add the meats: Fold prosciutto into loose ribbons and place near the softer cheeses. Fan out salami slices in a small cluster. Don’t overlap too much—you want each piece accessible.
- Fill in with fruits and nuts: Scatter grapes in small clusters around the board. Place apple slices in a fan shape. Add dried figs near the hard cheeses. Sprinkle toasted nuts and pumpkin seeds in gaps. You want the board to look full but not crowded.
- Add the honey and garnishes: Pour the warm honey into a small bowl and place it centrally. Tuck fresh rosemary sprigs around the board for color and fragrance. Sprinkle flaky sea salt over the nuts and goat cheese—this tiny step makes a huge difference.
- Serve immediately: Place crackers and bread slices in a separate basket or on the edge of the board. Let guests dig in and build their own combinations. The board should look abundant and inviting, like a feast waiting to happen.
Sensory Cues: When the nuts are toasted, you should smell their oils releasing—that warm, nutty aroma. The honey should flow like thick syrup off the spoon. The cheese should feel soft to the touch but not sweating. The board should look like a painting—colors and textures in balanced chaos.
Cooking Tips & Techniques
I’ve made this board more times than I can count, and I’ve learned a few things the hard way. Here’s what I wish someone had told me.
Don’t overcrowd the board. I know it’s tempting to pile everything on, but people need room to grab things. Leave small gaps between items. It looks more intentional and is easier to eat from. I learned this after making a board so packed that guests were accidentally knocking grapes onto the floor.
Warm honey is non-negotiable. Cold honey is thick and clumpy. Warm honey flows like liquid gold and clings to everything it touches. I once served cold honey and watched a guest struggle to drizzle it. Never again. Just 15 seconds in the microwave changes everything.
Let cheese breathe. Take cheese out of the fridge 20-30 minutes before serving. Cold cheese is flavorless cheese. Room temperature brie is creamy and rich. I’ve made the mistake of serving ice-cold cheese and wondering why nobody seemed excited about it.
Salt is your secret weapon. A sprinkle of flaky sea salt on the nuts and goat cheese transforms the entire board. It contrasts with the sweet honey and makes every bite pop. Don’t skip it—it’s the difference between good and unforgettable.
Build in layers. Start with the biggest items (cheese), then add medium items (meats, fruits), then fill gaps with small items (nuts, seeds). This creates a balanced, visually appealing board that doesn’t look like a mess. I learned this from watching professional food stylists—it works every time.
Variations & Adaptations
This board is endlessly adaptable. Here are some of my favorite variations I’ve tested over the years.
Mediterranean Board: Swap the brie for feta, add kalamata olives, roasted red peppers, and hummus. Use a Greek honey like thyme honey. The salty-sweet combo is incredible.
Fall Harvest Board: Use sharp cheddar instead of manchego, add sliced pears and roasted butternut squash cubes. Top with candied pecans and a drizzle of maple syrup instead of honey. This is my go-to for Thanksgiving appetizers.
Vegan Board: Use plant-based cheeses (cashew-based brie works surprisingly well), add marinated artichokes, roasted chickpeas, and plenty of fresh vegetables like cucumber and bell pepper slices. The honey can be swapped for agave or date syrup.
Spicy Board: Add a small bowl of hot honey (mix regular honey with chili flakes). Include pepper jack cheese, spicy salami, and jalapeño-stuffed olives. The heat contrasts beautifully with the sweet honey and creamy cheese.
Breakfast Board: Yes, this works for breakfast. Use milder cheeses like mozzarella or fresh ricotta, add fresh berries, banana slices, and granola. Drizzle honey over everything and serve with croissants. My Saturday morning favorite.
Personal Variation: I once made a board entirely from farmers market finds—local honey, artisan cheese from a nearby creamery, and nuts from a roadside stand. It was the best version I’ve ever made. Supporting local producers makes the board taste even better, honestly.
Serving & Storage Suggestions
This board is best served at room temperature, so let everything sit out for 15-20 minutes before serving. Arrange it on a large board or platter and let guests graze casually. It’s perfect for wine nights, game days, or any gathering where people want to nibble and chat.
Complementary Pairings: Serve with a crisp white wine like Sauvignon Blanc or a light red like Pinot Noir. For non-alcoholic options, sparkling water with lemon or a fruity iced tea works beautifully. Add a simple green salad on the side if you want to make it a meal.
Storage: Leftovers (if you have any) can be stored separately. Wrap cheeses in wax paper and store in the fridge. Keep nuts in an airtight container at room temperature. Honey doesn’t need refrigeration. Fruits should be eaten within a day or two. The board itself doesn’t store well once assembled, so only put out what you’ll eat.
Reheating: The only thing you might want to reheat is the honey if it crystallizes. Simply warm it gently in a water bath or microwave for 10 seconds. The nuts can be re-toasted in a dry pan for 2 minutes to freshen them up.
Flavor Development: The honey and nuts actually get better after a day—the flavors meld together. If you’re planning ahead, toast the nuts and warm the honey separately, then assemble just before serving. The cheese is best fresh, but aged cheeses like gouda hold up well for a day or two.
Nutritional Information & Benefits
This board is more balanced than you might think. Here’s a rough estimate per serving (about 1/6 of the board):
| Nutrient | Amount |
|---|---|
| Calories | 380-450 |
| Protein | 18-22g |
| Fat | 28-32g |
| Carbohydrates | 20-25g |
| Fiber | 3-5g |
| Sugar | 12-16g (mostly natural) |
Health Benefits: Nuts are packed with healthy fats and vitamin E. Cheese provides calcium and protein. Honey contains antioxidants and can soothe a sore throat. Grapes offer resveratrol and hydration. This board is actually a pretty smart snack choice—it keeps you full and satisfied without the crash from processed foods.
Dietary Considerations: This recipe is naturally gluten-free if you skip the crackers and bread. It’s also vegetarian-friendly. For a lower-sodium option, reduce the added salt and choose low-sodium cheeses. The honey makes it unsuitable for strict keto, but a small serving fits into most balanced diets.
Personal Note: I love that this board feels indulgent but is actually full of real, whole foods. It’s the kind of snack that leaves you feeling satisfied, not stuffed. My wellness perspective is simple: eat foods that make you feel good, and this board does exactly that.
Conclusion
This Easy Everyday Grazing Board with Honey and Nuts is the recipe I keep coming back to. It’s the one I make when I want to feel fancy without the work, when friends show up unannounced, or when I just need a little treat for myself. It reminds me that good food doesn’t have to be complicated—it just has to be thoughtful.
I hope you make this board your own. Swap in your favorite cheeses, try different nuts, experiment with local honey. The beauty of a grazing board is that there are no rules—only delicious possibilities. Start with this base and let your taste buds guide you.
I’d love to hear how yours turns out. Drop a comment below and tell me what combinations you tried. Did you add something unexpected? Discover a new favorite cheese? Share your creation—I read every comment and love seeing your versions. And if you loved this recipe, please share it with a friend who needs a little more delicious in their life.
Now go make yourself a board. You deserve it.
Frequently Asked Questions
Can I make this board ahead of time?
You can prep all the components ahead, but assemble the board just before serving. Toast the nuts and warm the honey up to a day in advance. Slice cheese and fruits a few hours ahead and keep them covered in the fridge. The actual assembly takes only 10 minutes, so it’s easy to do last-minute.
What if I don’t have a wooden board?
No problem! Use a large dinner plate, a baking sheet lined with parchment paper, a slate tile from a hardware store, or even a clean cutting board. The food is the star, not the board. I’ve used a pizza pan in a pinch and it worked perfectly.
How do I keep the honey from crystallizing?
Store honey in a cool, dark place, not in the fridge. If it crystallizes, place the jar in a bowl of warm water for 10-15 minutes. Never microwave honey directly in a plastic container—it can melt the plastic. Glass jars are best for reheating.
Can I use frozen fruit?
Fresh fruit is better for texture and appearance, but frozen grapes are actually delicious—they have a sorbet-like texture. Frozen berries can work if thawed and drained well, but they may release juice and make the board soggy. Stick with fresh for the best experience.
How much should I make per person?
For a light snack or appetizer, plan on about 3-4 ounces of cheese and 2 ounces of meat per person. For a main meal grazing board, increase to 5-6 ounces of cheese and 3-4 ounces of meat. Nuts and fruits fill in the gaps. It’s better to have a little extra than not enough—leftovers are easy to repurpose.
Pin This Recipe!
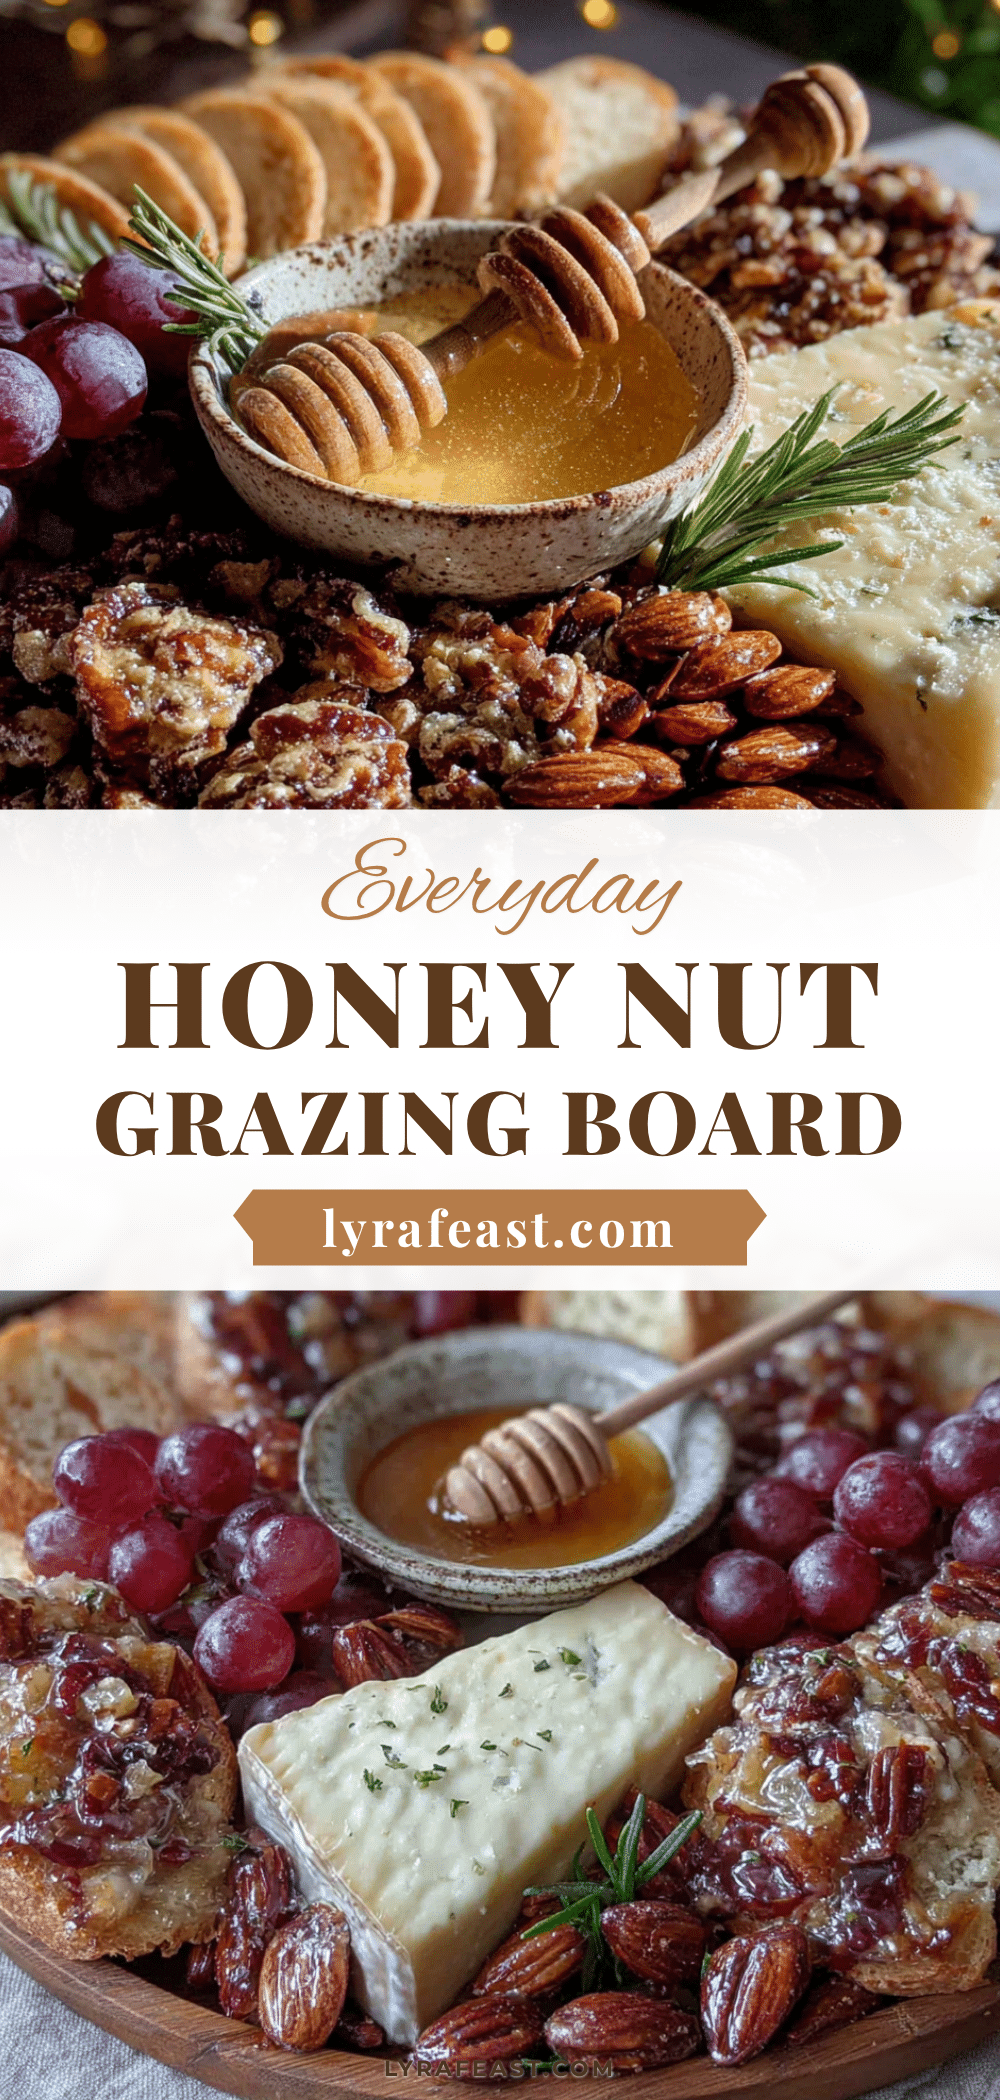
Best Easy Honey Nut Grazing Board Recipe
This Easy Everyday Grazing Board with Honey and Nuts is the one that makes you look like you spent hours when you really spent fifteen minutes. It’s the perfect combination of salty cheese, sweet honey, and crunchy nuts for any occasion.
- Prep Time: 15 minutes
- Cook Time: 5 minutes
- Total Time: 20 minutes
- Yield: 6 servings 1x
- Category: Appetizer
- Cuisine: American
Ingredients
- 8 ounces brie cheese (double cream preferred)
- 6 ounces manchego cheese, sliced into thin wedges
- 4 ounces aged gouda, cubed
- 4 ounces fresh goat cheese log
- 1/3 cup high-quality honey (local wildflower honey recommended)
- 1 cup mixed nuts (almonds, walnuts, and pecans)
- 2 tablespoons raw pumpkin seeds
- 1 tablespoon flaky sea salt (Maldon recommended)
- 4 ounces prosciutto, torn into ribbons
- 3 ounces salami, thinly sliced (Genoa recommended)
- 1 cup red grapes, washed and left in small clusters
- 1 large apple (Honeycrisp or Fuji), sliced thin and tossed in lemon juice
- 1/2 cup dried figs or dates, halved lengthwise
- Small handful of fresh rosemary sprigs
- 8 ounces crackers and crusty bread
Instructions
- Toast the nuts (5 minutes): Heat a small skillet over medium heat. Add the mixed nuts and pumpkin seeds. Toss frequently for 3-4 minutes until fragrant and lightly golden. Watch them carefully—they burn fast. Transfer to a bowl and let cool completely.
- Warm the honey (2 minutes): Place the honey jar in a bowl of warm water for 5 minutes, or microwave in a small bowl for 10-15 seconds. You want it runny, not hot.
- Prepare the cheese: Remove brie from the fridge 15 minutes before serving. Slice manchego into thin triangles. Cube the aged gouda. Leave the goat cheese log whole.
- Prep the fruits: Wash grapes and leave them in small clusters. Slice the apple just before serving and toss with a squeeze of lemon juice. Halve the dried figs or dates lengthwise.
- Arrange the board (10 minutes): Start with the cheese. Place the brie on one side, manchego opposite, gouda cubes scattered, and goat cheese in between. Space them out so guests can easily reach each one.
- Add the meats: Fold prosciutto into loose ribbons and place near the softer cheeses. Fan out salami slices in a small cluster. Don’t overlap too much.
- Fill in with fruits and nuts: Scatter grapes in small clusters around the board. Place apple slices in a fan shape. Add dried figs near the hard cheeses. Sprinkle toasted nuts and pumpkin seeds in gaps.
- Add the honey and garnishes: Pour the warm honey into a small bowl and place it centrally. Tuck fresh rosemary sprigs around the board for color and fragrance. Sprinkle flaky sea salt over the nuts and goat cheese.
- Serve immediately: Place crackers and bread slices in a separate basket or on the edge of the board. Let guests dig in and build their own combinations.
Notes
Don’t overcrowd the board. Warm honey is non-negotiable—cold honey is thick and clumpy. Let cheese breathe by taking it out of the fridge 20-30 minutes before serving. Salt is your secret weapon—a sprinkle of flaky sea salt on the nuts and goat cheese transforms the entire board. Build in layers: start with biggest items (cheese), then medium (meats, fruits), then fill gaps with small items (nuts, seeds).
Nutrition
- Serving Size: 1/6 of the board
- Calories: 380450
- Sugar: 1216
- Sodium: 600800
- Fat: 2832
- Saturated Fat: 1216
- Carbohydrates: 2025
- Fiber: 35
- Protein: 1822
Keywords: grazing board, cheese board, honey nut board, appetizer, party snack, easy entertaining, charcuterie board



