My neighbor Marco asked me why I couldn’t just toss everything in the oven instead of standing over a hot stove for hours. I started to explain why that wouldn’t work—then stopped. He had a point, honestly. I was mid-sentence, wooden spoon in hand, sweat dripping down my forehead in August heat, and I realized I didn’t actually have a good reason. I just assumed slow-roasting couldn’t deliver the same depth as stovetop simmering. Boy, was I wrong.
That afternoon, Marco and I threw eight pounds of Roma tomatoes into roasting pans with nothing but garlic cloves, olive oil, and salt. Three hours later, we had the most ridiculously flavorful tomato sauce I’d ever tasted. The caramelization that happened in the oven created this sweet, savory complexity that stovetop sauce just never achieves. I mean, I’ve been making tomato sauce for canning for over a decade, and this one method changed everything.
The best part? You barely have to do anything. The oven does all the work while you go about your day. Maybe you’ve been there—standing at the counter, stirring every fifteen minutes, wondering if there’s an easier way. There is, friend. This slow-roasted garlic tomato sauce for canning is it. It’s become my go-to every late summer when tomatoes are at their peak, and I honestly look forward to canning day now instead of dreading it.
Why You’ll Love This Recipe
Let me tell you why this recipe has earned a permanent spot in my canning rotation. I’ve tested this method across three different ovens, two different tomato varieties, and even tried it with cherry tomatoes once (don’t recommend that, by the way—too watery). Here’s what makes this the best slow-roasted garlic tomato sauce for canning:
- Hands-Off Cooking: You spend maybe twenty minutes prepping, then the oven does everything. No stirring, no watching, no worrying about scorching the bottom of your pot.
- Simple Ingredients: Tomatoes, garlic, olive oil, salt, and a little basil. That’s it. No sugar needed—the roasting brings out natural sweetness.
- Perfect for Canning: This sauce is thick enough to water bath can safely, and the flavor only gets better after a few months in the jar.
- Crowd-Pleaser: I’ve given jars to neighbors, family, and coworkers. Everyone asks for the recipe. Even my picky nephew ate it straight from the jar.
- Unbelievably Rich Flavor: The slow roasting concentrates the tomatoes and caramelizes the garlic, creating a depth that simmered sauce just can’t match. It’s honestly restaurant-quality.
What makes this recipe different from every other tomato sauce out there is the technique. Instead of boiling and reducing, you’re roasting—which means you get those gorgeous browned bits on the pan that add so much flavor. Plus, roasting at a low temperature preserves the bright tomato taste while intensifying it. This isn’t just another canning recipe; it’s the one that made me actually look forward to tomato season.
This sauce is comfort food reimagined. It’s the taste of summer preserved in a jar, ready to be opened on a cold January night when you need something warm and familiar. It’s perfect for impressing dinner guests without stress, or turning a simple weeknight pasta into something memorable.
What Ingredients You Will Need
This recipe uses simple, wholesome ingredients that come together to create something truly special. The beauty of this slow-roasted garlic tomato sauce for canning is that you probably already have most of these in your kitchen during tomato season.
For the Sauce
- 10 pounds Roma tomatoes, halved lengthwise (Romas have less water and more flesh, making them ideal for sauce. I prefer using San Marzano-style Romas if I can find them.)
- 12-15 cloves garlic, peeled and left whole (don’t chop them—they’ll burn. Whole cloves slowly caramelize and become sweet and buttery.)
- 1/4 cup extra virgin olive oil (use a good quality one here, it matters. I like California Olive Ranch for everyday cooking.)
- 2 teaspoons kosher salt, plus more to taste
- 1 teaspoon black pepper, freshly ground
- 1/2 cup fresh basil leaves, roughly chopped (or 2 tablespoons dried basil if fresh isn’t available)
- 1 tablespoon balsamic vinegar (optional, but adds a nice depth. I add it right before blending.)
For Canning
- 1/4 cup bottled lemon juice (must be bottled, not fresh, for safe acidity levels in water bath canning)
- Canning salt, if needed for adjusting seasoning before processing
- Clean canning jars, lids, and bands (pint or quart size work well)
Ingredient Selection Tips: Look for tomatoes that are fully ripe but still firm. If your tomatoes are overly soft, they’ll release too much water and the sauce won’t thicken properly. I’ve learned this the hard way—trust me on this one. For the garlic, choose firm, plump cloves without any green sprouts in the center. Sprouted garlic can be bitter and won’t caramelize as nicely.
Substitution Guidance: If you can’t find Roma tomatoes, use any paste tomato variety. Avoid beefsteak or heirloom slicing tomatoes—they’re too watery. You can substitute dried oregano for basil if you prefer, or use a mix of both. For a completely seedless sauce, you can remove the seeds before roasting, but I find the seeds add a little texture and fiber, so I leave them in.
Equipment Needed
Before we get started, let’s talk about what you’ll need. Most of these items are probably already in your kitchen, but a few are worth investing in if you plan to make this slow-roasted garlic tomato sauce for canning regularly.
- Large roasting pans (at least two—you need space for the tomatoes to roast in a single layer. I use half-sheet pans, and they work perfectly.)
- Food mill or immersion blender (a food mill removes skins and seeds in one step. If you don’t have one, an immersion blender works, but you’ll want to remove the skins first.)
- Large stockpot (for combining and heating the sauce before canning)
- Water bath canner (or a large deep pot with a rack)
- Canning jars, lids, and bands (pints or quarts—I prefer pints for this sauce since it’s so concentrated)
- Jar lifter and canning funnel (these make the process so much safer and cleaner)
- Clean kitchen towels (for drying jars and handling hot lids)
- Chef’s knife and cutting board
Budget-Friendly Options: If you don’t have a food mill, you can peel the tomatoes by scoring an X on the bottom, blanching them for 30 seconds in boiling water, then plunging them into ice water. The skins slip right off. Then just blend the roasted tomatoes and garlic with an immersion blender or regular blender. It’s a few extra steps but saves you from buying equipment.
Personal Note: I bought my first food mill at a garage sale for five dollars. It was rusty and needed a good scrub, but it’s still going strong five years later. Don’t feel like you need fancy equipment—this recipe is forgiving.
Preparation Method
Alright, let’s get into the actual process. This slow-roasted garlic tomato sauce for canning is surprisingly straightforward, but there are a few key steps that make all the difference. I’ve broken it down so you can follow along without any confusion.
- Preheat your oven to 300°F (150°C). This low temperature is the secret. High heat would burn the garlic and dry out the tomatoes before they have time to caramelize properly.
- Prepare your tomatoes. Wash them thoroughly, then cut each tomato in half lengthwise. Remove the core where the stem attaches—that little green part is tough and bitter. Arrange the tomato halves cut-side up in your roasting pans. Don’t crowd them too much; a single layer is ideal. If they’re overlapping, use a second pan.
- Add the garlic and seasonings. Scatter the whole garlic cloves evenly among the tomatoes. Drizzle everything with olive oil, then sprinkle with salt and pepper. Toss gently with your hands to coat everything, then arrange the tomatoes back cut-side up. Tuck the basil leaves in between the tomatoes.
- Roast for 2.5 to 3 hours. Here’s where patience pays off. The tomatoes should be wrinkled, slightly browned on the edges, and swimming in a beautiful deep red liquid. The garlic should be soft and golden—you should be able to squish a clove easily between your fingers. Every oven is different, so start checking at the 2-hour mark.
- Let the pans cool slightly. About 15-20 minutes. You want them cool enough to handle but still warm. This makes blending easier.
- Process the roasted mixture. If using a food mill, simply run the roasted tomatoes, garlic, and all the pan juices through the mill. It will separate the skins and seeds from the smooth sauce. If using an immersion blender, first remove the tomato skins (they should peel off easily now), then blend everything directly in the pan until smooth. Add the balsamic vinegar at this point if you’re using it.
- Transfer to a stockpot. Pour the blended sauce into a large stockpot. Bring it to a gentle simmer over medium heat. Taste and adjust seasoning—you might want a pinch more salt or a little more basil. Let it simmer for 10-15 minutes to thicken slightly if needed. The sauce should be thick enough to coat the back of a spoon but still pourable.
- Prepare for canning. While the sauce simmers, wash your jars in hot soapy water and keep them warm. I put mine in a 200°F oven on a baking sheet. Place the lids in a small saucepan of simmering water (not boiling—just hot) to soften the sealing compound.
- Add lemon juice to each jar. This is crucial for safe canning. Add 1 tablespoon of bottled lemon juice to each pint jar, or 2 tablespoons to each quart jar. Bottled lemon juice has a consistent acidity level that fresh lemon juice doesn’t guarantee.
- Fill the jars. Using your canning funnel, ladle the hot sauce into the jars, leaving 1/2 inch headspace. Run a clean chopstick or bubble remover around the inside of each jar to release any trapped air bubbles. Wipe the rims clean with a damp paper towel—any residue can prevent a proper seal.
- Apply lids and bands. Center the lids on the jars, then screw the bands on until fingertip-tight. Don’t overtighten—air needs to escape during processing.
- Process in a water bath canner. Place the jars in your canner, making sure they’re covered by at least 1 inch of water. Bring to a rolling boil, then process pint jars for 35 minutes and quart jars for 40 minutes. Adjust processing time if you’re at a high altitude (add 5 minutes for every 1,000 feet above sea level).
- Cool and check seals. After processing, turn off the heat and let the jars sit in the water for 5 minutes. Then remove them with your jar lifter and place them on a towel-lined counter. Don’t disturb them for 12-24 hours. You’ll hear the satisfying “pop” of the lids sealing as they cool. After 24 hours, press the center of each lid—it should be concave and not flex up and down.
Pro tip I learned the hard way: Label your jars with the date before you put them away. I once found a mystery jar in the back of my pantry and had no idea if it was from last summer or the summer before. Now I use a permanent marker right on the lid.
Cooking Tips & Techniques
After making this slow-roasted garlic tomato sauce for canning more times than I can count, I’ve picked up a few tricks that make the process smoother and the results more consistent.
Don’t skip the balsamic vinegar. I know it sounds weird, but that tiny splash brightens the whole sauce without making it taste vinegary. It’s like adding a pinch of sugar to tomato sauce—it doesn’t make it sweet, it just rounds out the flavors. I forgot it once and the sauce was noticeably flat.
Watch your garlic. If your garlic cloves are on the smaller side, they might be done before the tomatoes. That’s fine—just remove them from the pan with tongs and set them aside. Burnt garlic tastes bitter and will ruin your sauce. I’ve definitely had to fish out a few overdone cloves before and it’s not fun.
Use a rimmed baking sheet. I made the mistake of using a shallow jelly roll pan once, and the juices overflowed onto the oven floor. Smoke everywhere, fire alarm going off, the whole disaster. Rimmed half-sheet pans are your friend here.
Timing matters for canning. Plan your canning day so you’re not rushing. I like to start roasting by 9 AM, then I have the whole afternoon for processing. If you’re doing this after work, you might want to roast the tomatoes the night before and finish in the morning. The roasted mixture keeps fine in the fridge overnight.
Consistency tip: If your sauce is too thin after roasting, don’t panic. Simmer it longer on the stovetop before canning. If it’s too thick, add a little water or tomato juice. The perfect consistency is somewhere between jarred pasta sauce and tomato soup—thick enough to coat pasta but not so thick it’s paste.
One more thing: Taste your tomatoes before roasting. If they’re not super flavorful, add a pinch of sugar to the roasting pan. It helps caramelization and boosts the natural sweetness. I don’t usually need it with peak-season tomatoes, but early or late-season tomatoes sometimes need a little help.
Variations & Adaptations
One of the best things about this slow-roasted garlic tomato sauce for canning is how adaptable it is. I’ve played around with different variations over the years, and here are some of my favorites.
Herb Garden Variation: Swap out the basil for a mix of fresh oregano, thyme, and rosemary. Use about 2 tablespoons total of chopped fresh herbs. This version is incredible on pizza or stirred into minestrone soup. I made this last September with herbs from my garden and it was like bottling summer itself.
Spicy Arrabiata Style: Add 2-3 whole dried red chilies to the roasting pan with the tomatoes. Remove them before blending, or leave one in for extra heat. I like using Calabrian chilies if I can find them—they add a fruity heat that’s amazing. This version is my husband’s favorite for pasta all’arrabbiata.
Roasted Red Pepper Addition: Toss 2-3 halved and seeded red bell peppers into the roasting pan with the tomatoes. They’ll caramelize beautifully and add sweetness and body to the sauce. This is great if you have extra peppers from the garden. Just remember to remove the skins after roasting—they peel off easily.
Dietary Adaptations: This recipe is naturally vegan, gluten-free, and dairy-free. For a low-sodium version, reduce or omit the salt and rely on the herbs and balsamic for flavor. You can always add salt when you’re reheating the sauce later.
Freezer Method: If you don’t want to can, this sauce freezes beautifully. Let it cool completely, then portion into freezer-safe bags or containers. It keeps for up to 6 months in the freezer. I do this when I’m too tired to deal with the canning process but still want to preserve my tomato harvest.
Personal Variation: Last summer, I added a whole bulb of garlic (cut in half crosswise) to the roasting pan instead of individual cloves. The roasted garlic pulp squeezed out like butter and blended into the sauce with this incredible sweetness. It was a game-changer. Just be warned—you’ll need extra breath mints for a few days.
Serving & Storage Suggestions
This slow-roasted garlic tomato sauce for canning is incredibly versatile. Here’s how I like to use it and store it.
Serving Temperature and Presentation: Serve this sauce warm, directly from the jar. It’s thick enough to hold its own on pasta without being watery. I love it over spaghetti with a sprinkle of fresh Parmesan and basil. It’s also amazing on pizza, stirred into risotto, or as a dipping sauce for crusty bread. For a quick weeknight dinner, I’ll sauté some Italian sausage, add a jar of this sauce, and serve it over polenta.
Complementary Dishes: This sauce pairs beautifully with simple sides. A crisp green salad with lemon vinaigrette, roasted vegetables, or garlic bread all work well. For a complete meal, serve it with grilled chicken or meatballs. The sauce is rich enough that you don’t need much else on the plate.
Storage Instructions: Properly canned jars will keep in a cool, dark pantry for up to 18 months. Once opened, refrigerate and use within 5-7 days. If you notice any signs of spoilage—mold, off smells, bulging lids, or liquid seeping out—discard the jar immediately. When in doubt, throw it out.
Reheating Methods: To reheat, simply pour the sauce into a saucepan and warm over medium-low heat, stirring occasionally. You can also microwave it in a glass bowl for 2-3 minutes, stirring halfway through. If the sauce seems too thick after storage, add a splash of pasta water or chicken broth to thin it out.
Flavor Development Over Time: Here’s something interesting—this sauce actually gets better after a month or two in the jar. The flavors meld and deepen, and the garlic becomes even more mellow and sweet. I always save a few jars from each batch to open in the dead of winter. There’s something magical about tasting August tomatoes in February.
Nutritional Information & Benefits
This slow-roasted garlic tomato sauce for canning is not just delicious—it’s also packed with nutritional benefits. Here’s a rough breakdown per 1/2 cup serving.
| Nutrient | Amount per 1/2 cup |
|---|---|
| Calories | 70-80 |
| Total Fat | 4-5g |
| Saturated Fat | 0.5-1g |
| Sodium | 250-300mg (varies with added salt) |
| Total Carbohydrates | 8-10g |
| Dietary Fiber | 2-3g |
| Sugars | 5-7g (natural from tomatoes) |
| Protein | 2-3g |
| Vitamin C | 20-25% DV |
| Vitamin A | 15-20% DV |
| Potassium | 10-12% DV |
Health Benefits: Tomatoes are rich in lycopene, a powerful antioxidant that’s been linked to reduced risk of heart disease and certain cancers. The roasting process actually makes the lycopene more bioavailable, so your body can absorb it better. Garlic is known for its immune-boosting properties, and olive oil provides healthy monounsaturated fats. This sauce is naturally low in calories and sugar, making it a healthy addition to any meal.
Dietary Considerations: This recipe is vegan, gluten-free, dairy-free, and nut-free. It’s also Whole30-friendly if you omit the balsamic vinegar (though a small amount is usually fine). The only potential allergen is garlic, which is rare. If you’re on a low-sodium diet, simply reduce or omit the salt in the recipe.
Personal Wellness Perspective: I love knowing exactly what’s in my food when I open a jar of this sauce. No added sugar, no preservatives, no weird ingredients I can’t pronounce. It’s real food, preserved at its peak, and that feels good.
Conclusion
This slow-roasted garlic tomato sauce for canning has completely changed how I approach preserving season. It’s hands-off, forgiving, and produces the most incredible flavor with minimal effort. I honestly can’t imagine going back to stovetop simmering now.
Whether you’re a seasoned canner or trying it for the first time, this recipe is worth making. The oven does the heavy lifting, and you get jars of rich, caramelized tomato sauce that tastes like summer. Feel free to customize it with your favorite herbs or a little heat—that’s the beauty of homemade.
I’d love to hear how yours turns out. Did you try a variation? Add something unexpected? Drop a comment below and share your experience. And if you found this helpful, consider sharing it with a friend who loves tomatoes as much as we do. Happy canning, friend—here’s to full pantries and cozy winter dinners.
Frequently Asked Questions
Can I use this slow-roasted garlic tomato sauce for canning with any type of tomato?
I recommend Roma or other paste tomatoes for the best results. They have less water content and more flesh, which means you get a thicker, more concentrated sauce. Slicing tomatoes like beefsteak or heirlooms will work, but you’ll need to simmer the sauce longer to evaporate the extra water, and the flavor won’t be as intense.
Do I have to remove the tomato skins before canning?
Not necessarily. If you use a food mill, it removes the skins and seeds for you. If you’re using an immersion blender, I recommend peeling the skins after roasting—they slip off easily and can be tough and chewy in the final sauce. Leaving them on gives the sauce a slightly rustic texture, which some people like, but it’s not ideal for a smooth sauce.
How long does this sauce last in the pantry?
Properly canned and sealed jars will keep for 12 to 18 months in a cool, dark pantry. I always label mine with the date so I know which batch to use first. After opening, refrigerate and use within 5-7 days. If you see any signs of spoilage like mold, bulging lids, or off smells, discard the jar immediately.
Can I halve this recipe for a smaller batch?
Absolutely. This recipe scales down easily. Just use 5 pounds of tomatoes and adjust the other ingredients proportionally. The roasting time might be slightly shorter with a smaller batch, so start checking at the 2-hour mark. You can also skip the canning process and just refrigerate or freeze the sauce if you’re making a small amount.
Why do I need to add bottled lemon juice for canning?
Bottled lemon juice has a standardized acidity level that’s been tested for safe home canning. Fresh lemon juice can vary in acidity depending on the fruit, so it’s not reliable for ensuring the sauce is acidic enough to prevent botulism. The lemon juice doesn’t affect the flavor—I promise you won’t taste it in the final sauce.
Pin This Recipe!
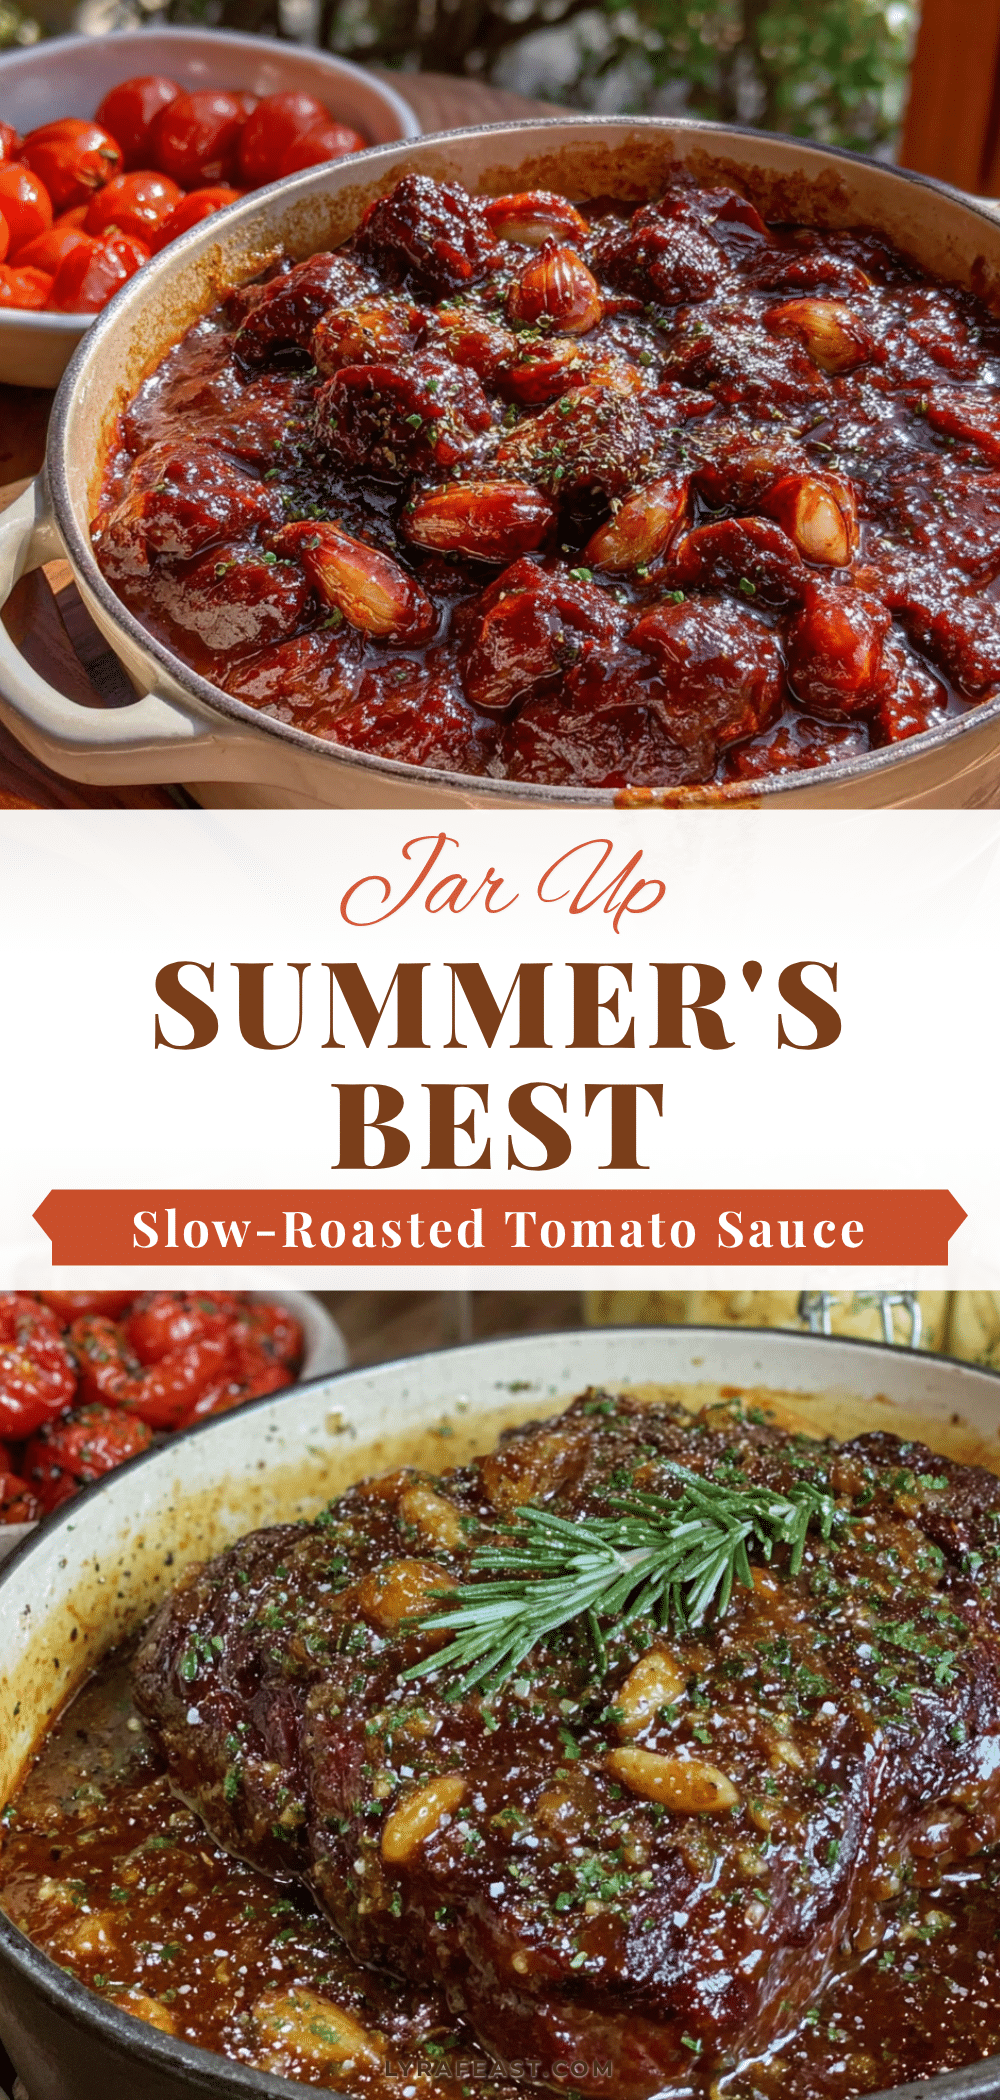
Best Easy Slow-Roasted Garlic Tomato Sauce for Canning
This hands-off slow-roasted garlic tomato sauce for canning delivers incredibly rich, caramelized flavor with minimal effort. The oven does all the work, transforming simple Roma tomatoes and garlic into a thick, restaurant-quality sauce perfect for water bath canning.
- Prep Time: 20 minutes
- Cook Time: 3 hours
- Total Time: 3 hours 20 minutes
- Yield: 6-8 pints 1x
- Category: Main Course
- Cuisine: Italian
Ingredients
- 10 pounds Roma tomatoes, halved lengthwise
- 12–15 cloves garlic, peeled and left whole
- 1/4 cup extra virgin olive oil
- 2 teaspoons kosher salt
- 1 teaspoon black pepper, freshly ground
- 1/2 cup fresh basil leaves, roughly chopped (or 2 tablespoons dried basil)
- 1 tablespoon balsamic vinegar (optional)
- 1/4 cup bottled lemon juice (for canning)
- Canning salt (optional, for adjusting seasoning)
- Clean canning jars, lids, and bands (pint or quart size)
Instructions
- Preheat your oven to 300°F (150°C).
- Wash tomatoes thoroughly, cut each in half lengthwise, and remove the core. Arrange tomato halves cut-side up in a single layer in large roasting pans.
- Scatter whole garlic cloves evenly among the tomatoes. Drizzle with olive oil, sprinkle with salt and pepper, and toss gently with your hands to coat. Arrange tomatoes back cut-side up. Tuck basil leaves in between the tomatoes.
- Roast for 2.5 to 3 hours, until tomatoes are wrinkled, slightly browned on edges, and swimming in deep red liquid. Garlic should be soft and golden.
- Let pans cool for 15-20 minutes until warm but handleable.
- Process the roasted mixture: If using a food mill, run tomatoes, garlic, and pan juices through the mill. If using an immersion blender, remove tomato skins first, then blend everything directly in the pan until smooth. Add balsamic vinegar if using.
- Transfer blended sauce to a large stockpot. Bring to a gentle simmer over medium heat. Taste and adjust seasoning. Simmer for 10-15 minutes to thicken slightly if needed.
- While sauce simmers, wash jars in hot soapy water and keep warm (e.g., in a 200°F oven). Place lids in a small saucepan of simmering water.
- Add 1 tablespoon bottled lemon juice to each pint jar (2 tablespoons for quart jars).
- Using a canning funnel, ladle hot sauce into jars, leaving 1/2 inch headspace. Remove air bubbles with a chopstick. Wipe rims clean.
- Center lids on jars, screw bands on until fingertip-tight.
- Process in a water bath canner: pint jars for 35 minutes, quart jars for 40 minutes (adjust for altitude if needed).
- After processing, let jars sit in water for 5 minutes, then remove and place on a towel-lined counter. Do not disturb for 12-24 hours. Check seals after 24 hours.
Notes
For safe canning, use bottled lemon juice (not fresh) to ensure proper acidity. If sauce is too thin after roasting, simmer longer on stovetop before canning. Label jars with date before storing. Sauce flavor improves after 1-2 months in the jar.
Nutrition
- Serving Size: 1/2 cup
- Calories: 7080
- Sugar: 57
- Sodium: 250300
- Fat: 45
- Saturated Fat: 0.51
- Carbohydrates: 810
- Fiber: 23
- Protein: 23
Keywords: slow-roasted garlic tomato sauce, canning recipe, homemade tomato sauce, Roma tomatoes, water bath canning, summer preserving



