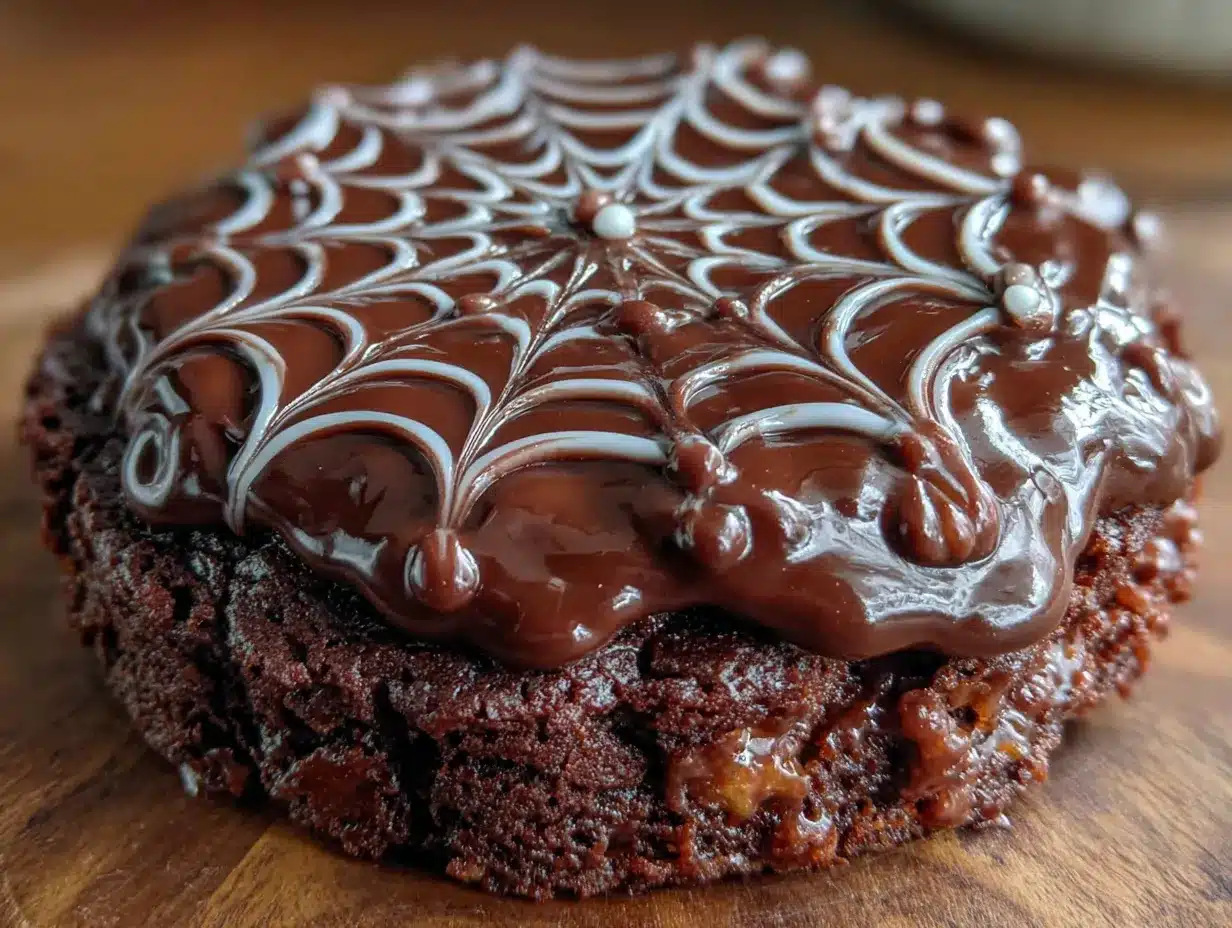
I was standing in line at the post office, of all places, when the idea for this Perfect Spiderweb Halloween Cookie Cake first hit me. The woman ahead of me—probably in her seventies, with a cat-shaped brooch on her coat—was telling the clerk about her annual Halloween party. “I make the same thing every year,” she said, “a chocolate cookie cake with a spiderweb on top. My grandson calls it the best thing I’ve ever baked.” I leaned in a little closer, honestly not trying to eavesdrop, but you know how it is when someone mentions food. She described the whole process—a soft, fudgy cookie base, a simple powdered sugar glaze, and a toothpick dragged through it to create those perfect web lines. I asked her about it, and she just smiled and said, “It’s easier than it looks, honey. That’s the whole point.” I scribbled down her rough directions on the back of an envelope I found in my bag. Let me tell you, I was so excited I almost forgot to mail my package. That conversation turned into this recipe, and now I make it every October without fail. It’s the kind of Halloween dessert that looks impressive—like you spent hours on it—but comes together in under an hour. Maybe you’ve been there, staring at complicated Halloween treats online and wondering if you even have the patience for it. This one is different. It’s simple, it’s stunning, and it tastes like the best chocolate cookie you’ve ever had. That’s why it stayed with me. That’s why I keep making it.
Why You’ll Love This Recipe
This Perfect Spiderweb Halloween Cookie Cake isn’t just another Halloween dessert. It’s the one that disappears first at every party. I’ve tested this recipe more times than I care to count, tweaking the baking time and the glaze consistency until it was just right. Here’s why it works:
- Quick & Easy: From start to finish, you’re looking at about 40 minutes. That’s mixing, baking, and decorating. No chilling dough, no complicated piping bags.
- Simple Ingredients: You probably have everything in your pantry right now. Flour, sugar, cocoa powder, butter, eggs—nothing fancy. I mean it when I say no special grocery trips needed.
- Perfect for Halloween Parties: This cookie cake is a showstopper. The spiderweb design is instantly recognizable and always gets a reaction. Kids love it. Adults love it. It’s the centerpiece of any dessert table.
- Crowd-Pleaser: It’s a giant chocolate cookie. Who doesn’t love that? The texture is soft and fudgy in the middle with slightly crisp edges. It’s the kind of dessert that makes people close their eyes after the first bite.
- Unbelievably Delicious: The combination of rich chocolate cookie and sweet vanilla glaze is pure comfort. It’s not too sweet, not too heavy—just perfectly balanced.
What makes this recipe different from the rest? It’s the technique. Instead of a complicated frosting, you use a simple powdered sugar glaze that flows perfectly. The spiderweb is created by dragging a toothpick through concentric circles of glaze. It’s foolproof, honestly. And the cookie base? It uses melted butter instead of softened, which gives it that dense, fudge-like texture that’s so satisfying. This isn’t just another version of a Halloween cookie—it’s the best version.
What Ingredients You Will Need
This recipe uses straightforward, pantry-friendly ingredients to create something truly special. Each component plays a specific role in the texture and flavor, so let’s break it down.
For the Cookie Base
- 1 ½ cups (190g) all-purpose flour – Spoon and level it for accuracy. Too much flour makes the cookie dry.
- ½ cup (50g) unsweetened cocoa powder – I prefer Dutch-processed for a deeper, richer chocolate flavor, but natural works fine too.
- ½ teaspoon baking soda – Helps the cookie spread just enough without puffing up too much.
- ¼ teaspoon salt – Balances the sweetness and enhances the chocolate.
- ¾ cup (170g) unsalted butter, melted and slightly cooled – Melted butter gives that dense, fudge-like texture. Let it cool for a few minutes so it doesn’t cook the eggs.
- 1 cup (200g) granulated sugar – Adds sweetness and helps create those slightly crisp edges.
- ½ cup (100g) packed light brown sugar – Adds moisture and a subtle caramel note. Don’t skip it—it makes the cookie softer.
- 1 large egg, room temperature – Binds everything together. If your egg is cold, place it in a bowl of warm water for 5 minutes.
- 1 teaspoon vanilla extract – Pure vanilla extract makes a difference here. Imitation works, but the real stuff is better.
For the Spiderweb Glaze
- 1 cup (120g) powdered sugar – Sift it if it’s lumpy. No one wants a lumpy glaze.
- 2-3 tablespoons milk or heavy cream – Start with 2 tablespoons and add more if needed. Heavy cream gives a richer glaze.
- ½ teaspoon vanilla extract – For flavor.
Ingredient Tips & Substitutions
For the cocoa powder, I recommend Ghirardelli or Valrhona for the best flavor. If you only have natural cocoa powder, that’s fine—just expect a slightly lighter color and a more intense, slightly acidic chocolate taste. For a dairy-free version, use melted coconut oil or vegan butter instead of unsalted butter, and substitute the milk with almond or oat milk. The texture will be slightly different but still delicious. If you don’t have brown sugar, you can use all granulated sugar, but the cookie will be a bit less chewy. And honestly, that’s okay too—it’s still going to taste amazing.
Equipment Needed
You don’t need a lot of fancy tools for this recipe. Here’s what you’ll need:
- 9-inch round cake pan or springform pan – A cake pan is ideal because it gives the cookie cake its shape. A springform pan makes it easier to remove, but a regular cake pan works too. Just line it with parchment paper.
- Mixing bowls – One large, one medium.
- Whisk – For mixing the dry ingredients.
- Spatula or wooden spoon – For combining the wet and dry ingredients.
- Measuring cups and spoons – Accuracy matters, especially with the flour and cocoa powder.
- Toothpick or skewer – For creating the spiderweb design. A toothpick is perfect.
- Piping bag or zip-top bag – For drizzling the glaze. A zip-top bag with a tiny corner snipped off works just as well as a piping bag.
- Cooling rack – Essential for letting the cookie cool evenly before glazing.
I’ve made this recipe with a $5 cake pan from the grocery store and it turned out perfectly. Don’t stress about equipment. The toothpick is the most important tool, and you probably have a hundred of them in a drawer somewhere.
Preparation Method
Let’s get baking. This recipe is straightforward, but I’ll walk you through each step with all the little details that make a difference.
- Preheat your oven to 350°F (175°C). Grease your 9-inch round cake pan thoroughly with butter or non-stick spray. Then line the bottom with a circle of parchment paper. This step is non-negotiable—it guarantees the cookie cake comes out cleanly. Trust me, I learned this the hard way after one particularly stubborn cookie cake.
- In a medium bowl, whisk together the flour, cocoa powder, baking soda, and salt. Make sure there are no lumps of cocoa powder. If there are, sift the mixture. This takes 30 seconds and saves you from biting into a pocket of bitter cocoa later.
- In a large bowl, combine the melted butter, granulated sugar, and brown sugar. Whisk until smooth and well combined. The mixture should look like wet sand. Don’t overmix—just until it’s uniform.
- Add the egg and vanilla extract to the butter-sugar mixture. Whisk vigorously until the mixture is smooth and slightly thickened, about 30 seconds. It should look glossy and cohesive.
- Pour the dry ingredients into the wet ingredients. Use a spatula to fold everything together until just combined. Stop when you no longer see streaks of flour. Overmixing at this stage develops gluten, which makes the cookie tough. We want it tender and fudgy.
- Transfer the dough to your prepared pan. It will be thick and slightly sticky. Use the spatula to spread it evenly to the edges. Wet your fingers slightly and press it down gently if needed. The dough should be about ½ inch thick throughout.
- Bake for 18-22 minutes. Start checking at 18 minutes. The edges should look set and slightly cracked, but the center should still look soft and slightly underdone. A toothpick inserted into the center should come out with a few moist crumbs, not raw batter. This is the sweet spot—it will continue to cook from residual heat as it cools.
- Let the cookie cake cool in the pan for 10 minutes. Then run a knife around the edge and carefully transfer it to a cooling rack. Let it cool completely before glazing. This takes about 30-40 minutes. Don’t rush it—warm cookie + glaze = a melty mess.
- While the cookie cools, make the glaze. In a small bowl, whisk together the powdered sugar, 2 tablespoons of milk, and vanilla extract. Start with 2 tablespoons of milk. The glaze should be thick but pourable—like slightly runny honey. If it’s too thick, add another ½ teaspoon of milk at a time. If it’s too thin, add a little more powdered sugar.
- Pour the glaze over the center of the cooled cookie cake. Use the back of a spoon to spread it gently toward the edges, leaving about ½ inch of cookie exposed around the rim. Work quickly—the glaze sets fast.
- Create the spiderweb. While the glaze is still wet, pipe or drizzle concentric circles of plain glaze (or a contrasting color) starting from the center and working outward. Then, using a toothpick or skewer, drag it from the center outward through all the circles. Repeat this 6-8 times around the cookie cake, like spokes on a wheel. Then drag the toothpick in the opposite direction, from the outer edge toward the center, between each spoke. This creates the classic spiderweb pattern. It looks magical every single time.
- Let the glaze set for 15-20 minutes. Then add a plastic spider or two for decoration, if you like. Slice and serve.
Cooking Tips & Techniques
I’ve made this Perfect Spiderweb Halloween Cookie Cake more times than I can count, and I’ve learned a few things along the way. Here are my best tips:
Don’t overbake. This is the most important tip. The cookie cake should look slightly underdone in the center when you take it out of the oven. It will continue to set as it cools. Overbaking gives you a dry, crumbly cookie instead of a soft, fudgy one. I’ve made that mistake before—trust me, it’s heartbreaking.
Use room temperature egg. Cold egg can seize the melted butter, creating a lumpy dough. If you forgot to take the egg out of the fridge, place it in a bowl of warm water for 5 minutes. Problem solved.
Work quickly with the glaze. The powdered sugar glaze sets fast. Have your toothpick ready before you start pouring. I learned this the hard way when I had to stop mid-web to find a toothpick. The glaze was already setting by the time I got back, and the web looked messy.
Multitask like a pro. While the cookie cake is baking, clean up your workspace and measure out the glaze ingredients. By the time the cookie is cool enough to glaze, you’ll be ready to go. It makes the whole process feel effortless.
For a cleaner web, use a squeeze bottle. If you have one, fill it with the glaze and pipe the concentric circles. It gives you more control than a spoon or a zip-top bag. But honestly, a zip-top bag with a tiny corner snipped off works perfectly. Don’t overthink it.
Variations & Adaptations
This recipe is incredibly versatile. Here are some ways to make it your own:
Gluten-Free Version: Substitute the all-purpose flour with a 1:1 gluten-free baking flour blend. I’ve used Bob’s Red Mill and King Arthur brands with great results. The texture is slightly more tender, but the flavor is identical.
Dairy-Free Version: Use melted coconut oil or vegan butter instead of unsalted butter. For the glaze, use almond milk or oat milk. The cookie will be a bit more delicate, so handle it gently when transferring to the cooling rack.
Peanut Butter Spiderweb: Add ¼ cup of creamy peanut butter to the wet ingredients along with the egg. It adds a subtle nutty flavor that pairs beautifully with the chocolate. Just reduce the butter to ½ cup to compensate.
White Chocolate Drizzle: Instead of a vanilla glaze, melt ½ cup of white chocolate chips with 1 tablespoon of coconut oil. Drizzle it over the cookie and create the spiderweb pattern with melted dark chocolate. It’s a stunning contrast.
Spooky Add-Ins: Fold in ½ cup of mini chocolate chips, crushed Oreos, or even candy corn into the dough before baking. It adds texture and a little extra Halloween flair.
I once made a version with a layer of caramel sauce spread over the cookie before glazing. It was messy but absolutely incredible. Sometimes the best variations come from happy accidents.
Serving & Storage Suggestions
This cookie cake is best served at room temperature. The texture is soft and fudgy, and the glaze has a delicate snap when you bite into it. Slice it like a pie—wedges are easiest. Each slice should have a good ratio of cookie to glaze.
What to serve with it: A glass of cold milk is the classic pairing. For adults, a scoop of vanilla ice cream or a dollop of whipped cream takes it over the top. If you’re serving it at a Halloween party, arrange it on a cake stand with some plastic spiders and orange sprinkles around the base. It makes for a great photo.
Storage: Store leftover cookie cake in an airtight container at room temperature for up to 3 days. The glaze may soften slightly, but it will still taste amazing. Do not refrigerate it—the cold dries out the cookie and makes the glaze sticky.
Freezing: You can freeze the unglazed cookie cake for up to 2 months. Wrap it tightly in plastic wrap, then in aluminum foil. When you’re ready to serve, thaw it at room temperature, then make the glaze and decorate. It’s a great make-ahead option for busy Halloween weeks.
Reheating: If you want that just-baked warmth, pop a slice in the microwave for 10-15 seconds. It’s like having a fresh cookie in seconds. The glaze will melt slightly, but honestly, that’s part of the charm.
The flavors actually develop over time. Day-old cookie cake tastes even richer and more chocolatey. So don’t be afraid to make it a day ahead—it’s actually better that way.
Nutritional Information & Benefits
Here’s the estimated nutritional breakdown for one slice (based on 8 servings):
| Nutrient | Amount per Serving |
|---|---|
| Calories | 385 |
| Total Fat | 18g |
| Saturated Fat | 11g |
| Cholesterol | 65mg |
| Sodium | 210mg |
| Total Carbohydrates | 54g |
| Dietary Fiber | 2g |
| Sugars | 38g |
| Protein | 4g |
Health Benefits of Key Ingredients: Cocoa powder is rich in antioxidants called flavonoids, which can support heart health and reduce inflammation. It also contains magnesium and iron. Eggs provide high-quality protein and essential vitamins like B12 and D. While this is definitely a treat, using real ingredients like butter and pure vanilla extract means you’re avoiding the artificial additives found in many store-bought desserts.
Dietary Considerations: This recipe contains gluten, dairy, and eggs. For gluten-free and dairy-free options, see the variations section above. It’s not suitable for vegans in its current form, but you can experiment with flax eggs and vegan butter if needed.
I believe in balance. This cookie cake is a celebration dessert—it’s meant to be enjoyed without guilt. One slice won’t derail your healthy habits, but it will make your Halloween a whole lot sweeter.
Conclusion
This Perfect Spiderweb Halloween Cookie Cake is everything I want in a holiday dessert. It’s stunning without being stressful, delicious without being complicated, and it brings people together around the table. The first time I made it, I stood back and just stared at it for a minute. I couldn’t believe I’d created that spiderweb with just a toothpick and some glaze. It felt like magic, honestly.
I hope you give this recipe a try. Customize it however you like—add sprinkles, use white chocolate, throw in some candy corn. Make it your own. That’s the beauty of baking. And when you do, I’d love to hear about it. Leave a comment below and tell me how it turned out. Did you add a plastic spider? Did your kids help with the web? Share a photo if you’re feeling proud—I always love seeing your creations. Happy Halloween, and happy baking!
Frequently Asked Questions
Can I use a different pan size?
Yes, you can use an 8-inch round pan, but the cookie will be thicker and may need an extra 2-3 minutes of baking time. A 10-inch pan will give you a thinner cookie, so check it at 15 minutes. Adjust the baking time accordingly.
Why did my cookie cake turn out dry?
Overbaking is the most common cause. The cookie should look slightly underdone in the center when you take it out. It continues to cook as it cools. Also, make sure you’re measuring your flour correctly—spoon it into the cup and level it off, don’t scoop directly from the bag.
Can I make the glaze ahead of time?
It’s best to make the glaze fresh, as it can harden or separate if stored. However, you can make it up to 2 hours ahead and keep it covered at room temperature. Whisk it well before using, and add a drop of milk if it’s too thick.
How do I get a perfect spiderweb every time?
Work quickly while the glaze is still wet. Start with a small circle of glaze in the center, then pipe concentric circles around it. Use a toothpick to drag from the center outward, then from the outer edge inward between each spoke. Clean the toothpick between each drag for clean lines.
Can I freeze the glazed cookie cake?
I don’t recommend freezing it after glazing, as the glaze can become sticky and lose its texture. Freeze the unglazed cookie cake instead, then glaze it fresh when you’re ready to serve. It’s a great make-ahead option for parties.
Pin This Recipe!
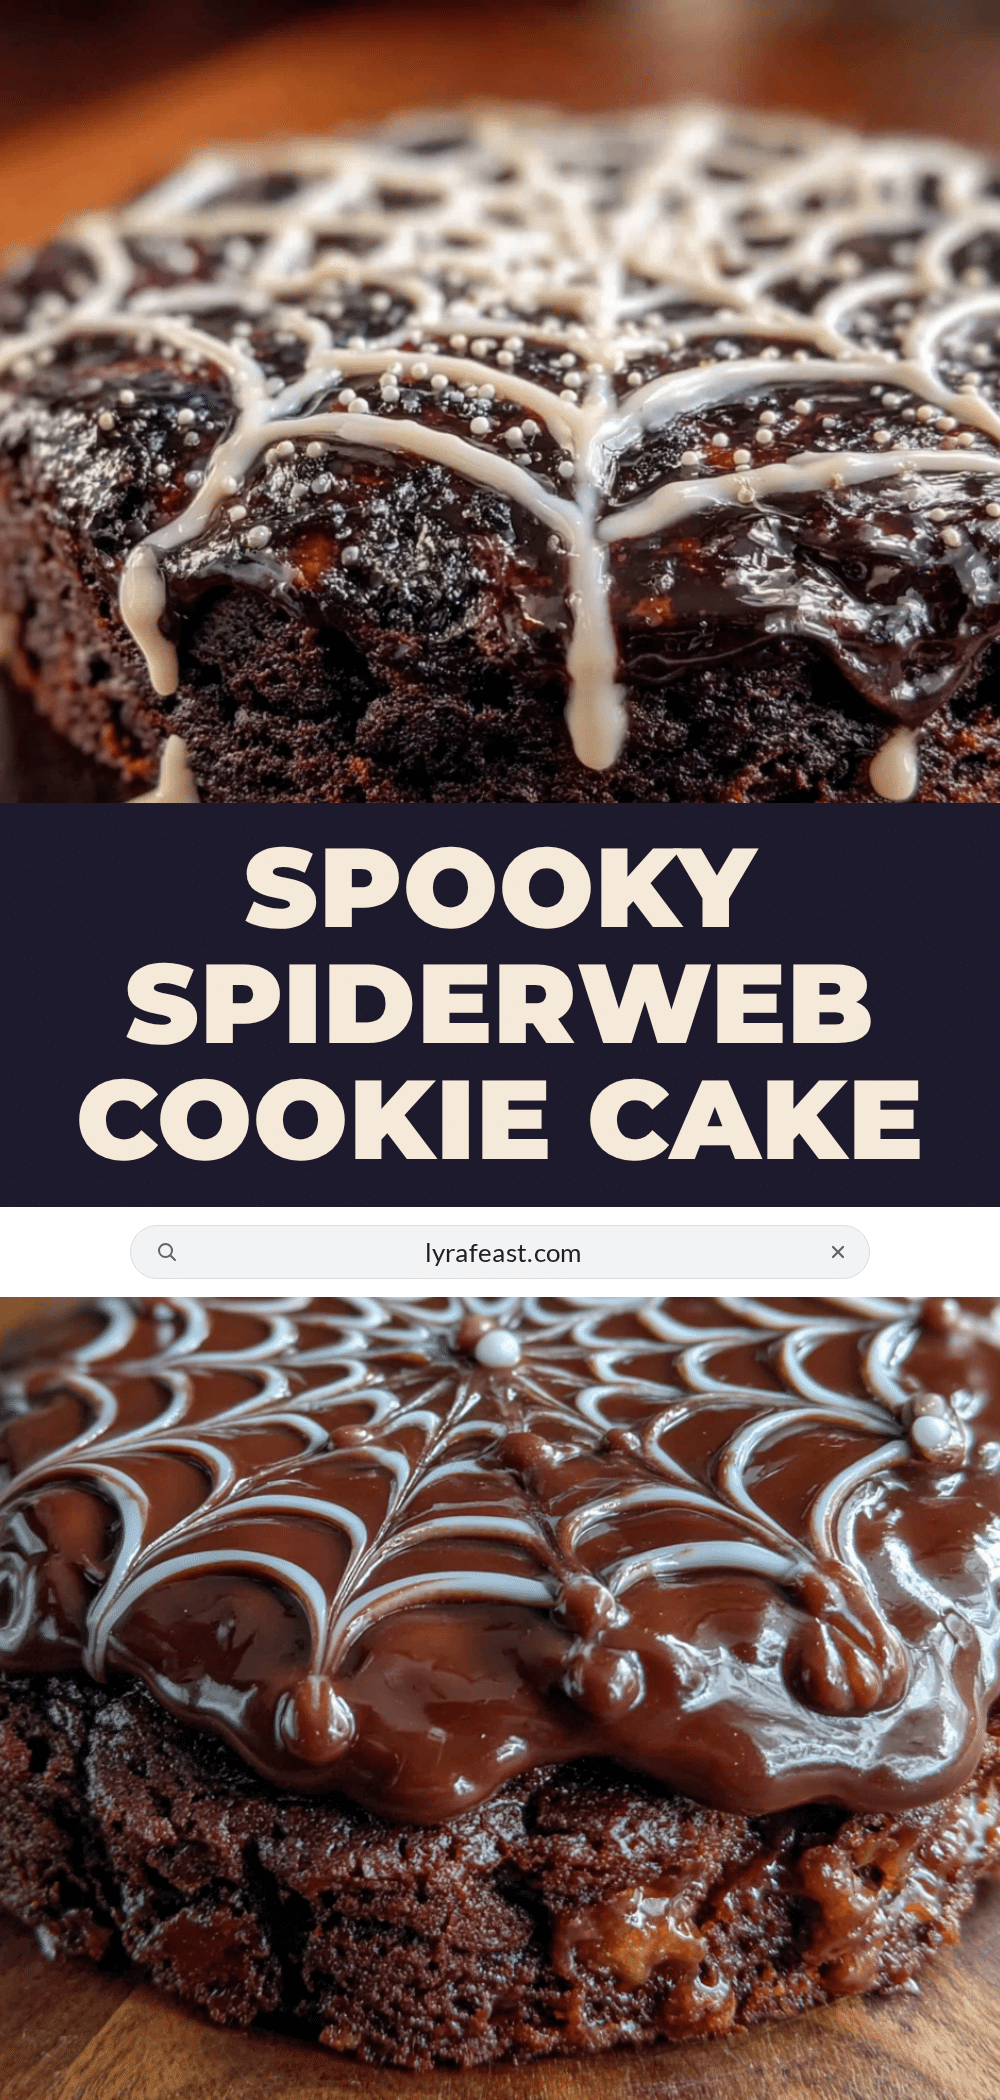
Best Easy Spiderweb Halloween Cookie Cake Recipe
A soft, fudgy chocolate cookie cake topped with a simple powdered sugar glaze and decorated with an easy spiderweb design. This impressive Halloween dessert comes together in under an hour with simple pantry ingredients.
- Prep Time: 15 minutes
- Cook Time: 20 minutes
- Total Time: 40 minutes
- Yield: 8 servings 1x
- Category: Dessert
- Cuisine: American
Ingredients
- 1 ½ cups (190g) all-purpose flour
- ½ cup (50g) unsweetened cocoa powder (Dutch-processed preferred)
- ½ teaspoon baking soda
- ¼ teaspoon salt
- ¾ cup (170g) unsalted butter, melted and slightly cooled
- 1 cup (200g) granulated sugar
- ½ cup (100g) packed light brown sugar
- 1 large egg, room temperature
- 1 teaspoon vanilla extract
- 1 cup (120g) powdered sugar
- 2–3 tablespoons milk or heavy cream
- ½ teaspoon vanilla extract (for glaze)
Instructions
- Preheat oven to 350°F (175°C). Grease a 9-inch round cake pan and line the bottom with parchment paper.
- In a medium bowl, whisk together flour, cocoa powder, baking soda, and salt until no lumps remain.
- In a large bowl, whisk together melted butter, granulated sugar, and brown sugar until smooth and well combined.
- Add egg and vanilla extract to the butter-sugar mixture. Whisk vigorously until smooth and slightly thickened, about 30 seconds.
- Pour dry ingredients into wet ingredients. Fold with a spatula until just combined and no streaks of flour remain.
- Transfer dough to prepared pan. Spread evenly to edges, pressing gently with slightly wet fingers if needed. Dough should be about ½ inch thick.
- Bake for 18-22 minutes. Edges should be set and slightly cracked, center should look soft and slightly underdone. A toothpick inserted in center should come out with moist crumbs.
- Let cookie cake cool in pan for 10 minutes. Run a knife around edge, then transfer to a cooling rack. Cool completely before glazing (about 30-40 minutes).
- While cookie cools, make glaze: In a small bowl, whisk together powdered sugar, 2 tablespoons milk, and ½ teaspoon vanilla extract. Add more milk if needed until glaze is thick but pourable (like slightly runny honey).
- Pour glaze over center of cooled cookie cake. Use back of a spoon to spread gently toward edges, leaving about ½ inch of cookie exposed around rim.
- While glaze is still wet, pipe or drizzle concentric circles of glaze starting from center and working outward. Using a toothpick, drag from center outward through all circles. Repeat 6-8 times around cookie like spokes on a wheel. Then drag toothpick from outer edge toward center between each spoke to create spiderweb pattern.
- Let glaze set for 15-20 minutes. Add plastic spider decorations if desired. Slice and serve.
Notes
Don’t overbake – the cookie should look slightly underdone in the center when removed from oven. Use room temperature egg to prevent butter from seizing. Work quickly with glaze as it sets fast. For a cleaner web, use a squeeze bottle for piping concentric circles. Store in airtight container at room temperature for up to 3 days. Freeze unglazed cookie cake for up to 2 months.
Nutrition
- Serving Size: 1 slice (1/8 of cake
- Calories: 385
- Sugar: 38
- Sodium: 210
- Fat: 18
- Saturated Fat: 11
- Carbohydrates: 54
- Fiber: 2
- Protein: 4
Keywords: Halloween cookie cake, spiderweb cookie, chocolate cookie cake, easy Halloween dessert, fudgy chocolate cookie



