I was standing in my kitchen last Tuesday, staring at a stick of butter melting in a saucepan, when the smell hit me. That nutty, toasty aroma that fills the whole house and makes you stop whatever you’re doing. My phone buzzed with a text from my sister asking what I was making, but I couldn’t even answer her right away. I was too busy inhaling that scent. It smelled like my neighbor Mrs. Kowalski’s kitchen from when I was maybe nine years old, the afternoon she taught me that burning butter wasn’t always a bad thing. She called it “liquid gold” and I thought she was crazy. Now I get it.
These brown butter iced sugar cookie bars are the result of me chasing that exact memory. I made batch after batch trying to get the butter just right, and let me tell you, I burned plenty of it along the way. The first few tries tasted more like burnt popcorn than caramel. I almost gave up, but that memory kept pulling me back. Brown butter iced sugar cookie bars are not just another dessert. They are the kind of thing you make when you want to feel something good. The kind of thing that makes people walk into your kitchen and ask what smells so amazing before they even see what you’re making.
I kept tweaking the recipe until the texture was soft but sturdy, the icing was thick and creamy, and that brown butter flavor came through in every single bite. Honestly, I think I finally nailed it. Maybe you’ve been there too, chasing a flavor from your past that you can’t quite describe but you know when you’ve found it. That is exactly what these bars are for me. They are the taste of a Tuesday afternoon in someone else’s kitchen, recreated in my own.
Why You’ll Love This Recipe
Let me be real with you for a second. I have tested this recipe more times than I care to count, and every single time, the pan disappears within hours. These brown butter iced sugar cookie bars are the kind of dessert that makes people close their eyes after the first bite. I have seen it happen at least a dozen times now, and it never gets old.
- Quick & Easy: You can have these ready in about an hour, start to finish. No rolling dough, no chilling, no complicated steps. Just mix, press, bake, and ice.
- Simple Ingredients: Everything you need is probably already in your pantry. Butter, sugar, flour, eggs, vanilla. The only special thing is that you are going to brown the butter, which takes about five extra minutes.
- Perfect for Sharing: Whether it is a potluck, a bake sale, a birthday party, or just a Tuesday, these bars are made for crowds. You get a whole pan of soft, thick cookie bars instead of scooping out individual cookies.
- Crowd-Pleaser: Kids love the sprinkles and the sweet icing. Adults love the nutty depth of that brown butter. Everyone wins.
- Unbelievably Delicious: The texture is soft and almost cake-like, but dense enough to hold the icing without getting soggy. The flavor is rich and buttery with that toasty caramel note from the browned butter. It is next-level comfort food.
What makes this recipe different from all the other sugar cookie bar recipes out there is that brown butter. It is not just a gimmick. It changes the entire flavor profile. I tested this batch against a regular butter version and honestly, there was no contest. The brown butter version was richer, more complex, and just plain better. Plus, I worked out the exact ratio of wet to dry ingredients so these bars stay soft for days, not just the first few hours.
What Ingredients You Will Need
This recipe uses simple, wholesome ingredients to deliver bold flavor and satisfying texture without the fuss. Most of these are pantry staples, which makes this recipe perfect for those moments when you need dessert and you need it now.
For the Cookie Bars
- 1 cup (226g) unsalted butter — You will brown this, so do not use salted butter here. The salt content can throw off the flavor as the butter reduces.
- 1 cup (200g) granulated sugar — Regular white sugar works perfectly. It gives the bars a tender crumb and that classic sweetness.
- 1/2 cup (100g) packed light brown sugar — This adds a hint of molasses flavor that pairs beautifully with the nutty brown butter. I use Domino brand, but any light brown sugar works.
- 2 large eggs — Room temperature is best. Cold eggs can seize the brown butter and make the batter lumpy. Set them out about 30 minutes before you start.
- 2 teaspoons vanilla extract — Pure vanilla extract makes a difference here. The vanilla and brown butter together are a magical combination.
- 2 and 1/2 cups (312g) all-purpose flour — Spoon and level your flour. Scooping straight from the bag packs it down and gives you too much, which makes dry bars.
- 1 teaspoon baking powder — This gives the bars just enough lift without making them cakey.
- 1/2 teaspoon salt — Salt balances the sweetness and brings out the brown butter flavor. I use fine sea salt.
For the Icing
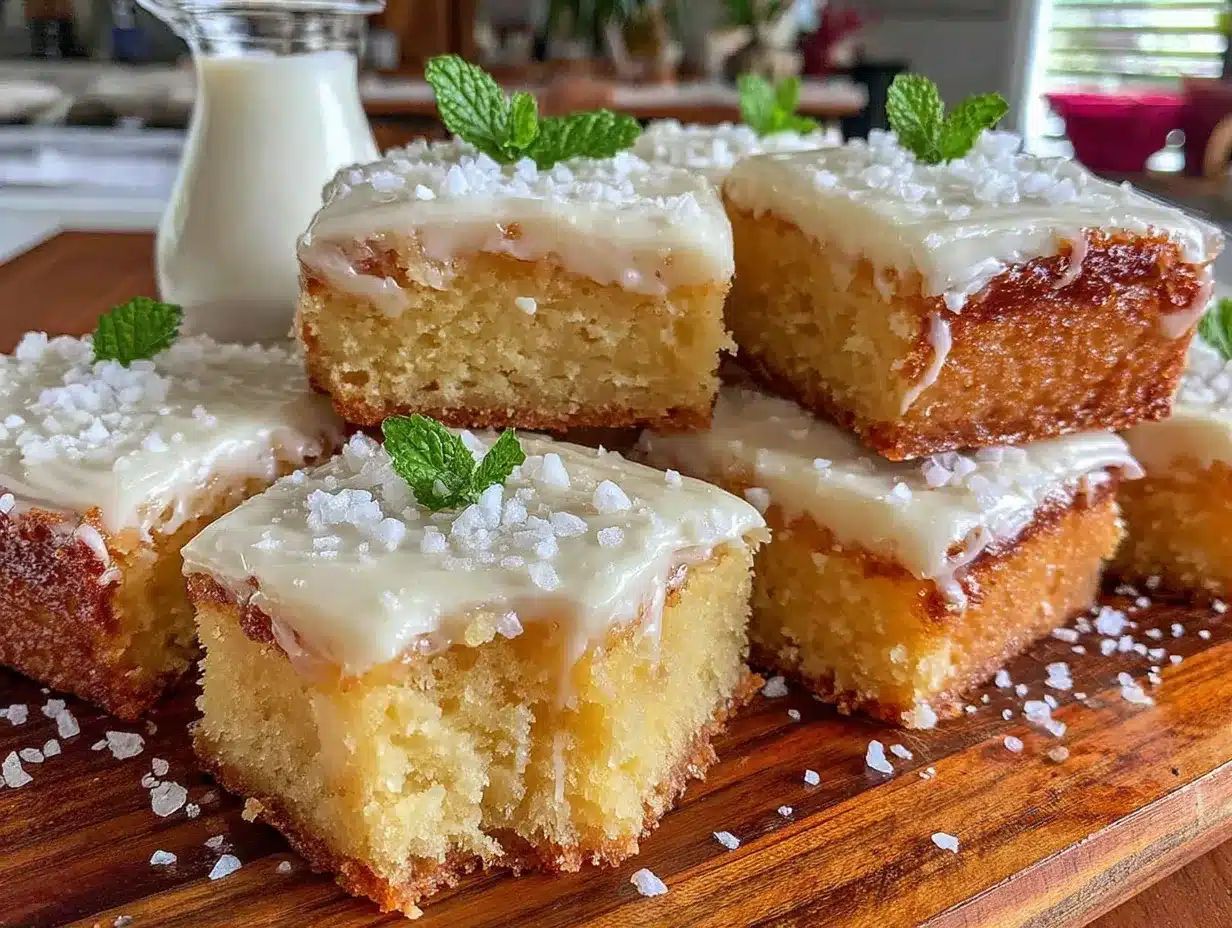
- 1/4 cup (56g) unsalted butter — Softened to room temperature. This gives the icing richness and a smooth texture.
- 2 cups (240g) powdered sugar — Sifted if it is lumpy. Nobody wants lumpy icing.
- 2-3 tablespoons milk — Whole milk works best, but any milk or even heavy cream will work. Add slowly until the icing reaches your desired consistency.
- 1 teaspoon vanilla extract — Again, pure vanilla is worth it here.
- Pinch of salt — Just a tiny pinch keeps the icing from being cloyingly sweet.
- Sprinkles — Optional but highly recommended. Rainbow sprinkles make everything more fun.
For the brown butter, I recommend using a light-colored saucepan so you can see the color change as the butter browns. Dark pans make it hard to tell when the butter is done, and you risk burning it. Trust me, I learned this the hard way.
Equipment Needed
- 9×13 inch baking pan — This is the perfect size for these bars. You get a nice thick bar that holds up well to the icing.
- Light-colored saucepan or skillet — Essential for browning the butter. You need to see the color change.
- Mixing bowls — One large bowl for the wet ingredients and one medium bowl for the dry ingredients.
- Electric hand mixer or stand mixer — You can mix by hand, but a mixer makes it easier to cream the butter and sugars together smoothly.
- Parchment paper — Lining the pan makes it so much easier to lift the bars out for cutting. Do not skip this.
- Cooling rack — Allows air to circulate under the pan so the bars cool evenly.
- Spatula — For spreading the batter and later the icing.
- Sharp knife — For clean cuts. A plastic knife actually works best for cutting bars without dragging the icing, but a sharp chef’s knife works too.
If you do not have a 9×13 pan, you can use two 8×8 pans and adjust the baking time slightly. Just check for doneness a few minutes early. I have also used a glass baking dish and it works fine, just reduce the oven temperature by 25 degrees to prevent over-browning.
Preparation Method
- Preheat your oven to 350°F (177°C). Line a 9×13 inch baking pan with parchment paper, leaving some overhang on two opposite sides. This will be your handles for lifting the bars out later.
- Brown the butter. Place 1 cup of unsalted butter in your light-colored saucepan over medium heat. Let it melt completely, then stir constantly with a spatula or whisk. The butter will foam up, then the foam will subside, and you will start to see brown specks forming at the bottom. This takes about 5-7 minutes. The butter should smell nutty and toasty. As soon as it turns a golden amber color and smells amazing, remove it from the heat immediately. Pour it into a heatproof bowl to stop the cooking process. Let it cool for about 10 minutes. Do not rush this step. If the butter is too hot when you add the sugars, it will melt them and your bars will spread too much.
- Mix the wet ingredients. In a large mixing bowl, combine the cooled brown butter with 1 cup granulated sugar and 1/2 cup packed light brown sugar. Beat with an electric mixer on medium speed until well combined, about 1 minute. The mixture should look smooth and slightly thickened. Add 2 large eggs and 2 teaspoons vanilla extract. Beat again until everything is fully incorporated and the mixture looks pale and fluffy, about 2 minutes.
- Mix the dry ingredients. In a separate medium bowl, whisk together 2 and 1/2 cups all-purpose flour, 1 teaspoon baking powder, and 1/2 teaspoon salt. Whisking aerates the flour and distributes the leavening agents evenly.
- Combine wet and dry. Gradually add the dry ingredients to the wet mixture, mixing on low speed or folding with a spatula. Mix just until no streaks of flour remain. Overmixing will develop the gluten and make the bars tough. The dough will be thick and slightly sticky, like a soft cookie dough.
- Press into the pan. Transfer the dough to your prepared baking pan. Use a spatula or your hands (lightly greased or dampened) to press it into an even layer. The dough is thick, so take your time spreading it all the way to the edges. Make sure the corners are filled evenly.
- Bake. Place the pan in the preheated oven and bake for 18-22 minutes. The edges should be lightly golden and the center should look set and no longer glossy. A toothpick inserted into the center should come out clean or with just a few moist crumbs. Do not overbake or the bars will be dry. I usually start checking at 18 minutes.
- Cool completely. Let the bars cool in the pan on a wire rack for at least 30 minutes. Then use the parchment paper overhang to lift the entire block of bars out of the pan and transfer to the wire rack to cool completely. This is important. If you ice the bars while they are still warm, the icing will melt and slide right off. I have made that mistake and ended up with a puddle of icing at the bottom of the pan.
- Make the icing. While the bars are cooling, make the icing. In a medium bowl, beat 1/4 cup softened unsalted butter with an electric mixer until smooth. Gradually add 2 cups powdered sugar, beating on low speed until combined. Add 1 teaspoon vanilla extract and a pinch of salt. Then add milk, 1 tablespoon at a time, beating after each addition, until the icing is smooth and spreadable. You want it thick enough to hold its shape but thin enough to spread easily over the bars.
- Ice and decorate. Once the bars are completely cool, spread the icing evenly over the top using a spatula. If you are using sprinkles, add them immediately before the icing sets. If you wait too long, the sprinkles will bounce right off.
- Cut and serve. Let the icing set for about 15-20 minutes, then cut into bars. Use a sharp knife and wipe it clean between cuts for neat edges. I like to cut 24 bars, but you can make them bigger or smaller depending on your crowd.
Cooking Tips & Techniques
Browning butter seems intimidating, but it is really just melted butter that you cook a little longer. The key is to watch it carefully. The butter will go from melted to foamy to golden in a matter of minutes. Do not walk away from the stove. I have burned more batches than I want to admit because I thought I had time to check my phone. You do not.
One trick I learned from a pastry chef friend is to swirl the pan rather than stirring constantly once the butter is melted. This helps you see the color change more clearly. When the foam subsides and you see brown specks forming on the bottom, you are almost there. The smell is your best indicator. It should smell nutty and toasty, like toasted hazelnuts. If it smells burnt, you have gone too far.
Another common mistake is not letting the brown butter cool enough before adding the sugars. If the butter is too hot, it will melt the sugar and your bars will spread thin and greasy. I usually let it cool for a full 10 minutes. You can speed this up by placing the bowl in the refrigerator for a few minutes, just stir it every minute so it cools evenly.
For the best texture, make sure your eggs are at room temperature. Cold eggs can cause the brown butter to seize up and create a lumpy batter. If you forgot to take them out ahead of time, place them in a bowl of warm water for 5 minutes. That works every time.
When pressing the dough into the pan, I like to use a piece of parchment paper on top of the dough and press down with my hands. This prevents the dough from sticking to my fingers and gives a nice even layer. It is a small trick that makes a big difference.
If you want extra neat cuts, refrigerate the iced bars for about 15 minutes before slicing. The icing firms up and you get cleaner edges. Just let them come back to room temperature before serving for the best texture.
Variations & Adaptations
One of the best things about this recipe is how versatile it is. I have tried several variations and they all turned out delicious in their own way.
Lemon Brown Butter Sugar Cookie Bars: Add the zest of one lemon to the butter and sugar mixture, and add 1 tablespoon of lemon juice to the icing. The citrus cuts through the richness of the brown butter beautifully. I made these for a spring brunch and they were gone in minutes.
Chocolate Chip Brown Butter Cookie Bars: Fold in 1 cup of semi-sweet chocolate chips or chopped chocolate after mixing the dough. The chocolate pairs wonderfully with the nutty brown butter. Use mini chocolate chips if you want chocolate in every bite without overwhelming the cookie base.
Gluten-Free Version: Substitute the all-purpose flour with a 1:1 gluten-free baking flour blend that contains xanthan gum. I have used Bob’s Red Mill 1:1 Baking Flour with great results. The texture is slightly more tender but still holds together beautifully. Do not skip the baking powder in this version.
Dairy-Free Version: Use vegan butter for both the bars and the icing. I like Miyoko’s or Country Crock Plant Butter. The browning process works the same, though the color change may be slightly different. Use oat milk or almond milk in the icing.
Spiced Brown Butter Bars: Add 1 teaspoon of cinnamon and 1/2 teaspoon of nutmeg to the dry ingredients. These are perfect for fall and the spices complement the brown butter flavor exceptionally well. I top these with a simple vanilla icing and a dusting of cinnamon.
If you want to make these into cut-out cookies instead of bars, chill the dough for at least 2 hours, roll it out, and cut into shapes. The baking time will be shorter, about 8-10 minutes. I have done this for Christmas cookies and they were a huge hit.
Serving & Storage Suggestions
These brown butter iced sugar cookie bars are best served at room temperature. The texture is soft and tender, and the icing is creamy and smooth. I like to serve them on a pretty platter with a cup of coffee or a glass of cold milk. They are perfect for dessert tables, bake sales, or just as an afternoon treat.
For a fun twist, try serving them slightly warm. Pop a bar in the microwave for about 10 seconds. The icing softens and the cookie becomes almost melty. It is a completely different experience and honestly, it is dangerous how good it is.
Storage: Store the bars in an airtight container at room temperature for up to 5 days. Place a piece of parchment paper between layers if you need to stack them. Do not refrigerate them unless you absolutely have to, as the fridge tends to dry out baked goods. If you live in a humid climate, the icing may get sticky. Just pat it dry with a paper towel before serving.
Freezing: These bars freeze beautifully. You can freeze the un-iced bars for up to 3 months. Wrap the entire block tightly in plastic wrap and then in foil. When you are ready to serve, thaw at room temperature, then make the icing fresh and spread it on. You can also freeze the iced bars, but the icing may get a bit sticky when thawed. I prefer to freeze without icing and add it later.
One thing I have noticed is that the brown butter flavor actually deepens after a day or two. These bars are even better on day two than they are on day one. The flavors meld together and that nutty note becomes more pronounced. So do not be afraid to make them a day ahead.
Nutritional Information & Benefits
Let me be honest with you. These are not health food. They are a treat, and they are meant to be enjoyed as such. But here is the estimated nutritional information for one bar, based on cutting the pan into 24 pieces.
| Nutrient | Amount Per Serving |
|---|---|
| Calories | 245 |
| Total Fat | 12g |
| Saturated Fat | 7g |
| Cholesterol | 45mg |
| Sodium | 95mg |
| Total Carbohydrates | 33g |
| Sugars | 22g |
| Protein | 2.5g |
On the bright side, the eggs provide some protein and the butter contains Vitamin A. The brown butter process actually creates compounds that add depth of flavor without adding extra calories, so you get more flavor bang for your buck. If you are looking to reduce sugar, you can cut the granulated sugar to 3/4 cup and the brown sugar to 1/3 cup. The bars will be less sweet but still delicious.
For those with dietary restrictions, this recipe contains gluten and dairy. The gluten-free version I mentioned earlier works well. For a lower sugar option, you can use a sugar substitute like Swerve, but I have not tested that personally so I cannot guarantee the results.
Conclusion
These brown butter iced sugar cookie bars are the kind of recipe that becomes a staple. They are simple enough for a weekday baking session but special enough for holidays and celebrations. The brown butter adds a depth of flavor that makes people think you spent hours in the kitchen, when really it only takes about 10 extra minutes.
I love this recipe because it reminds me that small changes can make a huge difference. Just browning the butter transforms a basic sugar cookie bar into something that feels elevated and special. It is the kind of recipe that makes you look like a hero at potlucks and parties.
I encourage you to make these your own. Add your favorite sprinkles, try the lemon version, or throw in some chocolate chips. The base recipe is forgiving and adaptable. And when you make them, I would love to hear about it. Leave a comment below and tell me how they turned out. Did you try a variation? Did your family love them? Did you burn the butter on your first try like I did? Share your story.
Now go brown some butter and make something delicious. You have got this.
Frequently Asked Questions
Can I use salted butter instead of unsalted?
You can, but reduce the added salt in the recipe to 1/4 teaspoon. Salted butter has varying amounts of salt depending on the brand, so the flavor may not be as consistent. I recommend unsalted so you control the salt level yourself.
Why did my brown butter burn?
Brown butter burns when it is cooked too long or over too high heat. Use medium heat and watch it carefully. The moment you see amber color and smell that nutty aroma, take it off the heat. Pour it into a cool bowl immediately to stop the cooking process.
Can I make these ahead of time?
Absolutely. You can make the bars a day ahead and ice them the next day. Or you can make and ice them a day ahead. The flavor actually improves after a day. Store in an airtight container at room temperature.
My bars turned out dry. What went wrong?
Dry bars usually mean too much flour or overbaking. Make sure you spoon and level your flour rather than scooping. Check your bars at 18 minutes. They should look set but still soft. They will continue to cook slightly from the residual heat of the pan.
Can I double this recipe?
Yes, you can double it and bake in a half sheet pan (18×13 inches). The baking time will be similar, but start checking at 20 minutes. You may need to increase the browning time for the butter since you are browning twice as much. Just watch for the same visual cues.
Pin This Recipe!
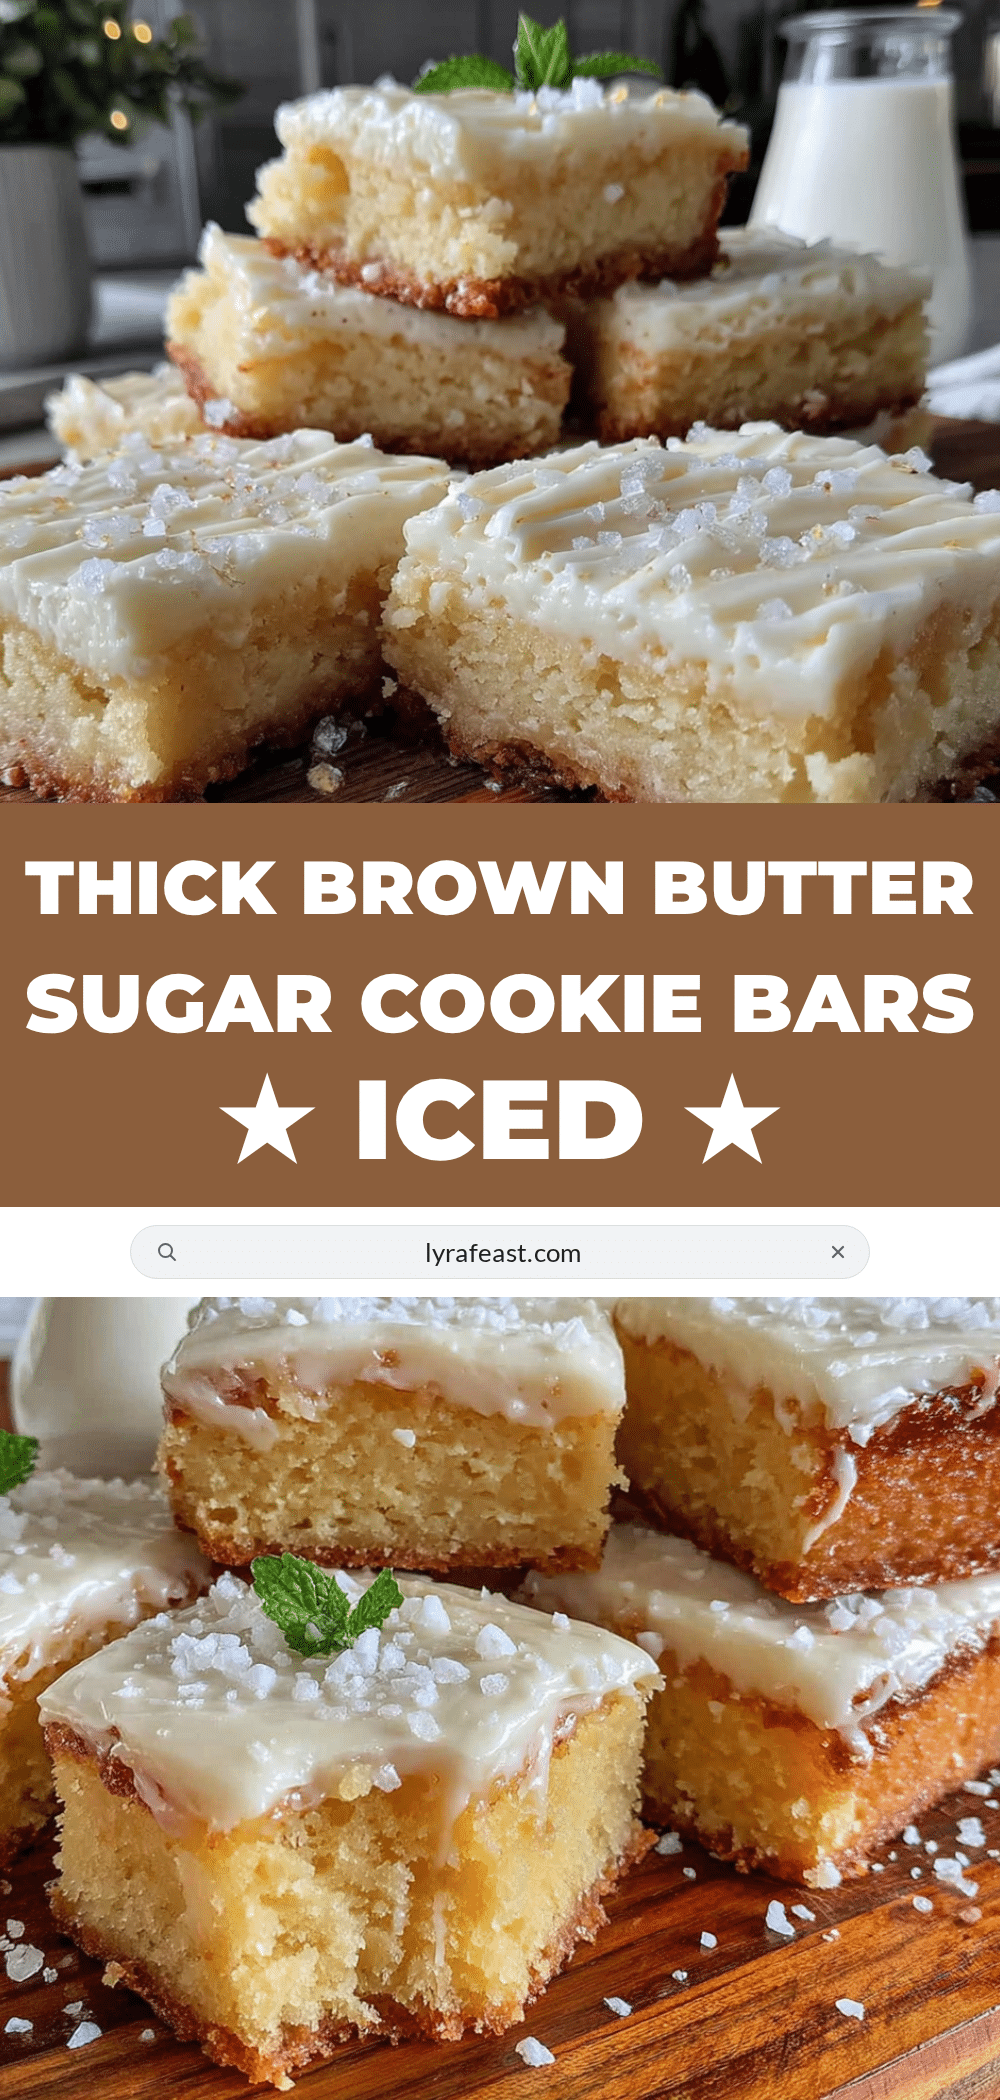
Brown Butter Iced Sugar Cookie Bars
These brown butter iced sugar cookie bars are soft, thick, and topped with a creamy vanilla icing. The nutty depth of browned butter transforms a simple sugar cookie bar into an unforgettable treat that’s perfect for sharing.
- Prep Time: 15 minutes
- Cook Time: 20 minutes
- Total Time: 1 hour 10 minutes
- Yield: 24 bars 1x
- Category: Dessert
- Cuisine: American
Ingredients
- 1 cup (226g) unsalted butter
- 1 cup (200g) granulated sugar
- 1/2 cup (100g) packed light brown sugar
- 2 large eggs, room temperature
- 2 teaspoons vanilla extract
- 2 and 1/2 cups (312g) all-purpose flour
- 1 teaspoon baking powder
- 1/2 teaspoon salt
- 1/4 cup (56g) unsalted butter, softened
- 2 cups (240g) powdered sugar, sifted if lumpy
- 2–3 tablespoons milk (whole milk preferred)
- 1 teaspoon vanilla extract
- Pinch of salt
- Sprinkles (optional)
Instructions
- Preheat your oven to 350°F (177°C). Line a 9×13 inch baking pan with parchment paper, leaving some overhang on two opposite sides.
- Brown the butter: Place 1 cup unsalted butter in a light-colored saucepan over medium heat. Melt completely, then stir constantly. The butter will foam, then the foam will subside, and brown specks will form at the bottom (about 5-7 minutes). When it turns golden amber and smells nutty, remove from heat immediately. Pour into a heatproof bowl and let cool for 10 minutes.
- Mix the wet ingredients: In a large bowl, combine cooled brown butter with 1 cup granulated sugar and 1/2 cup packed light brown sugar. Beat with an electric mixer on medium speed until well combined, about 1 minute. Add 2 large eggs and 2 teaspoons vanilla extract. Beat until pale and fluffy, about 2 minutes.
- Mix the dry ingredients: In a separate medium bowl, whisk together 2 and 1/2 cups all-purpose flour, 1 teaspoon baking powder, and 1/2 teaspoon salt.
- Combine wet and dry: Gradually add dry ingredients to wet mixture, mixing on low speed or folding with a spatula until just combined. Do not overmix. Dough will be thick and slightly sticky.
- Press into the pan: Transfer dough to prepared pan. Use a spatula or lightly greased hands to press into an even layer, filling corners evenly.
- Bake: Bake for 18-22 minutes until edges are lightly golden and center is set. A toothpick inserted into the center should come out clean or with a few moist crumbs. Do not overbake.
- Cool completely: Let bars cool in the pan on a wire rack for 30 minutes. Then use parchment overhang to lift the block out and transfer to wire rack to cool completely.
- Make the icing: In a medium bowl, beat 1/4 cup softened unsalted butter until smooth. Gradually add 2 cups powdered sugar, beating on low speed. Add 1 teaspoon vanilla extract and a pinch of salt. Add milk, 1 tablespoon at a time, beating after each addition until smooth and spreadable.
- Ice and decorate: Once bars are completely cool, spread icing evenly over the top. Add sprinkles immediately if using.
- Cut and serve: Let icing set for 15-20 minutes, then cut into bars using a sharp knife, wiping clean between cuts. Makes 24 bars.
Notes
Browning butter requires careful attention; do not walk away from the stove. Let brown butter cool for 10 minutes before adding sugars to prevent melting them. Use room temperature eggs to avoid seizing the brown butter. For cleaner cuts, refrigerate iced bars for 15 minutes before slicing. The brown butter flavor deepens after a day, making these even better on day two.
Nutrition
- Serving Size: 1 bar
- Calories: 245
- Sugar: 22
- Sodium: 95
- Fat: 12
- Saturated Fat: 7
- Carbohydrates: 33
- Protein: 2.5
Keywords: brown butter, sugar cookie bars, iced cookie bars, easy dessert, potluck dessert, bake sale recipe



