Introduction
“You know that feeling when you walk into a kitchen and the smell just stops you in your tracks?” That’s exactly what happened last fall when I was visiting my friend Jen’s apartment on a blustery Tuesday evening. The power had flickered off earlier, and while we lit candles and tried to ignore the chill, Jen pulled out this rustic loaf of bread slathered with butter, garlic, and fresh herbs. Honestly, I wasn’t expecting much—just a simple snack to pass the time. But the moment I bit into that warm, buttery crust, I felt like I was wrapped in a cozy blanket, right there in her tiny kitchen.
Jen laughed when I asked for the recipe, saying it was her “go-to when life gets hectic.” Later that night, with a cracked mixing bowl and a slightly burnt pan (I got a bit distracted scrolling through my phone), I gave her recipe a shot. The result? Pure comfort that’s now a staple in my kitchen every time I crave something simple but soul-satisfying. Maybe you’ve been there—needing a quick snack that feels like a hug. That’s why this Buttered Garlic Herb Bread recipe has stayed in my rotation. It’s easy, cozy, and honestly, a little bit addictive.
Why You’ll Love This Recipe
This Buttered Garlic Herb Bread recipe isn’t just any bread—it’s a warm, buttery, garlicky treat that can turn an ordinary day into something special. I’ve tried countless garlic bread versions over the years, and this one stands out because of its perfect balance of fresh herbs and rich butter, all wrapped around a soft yet crispy loaf.
- Quick & Easy: Ready in under 30 minutes, making it perfect for last-minute cravings or busy weeknights.
- Simple Ingredients: Uses basic pantry staples like butter, garlic, and herbs you probably already have on hand.
- Perfect for Cozy Nights: Ideal for pairing with soup, pasta, or just enjoying solo with a cup of tea.
- Crowd-Pleaser: Always earns compliments, whether at family dinners or casual get-togethers.
- Unbelievably Delicious: The buttery, garlicky flavor melds beautifully with fresh herbs, delivering comfort food vibes with every bite.
What sets this recipe apart is the way the garlic butter soaks just enough into the bread without making it soggy, thanks to a little trick I picked up from a local bakery. Plus, I like to mix fresh rosemary and parsley for that vibrant herb aroma—a combo that feels fresh but still familiar. Honestly, once you make this, you’ll want to keep it on repeat for movie nights, lazy weekends, or any time you need a quick pick-me-up.
What Ingredients You Will Need
This recipe uses simple, wholesome ingredients to deliver bold flavor and satisfying texture without the fuss. Most of these are pantry staples, and you can easily swap or skip a few depending on what’s available.
- 1 loaf of rustic bread (like a baguette or sourdough, about 12-14 inches long) – I prefer a crusty sourdough from my local bakery for the perfect chew.
- 1/2 cup (115g) unsalted butter, softened – Use good quality butter like Kerrygold for richness.
- 4 cloves garlic, finely minced or grated – Fresh is best for that punchy aroma.
- 2 tablespoons fresh parsley, finely chopped – Adds brightness and color.
- 1 tablespoon fresh rosemary, finely chopped – Gives a lovely piney, earthy note.
- 1/2 teaspoon salt – Balances the flavors.
- 1/4 teaspoon freshly ground black pepper – Just a hint of warmth.
- Optional: 1/4 teaspoon red pepper flakes – For a subtle kick, if you like a little heat.
If you want to switch things up, you can use dried herbs (about 1 teaspoon each) but fresh herbs really make the flavor pop. For a dairy-free version, swap the butter with vegan margarine or olive oil. And if you’re gluten-free, try this with your favorite gluten-free baguette or bread loaf.
Equipment Needed
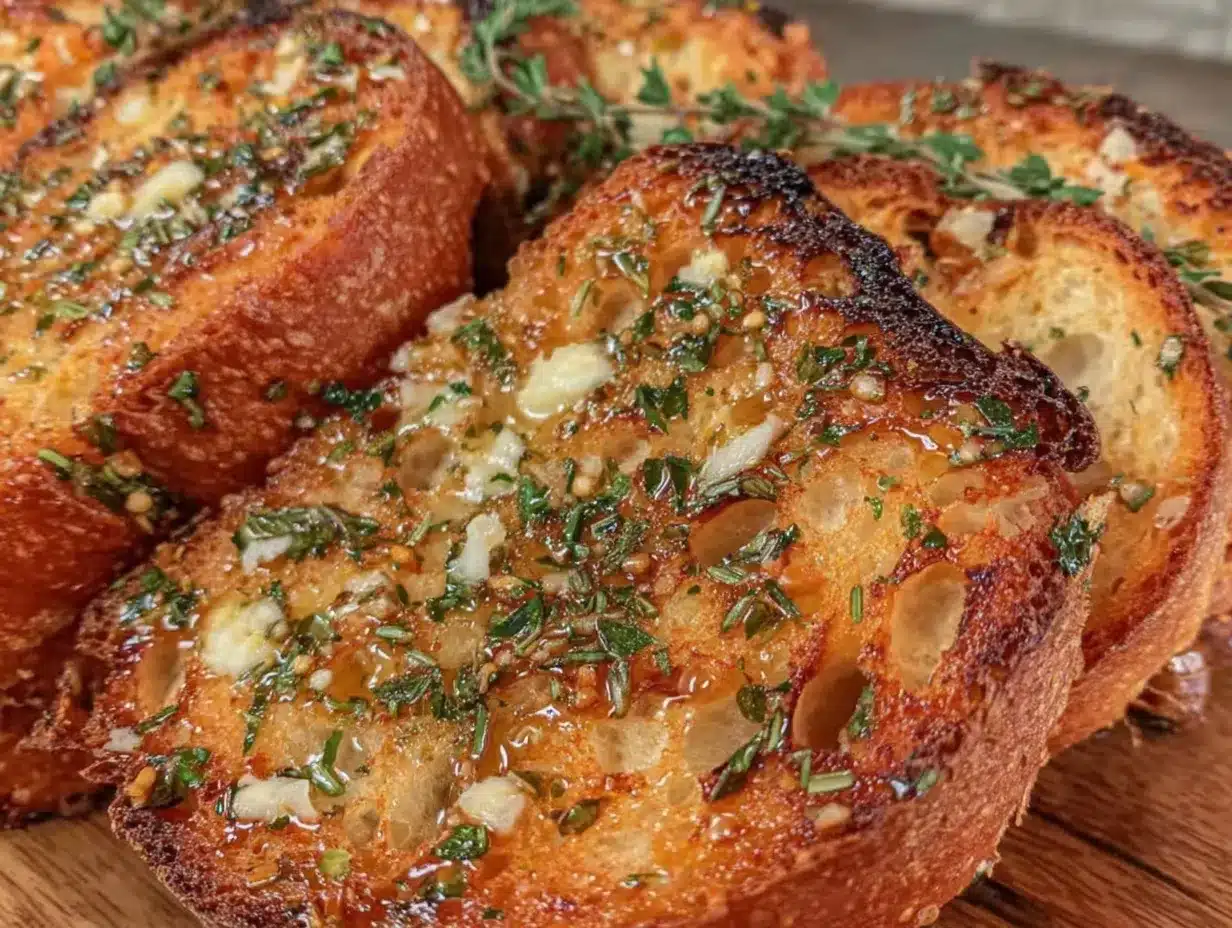
- Baking sheet or oven-safe tray: For crisping the bread evenly.
- Mixing bowl: To combine the butter and herbs smoothly.
- Sharp knife: For slicing the bread into thick, even pieces.
- Spoon or small spatula: To spread the garlic herb butter.
- Optional: Garlic press if you prefer not to mince garlic by hand.
I usually use a rimmed baking sheet because it catches any buttery drips, making cleanup a breeze. If you don’t have a baking sheet, a cast-iron skillet works wonderfully too; it adds a nice crisp to the bread base. Just a heads-up: if you use a skillet, keep an eye on the bread so it doesn’t burn. I’ve learned that the hard way!
Preparation Method
- Preheat your oven: Set it to 375°F (190°C) and line your baking sheet with parchment paper or foil. This helps with easy cleanup and keeps the bottom of your bread from sticking. (10 minutes)
- Prepare the garlic herb butter: In a mixing bowl, combine the softened butter, minced garlic, chopped parsley, rosemary, salt, black pepper, and red pepper flakes if using. Mix well until everything is evenly distributed. The butter should be soft enough to spread easily—if not, give it a quick zap in the microwave for 10 seconds. (5 minutes)
- Slice the bread: Cut the loaf into 1-inch (2.5 cm) thick slices, but don’t slice all the way through—leave the bottom crust intact to hold it together. This “pull-apart” style makes it easy to serve. Be careful with the knife; I once sliced my finger when distracted by a phone call, so concentrate here! (5 minutes)
- Spread the butter: Use a spoon or spatula to generously spread the garlic herb butter between each slice and over the top of the loaf. Get into every nook and cranny to make sure every bite is flavorful. (10 minutes)
- Bake: Place the prepared bread on the baking sheet and bake for 15-20 minutes, until the butter melts, the herbs are fragrant, and the top is golden brown. For an extra crispy crust, broil for the last 1-2 minutes—just watch it closely so it doesn’t burn. (15-20 minutes)
- Serve warm: Let the bread cool for a couple of minutes, then pull apart the slices and enjoy! This is best eaten fresh but still delicious the next day. (2 minutes)
Pro tip: If your bread feels a bit stale, this recipe breathes new life into it. Just don’t skip the broil step if you want that perfect crunch!
Cooking Tips & Techniques
One thing I’ve learned is that not all garlic butters are created equal. The key is to use softened butter—not melted—so it holds the garlic and herbs in place without soaking the bread too much. Also, mincing the garlic finely or grating it with a microplane releases more flavor without leaving big chunks that can overpower a bite.
When spreading the butter, don’t rush. Getting it evenly distributed between slices ensures every mouthful bursts with that garlicky, herby goodness. I once tried to slather butter after baking, and my bread turned soggy. Lesson learned: prep it all before baking.
Timing is crucial. Keep an eye on the bread towards the end to avoid burning the garlic. If you notice the garlic or herbs are browning too fast, lower the oven temperature slightly or tent the bread with foil.
Multitasking tip: While the bread bakes, use that time to prep a quick salad or soup to go alongside—it’s a perfect pairing that makes dinner feel complete without extra effort.
Variations & Adaptations
- Cheesy Garlic Herb Bread: Sprinkle shredded mozzarella or Parmesan over the top before baking for a melty, golden crust.
- Vegan Version: Use vegan butter or olive oil blended with garlic and herbs for a dairy-free treat.
- Spicy Twist: Add a pinch of smoked paprika or cayenne pepper to the butter mix for a subtle smoky heat.
- Seasonal Herbs: Swap rosemary and parsley for basil and thyme in spring or summer for a fresh herb flavor.
- Gluten-Free Option: Use a gluten-free baguette or bread loaf. The technique stays the same and tastes fantastic.
My personal favorite variation is adding a handful of chopped sun-dried tomatoes into the butter mixture—gives a slightly sweet and tangy note that pairs beautifully with the garlic. I tried this during a weekend get-together, and it was gone in minutes!
Serving & Storage Suggestions
This Buttered Garlic Herb Bread is best served warm, straight out of the oven so that buttery aroma can really shine. It pairs wonderfully with a bowl of tomato soup, creamy pasta, or even just a simple green salad for a cozy dinner.
If you have leftovers, wrap the bread tightly in foil or plastic wrap and store it in the refrigerator for up to 3 days. To reheat, pop it in a 350°F (175°C) oven for about 10 minutes to restore crispiness. Avoid microwaving unless you’re in a hurry; it tends to make the bread chewy.
Flavors also mellow and blend over time, so if you prepare the bread a few hours ahead, it’ll be even more flavorful when reheated. Perfect for meal prepping or entertaining guests who arrive fashionably late!
Nutritional Information & Benefits
This buttered garlic herb bread provides a comforting source of carbohydrates and fats, with the garlic and herbs adding antioxidants and anti-inflammatory benefits. Garlic is known to boost immunity and support heart health, while fresh herbs contribute vitamins and minerals.
Per serving (approximately one thick slice):
| Calories | 180-220 kcal |
|---|---|
| Fat | 12g (mostly from butter) |
| Carbohydrates | 20g |
| Protein | 4g |
This recipe isn’t gluten-free by default but can easily be adapted. It contains dairy and garlic, so those with allergies should substitute accordingly. From my experience, this recipe strikes the right balance between indulgence and wholesome ingredients, making it a lovely treat without guilt.
Conclusion
So, why try this Buttered Garlic Herb Bread recipe? Because it’s that magical kind of comfort food that’s simple, quick, and totally satisfying. It’s perfect when you want to impress without stress or just need a little cozy snack to brighten your day. I love how it brings people together around the table, no fuss, just good flavor and warmth.
Feel free to tweak the herbs or add a cheesy topping—make it your own! And if you do, I’d love to hear how it turned out—drop a comment or share your favorite spin. After all, the best recipes are the ones we make truly ours. Now, go get that loaf of bread and make your kitchen smell like pure comfort!
FAQs About Buttered Garlic Herb Bread
Can I use pre-minced garlic for this recipe?
While fresh garlic delivers the best flavor, pre-minced garlic can work in a pinch. Just use about 1 teaspoon to replace 4 fresh cloves and adjust to taste.
What’s the best bread type for this recipe?
A crusty loaf like sourdough or baguette works best for texture and flavor. Soft sandwich bread won’t hold up as well when baking.
Can I prepare the bread ahead of time?
Yes! Assemble the bread with the garlic herb butter, wrap tightly, and refrigerate up to 4 hours before baking. Bake fresh when ready to serve.
How do I make this recipe dairy-free?
Swap the butter with your favorite vegan butter or olive oil blended with garlic and herbs. The flavor will still be delicious and rich.
Is it possible to freeze the prepared bread?
Absolutely. Wrap the prepared bread tightly in foil and freeze for up to 1 month. To enjoy, thaw overnight in the fridge and bake as usual.
Pin This Recipe!
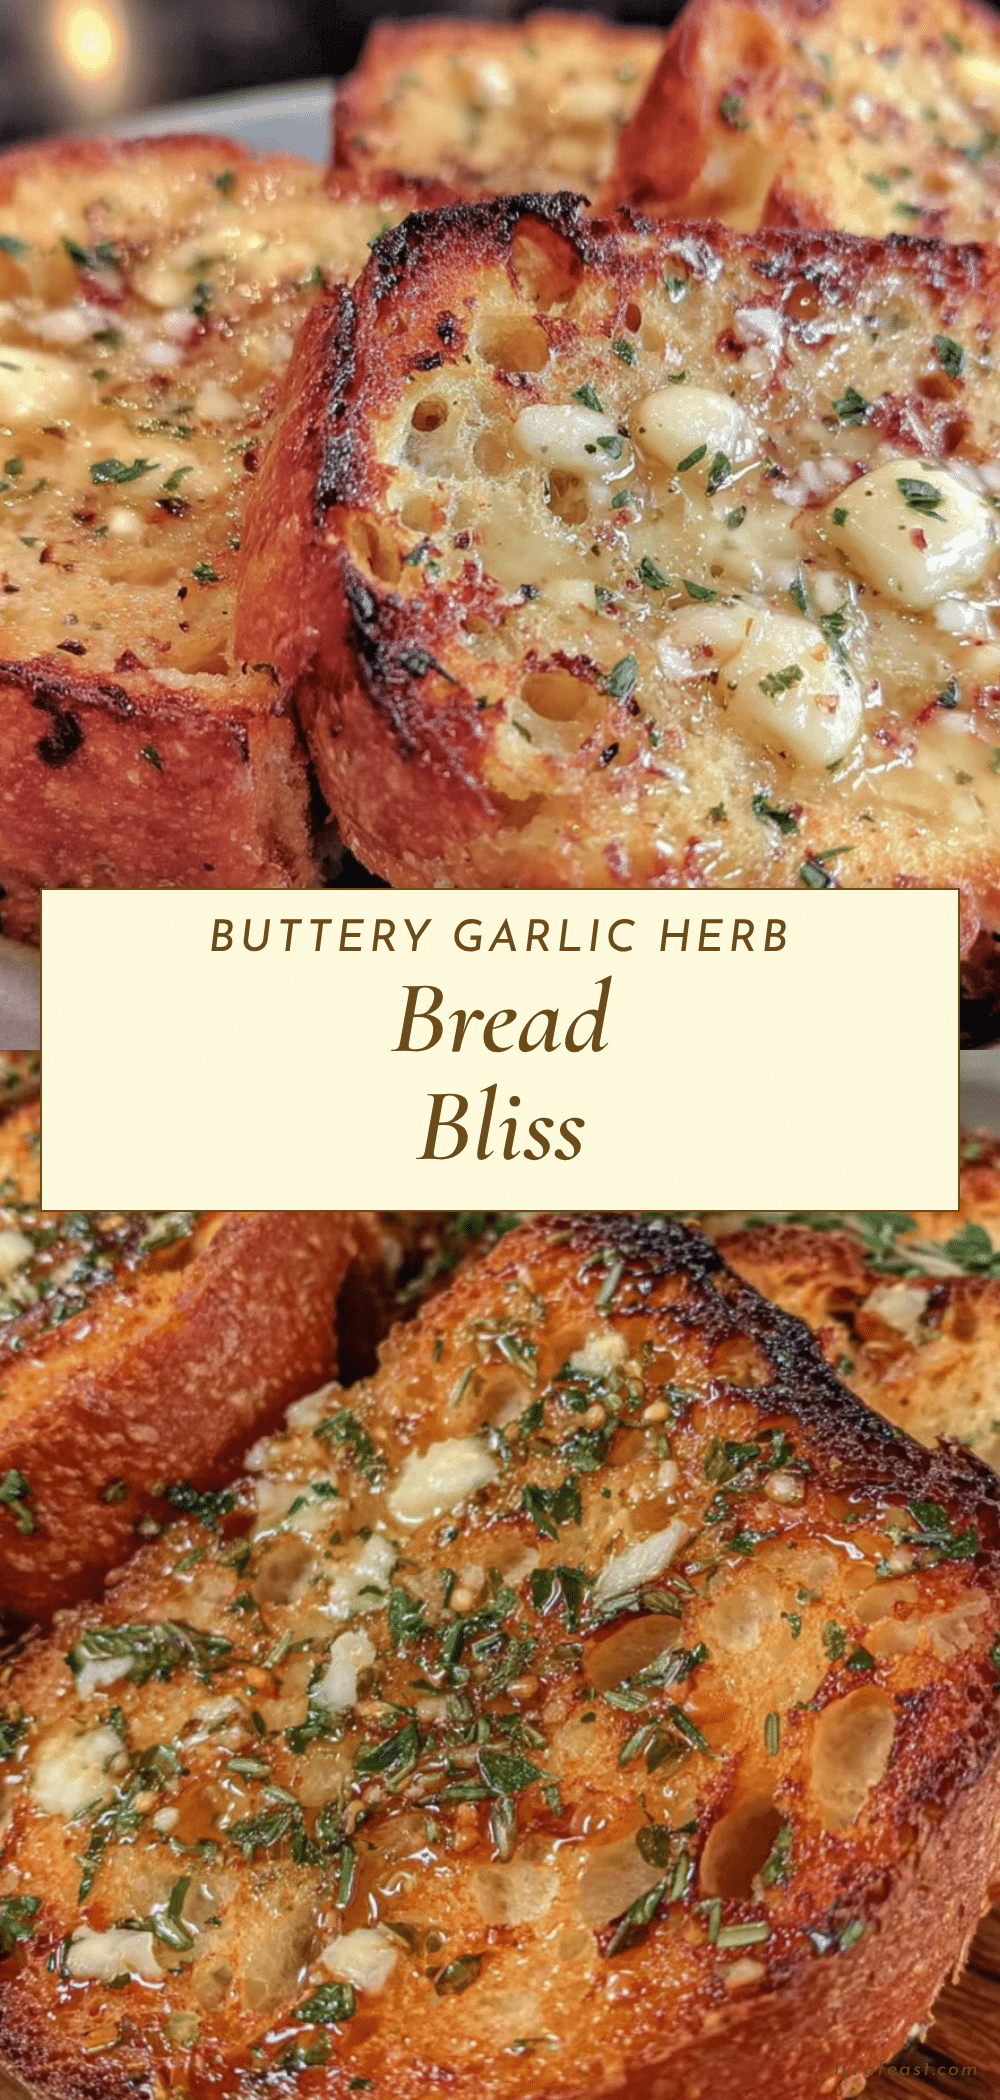
Buttered Garlic Herb Bread
A warm, buttery, garlicky treat with fresh herbs that’s quick and easy to make, perfect for cozy nights or a simple snack.
- Prep Time: 20 minutes
- Cook Time: 15-20 minutes
- Total Time: 35-40 minutes
- Yield: 8 servings 1x
- Category: Snack
- Cuisine: American
Ingredients
- 1 loaf of rustic bread (like a baguette or sourdough, about 12–14 inches long)
- 1/2 cup (115g) unsalted butter, softened
- 4 cloves garlic, finely minced or grated
- 2 tablespoons fresh parsley, finely chopped
- 1 tablespoon fresh rosemary, finely chopped
- 1/2 teaspoon salt
- 1/4 teaspoon freshly ground black pepper
- Optional: 1/4 teaspoon red pepper flakes
Instructions
- Preheat your oven to 375°F (190°C) and line your baking sheet with parchment paper or foil.
- In a mixing bowl, combine the softened butter, minced garlic, chopped parsley, rosemary, salt, black pepper, and red pepper flakes if using. Mix well until evenly distributed.
- Slice the loaf into 1-inch thick slices, but do not cut all the way through; leave the bottom crust intact.
- Use a spoon or spatula to generously spread the garlic herb butter between each slice and over the top of the loaf.
- Place the prepared bread on the baking sheet and bake for 15-20 minutes until the butter melts, herbs are fragrant, and the top is golden brown. For extra crispiness, broil for the last 1-2 minutes, watching closely to avoid burning.
- Let the bread cool for a couple of minutes, then pull apart the slices and serve warm.
Notes
Use softened butter, not melted, to avoid soggy bread. Mince garlic finely or grate for best flavor. Spread butter evenly between slices before baking. Watch bread closely during broil to prevent burning. For dairy-free, substitute butter with vegan margarine or olive oil. Gluten-free bread can be used as a substitute.
Nutrition
- Serving Size: Approximately one th
- Calories: 180220
- Sugar: 1
- Sodium: 300
- Fat: 12
- Saturated Fat: 7
- Carbohydrates: 20
- Fiber: 1
- Protein: 4
Keywords: garlic bread, herb bread, buttered bread, easy snack, cozy food, garlic herb butter, homemade bread