Introduction
“I wasn’t expecting much when I found that crumpled recipe card tucked inside an old cookbook at a yard sale,” I recall, holding the slightly stained paper that promised a ‘Classic Homemade Mom’s Famous Apple Pie.’ It was a rainy Saturday, and honestly, I was just looking for something to do. But as I flipped through the instructions, I found myself drawn into a story of simple ingredients, tender care, and a crust that promised to melt in your mouth.
That afternoon, my kitchen filled with the warm scent of cinnamon and baked apples, a smell so comforting it felt like a hug from an old friend. I made a mess—flour on the counter, a burst of laughter when I realized I forgot to preheat the oven—but the pie came out golden, bubbling, and perfect. You know that feeling when you nail something on the first try? This was it.
Maybe you’ve been there, chasing the perfect apple pie recipe that tastes like home, but feels just a little off. This recipe isn’t fancy or complicated; it’s just honest, tried-and-true, and yes, mom-approved. It’s the kind of pie you bring to Sunday dinners and watch disappear faster than you thought possible. Let me tell you, this Classic Homemade Mom’s Famous Apple Pie has stuck with me ever since. It’s comfort food that never goes out of style.
Why You’ll Love This Recipe
After testing dozens of apple pies (yes, I took my research seriously), this recipe stands out for a bunch of good reasons. Here’s why you might want to keep this one close:
- Quick & Easy: Comes together in under 90 minutes, perfect for busy weeknights or last-minute dessert cravings.
- Simple Ingredients: No need for exotic spices or fancy gadgets; you likely have everything in your pantry already.
- Perfect for Any Occasion: Whether it’s a holiday dinner, a cozy fall night, or a casual potluck, this pie fits right in.
- Crowd-Pleaser: Kids and adults alike rave about the tender, flaky crust and the sweet-tart apple filling.
- Unbelievably Delicious: The balance of cinnamon, nutmeg, and a hint of lemon makes every bite sing with flavor.
What makes this pie different? Honestly, it’s the crust — flaky but sturdy enough to hold all that juicy apple filling without turning soggy. The filling itself is gently sautéed first, which deepens the flavor and keeps the apples tender but not mushy. No soggy bottoms here!
And the best part? This pie is comfort food redefined. It’s that warm, nostalgic bite you close your eyes for. It’s the kind of classic recipe that brings people together, whether you’re serving it with a scoop of vanilla ice cream or just a cup of coffee. Honestly, you’ll want to keep this recipe in your back pocket for years to come.
What Ingredients You Will Need
This recipe uses simple, wholesome ingredients to deliver bold flavor and satisfying texture without fuss. Most are pantry staples, and you can easily swap a few if needed.
- For the crust:
- 2 ½ cups (310g) all-purpose flour (I prefer King Arthur for consistent results)
- 1 teaspoon salt
- 1 tablespoon granulated sugar (adds a subtle sweetness)
- 1 cup (227g) unsalted butter, cold and cubed (essential for flakiness)
- 6-8 tablespoons ice water (adjust as needed to bring dough together)
- For the filling:
- 6 large apples (about 3 pounds/1.4kg) – a mix of Granny Smith and Honeycrisp works well for balance
- ¾ cup (150g) granulated sugar
- ¼ cup (50g) packed light brown sugar (adds caramel notes)
- 2 teaspoons ground cinnamon
- ¼ teaspoon ground nutmeg
- 2 tablespoons all-purpose flour (helps thicken filling)
- 1 tablespoon lemon juice (brightens flavors and prevents browning)
- 1 teaspoon vanilla extract (optional but recommended for depth)
- For finishing:
- 1 egg (for egg wash, gives crust a golden shine)
- 1 tablespoon coarse sugar (optional, for sprinkling on top)
If you want a gluten-free crust, almond flour or a gluten-free blend works well, though texture will be slightly different. For dairy-free, swap butter with cold coconut oil. And if fresh apples aren’t in season, frozen sliced apples (thawed) can work in a pinch, just drain excess liquid.
Equipment Needed
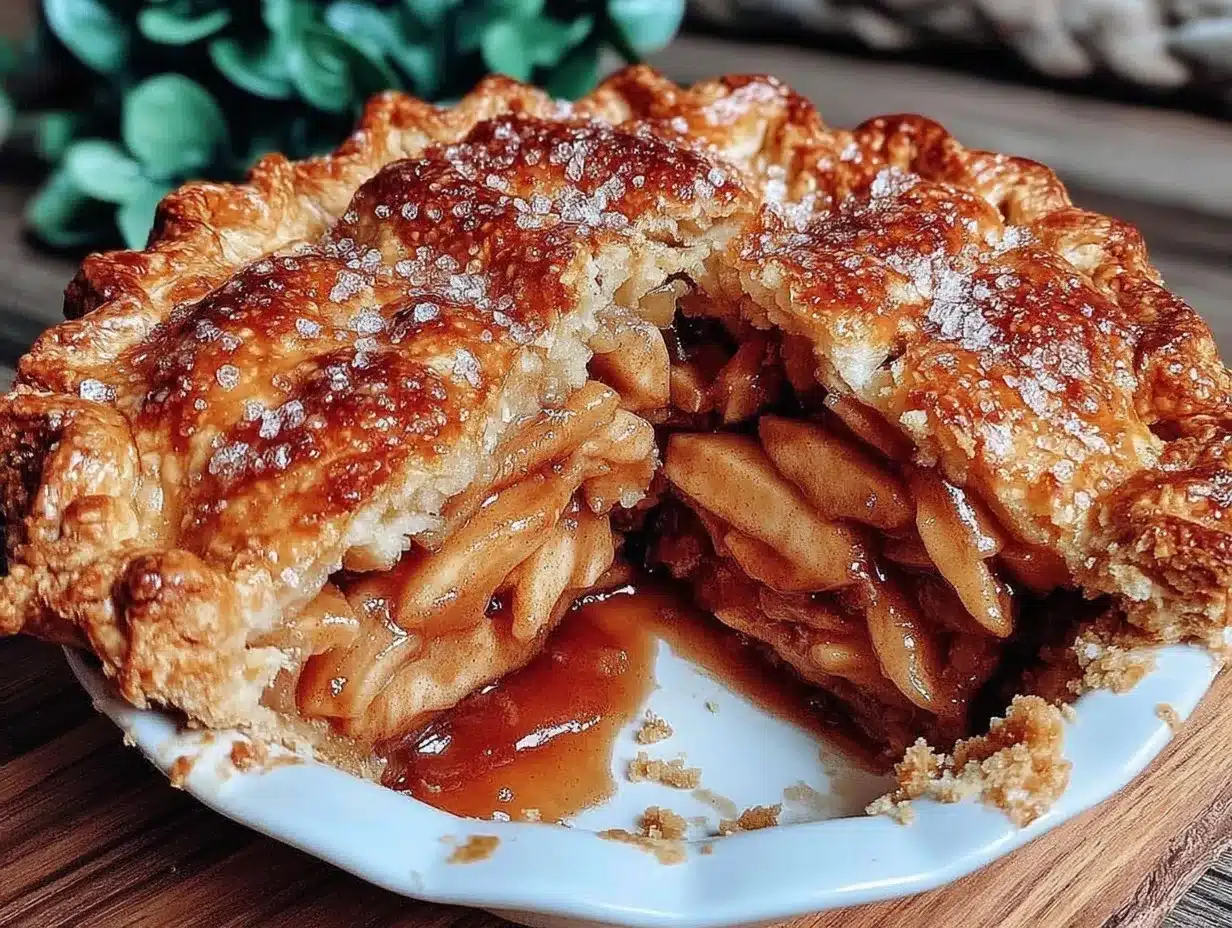
- 9-inch (23 cm) pie dish (glass or ceramic recommended for even baking)
- Mixing bowls (one large for dough, one medium for filling)
- Pastry blender or food processor (helps cut butter into flour quickly; a fork can work too)
- Rolling pin (a well-floured surface prevents sticking)
- Sharp knife or apple corer (for slicing apples evenly)
- Measuring cups and spoons (accurate measurements matter here!)
- Baking sheet (place pie on top to catch drips)
If you don’t have a pastry blender, cold butter and quick finger work works just fine — just try to avoid warming the dough. I once used a wine bottle as a rolling pin when I was out, and it worked okay in a pinch! For cleaning, wiping the rolling pin and board with cold water (no soap) helps prevent sticking next time.
Preparation Method
- Make the crust: In a large bowl, whisk together 2 ½ cups flour, salt, and sugar. Add cold cubed butter. Using a pastry blender or your fingertips, cut butter into flour until mixture resembles coarse crumbs with pea-sized bits (about 5 minutes). Slowly add ice water, one tablespoon at a time, mixing gently until dough just comes together.
- Chill the dough: Divide dough into two disks, wrap each in plastic wrap, and refrigerate for at least 1 hour (or up to overnight). This step is key for a flaky crust that holds its shape.
- Prepare the filling: Peel, core, and slice apples into ½-inch thick slices. In a large bowl, toss apples with granulated sugar, brown sugar, cinnamon, nutmeg, flour, lemon juice, and vanilla extract until evenly coated. Set aside for 15 minutes so flavors meld.
- Roll out the bottom crust: On a lightly floured surface, roll one dough disk into a 12-inch circle. Transfer to a 9-inch pie dish, pressing gently to fit. Trim excess dough, leaving about a 1-inch overhang.
- Cook the filling: In a large skillet, sauté apple mixture over medium heat for 5-7 minutes, stirring gently until apples soften slightly and juices thicken. This step prevents a watery pie and concentrates flavors.
- Assemble the pie: Pour filling into crust, mounding slightly in the center. Roll out second dough disk into a 12-inch circle. You can cover pie with a full top crust (cut slits for steam) or create a lattice pattern for a classic look. Trim and crimp edges to seal.
- Finish the crust: Beat egg and brush over pie surface. Sprinkle with coarse sugar if desired for an added crunch.
- Bake: Place pie on a baking sheet and bake in a preheated 425°F (220°C) oven for 15 minutes. Then reduce temperature to 350°F (175°C) and bake for another 40-45 minutes or until crust is golden and filling bubbles. If edges brown too fast, shield with foil.
- Cool before serving: Let pie cool at least 2 hours to allow filling to set. This patience pays off big time!
Tip: If your kitchen gets busy, prep the filling and dough the night before. Just keep dough chilled and filling covered in the fridge.
Cooking Tips & Techniques
One thing I learned the hard way: rushing the dough chilling step leads to a tough crust. Honestly, don’t skip it. Cold dough means flaky layers, and flaky is what you want.
When cutting butter into flour, keep your hands cool and work quickly to avoid melting it. If the dough feels sticky, add a sprinkle more flour, but not too much or the crust gets dry.
Using a mix of tart and sweet apples balances the filling’s flavor — too sweet and it’s cloying, too tart and it’s puckery. Also, cooking the filling before baking prevents that dreaded watery bottom, because apples release a lot of juice.
When rolling out dough, rotate and flour your surface often to prevent sticking. If it tears, just patch with a little dough — no one will notice!
Keep an eye on the crust edges while baking; covering them with foil or a pie shield after 30 minutes keeps them from burning while the filling finishes cooking.
Lastly, patience is key. The pie tastes best after cooling completely. Hot pie is tempting, but that filling needs time to thicken up so it won’t run everywhere when you slice.
Variations & Adaptations
- Gluten-Free: Swap regular flour for a 1-to-1 gluten-free blend in both crust and filling thickener. Almond or oat flour crusts can add interesting texture.
- Vegan: Use coconut oil instead of butter, and a flax egg (1 tbsp ground flaxseed + 3 tbsp water) instead of egg wash for a golden crust.
- Spiced Up: Add a pinch of ground cloves or cardamom to the filling for a warm, cozy twist.
- Caramel Apple Pie: Drizzle ¼ cup caramel sauce over the filling before topping crust for a decadent dessert.
- Personal Favorite: Once, I mixed in a handful of chopped walnuts and it brought a lovely crunch that surprised everyone.
You can also experiment with different top crust styles—lattice, braided edges, or cut-out shapes—to personalize your pie’s look.
Serving & Storage Suggestions
This apple pie is best served slightly warm or at room temperature. A scoop of vanilla ice cream or a dollop of whipped cream makes it extra special, but honestly, it’s fantastic on its own.
Pair it with comforting drinks like hot apple cider, coffee, or even a light dessert wine for adults. For a brunch twist, serve alongside sharp cheddar cheese slices—a classic combo that surprises many first-timers.
Store leftover pie covered loosely with foil or plastic wrap in the refrigerator for up to 4 days. To freeze, wrap tightly in plastic and foil—defrost overnight in the fridge before reheating.
Reheat slices in a 350°F (175°C) oven for 10–15 minutes to bring back flaky crust and warm filling. Microwaving works but can make crust soggy, so use oven if you can.
Flavors actually deepen after a day or two, so if you can wait, it’s worth it!
Nutritional Information & Benefits
Per serving (1/8 pie slice), this classic apple pie provides approximately:
| Calories | 320 kcal |
|---|---|
| Carbohydrates | 45g |
| Fat | 14g |
| Protein | 3g |
| Fiber | 3g |
| Sugar | 25g |
The apples provide dietary fiber and antioxidants, while cinnamon adds anti-inflammatory benefits. Using unsalted butter keeps control over sodium levels. This recipe is naturally gluten-free adaptable and can be made vegan with simple swaps.
For those mindful of sugar, reducing granulated sugar by a quarter cup still yields a tasty pie without losing that classic flavor.
Conclusion
Honestly, this Classic Homemade Mom’s Famous Apple Pie recipe has become my go-to whenever I want a taste of home and a slice of comfort. The flaky crust and perfectly spiced apple filling make it a timeless dessert that brings smiles every time.
Don’t be afraid to make it your own—swap apples, tweak spices, or try a lattice crust. I love how versatile it is yet stays true to that nostalgic feel. Please share how your pie turns out or any fun twists you try—I’m always eager to hear stories from fellow bakers!
So next time you want to impress without stress or just crave something sweet and satisfying, this apple pie will be waiting for you. Happy baking!
Frequently Asked Questions
What’s the best type of apple for apple pie?
A mix of tart and sweet apples works best—Granny Smith and Honeycrisp are favorites because they hold their shape and balance sweetness.
Can I make the pie crust ahead of time?
Absolutely! Dough can be made and refrigerated up to 48 hours before baking, or frozen for up to a month. Just thaw in the fridge before rolling.
How do I prevent a soggy bottom crust?
Cooking the filling briefly before baking and using a hot oven at the start helps evaporate excess moisture. Also, avoid overly juicy apples or drain frozen apples well.
Can I freeze apple pie?
Yes, wrap it tightly in plastic and foil. Freeze for up to 3 months. Thaw overnight in the fridge before reheating.
How do I make a vegan version of this apple pie?
Use coconut oil or vegan butter for the crust and a flax egg for the egg wash. The filling ingredients remain mostly the same.
Pin This Recipe!
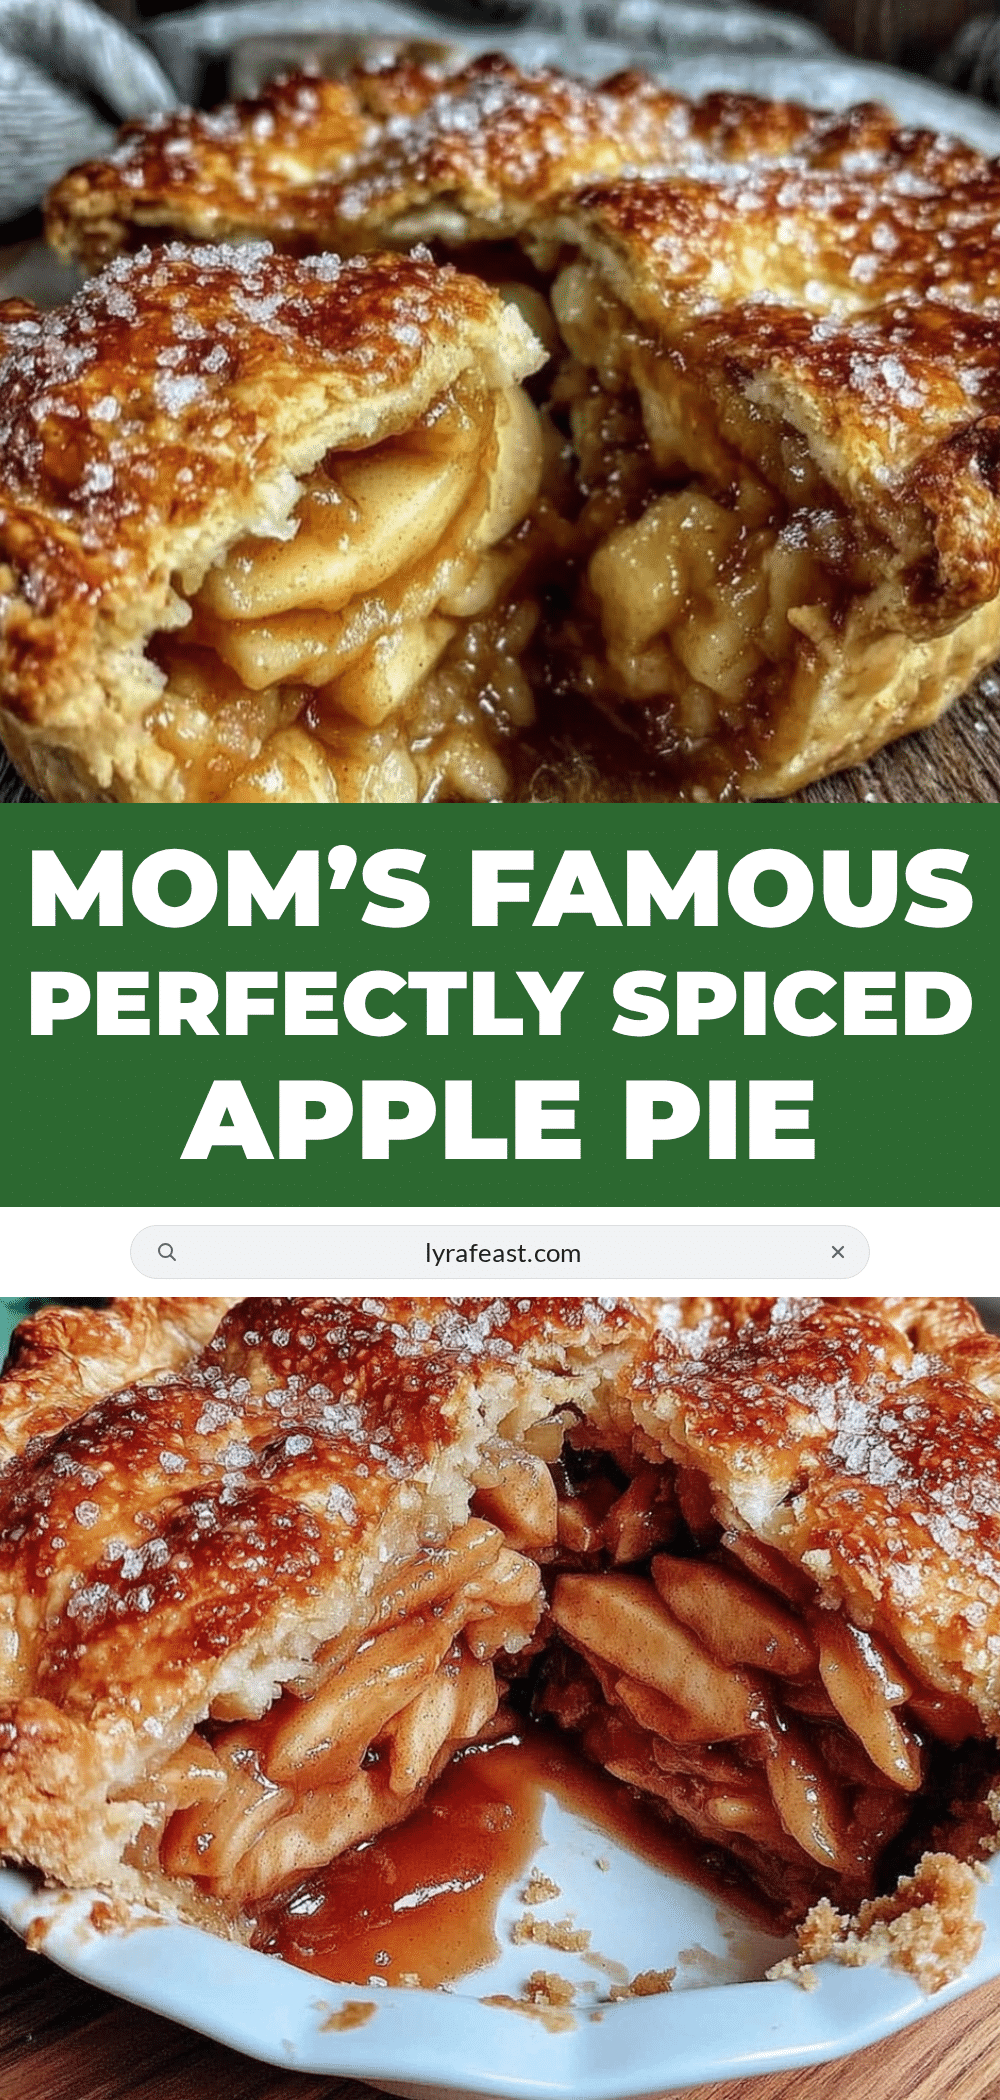
Classic Homemade Mom’s Famous Apple Pie
A timeless apple pie recipe featuring a flaky, buttery crust and a perfectly spiced apple filling, ideal for any occasion and easy to make in under 90 minutes.
- Prep Time: 20 minutes
- Cook Time: 60 minutes
- Total Time: 1 hour 20 minutes plus chilling time
- Yield: 8 servings 1x
- Category: Dessert
- Cuisine: American
Ingredients
- 2 ½ cups (310g) all-purpose flour
- 1 teaspoon salt
- 1 tablespoon granulated sugar
- 1 cup (227g) unsalted butter, cold and cubed
- 6–8 tablespoons ice water
- 6 large apples (about 3 pounds/1.4kg) – mix of Granny Smith and Honeycrisp
- ¾ cup (150g) granulated sugar
- ¼ cup (50g) packed light brown sugar
- 2 teaspoons ground cinnamon
- ¼ teaspoon ground nutmeg
- 2 tablespoons all-purpose flour
- 1 tablespoon lemon juice
- 1 teaspoon vanilla extract (optional)
- 1 egg (for egg wash)
- 1 tablespoon coarse sugar (optional)
Instructions
- Make the crust: In a large bowl, whisk together flour, salt, and sugar. Add cold cubed butter. Using a pastry blender or fingertips, cut butter into flour until mixture resembles coarse crumbs with pea-sized bits (about 5 minutes). Slowly add ice water, one tablespoon at a time, mixing gently until dough just comes together.
- Chill the dough: Divide dough into two disks, wrap each in plastic wrap, and refrigerate for at least 1 hour or up to overnight.
- Prepare the filling: Peel, core, and slice apples into ½-inch thick slices. In a large bowl, toss apples with granulated sugar, brown sugar, cinnamon, nutmeg, flour, lemon juice, and vanilla extract until evenly coated. Set aside for 15 minutes.
- Roll out the bottom crust: On a lightly floured surface, roll one dough disk into a 12-inch circle. Transfer to a 9-inch pie dish, pressing gently to fit. Trim excess dough, leaving about a 1-inch overhang.
- Cook the filling: In a large skillet, sauté apple mixture over medium heat for 5-7 minutes, stirring gently until apples soften slightly and juices thicken.
- Assemble the pie: Pour filling into crust, mounding slightly in the center. Roll out second dough disk into a 12-inch circle. Cover pie with full top crust (cut slits for steam) or create a lattice pattern. Trim and crimp edges to seal.
- Finish the crust: Beat egg and brush over pie surface. Sprinkle with coarse sugar if desired.
- Bake: Place pie on a baking sheet and bake in a preheated 425°F (220°C) oven for 15 minutes. Reduce temperature to 350°F (175°C) and bake for another 40-45 minutes or until crust is golden and filling bubbles. Shield edges with foil if browning too fast.
- Cool before serving: Let pie cool at least 2 hours to allow filling to set.
Notes
Chill dough for at least 1 hour for flaky crust. Cook filling before baking to prevent soggy bottom. Use a mix of tart and sweet apples for balanced flavor. Cover crust edges with foil if browning too fast. Let pie cool completely before slicing for best results. Dough and filling can be prepped ahead. For vegan version, use coconut oil and flax egg. For gluten-free, substitute flour with gluten-free blend.
Nutrition
- Serving Size: 1 slice (1/8 of pie)
- Calories: 320
- Sugar: 25
- Fat: 14
- Carbohydrates: 45
- Fiber: 3
- Protein: 3
Keywords: apple pie, classic apple pie, homemade pie, flaky crust, cinnamon apple pie, easy apple pie recipe, dessert, fall dessert



