I was at a tiny farmers’ market in Vermont, the kind where the only music is the wind through the apple trees, when a woman named Peg watched me eyeing her pastry basket. She didn’t say anything at first. Then she nudged a single scone wrapped in parchment toward me and said, “You look like you need something that tastes like a hug.” She wasn’t wrong. It was mid-October, the air had that sharp bite that makes you pull your scarf tighter, and I had just spent the morning chasing a story about maple syrup that didn’t pan out. Peg’s scone was brown butter and pumpkin, and honestly, I almost cried right there in the dirt aisle. I asked her for the recipe, and she laughed—a warm, crinkly-eyed laugh—and said, “There’s no secret. Just don’t rush the butter.” I’ve tweaked it over the years, adding a little more spice, swapping in my own maple glaze, but the heart of it is still hers. Maybe you’ve been there—that moment when a stranger hands you something simple and it just clicks. That’s this recipe. It’s the kind of cozy you can hold in your hand.
Why You’ll Love This Recipe
These brown butter pumpkin scones are everything you want in a fall treat. They’re tender, not dry, with that nutty depth that only browned butter can bring. I mean, let’s face it—most scones are either crumbly bricks or sad, flat discs. These are neither. They have a crisp edge, a soft center, and a maple glaze that soaks in just enough to make each bite feel like a reward.
- Quick & Easy: From start to finish, you’re looking at about 35 minutes. No stand mixer needed, just a bowl and your hands.
- Simple Ingredients: Pumpkin puree, butter, flour, sugar, spices, and maple syrup. You probably have most of this in your pantry right now.
- Perfect for Fall Mornings: These scones were made for a chilly Saturday with a cup of coffee and a good book. They also travel beautifully for brunch or a potluck.
- Crowd-Pleaser: I brought a batch to book club last week, and three people asked for the recipe before the discussion even started. They work for kids, adults, and anyone who claims they “don’t like pumpkin.”
- Unbelievably Delicious: The combo of brown butter, pumpkin, and maple is next-level comfort food. It’s not overly sweet, but it feels indulgent. That’s the magic.
What makes these different from every other pumpkin scone recipe out there? It’s the brown butter. Most recipes skip it because it adds an extra step, but that ten minutes of watching butter turn golden is what transforms these from “fine” to “I need another one.” The glaze is also a game-changer—real maple syrup, not extract, so it tastes like the forest, not a candy aisle.
This recipe isn’t just good. It’s the kind that makes you close your eyes after the first bite. It’s comfort food reimagined—faster than a pie, easier than a cake, but with the same soul-soothing satisfaction. Perfect for impressing guests without stress, or turning a simple Tuesday into something memorable.
What Ingredients You Will Need
This recipe uses simple, wholesome ingredients to deliver bold flavor and satisfying texture without the fuss. Most of these are pantry staples, but a few key players make all the difference.
- Unsalted butter, 1 cup (2 sticks) — you’ll brown this, so don’t skimp on quality. I prefer Kerrygold for its rich flavor.
- Pumpkin puree, 1 cup — not pumpkin pie filling. Look for 100% pure pumpkin. Libby’s is reliable, but store brands work fine too.
- All-purpose flour, 2 ½ cups — spoon and level it. Scooping directly can pack in too much flour and make scones dense.
- Granulated sugar, ½ cup — adds just enough sweetness without overpowering the pumpkin.
- Light brown sugar, ¼ cup, packed — for moisture and that subtle molasses note.
- Baking powder, 1 tablespoon — fresh is key. Check the date; old baking powder = flat scones.
- Baking soda, ½ teaspoon — helps with browning.
- Salt, ½ teaspoon — fine sea salt or kosher.
- Ground cinnamon, 1 teaspoon
- Ground ginger, ½ teaspoon
- Ground nutmeg, ¼ teaspoon
- Ground cloves, ⅛ teaspoon — a little goes a long way.
- Heavy cream, ½ cup — for the dough. It adds richness that milk just can’t match. (Use full-fat coconut cream for a dairy-free version.)
- Vanilla extract, 1 teaspoon — pure, not imitation.
- Egg, 1 large — room temperature.
For the Maple Glaze:
- Powdered sugar, 1 cup, sifted — no lumps allowed.
- Pure maple syrup, 3 tablespoons — Grade A dark amber is my favorite for its bold flavor.
- Heavy cream, 1-2 tablespoons — to adjust consistency. Or use milk if that’s what you have.
- Pinch of salt — to balance the sweetness.
I always use real maple syrup for the glaze, not the pancake stuff. It makes a noticeable difference. For the spices, feel free to use a pumpkin pie blend (about 2 teaspoons) instead of measuring each one.
Equipment Needed
You don’t need a fancy bakery setup for these scones. Here’s what I use:
- Large mixing bowl — any bowl works, but a wide one makes mixing easier.
- Whisk — for dry ingredients.
- Pastry cutter or two forks — to cut the brown butter into the flour. A food processor works too, but be careful not to overmix.
- Baking sheet — lined with parchment paper. I’ve used silicone mats, but parchment gives better browning.
- Bench scraper — helpful for shaping the dough, but a spatula works.
- Small saucepan — for browning the butter. Light-colored pans help you see the color change.
- Cooling rack — so the glaze sets properly.
- Measuring cups and spoons — accuracy matters in baking.
If you don’t have a pastry cutter, don’t stress. Two forks or even your fingertips (work quickly so the butter doesn’t melt) do the job. For the glaze, a small whisk or fork is all you need.
Preparation Method
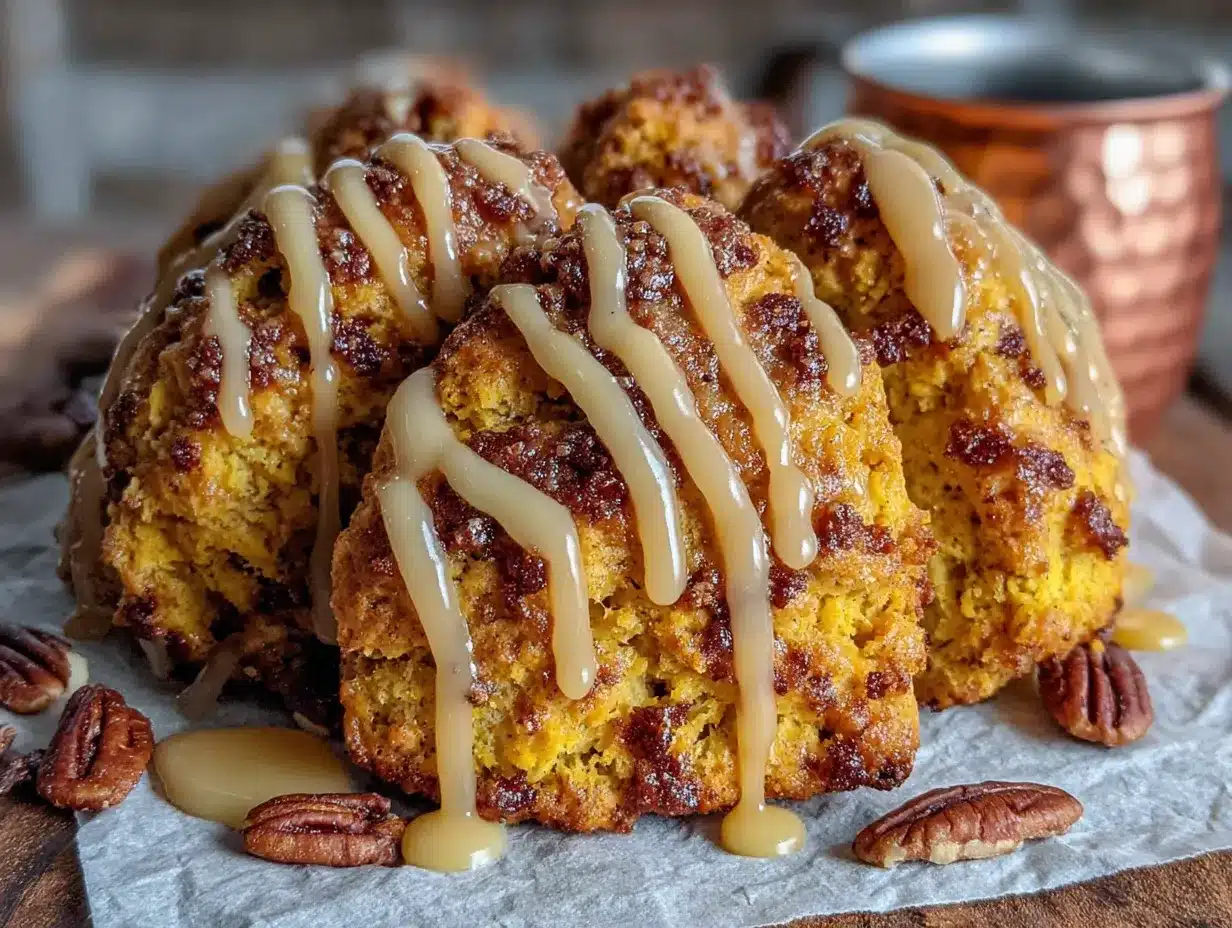
Let’s make these scones. I’ve tested this method about a dozen times, so trust the process. It’s easier than it looks.
- Brown the butter. Place the 1 cup of butter in a small saucepan over medium heat. Stir occasionally with a spatula. After about 5-7 minutes, the butter will start to foam, then turn golden, then develop brown specks at the bottom. It should smell nutty and amazing. Immediately remove from heat and pour into a heat-safe bowl. Let it cool for 10 minutes—it should be warm but not hot. Don’t skip this cooling step, or you’ll melt the butter into the flour later and end up with greasy scones.
- Preheat the oven to 400°F (200°C). Line a baking sheet with parchment paper.
- Mix dry ingredients. In a large bowl, whisk together the flour, granulated sugar, brown sugar, baking powder, baking soda, salt, cinnamon, ginger, nutmeg, and cloves. Make sure there are no brown sugar lumps—use your fingers to break them up.
- Cut in the brown butter. Pour the cooled brown butter into the flour mixture. Use a pastry cutter or two forks to cut it in until the mixture looks like coarse meal with pea-sized butter bits. Some larger pieces are fine. Work quickly so the butter stays cold-ish. (I once took a phone call mid-step, and the butter softened too much. The scones were flat. Learn from my mistake.)
- Combine wet ingredients. In a separate small bowl, whisk together the pumpkin puree, heavy cream, egg, and vanilla until smooth. It should look like a thick, orange milkshake.
- Bring it together. Pour the wet mixture into the dry mixture. Stir with a spatula just until combined. The dough will be shaggy and a little sticky. Don’t overmix, or the scones will be tough. If there are a few dry spots, that’s okay—they’ll come together in the next step.
- Shape the dough. Turn the dough out onto a lightly floured surface. Gently bring it together with your hands, patting it into a circle about ¾-inch thick. Don’t knead it; just press it into shape. Use a bench scraper or knife to cut the circle into 8 wedges like a pizza. (For smaller scones, cut into 10 wedges.)
- Bake. Place the wedges on the prepared baking sheet, spacing them about 2 inches apart. Bake for 14-16 minutes, or until the edges are lightly golden and the centers feel firm to the touch. The bottoms should be golden brown. Let them cool on the baking sheet for 5 minutes, then transfer to a cooling rack.
- Make the glaze. While the scones cool, whisk together the powdered sugar, maple syrup, and a pinch of salt. Add heavy cream 1 tablespoon at a time until you get a thick but pourable consistency. It should coat the back of a spoon.
- Glaze and serve. Drizzle the glaze over the warm scones. I like to do a thick zigzag pattern. Let the glaze set for about 5 minutes before serving. The scones are best warm, but they’re still incredible at room temperature.
Cooking Tips & Techniques
I’ve made these scones more times than I can count, and I’ve learned a few things the hard way. Here’s what I wish someone had told me.
Don’t rush the brown butter. I know it’s tempting to crank up the heat to get it done faster. Don’t. Medium heat is your friend. If the butter burns (you’ll smell it—acrid, not nutty), start over. Burnt butter ruins the whole batch. Keep an eye on it, and swirl the pan often. The moment you see brown specks, pull it off the heat.
Cold ingredients matter. The brown butter should be warm but not hot when you add it. If it’s too warm, it’ll melt into the flour and you’ll lose those flaky pockets. If it’s too cold, it won’t incorporate evenly. Let it sit for exactly 10 minutes after browning, then use it immediately.
Handle the dough gently. Overworking the dough is the number one mistake people make with scones. You want to see streaks of butter in the dough—that’s what creates flaky layers. If the dough looks a little rough, that’s perfect. Smooth dough means tough scones.
Use a sharp knife or bench scraper to cut the wedges. A dull blade can squish the edges and seal them, which prevents rising. Cut straight down, don’t saw back and forth.
For even baking, rotate the baking sheet halfway through. My oven runs hot on one side, so this step saves me every time.
Let the glaze set properly. I know you want to eat them immediately, but waiting 5 minutes lets the glaze firm up just enough so it doesn’t slide off. If you’re impatient (I’ve been there), you can dip the top of each scone into the glaze instead of drizzling—it sticks better.
Variations & Adaptations
This recipe is flexible. Here are a few ways to make it your own.
- Gluten-Free Version: Swap the all-purpose flour with a 1:1 gluten-free baking blend. I’ve used King Arthur’s Measure for Measure with great results. Add an extra tablespoon of cream if the dough seems dry.
- Vegan Adaptation: Use vegan butter (I like Miyoko’s) and brown it the same way. Replace the heavy cream with full-fat coconut cream, and use a flax egg (1 tablespoon ground flaxseed + 3 tablespoons water, let sit for 5 minutes). The texture will be slightly denser but still delicious.
- Spice It Up: Add ¼ teaspoon of cardamom or allspice for a warm, aromatic twist. I tried cardamom once on a whim, and now it’s my go-to variation.
- Add Mix-Ins: Fold in ½ cup of chopped pecans, walnuts, or dried cranberries after you’ve combined the wet and dry ingredients. Toast the nuts first for extra flavor.
- Savory-Sweet Combo: Reduce the sugar to ¼ cup, skip the glaze, and add ½ cup of sharp cheddar cheese and a pinch of black pepper. Bake as directed, then brush with melted butter and a sprinkle of flaky salt. It sounds weird, but it works.
- Different Glazes: Swap the maple syrup for honey or bourbon (use 2 tablespoons bourbon + 1 tablespoon cream). For a citrusy version, use orange juice and zest instead of maple.
Serving & Storage Suggestions
These scones are best served warm, straight from the oven, with a pat of butter melting into the crumb. But let’s be real—they’re also incredible the next day with a reheated cup of coffee.
Serving Temperature: The glaze sets nicely at room temperature, but if you want that gooey, just-baked feel, pop them in a 300°F oven for 5 minutes before serving. Don’t microwave them—it makes the glaze runny and the scones rubbery.
Complementary Dishes: Pair these scones with a simple scrambled egg and roasted sausage for a full breakfast. Or serve them alongside a bowl of butternut squash soup for a cozy lunch. For dessert, drizzle with extra maple syrup and a dollop of whipped cream.
Storage Instructions: Store leftover scones in an airtight container at room temperature for up to 3 days. If you stack them, place parchment paper between layers so the glaze doesn’t stick. For longer storage, freeze unglazed scones in a freezer bag for up to 3 months. Thaw at room temperature, then reheat and glaze before serving.
Reheating Methods: The best way to reheat is in a 350°F oven for 5-7 minutes. The second best is a toaster oven. Avoid the microwave unless you’re in a pinch—it’ll soften the scone but ruin the texture.
Flavor Development: Honestly, these scones taste even better the next day. The brown butter flavor deepens, and the pumpkin spice melds together. If you can resist eating them all in one sitting, you’re in for a treat.
Nutritional Information & Benefits
Here’s the breakdown for one scone (based on 8 servings, with glaze):
- Calories: Approximately 380
- Fat: 20g (12g saturated)
- Carbohydrates: 47g
- Fiber: 2g
- Sugar: 24g
- Protein: 5g
These numbers are estimates and will vary based on substitutions. The pumpkin provides a good dose of vitamin A (over 200% of your daily needs per serving) and fiber, which supports digestion. Brown butter, while indulgent, contains butyrate, a fatty acid linked to gut health. The maple syrup offers small amounts of zinc and manganese. This isn’t a health food, but it’s a treat made with real ingredients—no preservatives, no artificial flavors.
If you’re watching your sugar, you can reduce the glaze to a thin drizzle or skip it entirely. The scones are still flavorful without it. For a lower-carb option, try the almond flour variation mentioned above.
Potential allergens: dairy (butter, cream), gluten (flour), eggs. See variations for dairy-free and gluten-free adaptations.
Conclusion
These cozy brown butter pumpkin scones with maple glaze are the kind of recipe that makes you slow down. They’re not fussy or complicated, but they feel special—like something you’d find in a small café on a rainy day. I love that they start with a simple act of patience (browning butter) and end with something that tastes like effort, even though it’s not. That’s my favorite kind of cooking.
I hope you make these and make them your own. Add extra spice, skip the glaze, double the batch—whatever feels right. And if you do make them, I’d love to hear about it. Drop a comment below, share a photo, or tell me how you tweaked the recipe. That’s how recipes live on, you know? One person passing it to another, with their own little changes along the way.
Go ahead, preheat that oven. You deserve a scone.
Frequently Asked Questions
Can I use canned pumpkin pie filling instead of pure pumpkin?
No, I wouldn’t recommend it. Pumpkin pie filling already has sugar and spices added, which will throw off the balance of this recipe. Stick with 100% pure pumpkin puree for the best texture and flavor. If you only have pie filling, reduce the sugar by half and skip the spices, but the texture might still be off.
Why did my scones turn out dry?
Dry scones usually come from overmixing the dough or using too much flour. Make sure you spoon and level your flour rather than scooping directly from the bag. Also, handle the dough as little as possible—just until it comes together. If the dough feels dry before baking, add an extra tablespoon of cream.
Can I freeze the dough and bake later?
Absolutely. Shape the scones, place them on a parchment-lined baking sheet, and freeze until solid (about 2 hours). Transfer to a freezer bag. When ready to bake, place frozen scones on a baking sheet and add 2-3 minutes to the baking time. No need to thaw. I do this all the time for last-minute guests.
What if I don’t have heavy cream?
You can substitute whole milk or half-and-half. The scones will be slightly less tender, but they’ll still be good. For a richer option, mix 2 tablespoons of melted butter with enough milk to make ½ cup. Avoid skim milk—it’ll make the dough too dry.
How do I know when the butter is properly browned?
Watch for three signs: the butter will foam up, then subside; it will turn a golden-amber color; and you’ll see small brown specks settling at the bottom of the pan. It should smell nutty and toasty, not burnt. If you’re unsure, err on the side of lighter rather than darker. You can always cook it a little longer, but you can’t unburn it.
Pin This Recipe!
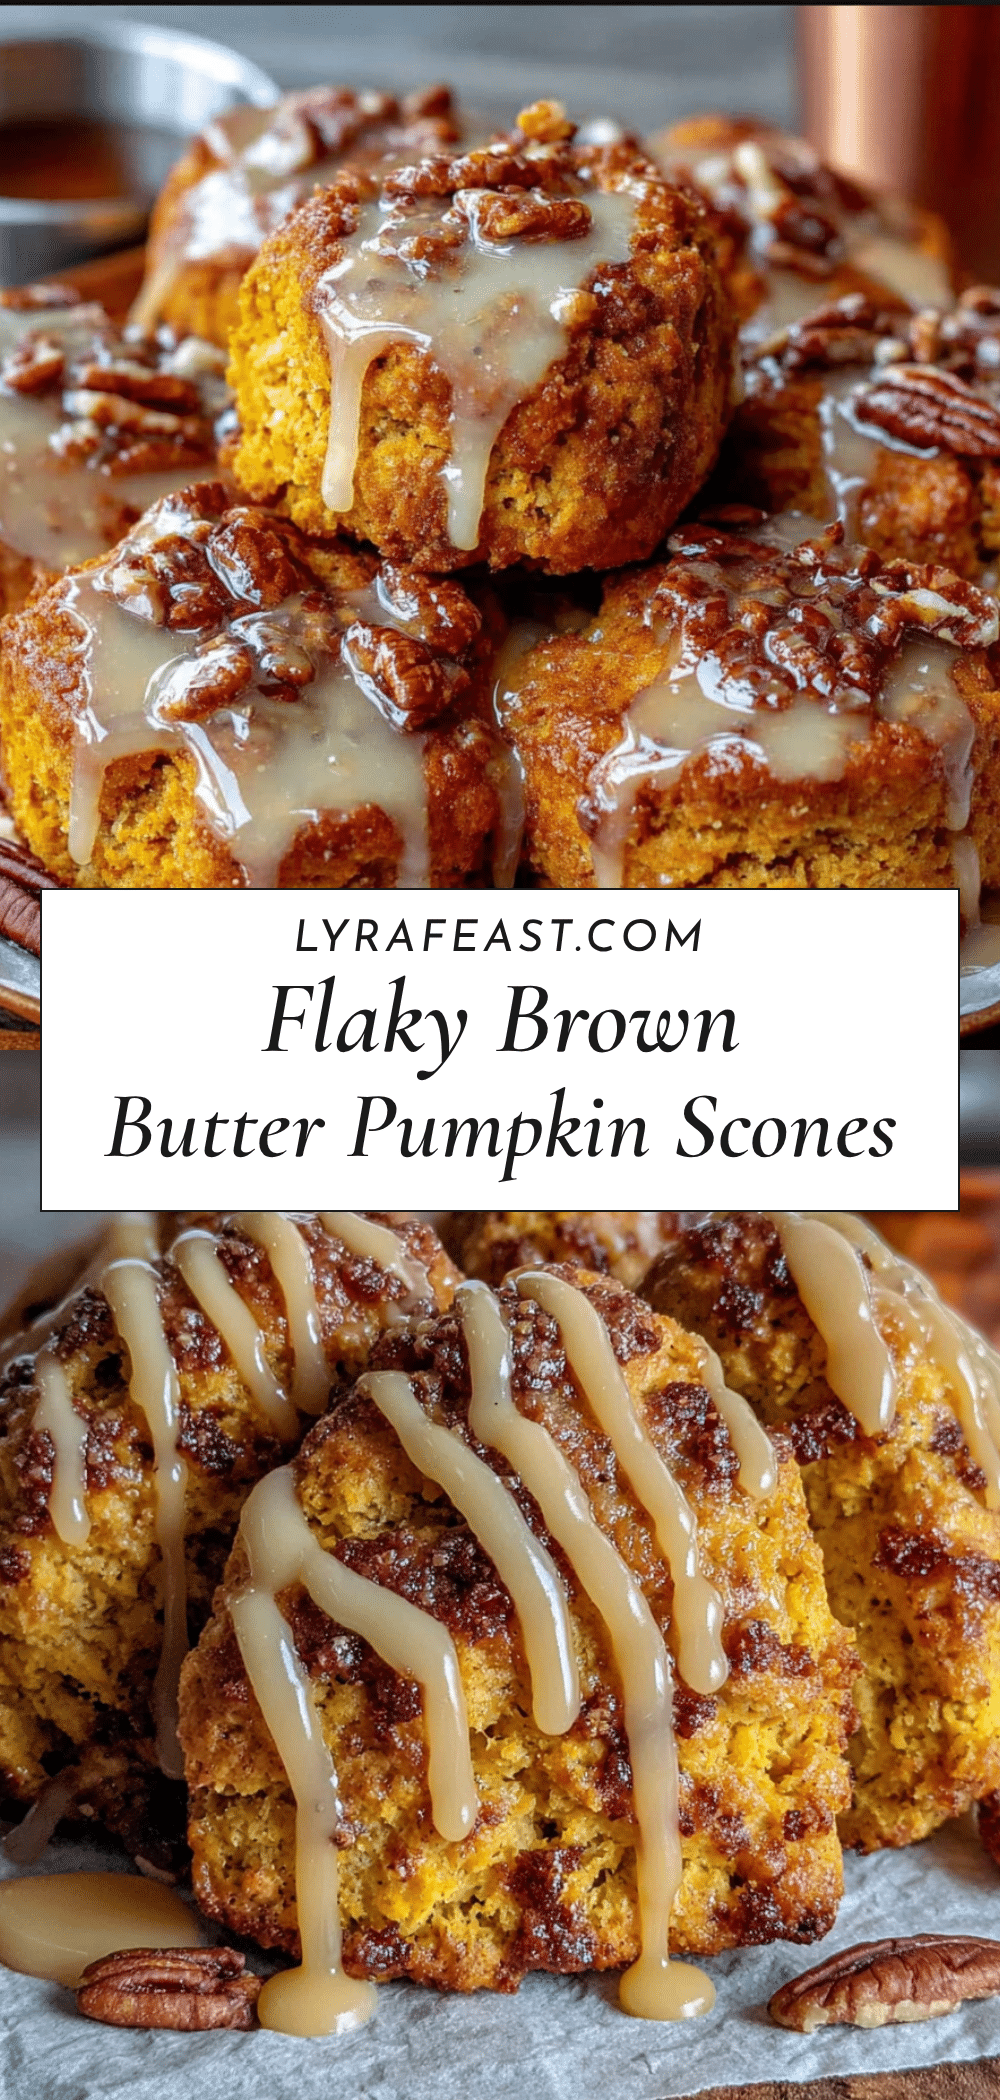
Cozy Brown Butter Pumpkin Scones with Easy Maple Glaze
These tender, nutty brown butter pumpkin scones are topped with a real maple glaze. They’re quick to make, perfect for fall mornings, and taste like a warm hug.
- Prep Time: 15 minutes
- Cook Time: 16 minutes
- Total Time: 35 minutes
- Yield: 8 servings 1x
- Category: Breakfast, Dessert
- Cuisine: American
Ingredients
- 1 cup (2 sticks) unsalted butter
- 1 cup pumpkin puree (not pumpkin pie filling)
- 2 ½ cups all-purpose flour
- ½ cup granulated sugar
- ¼ cup light brown sugar, packed
- 1 tablespoon baking powder
- ½ teaspoon baking soda
- ½ teaspoon salt
- 1 teaspoon ground cinnamon
- ½ teaspoon ground ginger
- ¼ teaspoon ground nutmeg
- ⅛ teaspoon ground cloves
- ½ cup heavy cream
- 1 teaspoon vanilla extract
- 1 large egg, room temperature
- For the Maple Glaze:
- 1 cup powdered sugar, sifted
- 3 tablespoons pure maple syrup (Grade A dark amber preferred)
- 1–2 tablespoons heavy cream (or milk)
- Pinch of salt
Instructions
- Brown the butter: Place 1 cup butter in a small saucepan over medium heat. Stir occasionally. After 5-7 minutes, butter will foam, turn golden, and develop brown specks. Remove from heat immediately and pour into a heat-safe bowl. Let cool for 10 minutes.
- Preheat oven to 400°F (200°C). Line a baking sheet with parchment paper.
- Mix dry ingredients: In a large bowl, whisk together flour, granulated sugar, brown sugar, baking powder, baking soda, salt, cinnamon, ginger, nutmeg, and cloves. Break up any brown sugar lumps.
- Cut in the brown butter: Pour cooled brown butter into flour mixture. Use a pastry cutter or two forks to cut it in until mixture resembles coarse meal with pea-sized butter bits. Work quickly.
- Combine wet ingredients: In a separate small bowl, whisk together pumpkin puree, heavy cream, egg, and vanilla until smooth.
- Bring it together: Pour wet mixture into dry mixture. Stir with a spatula just until combined. Dough will be shaggy and slightly sticky. Do not overmix.
- Shape the dough: Turn dough out onto a lightly floured surface. Gently bring together with hands, patting into a circle about ¾-inch thick. Cut into 8 wedges like a pizza.
- Bake: Place wedges on prepared baking sheet, spacing 2 inches apart. Bake for 14-16 minutes, until edges are lightly golden and centers feel firm. Let cool on baking sheet for 5 minutes, then transfer to a cooling rack.
- Make the glaze: While scones cool, whisk together powdered sugar, maple syrup, and a pinch of salt. Add heavy cream 1 tablespoon at a time until thick but pourable.
- Glaze and serve: Drizzle glaze over warm scones. Let set for 5 minutes before serving. Best served warm.
Notes
Don’t rush the brown butter; medium heat is key. Cold ingredients matter—let brown butter cool exactly 10 minutes. Handle dough gently to avoid tough scones. For even baking, rotate the baking sheet halfway through. Let glaze set 5 minutes before serving.
Nutrition
- Serving Size: 1 scone
- Calories: 380
- Sugar: 24
- Sodium: 320
- Fat: 20
- Saturated Fat: 12
- Carbohydrates: 47
- Fiber: 2
- Protein: 5
Keywords: brown butter, pumpkin scones, maple glaze, fall baking, easy scone recipe



