There used to be a tiny farm-to-table place tucked behind a gas station in Hudson Valley that made roasted butternut squash that I still dream about. When they closed unexpectedly after a kitchen fire, I literally stood outside reading the “permanently closed” sign like I’d lost a friend. After twelve tries — some burnt, some bland, one that my husband politely called “aggressively average” — I finally got it. And honestly, this version is better than the original. I mean, I never thought I’d say that, but here we are.
The secret wasn’t some fancy technique I learned in a cooking class. It was patience — and a whole lot of butter. That first successful batch came together on a rainy Tuesday when I had nothing else to do but stand at the stove and watch butter turn golden brown. The smell alone made me forgive every failed attempt before it. You know that feeling when something just clicks? This was that moment for me.
I kept making it, tweaking little things here and there. A pinch more salt. A splash of maple syrup. Letting the sage get just a little crispy. And somewhere along the way, this cozy roasted butternut squash with brown butter and sage became my go-to dish for everything — quiet weeknights, holiday dinners, and those days when you just need something warm and good on the table. It’s the kind of recipe that makes you slow down and pay attention, and honestly, we could all use a little more of that.
Why You’ll Love This Recipe
This isn’t just another roasted vegetable recipe. It’s the one that converts people who swear they don’t like squash. I’ve tested it on skeptics, picky eaters, and even my uncle who only eats meat and potatoes — and it won every single time.
- Quick & Easy : Comes together in about 40 minutes with just 15 minutes of active prep. Perfect for busy weeknights or last-minute dinner guests.
- Simple Ingredients : You probably already have butter, sage, and salt in your kitchen right now. No fancy grocery trips needed.
- Perfect for Fall Gatherings : Thanksgiving, Friendsgiving, Sunday dinners — this dish fits right in next to the turkey and mashed potatoes.
- Crowd-Pleaser : Kids love the sweet caramelized edges, adults go crazy for the nutty brown butter. Everyone wins.
- Unbelievably Delicious : The combination of creamy roasted squash, crispy sage, and that rich, toasty brown butter is pure comfort on a plate.
What makes this version different from all the others? It’s the method. Most recipes tell you to toss everything together and roast, but I take an extra few minutes to brown the butter first and toss the sage in at the right time. That little bit of extra effort makes a huge difference. The butter gets nutty and complex, the sage turns shatteringly crisp, and the squash caramelizes perfectly without burning.
This recipe isn’t just good — it’s the kind that makes you close your eyes after the first bite. It’s comfort food reimagined: simple enough for a Tuesday, special enough for a holiday. Perfect for impressing guests without stress, or turning an ordinary dinner into something memorable.
What Ingredients You Will Need
This recipe uses simple, wholesome ingredients that work together to create something truly special. Most are pantry staples, which makes this dish perfect for spontaneous cooking.
For the Roasted Squash
- 1 medium butternut squash (about 2 ½ to 3 pounds), peeled, seeded, and cut into 1-inch cubes (look for one with a long neck for easier cutting)
- 3 tablespoons olive oil (use a good quality extra virgin for better flavor)
- ½ teaspoon salt (I prefer kosher salt for even seasoning)
- ¼ teaspoon black pepper, freshly ground
- ¼ teaspoon garlic powder (optional, but adds a lovely subtle depth)
For the Brown Butter & Sage
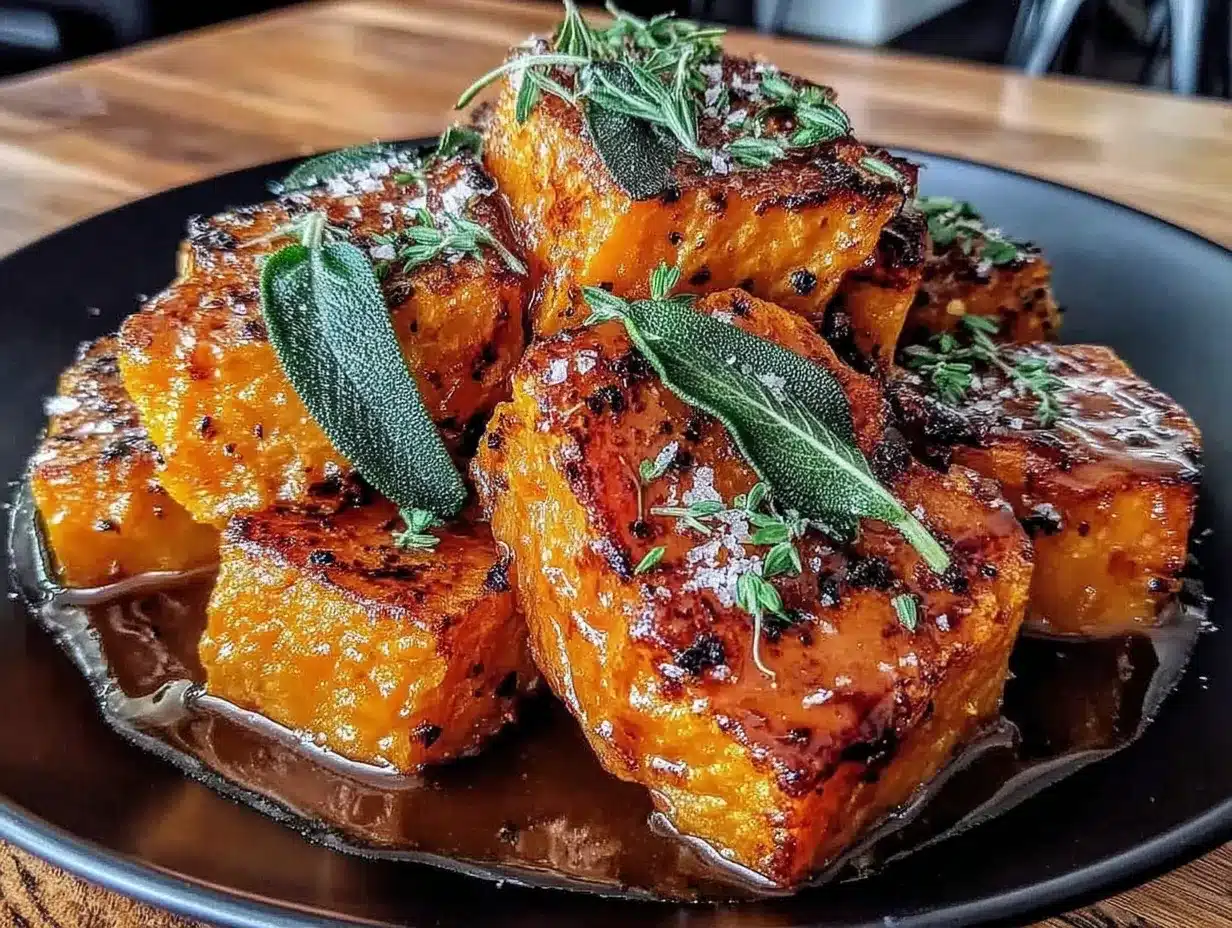
- 4 tablespoons unsalted butter (salted works in a pinch, just reduce the added salt slightly)
- 10-12 fresh sage leaves (look for bright green leaves without any brown spots)
- 1 tablespoon maple syrup (pure maple syrup, not pancake syrup — it makes a difference)
- Pinch of flaky sea salt for finishing (Maldon is my go-to)
Ingredient Tips: For the best texture, look for a butternut squash that feels heavy for its size with firm, unblemished skin. I always buy my sage fresh from the farmers market when possible — it has so much more flavor than the sad little plastic packages at the grocery store. If you can’t find fresh sage, dried sage works but use about half the amount and add it to the butter earlier so it can rehydrate.
Substitution Guidance: Use coconut oil or ghee instead of butter for a dairy-free version. Replace maple syrup with honey or brown sugar if that’s what you have. And honestly, this works beautifully with other winter squashes too — try acorn squash or delicata (no need to peel delicata, which is a nice shortcut).
Equipment Needed
You don’t need much for this recipe, which is part of what makes it so approachable.
- Large baking sheet (rimmed is best to catch any juices — I use a half-sheet pan)
- Sharp chef’s knife (a good knife makes cutting squash so much safer and easier)
- Vegetable peeler (a Y-peeler works best for butternut squash skin)
- Small saucepan for browning the butter (light-colored pan helps you see the color change)
- Parchment paper (optional but makes cleanup a breeze)
- Mixing bowl for tossing the squash with oil and seasonings
If you don’t have a vegetable peeler, a sharp paring knife works fine — just be careful. And honestly, I’ve made this on a regular baking sheet without parchment and it turned out great. The cleanup was just a little more involved. For the saucepan, any small pot works, but a light-colored one lets you see exactly when the butter turns that perfect golden brown.
Preparation Method
- Preheat your oven to 400°F (200°C). Position the rack in the middle of the oven. While it’s heating up, line your baking sheet with parchment paper if you’re using it.
- Prep the squash. Cut off both ends of the butternut squash, then slice it in half where the narrow neck meets the round bulb. Use a vegetable peeler to remove the skin from both pieces. Cut the neck into ½-inch thick rounds, then into ½-inch cubes. Scoop out the seeds from the bulb section, then cut it into similar-sized cubes. This takes about 10 minutes your first time, but you’ll get faster with practice.
- Season the squash. Place the cubed squash in a large mixing bowl. Drizzle with olive oil, then sprinkle with salt, pepper, and garlic powder if using. Toss everything together with your hands until every piece is evenly coated. Don’t skip the hands part — spoons just don’t do as good a job.
- Roast the squash. Spread the seasoned squash in a single layer on your prepared baking sheet. Make sure the pieces aren’t touching each other too much — they need room to caramelize. Roast for 25-30 minutes, flipping halfway through, until the squash is tender and the edges are golden brown and slightly crispy.
- Make the brown butter. While the squash roasts, place the butter in a small saucepan over medium heat. Let it melt completely, then continue cooking, swirling the pan occasionally. The butter will foam up, then the foam will subside, and you’ll see little brown specks forming at the bottom. This takes about 4-5 minutes. Watch closely — it can go from perfect to burnt in seconds.
- Add the sage. Once the butter is golden brown and smells nutty, drop in the sage leaves. They’ll sizzle and crisp up in about 30 seconds. Remove the pan from heat immediately. Stir in the maple syrup — it will bubble up a bit, so be careful.
- Combine and serve. Transfer the roasted squash to a serving platter. Pour the brown butter and sage mixture over the top, tossing gently to coat. Sprinkle with flaky sea salt and serve immediately while everything is warm and the sage is still crispy.
Pro tip: If your squash isn’t browning enough after 25 minutes, crank the oven to 425°F for the last 5 minutes. Every oven runs differently, so trust your eyes more than the timer.
Cooking Tips & Techniques
Let me save you from my early mistakes. The first time I made this, I cut my squash pieces way too small — they turned into mush. Aim for 1-inch cubes, and try to keep them uniform so they cook evenly. I learned this the hard way after a batch of half-burnt, half-raw squash.
For the brown butter, here’s the thing nobody tells you: it keeps cooking even after you take it off the heat. So pull it off when it’s a shade lighter than what you want. I once let it go “just a few more seconds” and ended up with burnt butter that tasted bitter and sad. Pour it into a cool bowl if you’re not using it immediately to stop the cooking.
Space is your friend on the baking sheet. If you crowd the squash, it steams instead of roasting, and you’ll miss out on those gorgeous caramelized edges. Use two baking sheets if you need to — it’s worth the extra pan to wash.
And here’s a trick I picked up from a restaurant kitchen: toss the squash halfway through roasting with a spatula, not by shaking the pan. You get better contact with the hot surface that way, which means better browning.
Variations & Adaptations
This recipe is wonderfully flexible. Here are some ways I’ve adapted it over the years:
- Spicy Maple Version: Add ¼ teaspoon of cayenne pepper or red pepper flakes to the brown butter. The heat balances beautifully with the sweet squash and maple syrup. I made this for a potluck once and it disappeared in minutes.
- Herb Garden Twist: Swap half the sage for fresh thyme or rosemary. The earthy notes add another layer of flavor. I tried this when my sage plant died and my thyme was taking over the garden — happy accident.
- Vegan Adaptation: Replace butter with coconut oil or a high-quality vegan butter. Use maple syrup instead of honey if you were considering that swap. The texture is slightly different but still delicious.
- Nutty Crunch: Add ¼ cup of toasted pecans or walnuts when you toss everything together. The crunch contrasts perfectly with the soft squash. I do this for holiday dinners when I want to make it feel extra special.
- Air Fryer Method: Cook the seasoned squash at 375°F for 12-15 minutes, shaking the basket halfway through. Make the brown butter on the stove while it cooks. The squash gets even crispier this way.
Serving & Storage Suggestions
Serve this dish warm, right after you’ve tossed everything together. The contrast between the hot squash and the crispy sage is at its best within the first 15 minutes. I like to pile it on a big white platter with the sage leaves scattered on top — it looks gorgeous for dinner parties.
For leftovers, let the squash cool completely, then store it in an airtight container in the refrigerator for up to 4 days. The sage will lose its crispness, but the flavor is still amazing. To reheat, spread the squash on a baking sheet and warm it in a 350°F oven for about 8-10 minutes. The microwave works in a pinch, but the oven brings back some of that caramelized texture.
This dish pairs beautifully with roasted chicken, pork chops, or a simple Thanksgiving turkey. For a vegetarian meal, serve it over creamy polenta or alongside a lentil loaf. And honestly, I’ve eaten it straight from the fridge as a cold snack the next day — no judgment here.
The flavors actually deepen overnight as the squash absorbs the brown butter. So if you’re making this for a holiday, feel free to roast the squash a day ahead and reheat it with the brown butter just before serving.
Nutritional Information & Benefits
This recipe serves about 4 people as a side dish. Here’s the approximate nutritional breakdown per serving:
| Nutrient | Amount |
|---|---|
| Calories | 245 |
| Fat | 16g |
| Saturated Fat | 7g |
| Carbohydrates | 25g |
| Fiber | 4g |
| Sugar | 8g |
| Protein | 3g |
| Vitamin A | 457% DV |
| Vitamin C | 49% DV |
Butternut squash is packed with vitamin A, which is great for eye health and immune function. It’s also a good source of fiber and potassium. The brown butter adds richness, but a little goes a long way in terms of flavor. For a lighter version, you can reduce the butter to 2 tablespoons — it won’t be as indulgent, but it’ll still be delicious.
This recipe is naturally gluten-free and can be made dairy-free with the substitutions mentioned earlier. It’s also suitable for vegetarian and pescatarian diets as is.
Conclusion
This cozy roasted butternut squash with brown butter and sage is more than just a side dish — it’s the kind of recipe that makes you feel like you’ve accomplished something good in the kitchen. It’s simple enough for a Tuesday, special enough for Thanksgiving, and forgiving enough for beginners. And honestly, it’s one of those rare dishes that tastes like a hug in food form.
I hope you give this recipe a try and make it your own. Maybe add extra sage like I do, or throw in some pecans for crunch. The beauty of this dish is that it’s hard to mess up, and easy to love. When you make it, I’d love to hear how it turned out — drop a comment below and let me know your favorite variation. And if you share it on social media, tag me so I can see your beautiful creation!
Happy cooking, friends. Here’s to warm kitchens and good food.
Frequently Asked Questions
Can I use pre-cut butternut squash from the store?
Absolutely! It saves a ton of time. Just look for fresh, firm cubes without any soft spots. They might cook a few minutes faster since they’re usually cut smaller, so start checking at 20 minutes.
My brown butter burned. What did I do wrong?
It happens to everyone at least once! The key is medium heat and constant attention. Once the foam subsides and you see brown specks, remove it from the heat immediately. If it smells nutty and sweet, you’re good. If it smells bitter or acrid, start over.
Can I make this ahead for a holiday dinner?
Yes! Roast the squash and make the brown butter separately up to a day ahead. Keep them in the fridge, then reheat the squash in a 350°F oven for 10 minutes, warm the brown butter gently, and combine just before serving.
What if I don’t have fresh sage?
Dried sage works in a pinch. Use about 1 teaspoon of dried sage, crumbled, and add it to the butter while it’s browning so it can soften. The texture won’t be as crispy, but the flavor will still be lovely.
Can I freeze this dish?
I don’t recommend freezing it after it’s assembled — the texture of the squash changes and the sage gets soggy. But you can freeze roasted squash on its own for up to 3 months, then make fresh brown butter when you’re ready to serve.
Pin This Recipe!
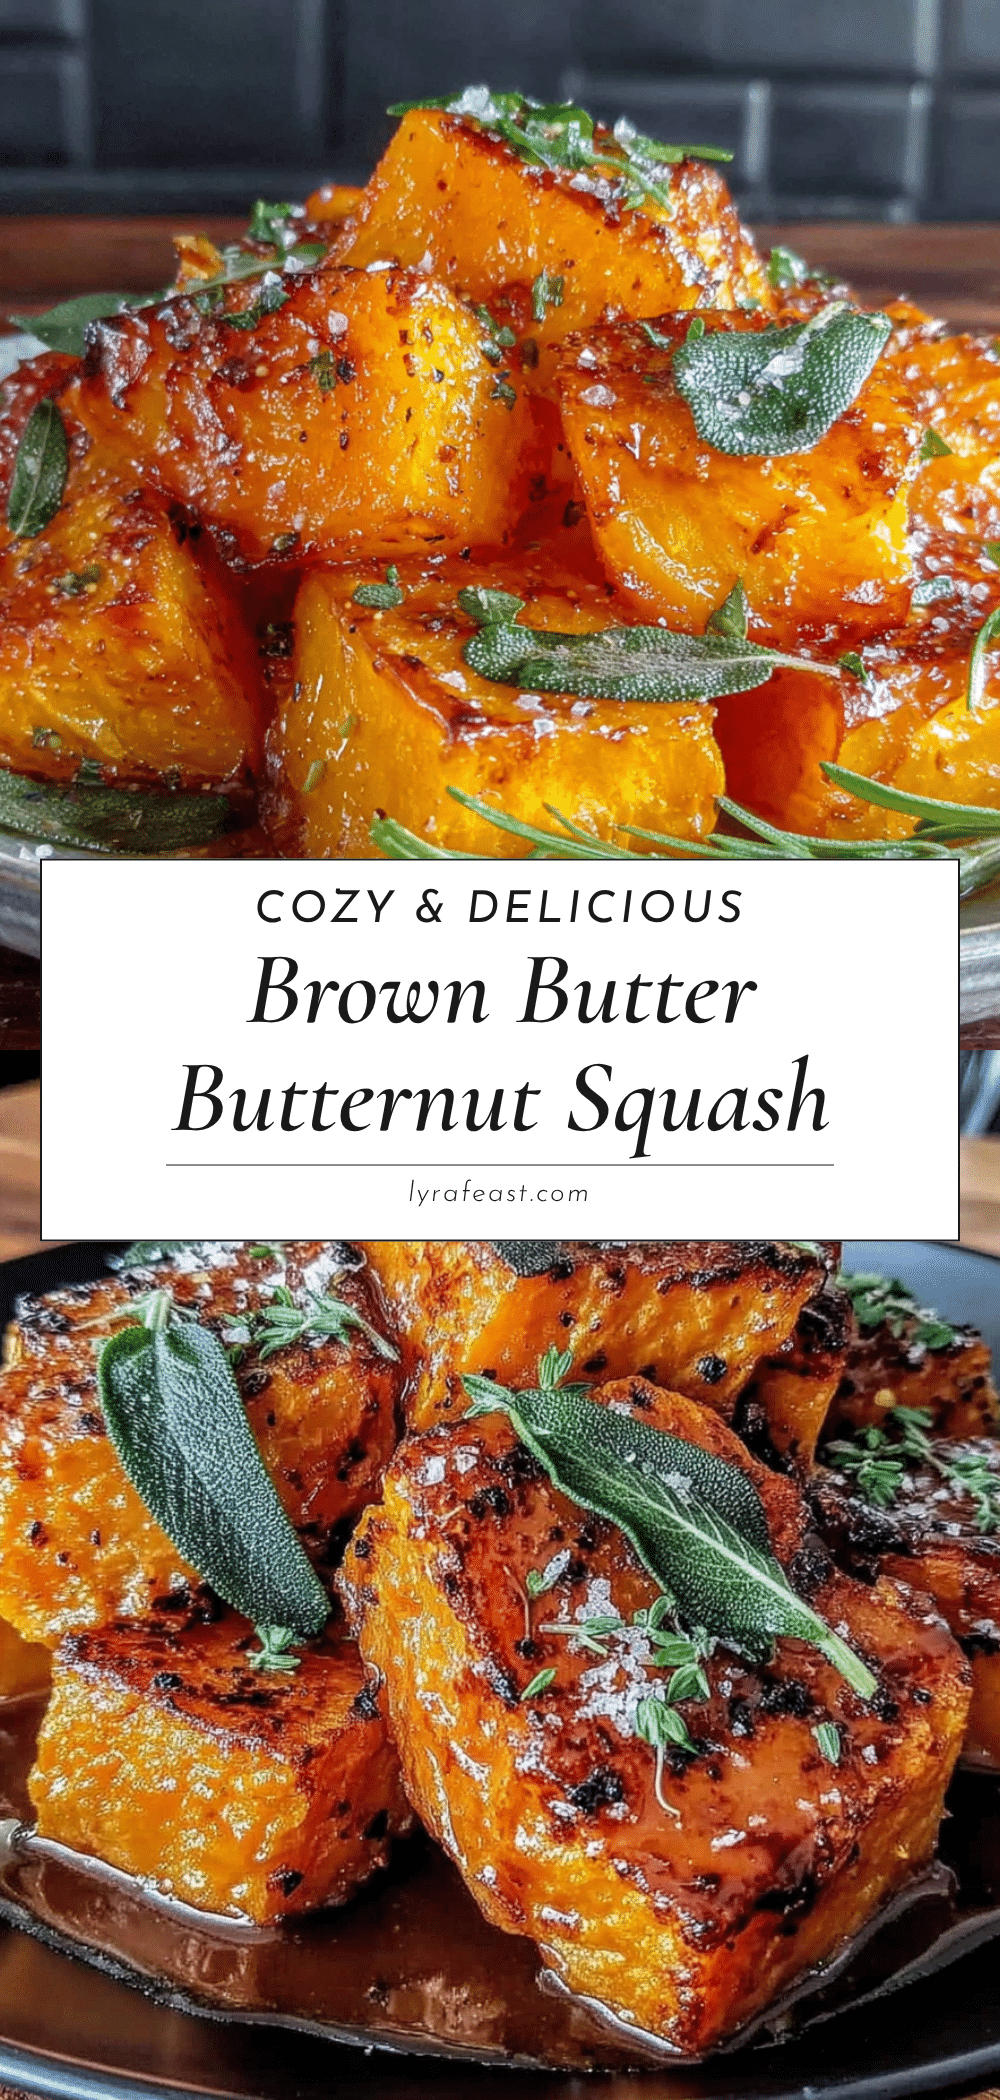
Cozy Roasted Butternut Squash with Brown Butter Sage

This roasted butternut squash with nutty brown butter and crispy sage is the ultimate comfort side dish. It’s simple enough for a weeknight yet special enough for holiday gatherings, and it converts even the biggest squash skeptics.
- Prep Time: 15 minutes
- Cook Time: 30 minutes
- Total Time: 45 minutes
- Yield: 4 servings 1x
- Category: Side Dish
- Cuisine: American
Ingredients
- 1 medium butternut squash (about 2 ½ to 3 pounds), peeled, seeded, and cut into 1-inch cubes
- 3 tablespoons olive oil
- ½ teaspoon kosher salt
- ¼ teaspoon black pepper, freshly ground
- ¼ teaspoon garlic powder (optional)
- 4 tablespoons unsalted butter
- 10–12 fresh sage leaves
- 1 tablespoon pure maple syrup
- Pinch of flaky sea salt for finishing
Instructions
- Preheat your oven to 400°F (200°C). Position the rack in the middle of the oven. Line a baking sheet with parchment paper if desired.
- Cut off both ends of the butternut squash, then slice it in half where the narrow neck meets the round bulb. Use a vegetable peeler to remove the skin from both pieces. Cut the neck into ½-inch thick rounds, then into ½-inch cubes. Scoop out the seeds from the bulb section, then cut it into similar-sized cubes.
- Place the cubed squash in a large mixing bowl. Drizzle with olive oil, then sprinkle with salt, pepper, and garlic powder if using. Toss everything together with your hands until every piece is evenly coated.
- Spread the seasoned squash in a single layer on the prepared baking sheet, making sure the pieces aren’t touching too much. Roast for 25-30 minutes, flipping halfway through, until the squash is tender and the edges are golden brown and slightly crispy.
- While the squash roasts, place the butter in a small saucepan over medium heat. Let it melt completely, then continue cooking, swirling the pan occasionally. The butter will foam up, then the foam will subside, and you’ll see little brown specks forming at the bottom. This takes about 4-5 minutes. Watch closely.
- Once the butter is golden brown and smells nutty, drop in the sage leaves. They’ll sizzle and crisp up in about 30 seconds. Remove the pan from heat immediately. Stir in the maple syrup — it will bubble up a bit, so be careful.
- Transfer the roasted squash to a serving platter. Pour the brown butter and sage mixture over the top, tossing gently to coat. Sprinkle with flaky sea salt and serve immediately while everything is warm and the sage is still crispy.
Notes
For the best texture, cut squash into uniform 1-inch cubes. Brown butter continues to cook after being removed from heat, so remove it when it’s a shade lighter than desired. If the squash isn’t browning enough after 25 minutes, increase oven temperature to 425°F for the last 5 minutes. Leftovers can be stored in an airtight container in the refrigerator for up to 4 days; reheat in a 350°F oven for 8-10 minutes.
Nutrition
- Serving Size: 1 serving (about 1 c
- Calories: 245
- Sugar: 8
- Sodium: 300
- Fat: 16
- Saturated Fat: 7
- Carbohydrates: 25
- Fiber: 4
- Protein: 3
Keywords: roasted butternut squash, brown butter sage, fall side dish, Thanksgiving side, easy squash recipe, gluten-free, vegetarian



