“I never thought a midnight kitchen mishap could turn into my go-to dessert,” I confessed to my friend over coffee last week. It all started on a rainy Thursday evening when I realized I was out of eggs but desperately craving something chocolatey and smooth. I rummaged through my pantry, pulled together some basic ingredients, and whipped up what I now call my Creamy No-Bake Chocolate Pudding Cups. Honestly, I didn’t expect much at first—no baking, no fuss, just a quick mix and chill. But as I took that first spoonful, the rich, velvety texture surprised me, and I knew I’d stumbled upon something special.
Maybe you’ve been there, too—needing a sweet fix but short on time or ingredients. This recipe is perfect for those moments, offering indulgence without the mess or wait. I remember juggling a cracked mixing bowl and a distracted cat on the counter, yet the results were so worth it. Since that night, these pudding cups have become a staple in my dessert lineup, especially when friends drop by unannounced or when I want a little comfort after a long day. Let me tell you, this isn’t just another chocolate pudding; it’s creamy, dreamy, and surprisingly simple.
So if you’re ready for a quick, easy, and utterly delicious chocolate treat that requires no oven and minimal effort, stick around. I’m excited to share how to make these indulgent pudding cups that have honestly saved me more than once when time was tight and cravings were mighty.
Why You’ll Love This Recipe
After testing this recipe multiple times (and trust me, I’ve eaten my fair share of chocolate pudding during the process), I can confidently say these Creamy No-Bake Chocolate Pudding Cups are a keeper. Here’s why:
- Quick & Easy: Ready in under 20 minutes! Perfect for busy evenings or last-minute dessert plans.
- Simple Ingredients: No fancy shopping trips needed—most are pantry staples like cocoa powder, sugar, and milk.
- Perfect for Any Occasion: Whether it’s a cozy night in, a casual potluck, or a weekend treat, these pudding cups fit right in.
- Crowd-Pleaser: Kids, adults, picky eaters—everyone asks for seconds.
- Unbelievably Delicious: The silky texture combined with deep chocolate flavor is seriously next-level comfort food.
What makes this recipe stand apart? The trick is in slowly whisking the cocoa and sugar with milk over gentle heat until it thickens—no lumps, just smooth, creamy goodness. I also love that it’s no-bake, so you avoid the oven heat and keep things fuss-free. Plus, you can customize it easily, which I’ll get into later. Honestly, this pudding is the kind of treat you savor with your eyes closed, knowing you made it yourself without any drama.
What Ingredients You Will Need
This recipe calls for straightforward, wholesome ingredients that come together to create a luscious, comforting pudding without any fuss. Most are pantry essentials, and substitutions are simple if you need them.
- Granulated sugar: ½ cup (100g) – adds sweetness and balances the cocoa’s bitterness
- Unsweetened cocoa powder: ⅓ cup (35g) – I prefer Dutch-processed for its smoothness and rich flavor
- Salt: a pinch – enhances the chocolate depth
- Cornstarch: 3 tablespoons (24g) – thickens the pudding to that perfect creamy consistency
- Whole milk: 3 cups (720ml) – use full-fat for creaminess, or swap with almond or oat milk for a dairy-free twist
- Unsalted butter: 2 tablespoons (28g), softened – adds silkiness and richness
- Vanilla extract: 1 teaspoon – rounds out the flavor beautifully
- Heavy cream (optional): ½ cup (120ml) – whipped for topping, but you can also use store-bought whipped cream or skip entirely
For the topping, I often sprinkle a few chocolate shavings or crushed cookies, but that’s totally optional. If you want to get fancy, try some fresh berries or toasted nuts for texture contrast.
Equipment Needed
- Medium saucepan: For gently cooking the pudding mixture. A heavy-bottomed pan helps prevent scorching.
- Whisk: Essential for smooth blending and avoiding lumps during cooking.
- Mixing bowls: For combining ingredients and chilling the pudding cups.
- Measuring cups and spoons: Accuracy helps, but you can eyeball if you’re comfortable.
- Serving cups or ramekins: Any small, heatproof containers work well for portioning the pudding.
- Plastic wrap or lids: To cover the pudding cups while chilling, preventing skin from forming.
I’ve tried making this pudding in different pots, and honestly, a thicker pan’s your best bet for even heat distribution. No fancy gadget needed, which is why it’s so accessible for any kitchen setup. If you don’t have a whisk, a fork can work in a pinch, though lumps might sneak in!
Preparation Method
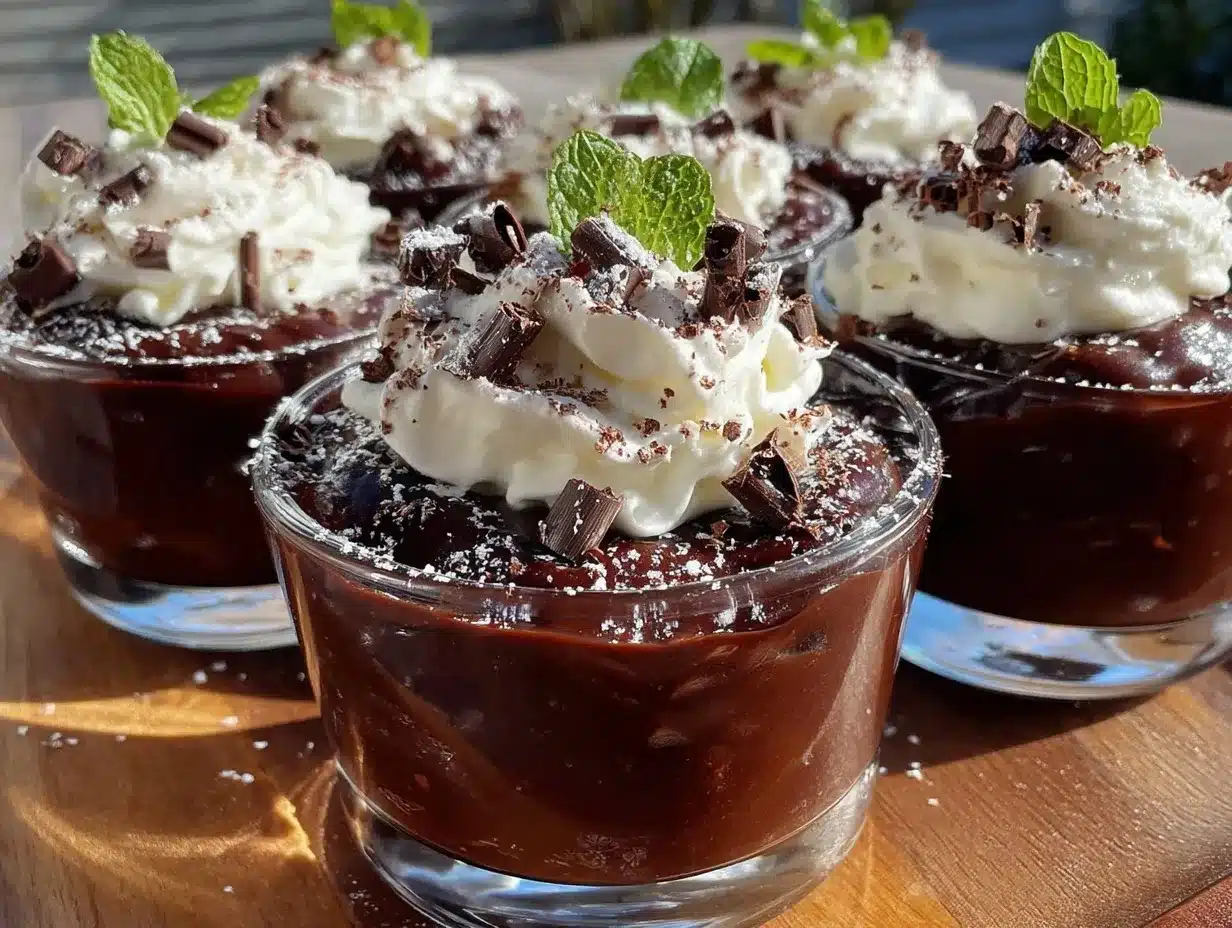
- Mix dry ingredients: In your medium saucepan, whisk together ½ cup (100g) sugar, ⅓ cup (35g) cocoa powder, 3 tablespoons (24g) cornstarch, and a pinch of salt. This dry blend ensures even distribution and smooth pudding later.
- Add milk gradually: Slowly pour in 3 cups (720ml) whole milk while whisking continuously to avoid lumps. This step is key—take your time!
- Cook over medium heat: Place the saucepan over medium heat, stirring constantly. The mixture will start to thicken after about 7-10 minutes. You’ll notice it change from thin to a creamy, pudding-like texture. This is where patience pays off—don’t rush or the pudding might burn or clump.
- Simmer and stir: Once thickened, let it simmer for 1-2 minutes while stirring. This cooks out the cornstarch taste and sets the pudding. If it looks too thick, add a splash more milk and stir well.
- Remove from heat and add butter and vanilla: Off the stove, stir in 2 tablespoons (28g) softened unsalted butter and 1 teaspoon vanilla extract until smooth and shiny. This step adds richness and that classic comforting aroma.
- Pour into serving cups: Spoon the pudding into individual cups or ramekins. Cover each with plastic wrap pressed directly onto the surface to prevent skin from forming.
- Chill: Refrigerate for at least 2 hours, though overnight is even better for the pudding to fully set and flavors to meld.
- Optional topping: Just before serving, whip ½ cup (120ml) heavy cream until soft peaks form, then dollop on top of each pudding cup. Add any garnishes like chocolate shavings or berries if you like.
Pro tip: If lumps do form, a quick blitz with an immersion blender or vigorous whisking after cooking can smooth them out. Also, keep an eye on the heat—too high and you’ll scorch the pudding, too low and it takes forever to thicken.
Cooking Tips & Techniques
Making the perfect creamy no-bake chocolate pudding cups is about finesse and a little patience. Here are some lessons I picked up along the way:
- Whisk constantly: This prevents lumps and sticking. I mean, no one wants clumpy pudding, right?
- Use full-fat milk: It really makes a difference for that rich, luscious mouthfeel.
- Don’t rush the thickening: Cornstarch needs time to activate—turning the mixture too soon or too fast leads to an underwhelming, runny pudding.
- Cover the pudding surface: Press plastic wrap right onto the pudding before chilling to avoid that skin that, honestly, nobody likes.
- Try a double boiler: If you have time, cooking the pudding over simmering water can give you extra control and prevent burning.
- Multitasking tip: While the pudding chills, you can whip the cream and prep any toppings, making serving a breeze when guests arrive.
One time, I forgot to cover the pudding before chilling—it formed a weird skin on top, which was a bummer. Since then, it’s my golden rule. Also, keep your whisk handy to stir occasionally if you’re chilling it in a large bowl.
Variations & Adaptations
Want to switch things up? Here are some tasty ways to customize your no-bake chocolate pudding cups:
- Dairy-Free Version: Use coconut or almond milk and substitute butter with coconut oil for a vegan-friendly treat.
- Peanut Butter Swirl: Stir in 2 tablespoons of creamy peanut butter right after removing from heat for a nutty twist.
- Spiced Chocolate: Add a pinch of cinnamon, cayenne, or espresso powder to the dry ingredients for a flavor boost.
- Layered Parfait: Alternate pudding with crushed cookies or granola and whipped cream for texture and crunch.
- Fruit Infusion: Top with fresh raspberries or sliced bananas to add a fresh contrast to the rich chocolate.
One favorite I tried recently was a mint version—adding a few drops of peppermint extract made it feel like a fancy after-dinner dessert. Try small amounts first, as mint can overpower quickly.
Serving & Storage Suggestions
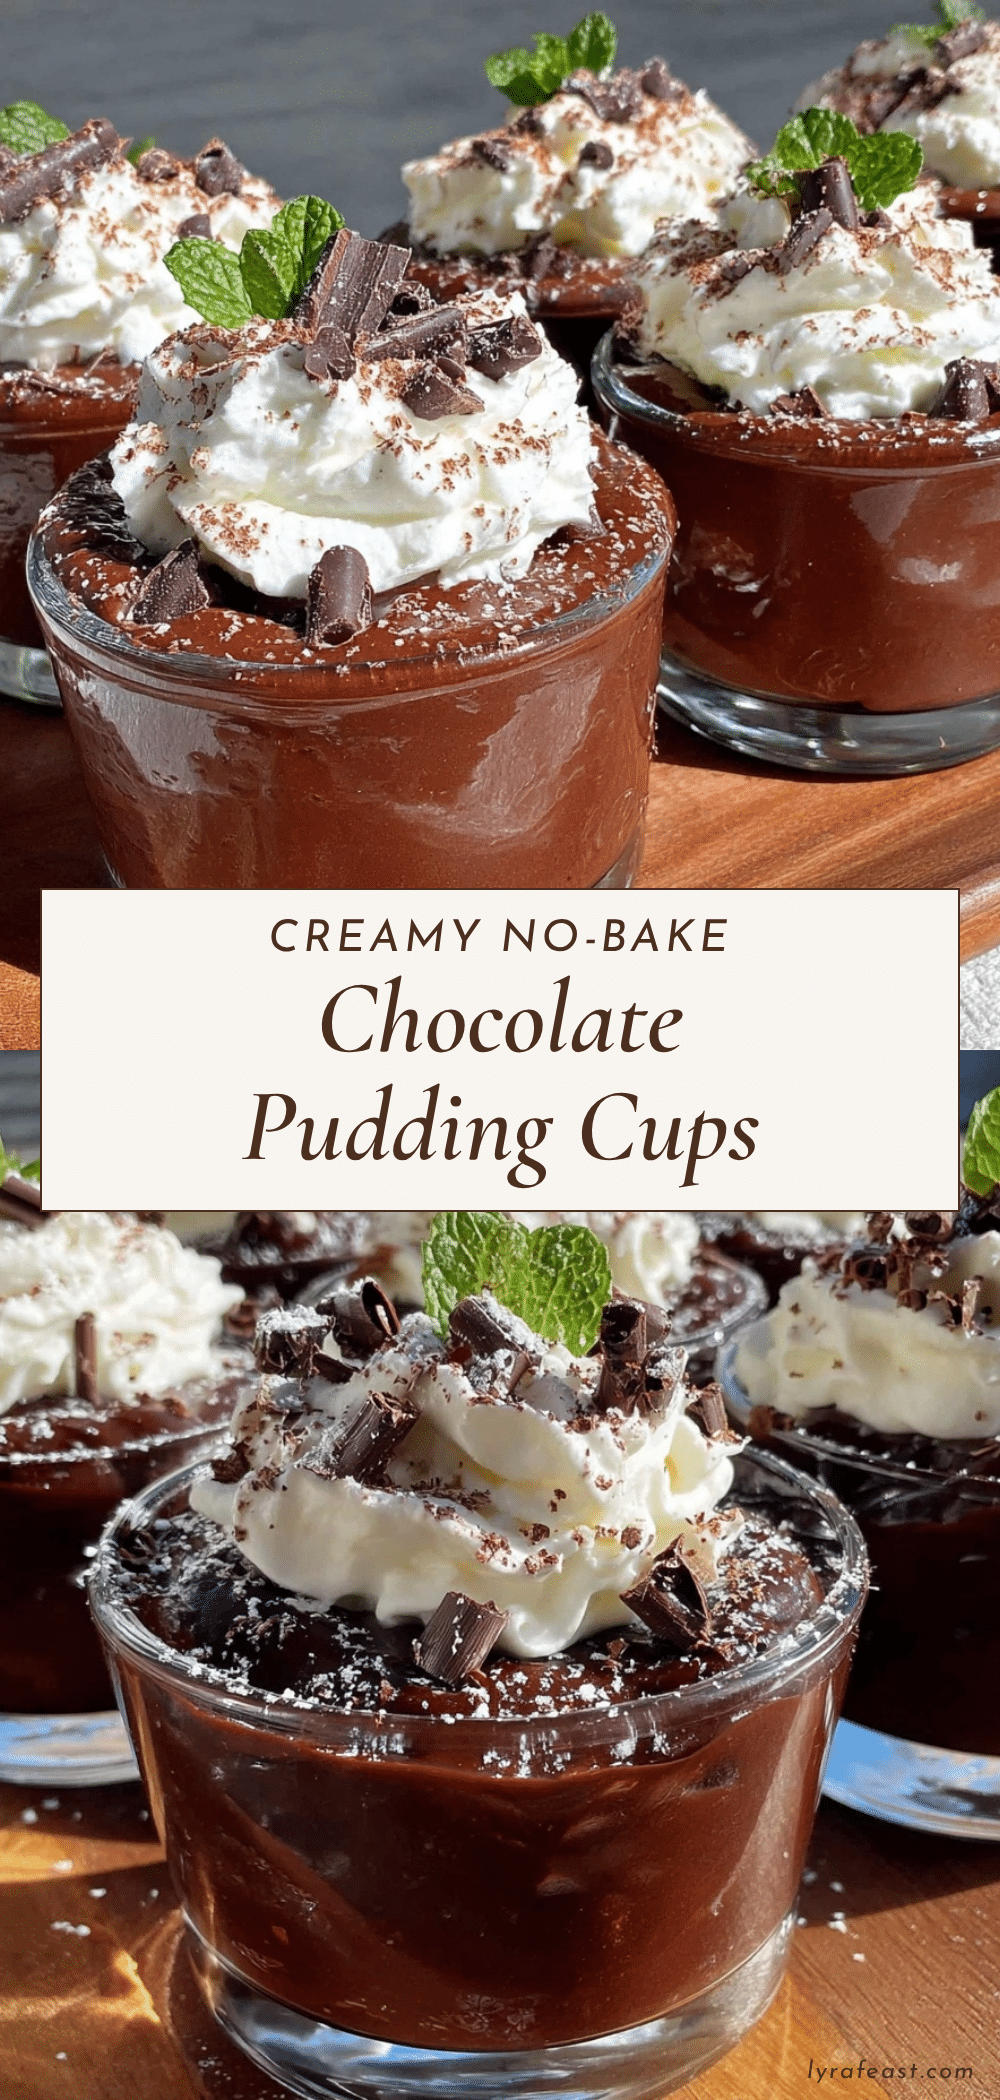
These pudding cups are best served chilled, straight from the fridge. The creamy texture and cool temperature are the perfect combo for comfort and refreshment. For a pretty presentation, add whipped cream and a sprinkle of chocolate shavings or a fresh berry on top.
They pair wonderfully with light coffee or a glass of cold milk, making them an easy crowd-pleaser at casual dinners or weekend brunches. I’ve also found they hold up well in the fridge for up to 3 days, so you can make them ahead without stress.
If you want to store longer, these pudding cups freeze nicely for up to a month—just thaw in the fridge overnight and give a gentle stir before serving. Reheating isn’t recommended, as the texture can change, but honestly, they’re best cold.
Over time in the fridge, flavors deepen, so leftovers taste even richer the next day. Just remember to keep them covered to avoid any fridge odors sneaking in.
Nutritional Information & Benefits
Each serving of these Creamy No-Bake Chocolate Pudding Cups offers a satisfying balance of indulgence and nutrition. With about 220 calories per cup (depending on milk and toppings), they’re a moderate treat perfect for a sweet fix.
Key ingredients like cocoa powder are rich in antioxidants and can boost mood thanks to natural compounds. Using whole milk adds protein and calcium, supporting bone health, while the simple ingredients keep it free from artificial additives.
For those watching carbs or dairy, swapping with almond milk or coconut milk and using a sugar substitute can make this dessert fit into low-carb or lactose-intolerant diets without losing that creamy texture.
Conclusion
If you’re craving something chocolatey without the hassle, these Creamy No-Bake Chocolate Pudding Cups are your new best friend. They come together quickly, require no oven time, and deliver a silky, rich dessert that feels like a treat but made from simple ingredients you probably already have.
Whether you stick to the classic or try one of the variations, this pudding is versatile and forgiving. I love it because it’s honest comfort food—no frills, no stress, just pure chocolatey joy. Seriously, it’s the kind of recipe that makes you smile after a long day.
Give it a try, tweak it to your liking, and let me know how you make it yours! Drop a comment below or share your favorite pudding cup twist—because good recipes get better when shared.
FAQs
- Can I use skim milk instead of whole milk? Yes, but the pudding will be less creamy. For best texture, whole milk or a milk with higher fat content works better.
- How long can I store these pudding cups? Keep them covered in the refrigerator for up to 3 days. They maintain their texture and flavor best when chilled.
- Is it possible to make this recipe sugar-free? Absolutely! Use a sugar substitute like stevia or erythritol, but check the conversion ratios since they vary.
- Can I prepare this pudding in advance? Yes! It actually tastes better after chilling overnight, making it great for meal prep or entertaining.
- What if my pudding is too thick or too thin? If too thick, whisk in a little milk to loosen; if too thin, return to heat and cook a bit longer while stirring until it thickens.
Pin This Recipe!
Creamy No-Bake Chocolate Pudding Cups
A quick and easy no-bake chocolate pudding recipe that is creamy, smooth, and perfect for any occasion. Made with simple pantry ingredients and ready in under 20 minutes.
- Prep Time: 10 minutes
- Cook Time: 10 minutes
- Total Time: 2 hours 20 minutes
- Yield: 6 servings 1x
- Category: Dessert
- Cuisine: American
Ingredients
- ½ cup (100g) granulated sugar
- ⅓ cup (35g) unsweetened cocoa powder (preferably Dutch-processed)
- a pinch of salt
- 3 tablespoons (24g) cornstarch
- 3 cups (720ml) whole milk (can substitute almond or oat milk for dairy-free)
- 2 tablespoons (28g) unsalted butter, softened
- 1 teaspoon vanilla extract
- ½ cup (120ml) heavy cream (optional, for topping)
Instructions
- In a medium saucepan, whisk together sugar, cocoa powder, cornstarch, and salt.
- Slowly pour in whole milk while whisking continuously to avoid lumps.
- Place saucepan over medium heat and stir constantly until mixture thickens, about 7-10 minutes.
- Simmer and stir for 1-2 minutes to cook out cornstarch taste and set pudding. Add a splash more milk if too thick.
- Remove from heat and stir in softened butter and vanilla extract until smooth and shiny.
- Pour pudding into individual serving cups or ramekins and cover surface with plastic wrap to prevent skin formation.
- Refrigerate for at least 2 hours or overnight for best results.
- Optional: Whip heavy cream until soft peaks form and dollop on top before serving. Garnish with chocolate shavings, berries, or nuts if desired.
Notes
Whisk constantly to prevent lumps and sticking. Use full-fat milk for best creaminess. Cover pudding surface with plastic wrap to avoid skin. Cooking over a double boiler can prevent scorching. If lumps form, blend or whisk vigorously after cooking.
Nutrition
- Serving Size: 1 pudding cup (appro
- Calories: 220
- Sugar: 22
- Sodium: 110
- Fat: 11
- Saturated Fat: 7
- Carbohydrates: 28
- Fiber: 3
- Protein: 5
Keywords: no-bake chocolate pudding, easy chocolate dessert, creamy pudding cups, quick dessert, homemade pudding



