My neighbor, a retired nurse named Carol, wasn’t trying to impress me. I’d stopped by to borrow a ladder for a lightbulb change, and the smell of peanut butter and vanilla hit me before I even got through the screen door. It wasn’t a fancy baking smell, you know? It was richer, almost like a frozen candy bar, but softer. She was just pulling a pie plate out of the fridge, the top dusted with what looked like chopped peanuts. “Oh, that’s just my icebox pie,” she said, waving her hand like it was nothing. She offered me a slice, and honestly, I almost said no because I was in a hurry. But I’m so glad I didn’t.
That first bite was a revelation. It was impossibly creamy, with a salty-sweet crunch from the crust and a filling that tasted like a peanut butter cup decided to become a cloud. I asked her for the recipe, and she just shrugged and said, “It’s no-bake. Takes ten minutes. You probably have everything.” She was right. I went home, made one that very night, and my family thought I’d spent hours in the kitchen. Maybe you’ve been there—you find a recipe that’s so simple it feels like cheating, but the result is so good it feels like a secret. This creamy no-bake peanut butter icebox pie is that recipe for me. It’s the dessert I bring to potlucks when I want to look like a hero without breaking a sweat.
The best part? It’s not just easy. It’s forgiving. I’ve made it with crunchy peanut butter, creamy peanut butter, even that natural stuff that separates. It always works. It’s the kind of recipe that stays with you because it solves a real problem: how to make something spectacular when you have zero time. I keep making it because it never fails to get that “Wow, you made this?” reaction. And honestly, I love that it only takes ten minutes of effort.
Why You’ll Love This Recipe
This isn’t just another peanut butter pie. After testing this recipe a dozen times, I can tell you it’s the perfect balance of rich, creamy, and effortless. I’ve tweaked the ratios so the filling is light but stable, and the crust stays crunchy without getting soggy. It’s a dessert that delivers every single time.
- Quick & Easy: It comes together in just 10 minutes of active prep. No oven, no stovetop, no fuss. Perfect for last-minute guests or a Tuesday night craving.
- Simple Ingredients: You probably have cream cheese, peanut butter, and whipped topping in your kitchen right now. No fancy grocery trips needed.
- Perfect for Entertaining: This pie is a showstopper for summer barbecues, holiday dinners, or birthday parties. It slices beautifully and everyone loves it.
- Crowd-Pleaser: Kids devour it, adults ask for seconds, and even folks who “don’t like sweets” can’t resist a bite. It’s a universal win.
- Unbelievably Delicious: The texture is what sets it apart. It’s silky smooth with a rich, salty-sweet peanut butter flavor that’s absolutely addictive.
What makes this version different from the rest? It’s the technique. Instead of using melted peanut butter, I whip it with cream cheese until it’s light and airy. This prevents the filling from being too dense or greasy. The result is a pie that’s creamy, not heavy. It’s comfort food reimagined—faster, easier, but with the same soul-soothing satisfaction of a classic dessert.
Ingredients You Will Need
This creamy no-bake peanut butter icebox pie uses a handful of simple ingredients to create something truly special. Most of these are pantry staples, which makes this recipe a lifesaver when you need dessert in a hurry.
For the Crust
- 1 ½ cups graham cracker crumbs (about 10-12 full sheets, crushed finely)
- ¼ cup granulated sugar (adds a touch of sweetness to balance the salty crust)
- 6 tablespoons unsalted butter, melted (I prefer salted butter in a pinch, just skip the added salt)
For the Filling
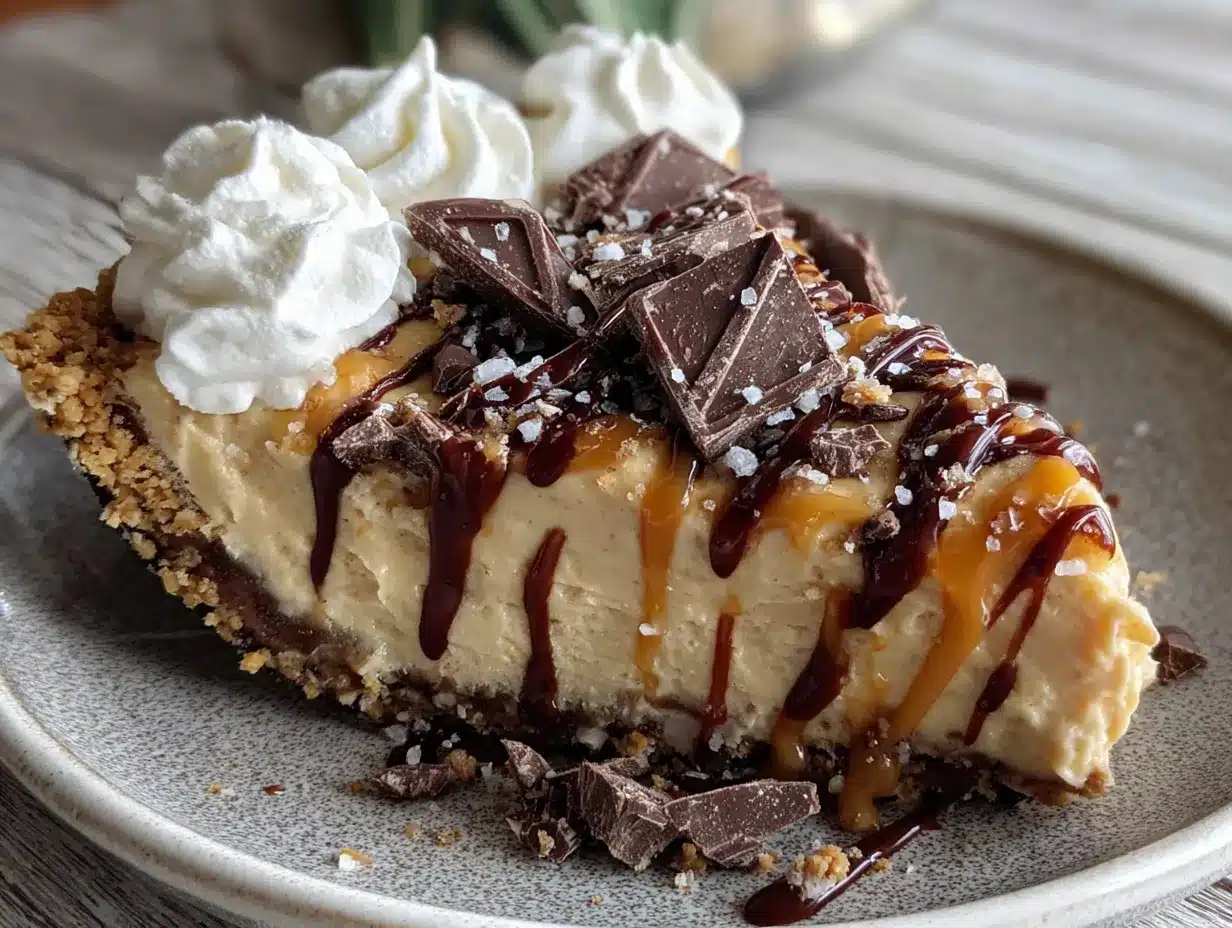
- 8 ounces cream cheese, softened to room temperature (full-fat is best for stability and creaminess)
- 1 cup creamy peanut butter (I recommend Skippy or Jif for the best texture; natural peanut butter can separate and make the filling grainy)
- 1 cup powdered sugar (also called confectioners’ sugar)
- 1 teaspoon vanilla extract (pure vanilla adds a warm depth of flavor)
- 1 ½ cups frozen whipped topping, thawed (like Cool Whip, or use 1 ½ cups of stabilized homemade whipped cream)
For the Topping (Optional but Recommended)
- ¼ cup heavy cream (for a whipped cream garnish)
- 2 tablespoons powdered sugar
- ¼ cup chopped salted peanuts (for crunch)
- 2 tablespoons chocolate sauce or melted peanut butter (for drizzling)
Ingredient Tip: For the best results, use a high-quality peanut butter that doesn’t have added oil separation. If you only have natural peanut butter, stir it very well before measuring. You can also swap the graham crackers for crushed vanilla wafers or chocolate cookies for a different flavor crust.
Equipment Needed
You don’t need a fancy kitchen to make this pie. Here’s what you’ll need:
- 9-inch pie plate (glass or metal works fine)
- Mixing bowls (one large, one medium)
- Electric hand mixer or stand mixer (a whisk and some elbow grease also work, but it takes longer)
- Measuring cups and spoons
- Ziploc bag or rolling pin (to crush the graham crackers)
- Spatula (for spreading the filling)
Alternatives: No pie plate? Use an 8×8 inch baking dish or even a springform pan. No mixer? A sturdy whisk and a strong arm will do the job, just make sure the cream cheese is very soft. I’ve made this pie with a cheap hand mixer from the grocery store, and it worked perfectly. Don’t overthink the equipment—just use what you have.
Preparation Method
Follow these steps for a perfect creamy no-bake peanut butter icebox pie every time.
- Make the crust: In a medium bowl, combine the graham cracker crumbs and granulated sugar. Pour in the melted butter and stir with a fork until the mixture looks like wet sand. Press the mixture firmly into the bottom and up the sides of your 9-inch pie plate. Use the bottom of a measuring cup to really compact it. Place the crust in the refrigerator to chill while you make the filling.
- Beat the cream cheese: In a large bowl, beat the softened cream cheese with an electric mixer on medium speed until it’s smooth and fluffy, about 2 minutes. Scrape down the sides of the bowl. This step is crucial—lumpy cream cheese means a lumpy filling.
- Add the peanut butter and sugar: Add the creamy peanut butter, powdered sugar, and vanilla extract to the bowl. Beat on low speed at first to avoid a sugar cloud, then increase to medium and beat until everything is well combined and smooth. The mixture will be thick and slightly sticky.
- Fold in the whipped topping: Gently fold the thawed whipped topping into the peanut butter mixture using a spatula. Be careful not to overmix—you want to keep the airiness. Fold until just combined, and you’ll have a light, creamy filling.
- Assemble the pie: Spoon the filling into the chilled crust. Spread it evenly with a spatula, smoothing the top. If you want a decorative look, use the back of a spoon to create gentle swirls.
- Chill: Cover the pie loosely with plastic wrap or foil and refrigerate for at least 6 hours, or overnight. This is the most important step—the pie needs time to set up. It will be sliceable after 6 hours, but overnight is best for a clean cut.
- Add toppings: Before serving, make the whipped cream by beating the heavy cream and powdered sugar in a small bowl until soft peaks form. Spread or pipe it over the pie. Sprinkle with chopped peanuts and drizzle with chocolate sauce or melted peanut butter.
Sensory Cue: The filling should look thick and mousse-like before chilling. After chilling, it should be firm to the touch but still creamy when sliced. If the pie feels too soft after 6 hours, give it another 2-3 hours in the fridge.
Cooking Tips & Techniques
I’ve made this pie more times than I can count, and I’ve learned a few things the hard way. Here are my best tips for success.
- Room temperature is key: Cold cream cheese will leave you with lumps. Let it sit on the counter for 30 minutes before starting. If you’re in a hurry, microwave it in 10-second bursts until soft but not melted.
- Don’t overmix the filling: Once you add the whipped topping, fold gently. Overmixing will deflate the air and make the pie dense instead of fluffy.
- Press the crust firmly: A loose crust will crumble when you slice the pie. Use a flat-bottomed glass or measuring cup to press it down firmly. I once forgot to press hard enough, and my crust fell apart—lesson learned!
- Chill overnight for best results: Six hours is the minimum, but overnight gives the flavors time to meld and the texture to set perfectly. I’ve made it the night before a party, and it was a hit.
- Use a hot knife for clean slices: Run your knife under hot water, dry it, then slice. Wipe the blade clean between cuts for picture-perfect slices.
Variations & Adaptations
This recipe is incredibly versatile. Here are a few ways to make it your own.
- Chocolate Peanut Butter Pie: Add ¼ cup of melted semi-sweet chocolate to the filling along with the peanut butter. Use a chocolate cookie crust for a double-chocolate experience.
- Gluten-Free Option: Use gluten-free graham crackers or crushed gluten-free cookies for the crust. The filling is naturally gluten-free.
- Vegan Version: Use vegan cream cheese, a plant-based peanut butter (most are vegan), and coconut whipped cream. For the crust, use vegan butter or coconut oil.
- Extra Crunchy: Fold ½ cup of chopped salted peanuts into the filling before chilling. It adds a delightful crunch in every bite.
- No-Bake Peanut Butter Cups: Press mini peanut butter cups into the top of the pie before chilling for a fun, indulgent twist.
I once made a version with a pretzel crust instead of graham crackers, and it was a salty-sweet masterpiece. Don’t be afraid to experiment—this pie is forgiving.
Serving & Storage Suggestions
This pie is best served cold, straight from the refrigerator. It’s perfect on its own, but a dollop of whipped cream and a drizzle of chocolate sauce take it over the top. Pair it with a cup of coffee, a glass of cold milk, or even a scoop of vanilla ice cream for an extra indulgent treat.
Storage: Cover the pie tightly with plastic wrap or foil and store it in the refrigerator for up to 5 days. The flavors actually get better after a day or two. You can also freeze the pie for up to 3 months—just wrap it well in plastic wrap and then foil. Thaw it overnight in the refrigerator before serving.
Reheating: This is a no-bake pie, so there’s no need to reheat it. If you want a softer texture, let it sit at room temperature for 10-15 minutes before slicing.
Nutritional Information & Benefits
While this is a treat, it does have some redeeming qualities. Peanut butter provides protein and healthy fats, and cream cheese adds calcium. Here are the estimated values per slice (based on 8 servings):
- Calories: 480
- Fat: 34g
- Carbohydrates: 38g
- Protein: 10g
- Sugar: 25g
Dietary Note: This recipe is vegetarian. For a lower-sugar option, use a sugar substitute like monk fruit sweetener in the filling and crust. It’s not a health food, but it’s a wholesome indulgence made with real ingredients.
Conclusion
This creamy no-bake peanut butter icebox pie is the dessert you’ll turn to again and again. It’s quick, easy, and absolutely delicious. Whether you’re making it for a holiday, a potluck, or just because it’s Tuesday, it never disappoints. I love that I can whip it up in ten minutes and still feel like I’ve made something special. The best part? It’s completely customizable—add chocolate, swap the crust, or load it with peanuts. Make it your own.
I’d love to hear how yours turns out! Leave a comment below and let me know what variations you tried. Share a photo on Pinterest and tag me—I can’t wait to see your creations. Happy baking (or rather, no-baking)!
Frequently Asked Questions
Can I use natural peanut butter?
Yes, but stir it very well first. Natural peanut butter can separate, which may make the filling oily or grainy. For the best texture, stick with a commercial creamy peanut butter like Jif or Skippy.
How long does this pie need to chill?
At least 6 hours, but overnight is best. The longer it chills, the cleaner the slices will be. If you’re in a rush, 4 hours will work, but the pie will be softer.
Can I make this pie ahead of time?
Absolutely! This pie is perfect for making a day ahead. It actually tastes better after the flavors have melded overnight. Just add the toppings right before serving.
Can I freeze this pie?
Yes, freeze it for up to 3 months. Wrap it tightly in plastic wrap and then foil. Thaw it overnight in the refrigerator before serving. The texture remains creamy and delicious.
What if I don’t have a pie plate?
No problem! Use an 8×8 inch baking dish, a springform pan, or even individual ramekins. The baking time and chilling time remain the same, just adjust the number of servings.
Pin This Recipe!
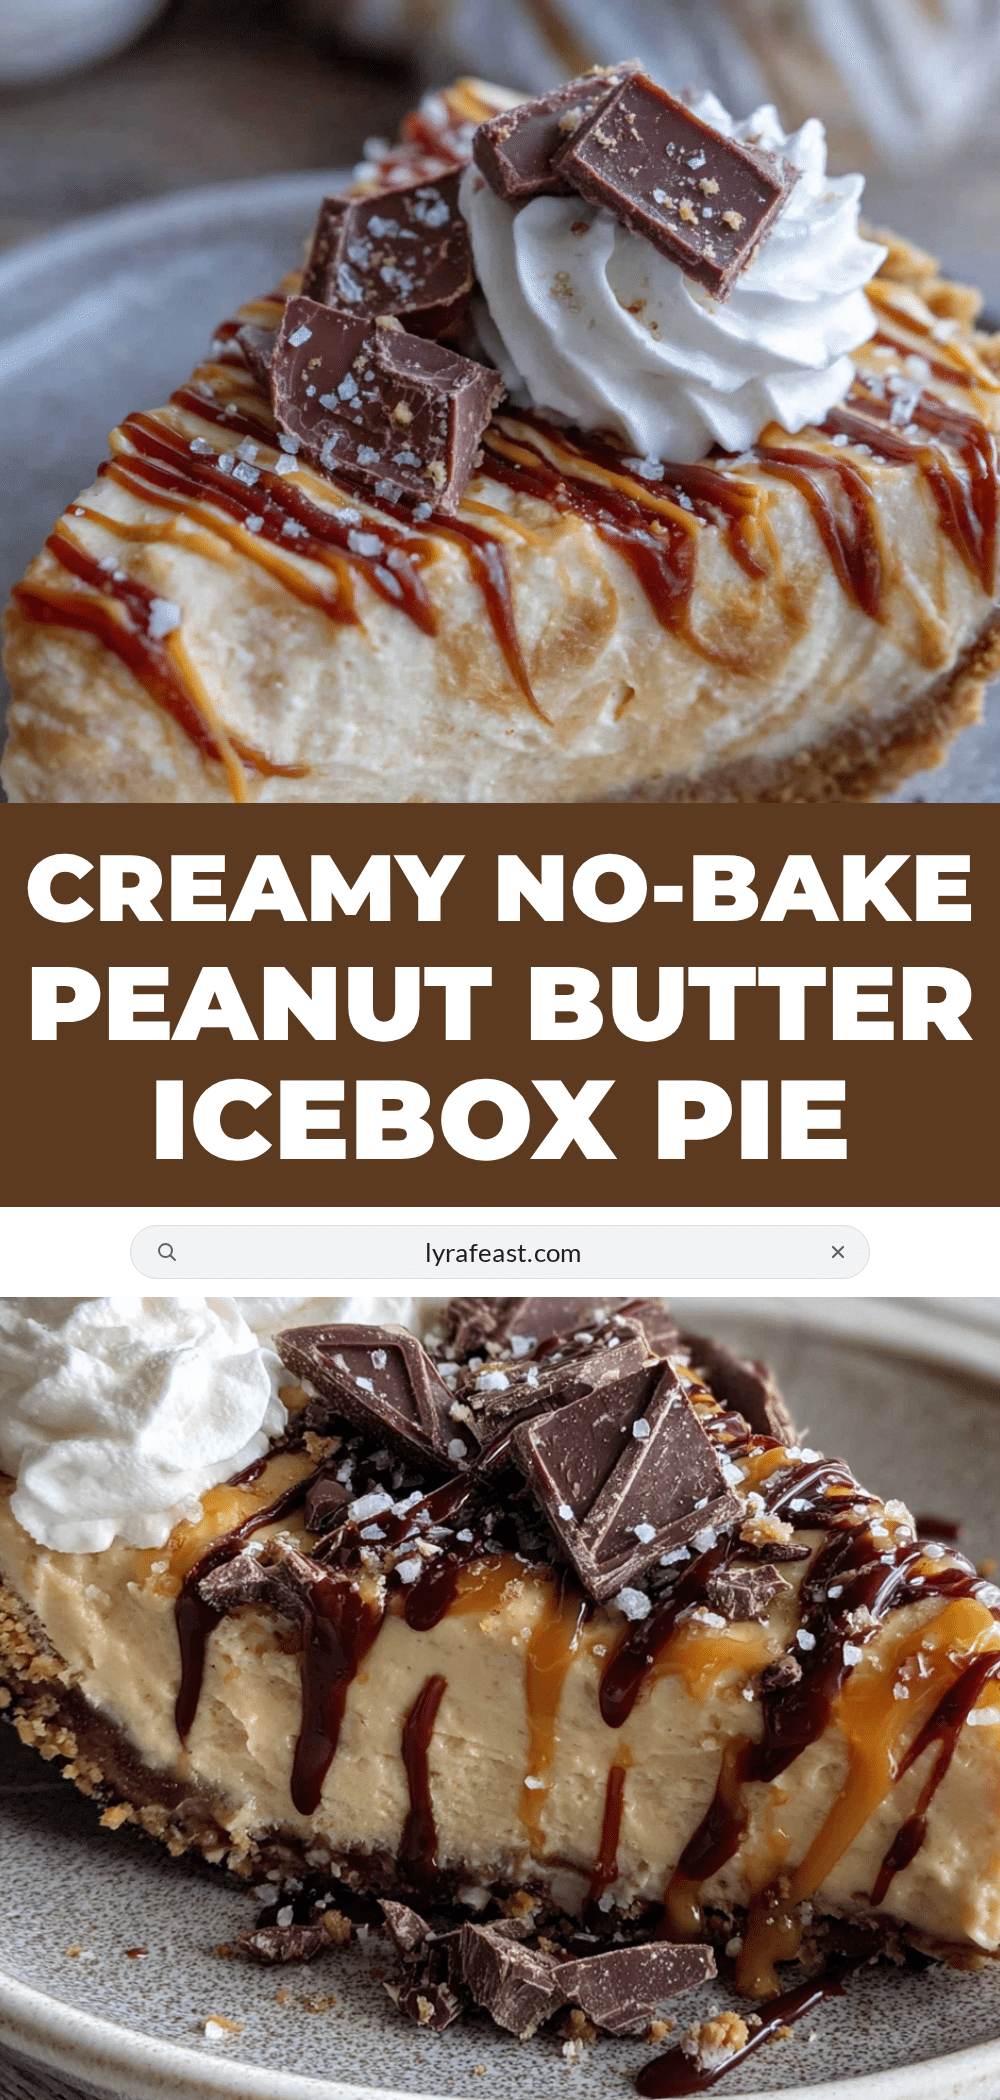
Creamy No-Bake Peanut Butter Icebox Pie: Easy 10-Minute Dessert

This creamy no-bake peanut butter icebox pie is a quick and easy dessert that comes together in just 10 minutes. With a rich, silky filling and a crunchy graham cracker crust, it’s a crowd-pleaser that requires no oven time.
- Prep Time: 10 minutes
- Cook Time: 0 minutes
- Total Time: 6 hours 10 minutes (includes chilling)
- Yield: 8 servings 1x
- Category: Dessert
- Cuisine: American
Ingredients
- 1 ½ cups graham cracker crumbs (about 10–12 full sheets, crushed finely)
- ¼ cup granulated sugar
- 6 tablespoons unsalted butter, melted
- 8 ounces cream cheese, softened to room temperature
- 1 cup creamy peanut butter (recommended: Skippy or Jif)
- 1 cup powdered sugar
- 1 teaspoon vanilla extract
- 1 ½ cups frozen whipped topping, thawed (like Cool Whip, or use 1 ½ cups of stabilized homemade whipped cream)
- ¼ cup heavy cream (for topping, optional)
- 2 tablespoons powdered sugar (for topping, optional)
- ¼ cup chopped salted peanuts (for topping, optional)
- 2 tablespoons chocolate sauce or melted peanut butter (for drizzling, optional)
Instructions
- Make the crust: In a medium bowl, combine the graham cracker crumbs and granulated sugar. Pour in the melted butter and stir with a fork until the mixture looks like wet sand. Press the mixture firmly into the bottom and up the sides of your 9-inch pie plate. Use the bottom of a measuring cup to really compact it. Place the crust in the refrigerator to chill while you make the filling.
- Beat the cream cheese: In a large bowl, beat the softened cream cheese with an electric mixer on medium speed until it’s smooth and fluffy, about 2 minutes. Scrape down the sides of the bowl.
- Add the peanut butter and sugar: Add the creamy peanut butter, powdered sugar, and vanilla extract to the bowl. Beat on low speed at first to avoid a sugar cloud, then increase to medium and beat until everything is well combined and smooth. The mixture will be thick and slightly sticky.
- Fold in the whipped topping: Gently fold the thawed whipped topping into the peanut butter mixture using a spatula. Be careful not to overmix—you want to keep the airiness. Fold until just combined, and you’ll have a light, creamy filling.
- Assemble the pie: Spoon the filling into the chilled crust. Spread it evenly with a spatula, smoothing the top. If you want a decorative look, use the back of a spoon to create gentle swirls.
- Chill: Cover the pie loosely with plastic wrap or foil and refrigerate for at least 6 hours, or overnight. This is the most important step—the pie needs time to set up. It will be sliceable after 6 hours, but overnight is best for a clean cut.
- Add toppings: Before serving, make the whipped cream by beating the heavy cream and powdered sugar in a small bowl until soft peaks form. Spread or pipe it over the pie. Sprinkle with chopped peanuts and drizzle with chocolate sauce or melted peanut butter.
Notes
For best results, use a high-quality peanut butter that doesn’t have added oil separation. If you only have natural peanut butter, stir it very well before measuring. You can also swap the graham crackers for crushed vanilla wafers or chocolate cookies for a different flavor crust. Chill overnight for the cleanest slices. Use a hot knife for clean slices: run your knife under hot water, dry it, then slice. Wipe the blade clean between cuts.
Nutrition
- Serving Size: 1 slice (1/8 of pie)
- Calories: 480
- Sugar: 25
- Fat: 34
- Carbohydrates: 38
- Protein: 10
Keywords: no-bake peanut butter pie, icebox pie, easy dessert, no-bake dessert, peanut butter dessert, creamy pie



