There used to be a tiny bakery tucked between a vintage shop and a laundromat on the corner of Elm Street that made the most perfect ghost meringue cookies I have ever seen. When they closed their doors two years ago, I literally stood outside staring at the “For Lease” sign like I had lost a friend. Those little ghosts were impossibly light, with the cutest pointed hats and the most delicate crunch. After twelve tries — and trust me, the first few were lopsided disasters — I finally cracked the code.
It happened on a rainy Tuesday afternoon. I had my fourth batch in the oven, feeling pretty defeated honestly, when my neighbor Linda knocked on the door. She was holding a tray of her own failed attempts, and we ended up comparing notes over terrible coffee. That’s when she mentioned letting the egg whites sit out for exactly twenty minutes before whipping. Game changer. The next batch came out perfect, and I may have actually teared up a little.
These easy ghost meringue cookies are everything you want for a spooky Halloween treat. They are crisp, airy, and melt on your tongue like a sweet little cloud. Plus, they look absolutely adorable lined up on a platter, all those tiny ghost faces staring back at you. Maybe you have been there — scrolling through Pinterest, feeling like you need a culinary degree to pull off holiday baking. I promise these are different. They are simple enough for a beginner but impressive enough to steal the show at any Halloween party. I keep making them because they remind me that sometimes the best things come from a little bit of failure and a lot of stubbornness.
Why You Will Love This Recipe
Let me tell you why these ghost meringue cookies have become my go-to Halloween recipe. First off, they are incredibly easy. We are talking four ingredients and about twenty minutes of active work. The rest is just oven time. I have tested this recipe six times to get the texture just right, and I can say with confidence that even a beginner baker can nail it on the first try.
- Quick and Easy: From start to finish, these cookies take about 2 hours including baking and cooling time. Most of that is hands-off, so you can prep for your party or help the kids with costumes.
- Simple Ingredients: You probably have everything already. Eggs, sugar, vanilla, and a pinch of cream of tartar. No fancy trips to the store.
- Perfect for Halloween: These little ghosts are the life of the party. Kids adore them, adults sneak them, and they look incredible on a dessert table.
- Crowd-Pleaser: I have brought these to three different Halloween gatherings and they disappear every single time. People cannot resist something this cute.
- Unbelievably Delicious: The texture is what gets everyone. That crisp exterior that gives way to a soft, marshmallowy center. Pure magic.
What makes this recipe different from all the others? It is the tiny details I figured out through trial and error. Like wiping your bowl with lemon juice to remove any grease, or piping the ghosts in a continuous motion so they keep their shape. These are not just instructions from a cookbook — they are lessons learned from real kitchen messes. This is the version I wish I had found on that first rainy Tuesday.
Honestly, this recipe is the kind that makes you close your eyes after the first bite. It is comfort food with a spooky twist — lighter, sweeter, and way more fun than a regular cookie. Perfect for impressing guests without stress, or turning a simple October afternoon into something memorable.
What Ingredients You Will Need
This recipe uses simple, wholesome ingredients to deliver that perfect meringue texture and ghostly white appearance. You likely have most of these in your pantry already, which makes these ghost meringue cookies a last-minute Halloween lifesaver.
- 4 large egg whites, room temperature (Let them sit out for 20-30 minutes. Cold eggs do not whip as well, and I learned this the hard way.)
- 1 cup granulated sugar (Regular white sugar works best. Do not use powdered sugar — it changes the texture completely.)
- 1/4 teaspoon cream of tartar (This stabilizes the egg whites. If you do not have it, you can use 1/2 teaspoon lemon juice instead.)
- 1 teaspoon vanilla extract (Pure vanilla is best, but imitation works fine. I have used both and honestly cannot tell the difference in meringue.)
- A pinch of salt (Just a tiny pinch. It balances the sweetness without making the cookies salty.)
- Mini chocolate chips for eyes (About 1/4 cup. You can also use black gel food coloring to pipe on faces, but I prefer the chocolate chip look. It is cuter.)
Ingredient Selection Tips: For the best results, use fresh eggs. Older egg whites actually whip up better, so if your eggs have been in the fridge for a week, that is actually perfect. I recommend large eggs from a brand like Eggland’s Best or any farm-fresh option. The cream of tartar is non-negotiable in my book — I have skipped it before and ended up with flat, weeping meringue. Not a good look for ghost cookies.
Substitution Guidance: If you need a cream of tartar substitute, use 1/2 teaspoon of lemon juice or white vinegar per 4 egg whites. For a dairy-free option, these are already dairy-free since meringue uses no butter or milk. If you want to skip the chocolate chips, you can use black sanding sugar or even tiny candies for the eyes. I have tried both, and the mini chocolate chips give the best spooky expression.
Sourcing Notes: Look for eggs that are at room temperature. If you forgot to take them out, place them in a bowl of warm water for 5 minutes. It works in a pinch, though letting them sit naturally is better. The vanilla extract can be swapped for almond extract if you want a different flavor — just use half the amount since almond is stronger.
Equipment Needed
You do not need a professional bakery setup for these ghost meringue cookies. Most of this equipment is probably already in your kitchen. Here is what you will need:
- Electric mixer (A stand mixer is ideal, but a hand mixer works perfectly. I have made these with both. The hand mixer takes a bit longer but gets the job done.)
- Large mixing bowl (Glass or metal is best. Avoid plastic bowls — they can hold onto grease that ruins meringue.)
- Baking sheet (A standard half-sheet pan works great. Line it with parchment paper or a silicone baking mat.)
- Piping bag with a large round tip (A #10 or #12 tip works well. If you do not have a piping bag, use a zip-top bag with the corner snipped off. I have done this many times.)
- Rubber spatula (For scraping down the bowl. Get a good one that does not leave streaks.)
- Kitchen scale (optional but helpful) (Weighing your egg whites ensures consistency. One large egg white is about 30 grams.)
- Cooling rack (For letting the cookies cool completely. You can use a wire rack or just a clean counter.)
Budget-Friendly Options: If you are just starting out, skip the fancy piping tips. A zip-top bag with a snipped corner works surprisingly well. I used one for my first three batches and the ghosts came out fine. Also, you can use a metal spoon to dollop the meringue instead of piping if you want a more rustic look. Just shape them into ghost forms with the back of the spoon.
Maintenance Tip: Always make sure your bowl and mixer attachments are completely clean and dry. Any trace of grease or yolk will prevent the egg whites from whipping properly. I wipe my bowl with a lemon wedge before starting — it removes any invisible grease and adds a bit of acid that helps stabilize the meringue.
Preparation Method
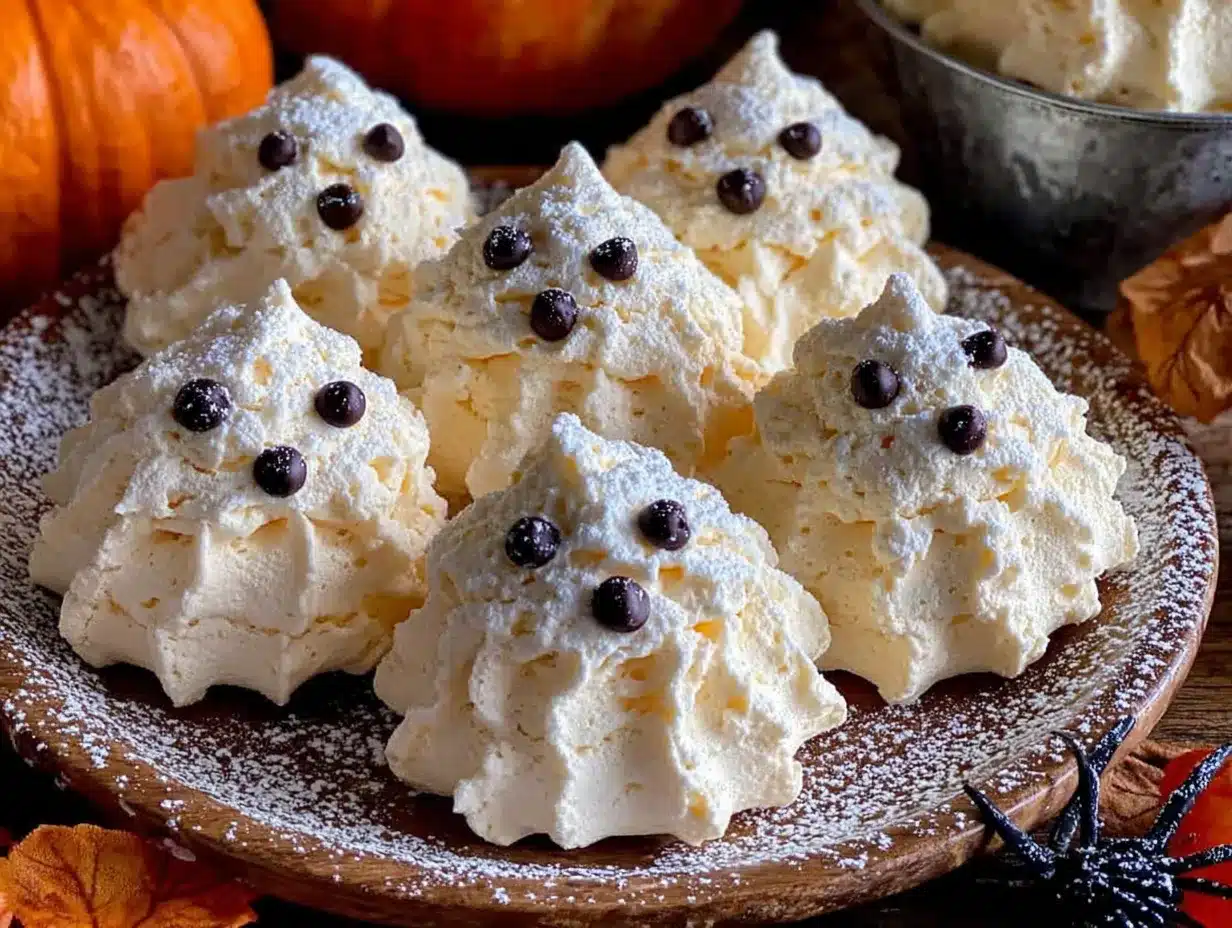
Follow these steps carefully, and you will have the cutest ghost meringue cookies on the block. I have broken everything down so you know exactly what to look for at each stage.
- Preheat your oven to 200°F (93°C). Yes, this is very low. We are drying the meringue, not baking it. Line your baking sheet with parchment paper. Do not use wax paper — it will stick.
- Prepare your egg whites. Separate the eggs while they are cold — it is easier. Then let the whites sit at room temperature for 20 minutes. This is not optional. Cold egg whites take forever to whip and never get as fluffy.
- Wipe your bowl. Take a lemon wedge and rub the inside of your mixing bowl. This removes any grease. Dry it with a paper towel. I know it sounds fussy, but I have ruined two batches by skipping this step.
- Start whipping. Add the egg whites and cream of tartar to the bowl. Begin mixing on medium speed. After about 2 minutes, you should see soft, foamy bubbles. The mixture will look like a bubble bath.
- Add the sugar slowly. With the mixer running, add the sugar one tablespoon at a time. This takes about 3-4 minutes. Do not dump it all in at once — the meringue will deflate. I learned this after making a huge sugary mess on my counter.
- Keep whipping. Increase the speed to medium-high. Whip for another 5-7 minutes. The mixture should become thick, glossy, and form stiff peaks. How to check: lift the whisk attachment. The meringue should stand up straight without flopping over. If it droops, keep whipping.
- Add vanilla and salt. Drizzle in the vanilla and add the pinch of salt. Mix on low for 30 seconds until combined. Do not overmix or you will deflate all that air you worked for.
- Test for doneness. Rub a tiny bit of meringue between your fingers. If it feels smooth and not grainy, you are good. If it feels gritty, the sugar has not dissolved completely. Keep whipping for another minute.
- Fill your piping bag. Spoon the meringue into your piping bag fitted with a large round tip. Twist the top to close it. If using a zip-top bag, snip off about 1/2 inch from one corner.
- Pipe the ghosts. Hold the bag straight up and down, about 1/2 inch above the baking sheet. Squeeze gently to form a round base, then lift the bag straight up while continuing to squeeze. Release pressure and pull away to create a pointed top. Each ghost should be about 2 inches tall. Leave 1 inch between them — they do not spread much.
- Add the eyes. Gently press two mini chocolate chips into each ghost for eyes. Do this immediately while the meringue is still soft. If you wait, the surface will start to dry and the chips will not stick.
- Bake low and slow. Place the baking sheet in the preheated oven. Bake for 1 hour and 30 minutes. Do not open the oven door during this time. I know it is tempting, but the cold air will make the meringue crack.
- Turn off the oven. After 90 minutes, turn off the oven but leave the cookies inside. Let them cool completely in the closed oven for another 1-2 hours. This drying step is what gives them that perfect crunch.
- Check for doneness. The ghosts should be dry to the touch and easily peel off the parchment paper. If they stick, they need more time. Leave them in the turned-off oven for another 30 minutes.
- Cool completely. Transfer the ghosts to a wire rack. Let them cool for at least 30 minutes before serving or storing. They will be fragile, so handle them gently.
Sensory Cues: When properly whipped, the meringue should look like marshmallow fluff — thick, glossy, and pure white. When you pipe it, the ghosts should hold their shape without spreading into puddles. The finished cookies should sound hollow when tapped and feel light as air in your hand.
Cooking Tips and Techniques
After making these ghost meringue cookies more times than I care to admit, I have picked up some tricks that make the process smoother. Let me share the ones that actually matter.
The Clean Bowl Rule: This is the number one mistake people make. Any trace of fat — egg yolk, butter, or even dish soap residue — will ruin your meringue. I wipe my bowl with white vinegar on a paper towel before starting. It takes five seconds and saves you from staring at a bowl of liquid egg whites that will not whip.
Humidity is the Enemy: Meringue hates humidity. Do not make these on a rainy day if you can help it. The sugar absorbs moisture from the air and your cookies will turn out sticky instead of crisp. I learned this the hard way during a summer thunderstorm. If you must bake on a humid day, increase the baking time by 15-20 minutes and let them dry in the oven longer.
The Sugar Test: Rub a tiny bit of meringue between your thumb and finger. If it feels gritty, keep whipping. The sugar needs to dissolve completely for a smooth texture. This usually takes 7-8 minutes with a hand mixer or 5-6 with a stand mixer. Do not rush this step.
Piping Consistency: Hold the piping bag straight up, not at an angle. Squeeze from the top of the bag, not the middle. And here is the trick I wish someone had told me: stop squeezing before you pull away. That little release creates the pointed ghost hat naturally. If you pull while still squeezing, you get a weird blob.
Multitasking Strategy: While the meringue is baking, use that time to clean up or prep other Halloween treats. The oven does all the work. I usually make a batch of spooky popcorn or caramel apples while these dry out. Just do not open the oven door.
Variations and Adaptations
These ghost meringue cookies are surprisingly versatile. Here are some variations I have tried and loved.
Chocolate Ghosts: Sift 2 tablespoons of cocoa powder into the sugar before adding it to the egg whites. The ghosts will be a light chocolate color with a subtle cocoa flavor. I made these for a friend who does not like vanilla, and they were a hit. Just be careful not to overmix when adding the cocoa.
Peppermint Ghosts: Swap the vanilla extract for 1/2 teaspoon peppermint extract. Add a drop of red food coloring for a pale pink tint if you want. These taste like Christmas ghosts — perfect for a winter-themed party. I made these for a December gathering and people could not stop talking about them.
Vegan Option: Use aquafaba (the liquid from a can of chickpeas) instead of egg whites. One can of chickpeas gives about 1/2 cup of aquafaba, which is equivalent to 4 egg whites. Whip it the same way, but it may take a bit longer to reach stiff peaks. I have tested this and the texture is slightly chewier but still delicious.
Flavor Variations: Add 1/2 teaspoon of almond extract, coconut extract, or even a pinch of cinnamon for a different flavor profile. I once added orange zest and it was surprisingly good — like a creamsicle ghost. Get creative with extracts.
Colorful Ghosts: Add a drop of gel food coloring to the meringue before piping. Purple, green, or orange ghosts look amazing for Halloween. Use a toothpick to swirl the color through — do not mix it completely or you will lose the marbled effect.
Serving and Storage Suggestions
These ghost meringue cookies are best served at room temperature. They are perfect on their own, but here are some ways to make them even more special.
Serving Ideas: Arrange the ghosts on a black platter for maximum spooky effect. Add some candy eyeballs or gummy worms around them for a graveyard scene. I like to serve them alongside a bowl of warm apple cider or hot chocolate. The contrast between the crisp cookie and the warm drink is perfect.
Complementary Dishes: These pair beautifully with other light desserts. Try them with a pumpkin mousse or a simple vanilla ice cream. For a Halloween party, set up a ghost cookie bar with dipping sauces — melted chocolate, caramel, or strawberry sauce. Kids love building their own ghost treats.
Storage Instructions: Store the cookies in an airtight container at room temperature. Do not refrigerate them — the moisture will make them sticky. They will stay fresh for up to 2 weeks if stored properly. I have kept them for 3 weeks in a sealed tin and they were still perfectly crisp.
Freezer Tips: You can freeze these for up to 3 months. Place them in a single layer in a freezer-safe container with parchment paper between layers. Thaw at room temperature for 30 minutes before serving. Do not microwave them — they will turn into a sticky mess.
Flavor Development: Interestingly, these cookies actually taste better after a day or two. The flavors meld together and the texture becomes even more delicate. I always make mine a day ahead of Halloween. Just store them carefully and they will be perfect.
Nutritional Information and Benefits
These ghost meringue cookies are surprisingly light compared to traditional cookies. Here is the estimated nutritional breakdown per ghost (based on 24 cookies):
- Calories: 35 calories per cookie
- Carbohydrates: 8g
- Sugar: 8g
- Protein: 1g
- Fat: 0g
- Sodium: 10mg
Health Benefits: Meringue cookies are naturally fat-free and cholesterol-free since they use only egg whites. They are also gluten-free, dairy-free, and nut-free, making them a safe option for many dietary restrictions. The egg whites provide a small amount of protein, and the cookies are low in calories compared to butter-based cookies.
Dietary Considerations: These are perfect for anyone avoiding gluten, dairy, or nuts. For a vegan option, use aquafaba as mentioned above. The sugar content is relatively high, so they are best enjoyed as an occasional treat. I personally love that I can offer something to guests with various dietary needs without making separate desserts.
Potential Allergens: Eggs are the main allergen here. The mini chocolate chips may contain dairy or soy, depending on the brand. Always check labels if serving to someone with severe allergies. I use Enjoy Life brand chips for a top-allergen-free option.
Wellness Perspective: I believe in balance. These cookies are a treat, but they are a lighter treat. You can enjoy three or four without feeling weighed down, which is perfect for a Halloween party where you want to sample everything. Plus, the process of making them is almost meditative — whipping egg whites into clouds is oddly satisfying.
Conclusion
These ghost meringue cookies have become my signature Halloween treat for a reason. They are simple enough for a beginner, impressive enough for a party, and delicious enough to make you forget all about store-bought candy. After that first rainy Tuesday with Linda and our failed batches, I never imagined I would end up with a recipe this reliable. But here we are, and I am so glad I stuck with it.
I encourage you to make these your own. Add different flavors, experiment with colors, or keep them classic. That is the beauty of baking — it is a living thing that changes with each batch. Maybe you will discover a trick I have not thought of yet. If you do, please come back and tell me about it.
Honestly, I love these cookies because they remind me that failure is just a step toward something better. The first few batches were ugly, flat, and sad. But I kept going, and now I have a recipe that makes people smile every single time. You can do this too. Grab your eggs, preheat that oven, and make some ghosts. I promise you will be glad you did.
So go ahead — whip up a batch and let me know how they turn out. Drop a comment below or tag me in your photos. I love seeing your ghost creations. Happy Halloween, and happy baking!
Frequently Asked Questions
Why did my meringue not get stiff?
The most common reason is grease or yolk in the bowl. Make sure your bowl and mixer attachments are completely clean and dry. Also, ensure your egg whites are at room temperature and you added cream of tartar. If all else fails, keep whipping — sometimes it just takes longer than expected.
Can I make these without a piping bag?
Absolutely. Use a zip-top bag with the corner snipped off, or simply use two spoons to shape the meringue into ghost forms. They will look more rustic but taste the same. I have done this when my piping bag ripped mid-batch.
How do I know when the meringue is done baking?
The ghosts should be dry to the touch and easily peel off the parchment paper. They should sound hollow when tapped. If they are still sticky or soft, leave them in the turned-off oven for another 30 minutes.
Can I use liquid food coloring?
I recommend gel food coloring instead. Liquid coloring adds too much moisture and can deflate the meringue. Gel coloring is concentrated and works perfectly. Use a toothpick to add just a tiny bit.
Why did my ghosts crack?
Cracking usually happens from temperature changes. Do not open the oven door during baking or cooling. Also, make sure you are not overmixing the meringue after adding the sugar. Small cracks are actually charming for ghost cookies — they look spookier that way.
Pin This Recipe!
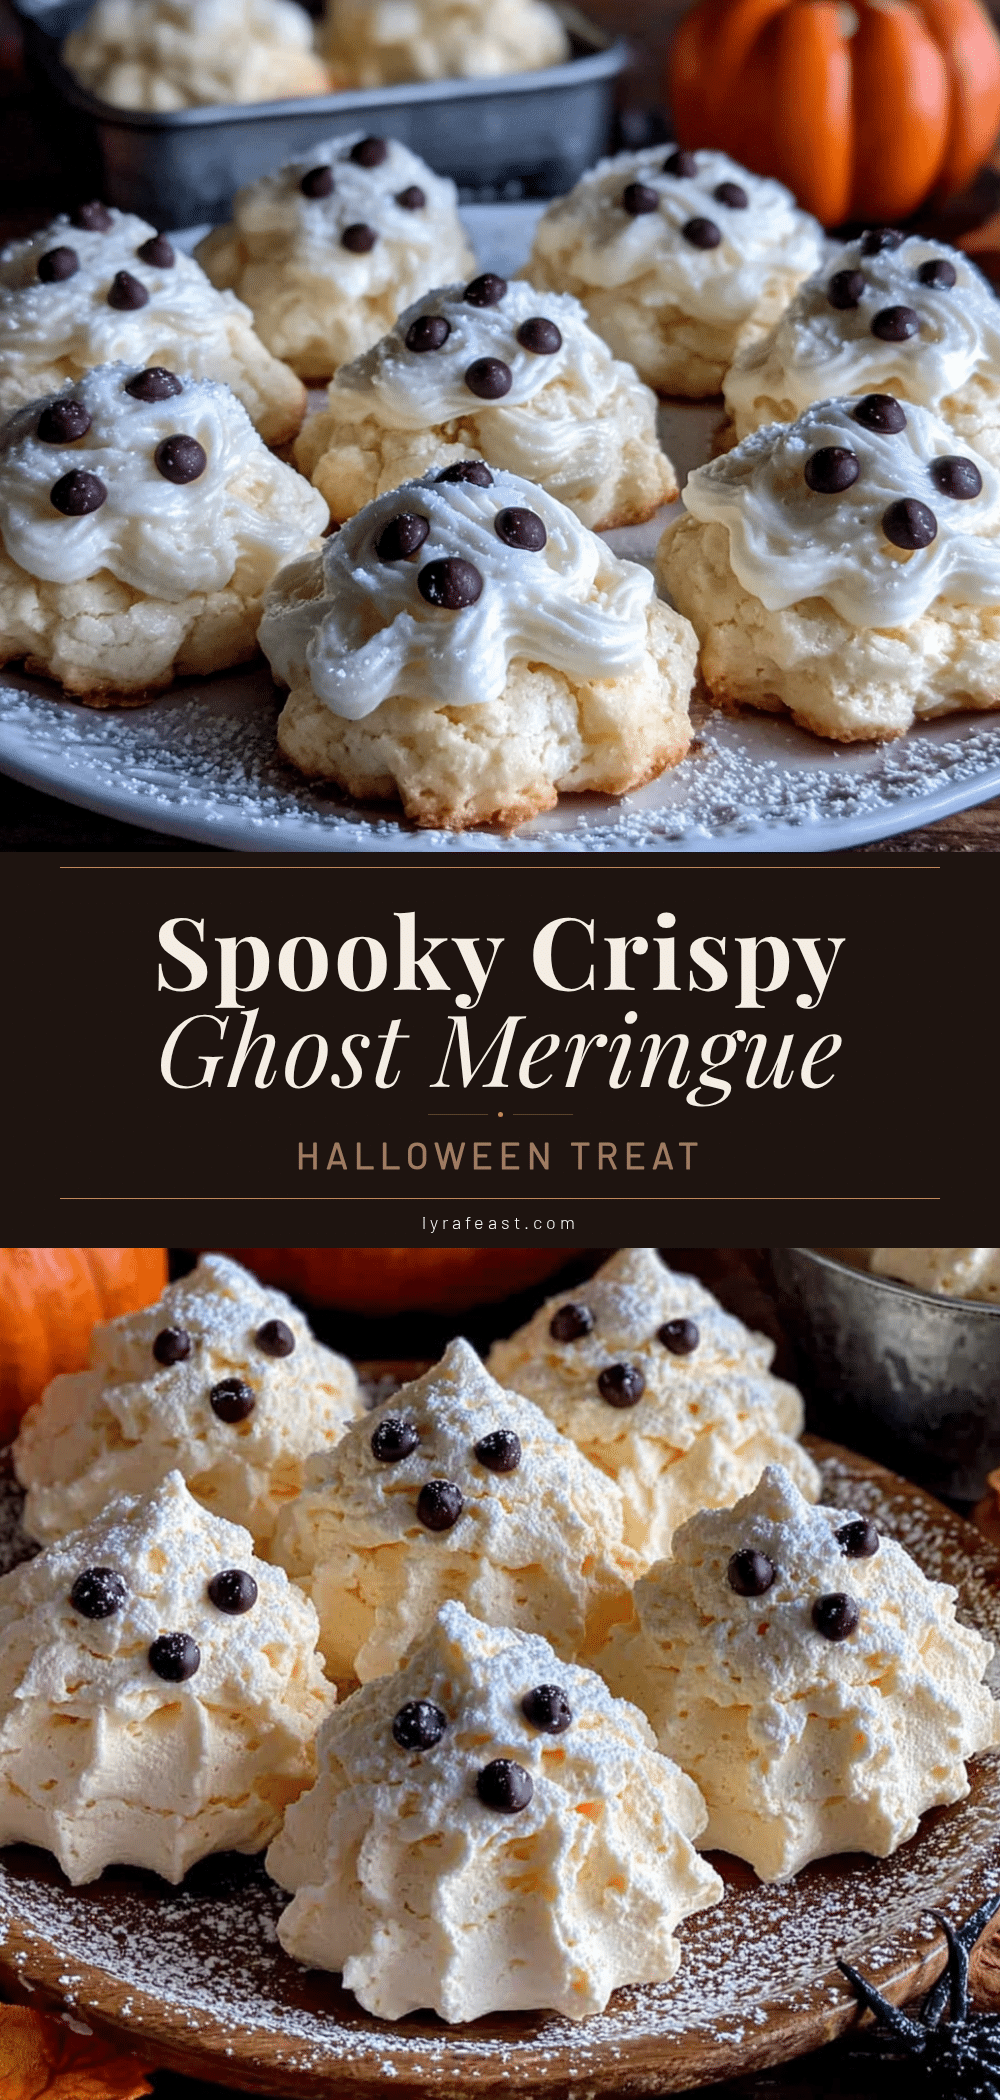
Easy Ghost Meringue Cookies: Best Spooky Halloween Treat

These easy ghost meringue cookies are crisp, airy, and melt on your tongue like a sweet little cloud. They are perfect for Halloween parties and are simple enough for beginners yet impressive enough to steal the show.
- Prep Time: 20 minutes
- Cook Time: 1 hour 30 minutes
- Total Time: 2 hours (plus cooling time)
- Yield: 24 cookies 1x
- Category: Dessert
- Cuisine: American
Ingredients
- 4 large egg whites, room temperature
- 1 cup granulated sugar
- 1/4 teaspoon cream of tartar
- 1 teaspoon vanilla extract
- A pinch of salt
- 1/4 cup mini chocolate chips for eyes
Instructions
- Preheat your oven to 200°F (93°C). Line your baking sheet with parchment paper.
- Separate the eggs while cold, then let the whites sit at room temperature for 20 minutes.
- Wipe your mixing bowl with a lemon wedge to remove any grease, then dry with a paper towel.
- Add the egg whites and cream of tartar to the bowl. Begin mixing on medium speed until soft, foamy bubbles form (about 2 minutes).
- With the mixer running, add the sugar one tablespoon at a time over 3-4 minutes.
- Increase speed to medium-high and whip for 5-7 minutes until thick, glossy, and stiff peaks form.
- Drizzle in the vanilla and add the pinch of salt. Mix on low for 30 seconds until combined.
- Test for doneness by rubbing a tiny bit of meringue between your fingers; it should feel smooth, not gritty.
- Spoon the meringue into a piping bag fitted with a large round tip (or use a zip-top bag with a corner snipped off).
- Pipe ghosts by holding the bag straight up, squeezing to form a round base, then lifting straight up while squeezing to create a pointed top. Leave 1 inch between ghosts.
- Gently press two mini chocolate chips into each ghost for eyes immediately while the meringue is still soft.
- Bake for 1 hour and 30 minutes without opening the oven door.
- Turn off the oven and let the cookies cool completely inside the closed oven for 1-2 hours.
- Check for doneness: ghosts should be dry to the touch and easily peel off the parchment. If sticky, leave in turned-off oven for another 30 minutes.
- Transfer to a wire rack and cool for at least 30 minutes before serving or storing.
Notes
Make sure your bowl and mixer attachments are completely clean and dry. Avoid making meringue on humid days. Do not open the oven door during baking or cooling. Small cracks are charming for ghost cookies.
Nutrition
- Serving Size: 1 cookie
- Calories: 35
- Sugar: 8
- Sodium: 10
- Carbohydrates: 8
- Protein: 1
Keywords: ghost meringue cookies, Halloween cookies, meringue cookies, easy Halloween treat, spooky cookies



