Introduction
There used to be a tiny deli at the corner of 5th and Maple that made the most unforgettable garlic dill pickles. When they closed down unexpectedly one chilly autumn, I honestly felt like a piece of my snacking soul had vanished. I’d always thought pickles were just pickles—simple, sour, and forgettable—but theirs? Oh no. They had this crisp snap that echoed with fresh garlic and just the right dill punch, a sharpness that lingered without overpowering. After about a dozen attempts that ended with soggy jars or bland brine, I finally got it—my version of those easy homemade refrigerator garlic dill pickles that bring that perfect crunch back to life.
Let me tell you, the journey wasn’t without its hiccups. One time, I forgot the garlic entirely and realized halfway through the pickling process. Another afternoon, my neighbor Brad popped by just as I was wrestling with the jars, causing a minor cucumber avalanche on the kitchen floor. But you know that feeling when you nail something after a lot of trial and error? That’s exactly why I keep making these pickles. Maybe you’ve been there, chasing down a flavor memory that just won’t quit. If you love tangy, garlicky bites with a satisfying crunch, this recipe’s going to feel like a small victory on your very first taste.
Why You’ll Love This Recipe
After countless tweaks and taste tests, this easy homemade refrigerator garlic dill pickles recipe stands out for a bunch of solid reasons. Honestly, it’s not just another pickle recipe—it’s one that delivers both flavor and texture every single time. Here’s why you’ll want to have it in your arsenal:
- Quick & Easy: Comes together in under 20 minutes, perfect for those spontaneous pickle cravings or last-minute additions to your sandwiches.
- Simple Ingredients: No fancy herbs or hard-to-find spices; just garlic, dill, cucumbers, and a few pantry staples you probably already have.
- Perfect for Any Occasion: Whether you’re prepping for a laid-back barbecue or jazzing up a weekday lunch, these pickles hit the spot.
- Crowd-Pleaser: Kids, adults, pickle fanatics—they all go nuts for the crisp texture and balanced garlic bite.
- Unbelievably Delicious: The brine is perfectly seasoned, and the garlic infuses just enough to make every crunch a flavor explosion.
This recipe isn’t just a quick pickle fix—it’s a little slice of deli magic you can whip up at home without the fuss. I’ve found that soaking the dill and garlic in the brine overnight before adding the cucumbers really makes a difference, giving it that just-right balance that’s not too salty or sour. Honestly, it’s like comfort food in a jar, and once you try it, you’ll want to make a batch every week.
What Ingredients You Will Need
This recipe uses simple, wholesome ingredients to deliver bold flavor and satisfying crunch without the fuss. Most of these ingredients are pantry staples, making it easy to whip up your own batch whenever the pickle craving strikes.
- Cucumbers: 4-5 small to medium pickling cucumbers, sliced into spears or rounds (look for firm, blemish-free cucumbers for the best crunch)
- Garlic Cloves: 4-5 large cloves, peeled and lightly smashed (fresh garlic is key for that pungent kick)
- Fresh Dill: 3-4 sprigs per jar (if unavailable, dill seeds can substitute, but fresh dill gives the best flavor)
- White Vinegar: 1 cup (240 ml) – I prefer using distilled white vinegar for a clean, sharp acidity
- Water: 1 cup (240 ml), preferably filtered or distilled to avoid any off flavors
- Sea Salt: 1 tablespoon (use kosher salt or pickling salt to avoid cloudiness)
- Granulated Sugar: 1 teaspoon (balances the tang and rounds out the flavor)
- Black Peppercorns: 1 teaspoon (adds subtle spice without overpowering)
- Red Pepper Flakes: Optional, 1/4 teaspoon for a slight heat kick
For the best crunch, I recommend fresh cucumbers from a local farmers market when in season—that’s what I usually grab on Saturdays from Green Valley Market. When fresh dill isn’t around, dill seeds work fine, but the fresh herb really makes the difference. If you want to keep it vegan and gluten-free, all these ingredients fit perfectly.
Equipment Needed
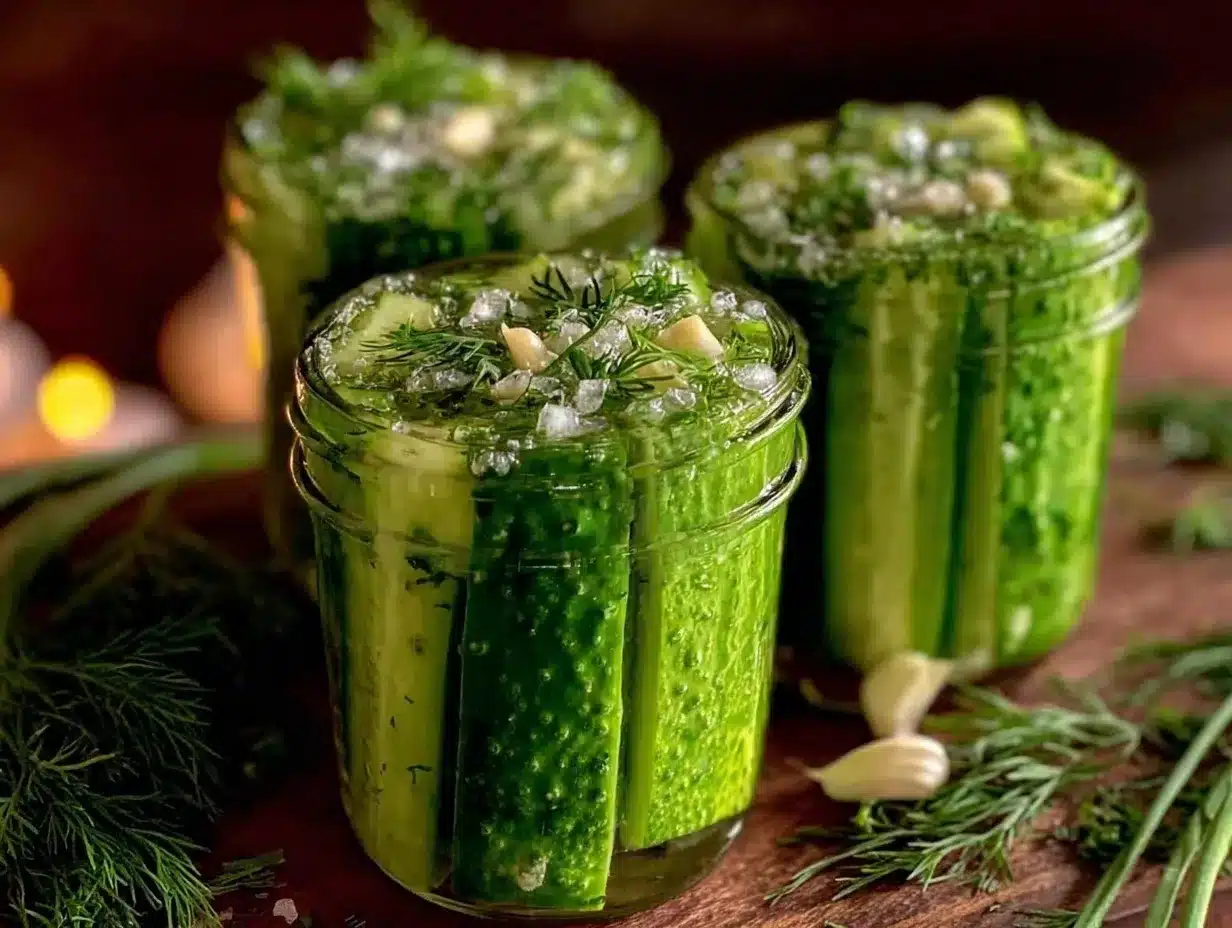
You don’t need much to make these easy homemade refrigerator garlic dill pickles, which is part of the charm. Here’s what I use:
- Glass Mason jars with lids (quart size works great for this batch)
- Medium saucepan for heating the brine
- Measuring cups and spoons for precise seasoning
- A sharp knife and cutting board for slicing the cucumbers
- Optional: a jar lifter or tongs if you prefer handling hot jars safely
If you don’t have Mason jars, any clean glass container with a tight-fitting lid will do. I once used repurposed pasta sauce jars when I was in a pinch—it wasn’t pretty, but the pickles still turned out great. Just avoid plastic containers as the vinegar may interact with them over time. Keeping your jars and tools clean and dry helps prevent any funky flavors and keeps your pickles crisp and fresh.
Preparation Method
- Prepare the cucumbers: Rinse 4-5 small to medium pickling cucumbers thoroughly under cold water. Slice them into spears or rounds, depending on your preference. Set aside. (10 minutes)
- Make the brine: In a medium saucepan, combine 1 cup (240 ml) white vinegar, 1 cup (240 ml) water, 1 tablespoon sea salt, and 1 teaspoon granulated sugar. Heat over medium heat, stirring occasionally until salt and sugar dissolve completely. Remove from heat and let cool to room temperature. (10 minutes)
- Pack the jars: Place 4-5 smashed garlic cloves, 3-4 fresh dill sprigs, 1 teaspoon black peppercorns, and optional 1/4 teaspoon red pepper flakes into each clean Mason jar. Then, tightly pack the cucumber slices into the jars without crushing. (10 minutes)
- Add the brine: Pour the cooled brine over the cucumbers, ensuring they are fully submerged. Leave about 1/2 inch of headspace at the top of the jar. Tap gently to release any air bubbles. (5 minutes)
- Seal and refrigerate: Screw on the lids tightly and place the jars in the refrigerator. Let them chill for at least 24 hours before tasting. For best flavor and crunch, wait 2-3 days. (24-72 hours)
- Enjoy: Once ready, your garlic dill pickles will be crisp, tangy, and packed with flavor. Keep refrigerated and consume within 3-4 weeks. (Optional: refrigerate longer but check texture regularly.)
Pro tip: If your cucumbers start to lose their crunch, soaking them in ice water for 30 minutes before slicing helps firm them up. Also, don’t be tempted to rush the pickling time—patience really does pay off here!
Cooking Tips & Techniques
Getting that perfect crunch and tang in refrigerator pickles isn’t always straightforward, but a few tricks make all the difference.
- Use fresh, firm cucumbers: Older or overripe cucumbers tend to get mushy quickly. I usually pick cucumbers with no soft spots and a vibrant green color.
- Keep the brine cool before pouring: Adding hot brine can partially cook the cucumbers, leading to a softer texture. Let the brine cool completely to keep them crisp.
- Don’t skip the salt quality: Kosher or pickling salt helps keep the brine clear and the pickles crunchy. Table salt can make the brine cloudy and may add unwanted additives.
- Give the jars some space: Don’t overpack cucumbers; overcrowding can trap air pockets that lead to uneven pickling.
- Patience is key: I’ve learned the hard way that while these pickles are “easy,” they really need at least 24 hours to develop flavor and crunch. Resist the urge to open the jar early!
One time, I tried using garlic powder instead of fresh cloves to speed things up—big mistake. The flavor was flat, and the pickles lacked that zesty garlic punch. Lesson learned: fresh garlic is non-negotiable. Also, don’t forget to shake the jar gently every day to redistribute the brine for even flavor.
Variations & Adaptations
This easy homemade refrigerator garlic dill pickles recipe is a great base for customization. Here are a few of my favorite ways to switch it up:
- Spicy Kick: Add a sliced jalapeño or increase red pepper flakes for a fiery bite.
- Low Sodium: Reduce salt by half and use a longer pickling time to still get good flavor without the salt overload.
- Herbal Twist: Swap some dill sprigs for fresh tarragon or basil for a unique flavor profile.
- Vinegar Swap: Use apple cider vinegar instead of white vinegar for a milder, slightly sweet tang.
- Allergen-Friendly: This recipe is naturally gluten-free and vegan. For a keto-friendly snack, these pickles fit in perfectly!
I once tried mixing in some mustard seeds and coriander seeds for a more complex brine that surprised my family with its depth. It’s a fun way to experiment and find your own signature pickle flavor.
Serving & Storage Suggestions
Serve your easy homemade refrigerator garlic dill pickles chilled right from the fridge. They’re fantastic as a crisp side for sandwiches, burgers, or charcuterie boards. I love pairing them with a classic crispy garlic chicken dinner or alongside some creamy potato salad for a picnic touch.
Store the pickles in airtight glass jars in the refrigerator. They’ll keep well for up to 4 weeks, but for best crunch, enjoy them within the first 2-3 weeks. If you find the pickles softening over time, heating the brine slightly and pouring it back over the cucumbers can help revive some firmness.
The flavors actually deepen if you let the pickles sit longer, but the texture will slowly soften. If you want to keep them crisp longer, try adding a few grape leaves or horseradish leaves to the jar—they contain tannins that slow down softening.
Nutritional Information & Benefits
These garlic dill pickles are low in calories (about 10-15 calories per serving), making them a guilt-free crunchy snack. The vinegar contributes to digestive health, and fresh garlic offers anti-inflammatory and immune-supporting properties.
The cucumbers provide hydration and small amounts of vitamins K and C. Because the recipe uses no added preservatives or artificial flavors, it’s a wholesome, fresh alternative to store-bought pickles.
Just be mindful of the sodium content if you’re on a low-salt diet, but overall, these pickles are a flavorful, light, and nutrient-friendly addition to your meals.
Conclusion
This easy homemade refrigerator garlic dill pickles recipe is one of those simple joys that brings a bit of deli magic right into your kitchen. I love how it combines crunchy texture with bold garlic and dill flavor—no fuss, no pressure, just pure pickle satisfaction. The best part? You can tweak and tailor it to your taste, making it truly your own.
So grab some fresh cucumbers, a handful of garlic, and dive into a little kitchen project that yields big rewards. If you try this recipe, I’d love to hear how your pickles turn out or what variations you come up with. Go ahead, snap a bite, and enjoy that perfect crunch. Happy pickling!
FAQs
How long do refrigerator pickles last?
Stored properly in the fridge, these pickles last about 3-4 weeks. The flavor will deepen over time, but the crunch may lessen after a few weeks.
Can I use regular cucumbers for this recipe?
Pickling cucumbers are best because they’re firmer and less watery. Regular slicing cucumbers can work but may yield softer pickles.
Do I need to boil the jars before using?
Since these are refrigerator pickles and not canned, sterilizing jars by washing them thoroughly is enough. No boiling required.
Can I make these pickles without fresh dill?
Yes, dill seeds are a good substitute, but fresh dill gives the best flavor and aroma.
Why are my pickles not crunchy?
Common causes include overripe cucumbers, hot brine, or not using the right type of salt. Try soaking cucumbers in ice water before pickling and use kosher or pickling salt for best results.
Pin This Recipe!
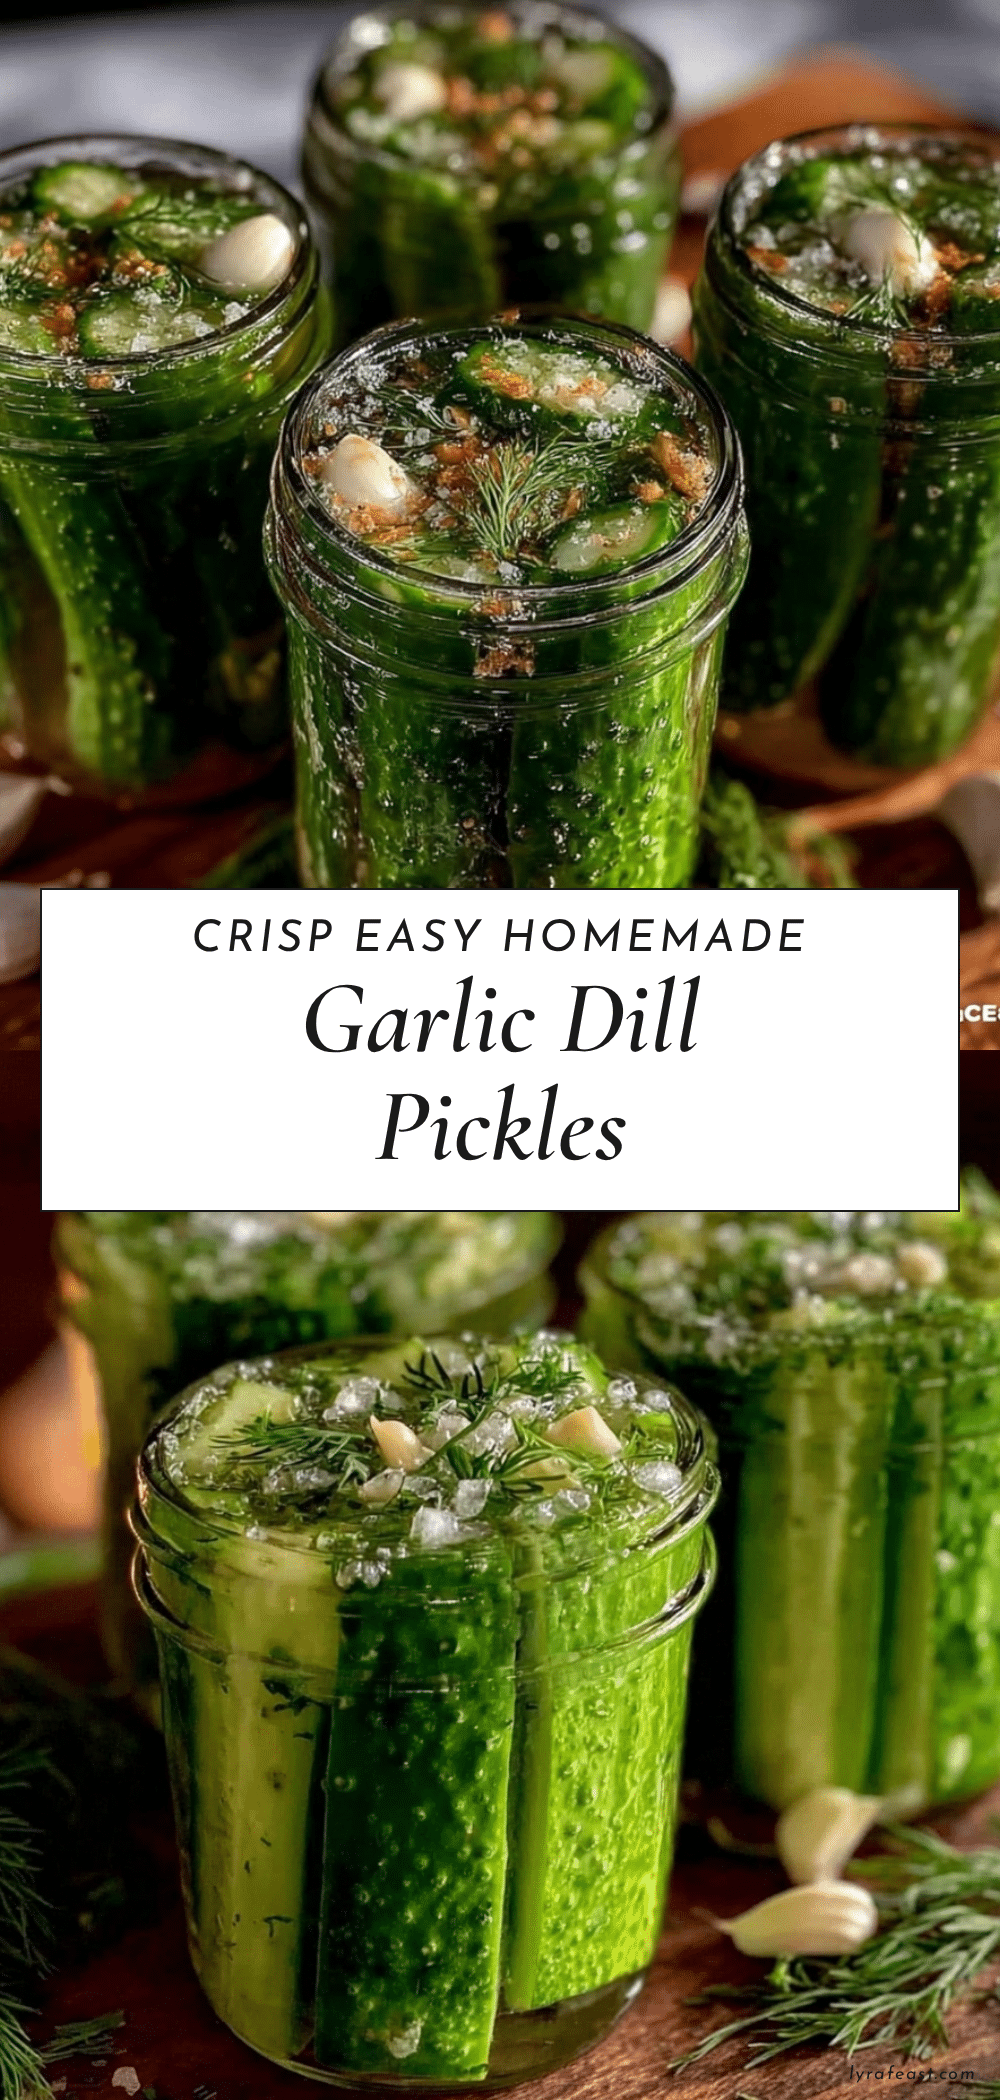
Easy Homemade Refrigerator Garlic Dill Pickles Recipe for Perfect Crunch
A quick and easy recipe for homemade refrigerator garlic dill pickles that deliver a perfect crunch and bold flavor with simple ingredients.
- Prep Time: 20 minutes
- Cook Time: 10 minutes
- Total Time: 24-72 hours (including chilling time)
- Yield: 4-5 servings 1x
- Category: Condiment
- Cuisine: American
Ingredients
- 4–5 small to medium pickling cucumbers, sliced into spears or rounds
- 4–5 large garlic cloves, peeled and lightly smashed
- 3–4 fresh dill sprigs per jar (or dill seeds as substitute)
- 1 cup (240 ml) distilled white vinegar
- 1 cup (240 ml) water, preferably filtered or distilled
- 1 tablespoon sea salt (kosher or pickling salt recommended)
- 1 teaspoon granulated sugar
- 1 teaspoon black peppercorns
- Optional: 1/4 teaspoon red pepper flakes
Instructions
- Rinse 4-5 small to medium pickling cucumbers thoroughly under cold water. Slice them into spears or rounds, depending on your preference. Set aside. (10 minutes)
- In a medium saucepan, combine 1 cup (240 ml) white vinegar, 1 cup (240 ml) water, 1 tablespoon sea salt, and 1 teaspoon granulated sugar. Heat over medium heat, stirring occasionally until salt and sugar dissolve completely. Remove from heat and let cool to room temperature. (10 minutes)
- Place 4-5 smashed garlic cloves, 3-4 fresh dill sprigs, 1 teaspoon black peppercorns, and optional 1/4 teaspoon red pepper flakes into each clean Mason jar. Then, tightly pack the cucumber slices into the jars without crushing. (10 minutes)
- Pour the cooled brine over the cucumbers, ensuring they are fully submerged. Leave about 1/2 inch of headspace at the top of the jar. Tap gently to release any air bubbles. (5 minutes)
- Screw on the lids tightly and place the jars in the refrigerator. Let them chill for at least 24 hours before tasting. For best flavor and crunch, wait 2-3 days. (24-72 hours)
- Once ready, your garlic dill pickles will be crisp, tangy, and packed with flavor. Keep refrigerated and consume within 3-4 weeks.
Notes
Use fresh, firm cucumbers for best crunch. Let the brine cool completely before pouring to avoid softening cucumbers. Use kosher or pickling salt to keep brine clear and pickles crunchy. Patience is key—allow at least 24 hours for flavor development. Soaking cucumbers in ice water for 30 minutes before slicing can help maintain firmness. Shake jars gently daily to redistribute brine. For longer crispness, add grape or horseradish leaves to jars.
Nutrition
- Serving Size: Approximately 1/2 cu
- Calories: 15
- Sugar: 1
- Sodium: 600
- Carbohydrates: 3
- Fiber: 0.5
- Protein: 0.5
Keywords: garlic dill pickles, refrigerator pickles, homemade pickles, easy pickles, crunchy pickles, quick pickles, dill pickles recipe



