My neighbor Sarah wasn’t trying to impress anyone. I’d stopped by to return her garden shears on a crisp October afternoon, and the sight of her kitchen table stopped me cold. There it was—a sprawling, colorful board covered in cheese cubes, candy corn, pretzel sticks, and little ghost-shaped mozzarella balls. Her three kids were gathered around, grabbing handfuls and laughing, while she calmly stirred soup on the stove like this was just another Tuesday snack. Honestly, I stood there in her doorway for a solid ten seconds before I even said hello. The casualness of it all was the whole point—she’d thrown this together in maybe fifteen minutes, and her kids were acting like it was the best day ever. I mean, have you ever seen a child that excited about a cheese cube? Let me tell you, it was something else.
I asked her what the occasion was, and she just shrugged and said, “It’s Halloween week. They get hyped up, and I’d rather they snack on this than fight over candy all afternoon.” That moment stuck with me. Here was a mom who’d figured out how to make a regular Tuesday feel festive without losing her mind or her budget. She used whatever she had in the fridge—some cheddar, a block of cream cheese, leftover grapes, and a bag of candy corn that was probably meant for trick-or-treaters. And somehow, it looked like something you’d see on a magazine cover. I went home that night and immediately started planning my own version. Maybe you’ve been there—staring at a pile of Halloween candy and wondering how to make snack time feel special without a ton of effort. This board is the answer, and I’ve been making it every October since.
Why You’ll Love This Recipe
This kid-friendly Halloween charcuterie board is the kind of recipe that makes you look like a holiday hero without actually working that hard. I’ve tested it on my own crew—picky eaters, sugar-crazed kids, and adults who pretend they’re above candy corn (they’re not). It works every single time. Here’s why you’ll love it:
- Quick & Easy: Comes together in under 20 minutes, perfect for after-school snacking or pre-trick-or-treat fuel.
- Simple Ingredients: No fancy grocery trips needed. You probably have most of this in your fridge and pantry right now.
- Perfect for Halloween Week: Great for classroom parties, playdates, movie nights, or just surviving the sugar-fueled days leading up to October 31st.
- Crowd-Pleaser: Kids go wild for the candy corn and cheese combo, and adults appreciate the balanced mix of sweet and savory.
- Unbelievably Delicious: The salty-sweet contrast between sharp cheddar and candy corn is honestly addictive. Don’t knock it till you try it.
What makes this board different from the usual charcuterie spread is the intentional kid-friendliness. I’m not using fancy aged gouda or obscure crackers that cost eight dollars a box. This is real food for real families—stuff that tastes good, looks festive, and doesn’t break the bank. The secret is in the arrangement: grouping things by color and shape so it catches little eyes, and including enough familiar favorites that even the most cautious eater finds something to grab. It’s comfort food reimagined for Halloween—fun, fast, and full of the same soul-soothing satisfaction as a cozy snack.
What Ingredients You Will Need
This recipe uses simple, everyday ingredients to deliver big flavor and festive fun without the fuss. Most of these are pantry staples or easy to find at any grocery store, which means you can throw this board together on a whim. Here’s what you’ll need:
For the Cheese Selection
- Cheddar cheese block, cut into cubes (sharp or mild—your call; I prefer sharp for more flavor punch)
- Mozzarella string cheese, cut into thirds (kids love pulling these apart; it’s half the fun)
- Cream cheese block, softened (optional, but great for spreading on pretzels or crackers)
- Colby Jack cheese slices, cut into Halloween shapes using cookie cutters (ghosts, pumpkins, bats—whatever you’ve got)
For the Sweet Elements
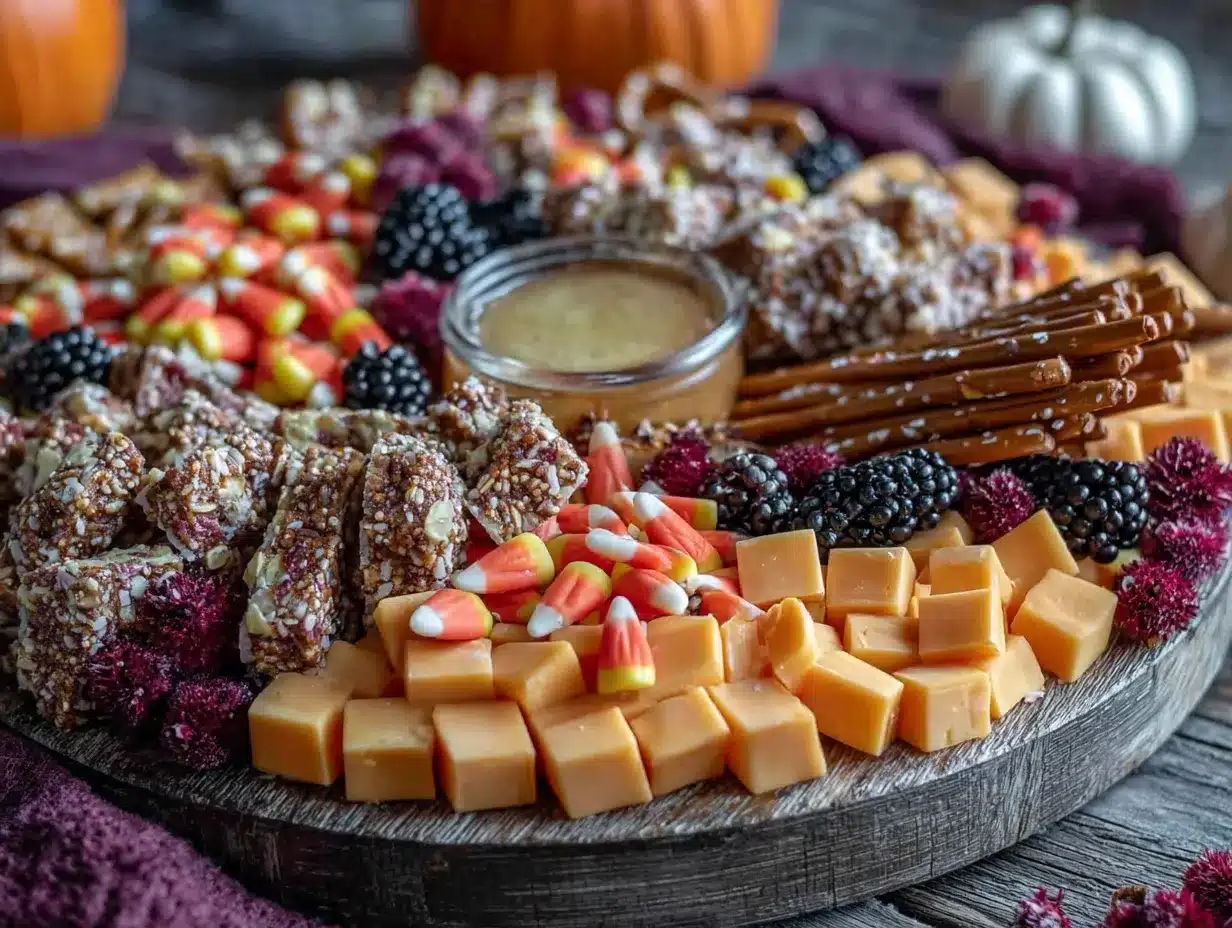
- Candy corn (the classic—you can’t have a Halloween board without it)
- Miniature marshmallows (for a ghostly white pop of sweetness)
- Halloween-themed chocolate candies (like candy corn pumpkins, orange M&Ms, or foil-wrapped chocolate eyeballs)
- Red grapes (nature’s candy—they add freshness and balance the sweetness)
For the Savory Crunch
- Pretzel sticks (great for dipping and adding salty crunch)
- Goldfish crackers (cheddar flavor—because what kid doesn’t love these?)
- Pita chips or tortilla chips (sturdy enough for scooping cream cheese)
- Roasted pumpkin seeds (optional, but adds a seasonal touch and extra protein)
For the Spooky Decorations
- Edible googly eyes (found in the baking aisle—stick them on cheese cubes for instant fun)
- Black olives (arranged to look like spiders—trust me, kids lose their minds over this)
- Fresh rosemary sprigs (use as “witch’s broom” garnishes—just tuck them between items)
I recommend using block cheese over pre-shredded for this board—it looks nicer and stays fresher longer. For the candy corn, I personally prefer Brach’s because they’re the softest and most flavorful. If you’re shopping at Aldi or Trader Joe’s, they usually have great seasonal options that won’t cost much. And here’s a pro tip: look for the mini candy corn bags near the checkout—they’re perfect for portion control and keep you from buying a giant bag you’ll eat yourself.
Equipment Needed
You don’t need anything fancy to pull this off, which is honestly my favorite part. Here’s what you’ll need:
- Large wooden cutting board or serving platter (any size works—I use a 16×12 inch board for a generous spread)
- Small bowls or ramekins (for holding candy corn, olives, or cream cheese—keeps things tidy)
- Cheese knife or small paring knife (for cutting cubes and shapes)
- Halloween cookie cutters (optional but highly recommended for cheese slices)
- Toothpicks or small skewers (for easy grabbing—especially helpful for little hands)
- Parchment paper (optional—line your board for easier cleanup, especially with sticky candy)
If you don’t have a wooden board, a large baking sheet or even a clean cutting board works perfectly. I’ve used a rimmed baking sheet in a pinch, and it actually kept everything from rolling off—bonus! For the small bowls, any ramekins or even clean yogurt cups will do. No need to buy special equipment. And if you don’t have Halloween cookie cutters, just cut the cheese into simple squares or triangles—kids don’t care about shapes as much as we think they do.
Preparation Method
Alright, let’s get to the fun part. This board comes together in about 15-20 minutes, and the process is as enjoyable as the result. Here’s how I do it:
- Start with your base (2 minutes). Place your cutting board or platter on the counter. If using parchment paper, tear off a sheet slightly larger than the board and let the edges hang over—this makes cleanup a breeze. Arrange your small bowls in the corners or along the edges. Fill one with candy corn, one with chocolate candies, and one with cream cheese if you’re using it.
- Cut your cheeses (5 minutes). Take your cheddar block and cut it into 1-inch cubes—aim for about 20-24 cubes. Cut your string cheese into thirds (each piece should be about 2 inches long). For the Colby Jack slices, use your Halloween cookie cutters to press out shapes. If the cheese is too soft, pop it in the freezer for 5 minutes first—it cuts much cleaner. Arrange the cheese cubes in small clusters around the board, leaving space between groups. Place the string cheese pieces like little logs, and scatter the shaped cheese slices around.
- Add your fruits and veggies (3 minutes). Wash your grapes and pat them dry—wet grapes make the board soggy. Place them in small bunches around the cheese. For the black olive “spiders,” take whole olives and cut a small slit in the side of each one, then insert thin strips of red bell pepper or carrot for legs. Arrange them near the edge so they look like they’re crawling off the board. (My kids screamed with delight when they saw these—totally worth the extra minute.)
- Layer in the crunchy items (3 minutes). Pour your pretzel sticks into one section, goldfish crackers into another, and pita chips near the cream cheese bowl. The key here is to create little “pockets” of each item rather than mixing everything together. This makes it easier for little hands to grab exactly what they want without digging through everything.
- Add the candy and decorations (3 minutes). Sprinkle candy corn around the board in small clusters—don’t dump it all in one spot. Place the chocolate candies near the pretzels (sweet and salty together is magic). Tuck your rosemary sprigs in between items to look like little brooms. If you have edible googly eyes, press them onto a few cheese cubes—the kids will lose it.
- Fill in the gaps (2 minutes). Step back and look at your board. Are there any empty spots? Fill them with extra goldfish, a few more grapes, or another cluster of candy corn. The goal is to make it look abundant but not crowded—you want each item to be visible and reachable. I usually end up adding a few more pretzel sticks to balance the colors.
- Final touches (2 minutes). Add toothpicks or small skewers to the cheese cubes and olive spiders. Place a small spoon in the cream cheese bowl. Give everything a gentle nudge to make sure nothing is touching something it shouldn’t (like wet grapes next to dry crackers). Step back, admire your work, and call the kids over. Watch them lose their minds.
One thing I learned the hard way: don’t put the candy corn directly on top of anything damp. It gets sticky and weird. Keep it in its own little zone or in the small bowls. Also, if you’re making this ahead of time, leave the pretzels and chips off until just before serving—they get stale fast. Everything else can sit out covered with plastic wrap for up to 2 hours.
Cooking Tips & Techniques
After making this board about a dozen times (and messing it up plenty), I’ve picked up a few tricks that make a real difference. Here’s what I’ve learned:
Balance is everything. The first time I made this, I went heavy on the candy corn and light on the savory stuff. Big mistake. The kids ate all the candy in five minutes and then looked at me like, “What now?” Now I aim for a 50-50 split between sweet and savory. That way, they graze on both throughout the afternoon instead of inhaling the sugar first. If you’re worried about portion control, put the candy corn in a small bowl rather than scattering it—it visually limits how much they grab.
Let the cheese breathe. Take your cheese out of the fridge about 15 minutes before you start assembling. Cold cheese doesn’t have as much flavor, and it’s harder to cut cleanly. Room-temp cheese cubes are softer, creamier, and way more appealing to kids who might be skeptical about “fancy” cheese. I learned this after serving rock-hard cheddar cubes that my daughter refused to touch—now she eats them by the handful.
Use the “three-finger rule” for placement. When arranging items, leave about three fingers’ worth of space between different clusters. This prevents flavors from mingling (nobody wants grape-flavored pretzels) and makes the board look more intentional. It also gives little hands room to grab without knocking everything over. Trust me, a crowded board is a disaster waiting to happen with kids.
Don’t forget the dip factor. Kids love dipping things. If you have room, add a small bowl of ranch dressing or hummus on the side. It gives them something to do with the pretzels and goldfish, and it keeps them occupied longer. I once added a bowl of pumpkin-shaped hummus (store-bought, nothing fancy) and my kids spent a solid 20 minutes dipping and crunching. That’s a win in my book.
Prep in stages. If you’re making this for a party or school event, cut the cheese and wash the grapes the night before. Store them in separate containers in the fridge, then just assemble the board when you’re ready. This cuts the prep time down to about 8 minutes, which is huge when you’re juggling Halloween costumes and last-minute decorations.
Variations & Adaptations
One of the best things about this board is how flexible it is. Here are some variations I’ve tried and loved:
Dairy-Free Version: Swap the cheddar and Colby Jack for dairy-free cheese alternatives (Daiya and Violife both make good options). Use dairy-free cream cheese for the spread. The rest of the board—candy corn, pretzels, grapes, goldfish—is naturally dairy-free, so you’re mostly just swapping the cheese. I made this for a friend’s kid with a dairy allergy, and she said it was the first time her daughter felt included in a Halloween snack. That alone made it worth it.
Nut-Free Friendly: This board is naturally nut-free if you skip any nut-containing chocolates. Just double-check your candy corn and chocolate labels—some brands process nuts in the same facility. Stick with brands like Brach’s for candy corn and Enjoy Life for chocolate candies to be safe. I always keep a nut-free version for classroom parties, and it’s never been an issue.
Savory-Heavy Board: If your kids aren’t big on sweets (lucky you), swap the candy corn for more savory options like pepperoni slices, salami rolls, or pickles. Add some cherry tomatoes and cucumber slices for freshness. The Halloween theme still works if you use black olive spiders and ghost-shaped cheese. I tried this for a friend’s kid who hates candy corn, and he ate half the board himself.
Breakfast Board: Believe it or not, this works great for a Halloween morning breakfast. Replace the candy corn with orange slices and banana ghosts (slice bananas in half, add mini chocolate chip eyes). Use cream cheese and bagel chips instead of crackers. My kids loved having a “spooky breakfast board” before school on Halloween—it made the morning feel special without a lot of work.
Individual Lunchbox Boards: For school lunches, use a small bento box or muffin tin to create mini boards. Put a few cheese cubes, a small handful of candy corn, some pretzels, and a couple of grapes in each compartment. It’s like a lunchable but way cuter and healthier. I’ve been doing this all October, and my kids actually eat their whole lunch now.
Serving & Storage Suggestions
This board is best served at room temperature, so let it sit out for about 10 minutes after assembling before calling the kids over. The cheese will be softer and more flavorful, and the candy corn won’t be as hard. If you’re serving it at a party, keep it on the counter and refresh it every hour or so—just add more pretzels or grapes as things get eaten.
For presentation, I like to arrange everything in a rough “U” shape with the small bowls in the center. This creates a natural flow and makes it easy for kids to reach from all sides. If you’re using a rectangular board, put the bowls at one end and fan the food out from there. And don’t forget to add a few spooky touches—I always tuck a plastic spider or two among the grapes just for fun.
As for storage, this board doesn’t keep super well once assembled. The crackers and pretzels get stale, and the grapes can make everything soggy. If you have leftovers, separate the components into individual containers. Cheese cubes keep in the fridge for 3-4 days. Candy corn and pretzels can go in a sealed bag at room temperature. Grapes should be eaten within a day or two. I wouldn’t recommend freezing anything on this board—the texture just isn’t the same after thawing.
One thing I love about this board is how the flavors develop over time—well, sort of. The cheese and grapes stay pretty consistent, but the candy corn gets a little softer and chewier after a few hours. Some kids prefer it that way. If you’re making this for a party later in the day, assemble it about 30 minutes before serving and let the candy corn soften slightly at room temperature. It’s a small detail, but it makes a difference.
Nutritional Information & Benefits
I’m not a nutritionist, but I’ve done enough label-reading to give you a rough idea of what’s in this board. A typical serving (about a handful of cheese, a small handful of pretzels, a few grapes, and a modest amount of candy corn) comes in around 250-300 calories. Here’s the breakdown per serving:
- Calories: 280
- Protein: 12g (from cheese and milk)
- Carbohydrates: 30g (from pretzels, grapes, and candy corn)
- Fat: 14g (mostly from cheese)
- Fiber: 2g (from grapes and pretzels)
- Sugar: 18g (about half from grapes, half from candy corn)
The cheese provides calcium and protein, which helps balance out the sugar from the candy. Grapes add vitamin C and antioxidants, while pretzels offer a little iron and B vitamins. The candy corn is mostly sugar and corn syrup—let’s be real—but in small amounts, it’s fine for a holiday treat. If you’re watching sugar intake, just go heavier on the cheese and grapes and lighter on the candy. This board is naturally vegetarian and can be made gluten-free by using gluten-free pretzels and crackers.
Potential allergens include dairy (cheese, cream cheese) and gluten (pretzels, crackers). Always check labels if you’re serving kids with allergies. I’ve had good luck with Daiya cheese for dairy-free and Glutino pretzels for gluten-free—they work great on this board.
Conclusion
This kid-friendly Halloween charcuterie board has become a tradition in my house, and I honestly can’t imagine October without it. It’s the kind of recipe that makes you feel like a super parent without actually working that hard—and isn’t that what we all want? Whether you’re feeding your own kids before trick-or-treating, bringing something to a classroom party, or just want a fun snack for a Halloween movie night, this board delivers. It’s flexible, affordable, and guaranteed to make little faces light up.
I’d love to hear how yours turns out. Did you add something unexpected? Did your kids love the olive spiders or the candy corn clusters? Drop a comment below and let me know—I’m always looking for new ideas to try. And if you share a photo on social media, tag me so I can see your creation. Happy Halloween, and happy snacking!
Frequently Asked Questions
Can I make this board ahead of time?
Yes, but with a few caveats. You can cut the cheese and wash the grapes the night before and store them in separate containers in the fridge. Assemble the board no more than 2 hours before serving to keep the pretzels and crackers from getting stale. If you’re making it for a party, set everything out 30 minutes before guests arrive and add the crunchy items last.
How do I keep the candy corn from getting sticky?
Keep candy corn in a separate small bowl rather than scattering it on the board. This prevents it from absorbing moisture from the grapes or cheese. If you’re using a wooden board, line it with parchment paper first—the candy corn won’t stick to the paper. And avoid putting it near anything damp, like washed grapes or cream cheese.
What if my kids don’t like cheese?
No problem! Swap the cheese for more kid-friendly options like salami rolls, pepperoni slices, or even chicken nuggets cut into shapes. You can also add more fruit like apple slices (toss them in lemon juice to prevent browning) or carrot sticks. The board is totally customizable—use whatever your kids actually eat.
Can I make this gluten-free?
Absolutely. Use gluten-free pretzels and crackers (I like Glutino and Simple Mills brands). Most candy corn is naturally gluten-free, but check the label to be safe. Cheese, grapes, and olives are all naturally gluten-free, so you’re mostly swapping the crunchy items. Just be careful about cross-contamination if you’re serving someone with celiac disease.
How much does this board cost to make?
About $15-20, depending on what you already have at home. The cheese is the most expensive part—about $5-8 for a block of cheddar and some string cheese. Candy corn is cheap (usually $2-3 a bag), and grapes and pretzels are budget-friendly. If you’re on a tight budget, skip the cream cheese and use whatever crackers you have on hand. This board is designed to be flexible and affordable for families.
Pin This Recipe!
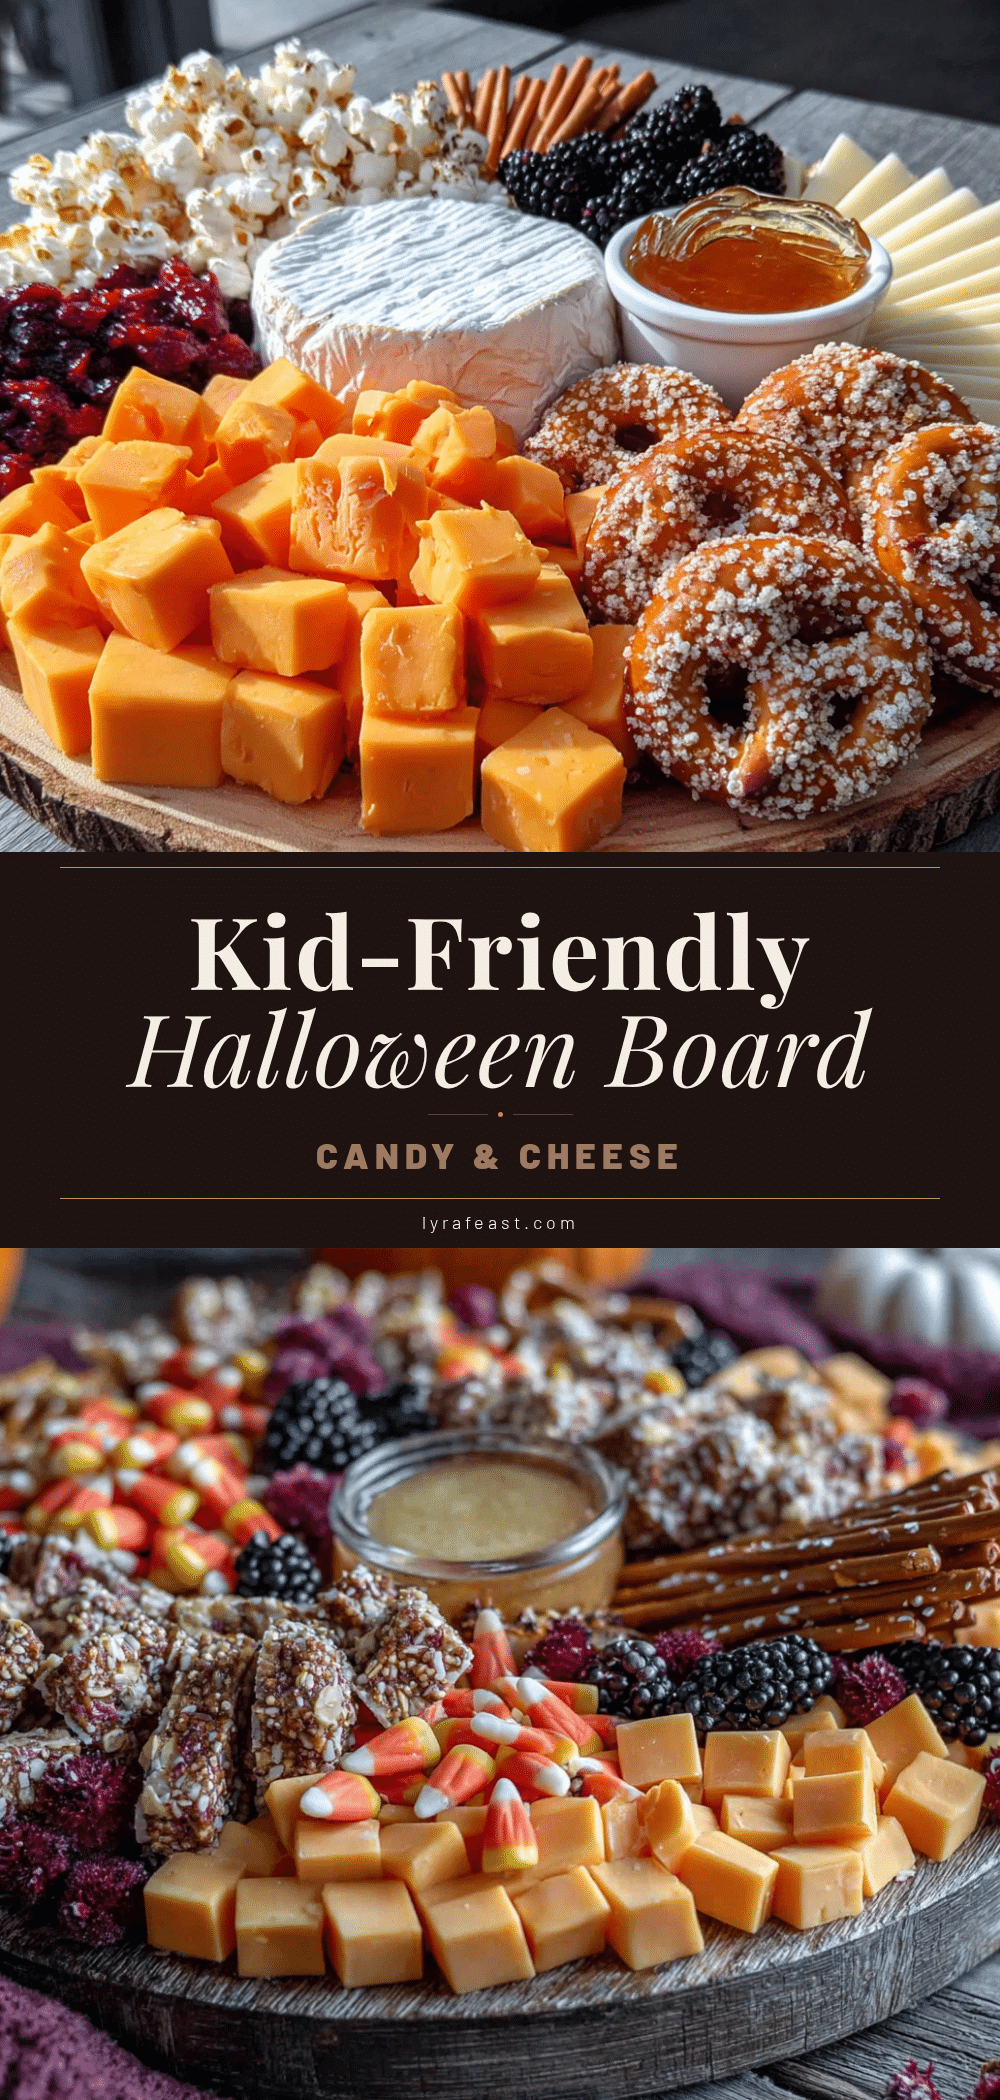
Easy Kid-Friendly Halloween Charcuterie Board
A quick and festive Halloween snack board made with simple ingredients like cheese, candy corn, pretzels, and grapes. Perfect for after-school snacking or pre-trick-or-treat fuel, this board comes together in under 20 minutes and is a crowd-pleaser for kids and adults alike.
- Prep Time: 15 minutes
- Cook Time: 0 minutes
- Total Time: 15 minutes
- Yield: 4 servings
- Category: Appetizer
- Cuisine: American
Ingredients
- Cheddar cheese block, cut into 1-inch cubes (about 20-24 cubes)
- Mozzarella string cheese, cut into thirds
- Cream cheese block, softened (optional)
- Colby Jack cheese slices, cut into Halloween shapes using cookie cutters
- Candy corn (about 1 cup)
- Miniature marshmallows (about 1/2 cup)
- Halloween-themed chocolate candies (about 1/2 cup)
- Red grapes (about 1 cup)
- Pretzel sticks (about 1 cup)
- Goldfish crackers (about 1 cup)
- Pita chips or tortilla chips (about 1 cup)
- Roasted pumpkin seeds (optional, about 1/4 cup)
- Edible googly eyes (optional)
- Black olives (about 1/2 cup, for spider decorations)
- Fresh rosemary sprigs (for garnish)
Instructions
- Place your cutting board or platter on the counter. If using parchment paper, tear off a sheet slightly larger than the board and let the edges hang over. Arrange small bowls in the corners or along the edges. Fill one with candy corn, one with chocolate candies, and one with cream cheese if using.
- Cut the cheddar block into 1-inch cubes (about 20-24 cubes). Cut string cheese into thirds. Use Halloween cookie cutters to press shapes from Colby Jack slices. Arrange cheese cubes in small clusters around the board, leaving space between groups. Place string cheese pieces like little logs, and scatter shaped cheese slices around.
- Wash grapes and pat dry. Place them in small bunches around the cheese. For black olive spiders, cut a small slit in the side of each olive and insert thin strips of red bell pepper or carrot for legs. Arrange near the edge of the board.
- Pour pretzel sticks into one section, goldfish crackers into another, and pita chips near the cream cheese bowl. Create little pockets of each item rather than mixing everything together.
- Sprinkle candy corn around the board in small clusters. Place chocolate candies near the pretzels. Tuck rosemary sprigs between items to look like little brooms. If using edible googly eyes, press them onto a few cheese cubes.
- Step back and look at the board. Fill any empty spots with extra goldfish, grapes, or candy corn. The goal is to make it look abundant but not crowded.
- Add toothpicks or small skewers to cheese cubes and olive spiders. Place a small spoon in the cream cheese bowl. Give everything a gentle nudge to ensure nothing is touching something it shouldn’t. Serve immediately.
Notes
Take cheese out of fridge 15 minutes before assembling for better flavor and easier cutting. Keep candy corn in a separate bowl to prevent stickiness. Add pretzels and chips just before serving to keep them crunchy. The board can be assembled up to 2 hours ahead if covered with plastic wrap, but leave crunchy items off until serving.
Nutrition
- Serving Size: 1 serving (about a h
- Calories: 280
- Sugar: 18
- Sodium: 450
- Fat: 14
- Saturated Fat: 8
- Carbohydrates: 30
- Fiber: 2
- Protein: 12
Keywords: Halloween charcuterie board, kid-friendly snack, Halloween snack, easy appetizer, party platter, cheese board, candy corn, festive snack



