Introduction
Three weeks ago, I was standing in my cluttered kitchen at nearly midnight, staring at a mixing bowl full of sticky dough that I’d just thrown together without much hope. Honestly, I wasn’t aiming for anything fancy—just a quick pizza base to satisfy an unexpected craving. I’d read about no-knead dough before but never really trusted it to work for something as delicate as artisan pizza. The plan was simple: mix, cover, and let it rest overnight while I got some sleep.
The next day, I came back to that bowl, half-expecting a gooey mess. Instead, the dough had transformed into this bubbly, elastic masterpiece that felt like it had been lovingly hand-kneaded for ages. I rolled it out, slapped on some sauce and cheese, and popped it into the oven, still skeptical. But when I bit into that first slice, the crispy crust with its soft, airy interior blew me away. You know that feeling when you think you messed up, but then it turns out better than you ever imagined? Yeah, that’s exactly what happened.
Maybe you’ve been there—craving homemade pizza but dreading the hours of kneading or waiting for the dough to proof. This easy no-knead artisan pizza dough with an overnight rise changed the game for me. Now, it’s my go-to whenever I want delicious, bakery-quality pizza without the fuss. Plus, it’s perfect for those nights when you forget to prep but want something impressive the next day. Let me tell you, once you try this, you’ll keep coming back for more.
Why You’ll Love This Recipe
This recipe is honestly one of those rare gems that balances simplicity and incredible flavor perfectly. After testing countless dough recipes, this no-knead artisan pizza dough with an overnight rise stands out as both reliable and delicious. It’s been family-approved and even won over a few skeptical friends who usually prefer takeout.
- Quick & Easy: Mix everything in one bowl in under 10 minutes, then let the dough do all the work overnight while you sleep.
- Simple Ingredients: No fancy flours or additives needed—just basic pantry staples you probably already have on hand.
- Perfect for Weeknights: Whether you’re juggling work or family, the hands-off rise means less stress, more flavor.
- Crispy Yet Chewy: The long fermentation creates that classic artisan crust with bubbles and a tender crumb inside.
- Crowd-Pleaser: Whether you’re making pizzas for kids or friends, this dough consistently gets rave reviews.
What sets this recipe apart is the slow, cold fermentation that happens overnight in your fridge. It develops complex flavor and texture, making your homemade pizza taste like it came from a wood-fired oven. Plus, because it’s no-knead, you avoid the arm workout but still get a perfect dough every time. Honestly, it’s comfort food that feels special without the usual hassle.
What Ingredients You Will Need
This recipe uses simple, wholesome ingredients to deliver bold flavor and satisfying texture without the fuss. You’ll find these are pantry staples, but I’ll offer some substitution tips just in case.
- All-purpose flour – 3 ½ cups (420g) (I prefer King Arthur Flour for consistent results)
- Warm water – 1 ½ cups (360ml) (around 100°F/38°C, just warm to the touch)
- Active dry yeast – 1 tsp (make sure it’s fresh and not expired for best rise)
- Salt – 2 tsp (kosher salt works beautifully here)
- Olive oil – 2 tbsp (extra virgin, adds richness and helps crust crisp)
Optional:
- Honey or sugar – ½ tsp (if you want just a hint of sweetness to boost fermentation)
Substitution tips: For a gluten-free variation, swap all-purpose flour with a gluten-free blend designed for bread baking. Use dairy-free olive oil or avocado oil if you want a different fat profile. If you don’t have active dry yeast, instant yeast works as well but reduce by 25% and add directly to flour.
Equipment Needed
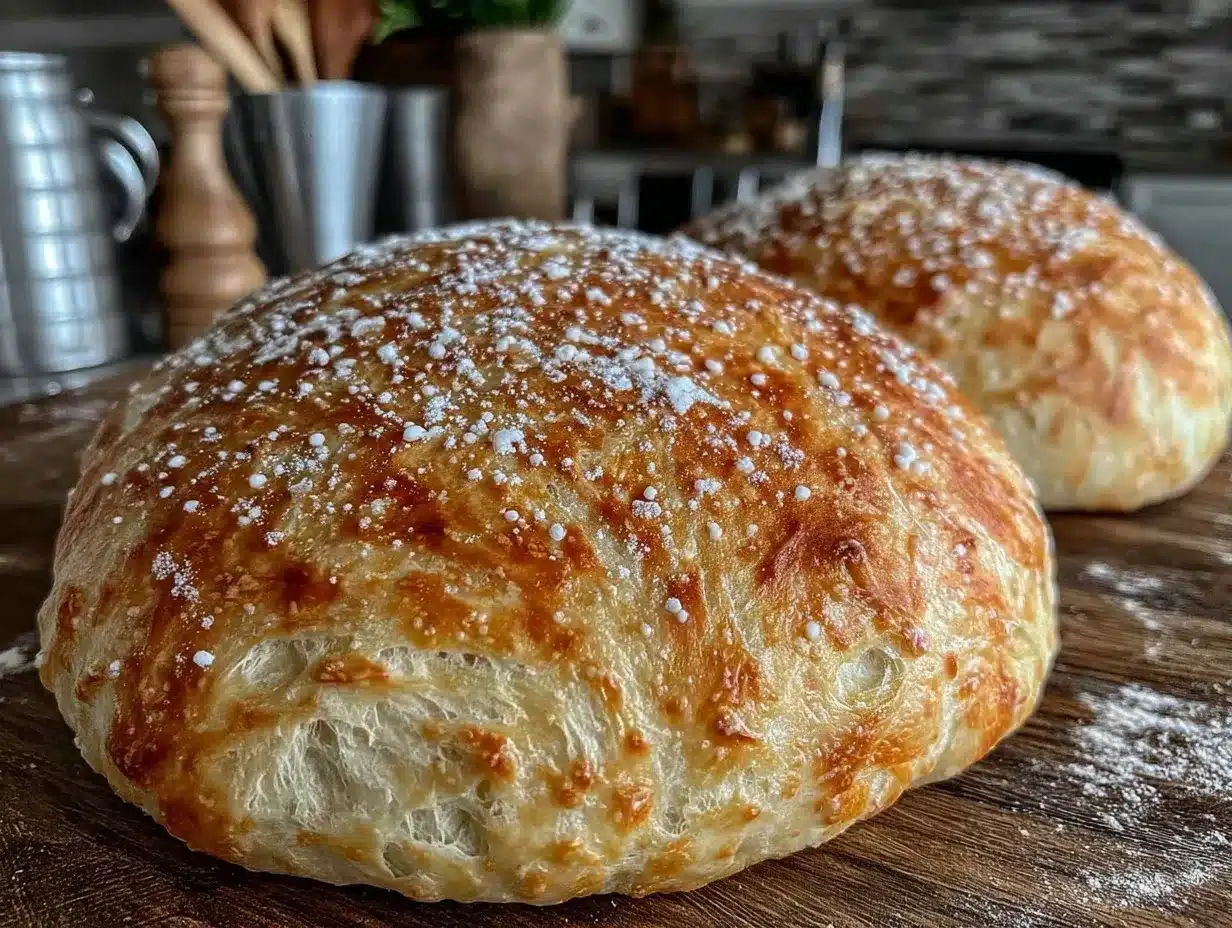
- Large mixing bowl (preferably glass or stainless steel for easy cleanup)
- Measuring cups and spoons (accurate measurement is key!)
- Rubber spatula or wooden spoon (for mixing sticky dough)
- Plastic wrap or a clean kitchen towel (to cover the dough during rise)
- Baking sheet, pizza stone, or cast iron skillet (I personally love using a pizza stone for that crispy bottom)
- Rolling pin or your hands (for shaping the dough)
- Optional: kitchen scale (for more precise flour measurement if you want to get fancy)
If you don’t have a pizza stone, a heavy baking sheet turned upside down works just fine. Just preheat it thoroughly in the oven for that nice crust crisp. For mixing, I sometimes use a stand mixer with a dough hook, but honestly, stirring by hand is totally fine here since it’s no-knead.
Preparation Method
- Mix the yeast and water: In your large mixing bowl, combine 1 ½ cups (360ml) of warm water with 1 tsp active dry yeast. Let it sit for about 5 minutes until it looks foamy. This “proofing” step wakes up the yeast and confirms it’s active.
- Add flour and salt: Stir in 3 ½ cups (420g) all-purpose flour and 2 tsp salt. If using honey, add it here. Use a rubber spatula or wooden spoon to mix until just combined—it’ll be shaggy and sticky, which is exactly what you want.
- Incorporate olive oil: Add 2 tbsp olive oil and gently fold it into the dough. Don’t worry about kneading; the dough will feel wet and sticky—that’s perfect for artisan texture.
- Cover and refrigerate: Cover the bowl tightly with plastic wrap or a damp kitchen towel. Place it in your fridge for at least 12 hours, ideally 18-24 hours. This overnight rise is where the magic happens—slow fermentation develops flavor and texture.
- Remove and warm: After the cold rise, take the dough out and let it sit at room temperature for about 1-2 hours before shaping. It should be bubbly and airy—don’t rush this step, or the dough might tear when you shape it.
- Shape the dough: Lightly flour your work surface and gently stretch or roll the dough into your desired pizza shape. If it resists, let it rest for a few minutes and try again.
- Preheat oven: Heat your oven to 500°F (260°C) with a pizza stone or baking sheet inside to preheat for at least 30 minutes.
- Add toppings and bake: Place your dough on parchment paper or a pizza peel, add sauce, cheese, and toppings. Slide it onto your preheated stone or baking sheet and bake for 10-15 minutes, until the crust is golden and crisp.
Pro tip: If your dough feels too sticky to handle, wet your hands lightly instead of adding extra flour—this keeps the crust tender. Also, don’t overload toppings; a lighter hand helps the crust cook evenly.
Cooking Tips & Techniques
Making no-knead artisan pizza dough might sound foolproof, but a few tricks have saved me from disaster more than once. First, temperature matters. Yeast loves warmth, but if your water’s too hot, it kills the yeast. I always test with my wrist—if it feels like a warm bath, you’re good.
Patience is key here. The overnight rise is not just about bulk but flavor development. Letting the dough ferment slowly in the fridge creates those signature bubbles and a complex taste. I’ve rushed it before, and the crust ended up dense and bland, so don’t skip this step.
When shaping, handle the dough gently. You want to keep those lovely air pockets intact. If it springs back or tears, let it rest for a few minutes—it’s forgiving if you give it a moment to relax.
For baking, a super-hot oven is your best friend. The quick, intense heat crisps the outside while keeping the inside chewy and airy. If you don’t have a pizza stone, a cast iron skillet preheated in the oven works surprisingly well to mimic that effect.
Finally, keep an eye on your dough’s hydration. Some flours absorb more water, so you might need to adjust slightly. I learned this the hard way when my dough was either too sticky or too dry; a little experimentation helps.
Variations & Adaptations
This easy no-knead artisan pizza dough is super flexible, which makes it a kitchen favorite. Here are a few ways you can switch it up:
- Whole Wheat Version: Replace half the all-purpose flour with whole wheat flour for a nuttier flavor and more fiber. The dough might need a bit more water—add 2-3 tbsp extra if it feels dry.
- Gluten-Free Adaptation: Use a gluten-free flour blend suitable for bread baking. Because gluten-free doughs behave differently, I recommend adding a teaspoon of xanthan gum if your blend doesn’t include it.
- Herbed Dough: Add 1 tbsp dried Italian herbs or fresh rosemary to the flour before mixing. This infuses the crust with subtle aromatic notes.
- Cold Starter Method: For even more flavor, reserve ¼ cup of the dough after mixing and refrigerate it to use as a starter in your next batch. This creates a sourdough-like depth without needing a full starter culture.
Personally, I once tried adding roasted garlic puree directly into the dough for a savory twist. It was messy but worth it—garlic lovers, this one’s for you.
Serving & Storage Suggestions
Serve your artisan pizza fresh from the oven while the crust is still crisp and the cheese bubbly. I like to slice it thin and serve alongside a simple arugula salad with lemon vinaigrette—helps cut the richness.
If you have leftovers, store them in an airtight container in the fridge for up to 3 days. To reheat, pop slices in a hot skillet for a couple of minutes or bake at 375°F (190°C) until warmed through and crispy again. Avoid microwaving if possible—it makes the crust soggy.
For longer storage, you can freeze the dough before the first rise or after shaping, wrapped tightly in plastic wrap and then foil. Thaw overnight in the fridge before baking. The flavors actually improve a bit after freezing and slow thawing.
Over time, the flavors in the dough deepen, so if you want a milder taste, bake the pizza sooner after the rise. But honestly, I enjoy the slightly tangy notes that come from a longer fermentation—it feels really authentic.
Nutritional Information & Benefits
This artisan pizza dough recipe offers a relatively simple nutritional profile. Each serving (about 1/6 of the dough) contains roughly:
| Calories | 180 |
|---|---|
| Carbohydrates | 37g |
| Protein | 6g |
| Fat | 3g |
| Fiber | 1.5g |
The recipe uses olive oil, which adds heart-healthy monounsaturated fats. The slow fermentation enhances digestibility by breaking down gluten and starches, making it easier on the stomach compared to quick-rise doughs.
For those with dietary restrictions, this recipe is naturally vegetarian and can be adapted to gluten-free. However, it contains wheat flour and yeast, which are potential allergens to consider.
From a wellness perspective, I appreciate how this dough allows homemade pizza to be a balanced meal base. You can load it with fresh veggies, lean proteins, and quality cheeses for a satisfying but not overly processed dinner.
Conclusion
This easy no-knead artisan pizza dough overnight rise recipe is the perfect solution when you want homemade pizza that tastes like it came from a pizzeria but without the usual hassle. It’s forgiving, delicious, and rewarding to make. I love how it fits into busy schedules—the dough does all the work while I sleep or get other things done.
Feel free to tweak it with your favorite flour, herbs, or toppings. Honestly, once you nail this dough, you’re just a few steps away from creating your own pizza masterpieces. I can’t wait to hear how you make it your own—drop a comment or share your twist on this dough!
Go ahead and try it tonight—you’ll thank yourself tomorrow when you bite into that crispy, airy crust that tastes like a little slice of heaven.
Frequently Asked Questions (FAQs)
Can I make this dough without yeast?
This recipe relies on yeast for the rise and flavor, so skipping it won’t give the same texture or taste. For a yeast-free option, consider a baking powder-based dough, but it won’t have the same artisan quality.
How long can I let the dough rise in the fridge?
The dough can rest in the fridge for up to 24 hours. Beyond that, it may over-ferment and develop a sour flavor or weaken the structure.
Can I freeze the dough after the overnight rise?
Yes! Wrap the dough tightly in plastic and foil, then freeze for up to 2 months. Thaw it overnight in the fridge before shaping and baking.
Why is my dough too sticky to handle?
Sticky dough is normal for no-knead recipes. Wetting your hands or lightly flouring your work surface helps. Avoid adding too much flour, or the crust can become tough.
What’s the best way to get a crispy crust at home?
Use a pizza stone or preheated heavy baking sheet in a very hot oven (500°F/260°C). Bake quickly to get that crisp exterior while keeping the inside soft and airy.
Pin This Recipe!
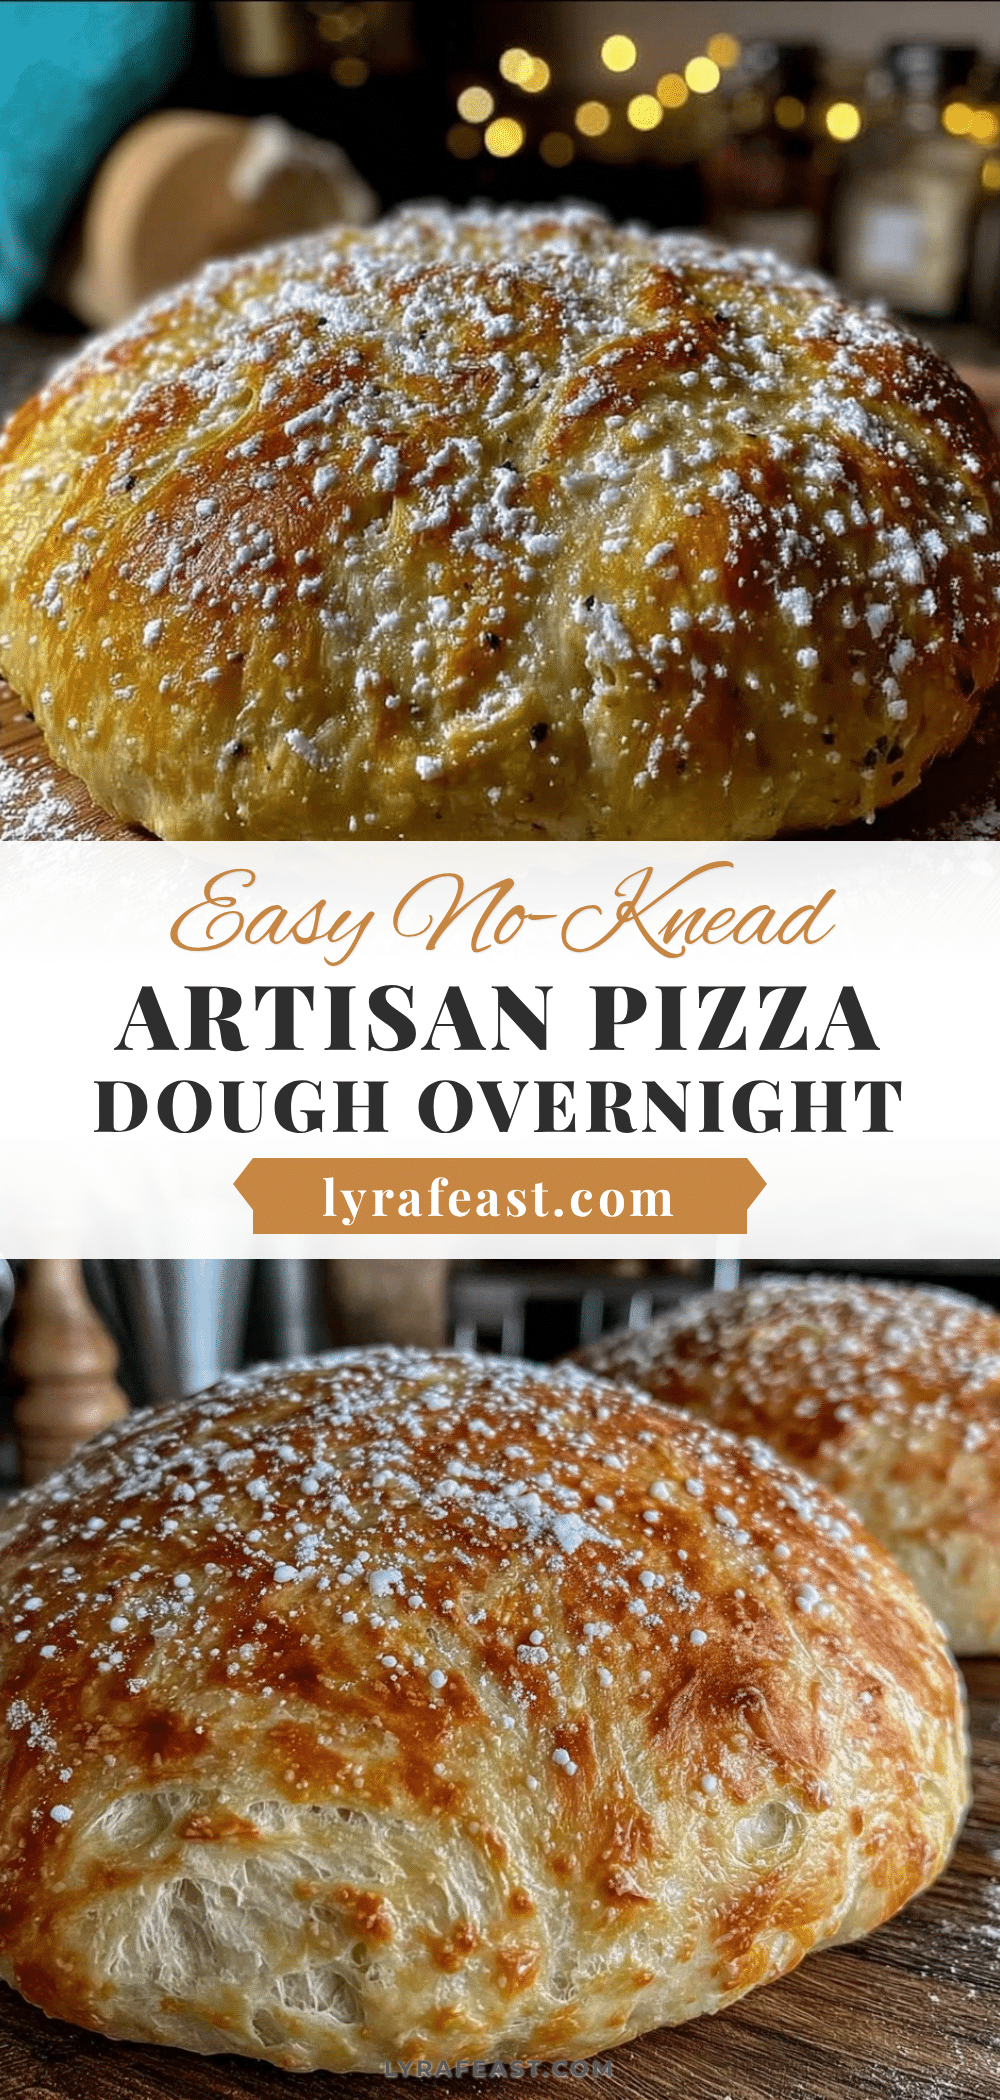
Easy No-Knead Artisan Pizza Dough Recipe for Perfect Overnight Rise

This easy no-knead artisan pizza dough recipe requires minimal effort and an overnight rise to create a crispy yet chewy crust with a soft, airy interior. Perfect for homemade pizza that tastes like it came from a pizzeria.
- Prep Time: 10 minutes
- Cook Time: 10-15 minutes
- Total Time: 13-25 hours
- Yield: 6 servings 1x
- Category: Main Course
- Cuisine: Italian
Ingredients
- 3 ½ cups (420g) all-purpose flour
- 1 ½ cups (360ml) warm water (around 100°F/38°C)
- 1 tsp active dry yeast
- 2 tsp salt (kosher salt recommended)
- 2 tbsp olive oil (extra virgin)
- Optional: ½ tsp honey or sugar
Instructions
- In a large mixing bowl, combine 1 ½ cups (360ml) warm water with 1 tsp active dry yeast. Let sit for about 5 minutes until foamy.
- Stir in 3 ½ cups (420g) all-purpose flour and 2 tsp salt. If using honey, add it now. Mix with a rubber spatula or wooden spoon until just combined; dough will be shaggy and sticky.
- Add 2 tbsp olive oil and gently fold into the dough. No kneading needed.
- Cover the bowl tightly with plastic wrap or a damp kitchen towel and refrigerate for at least 12 hours, ideally 18-24 hours for slow fermentation.
- Remove dough from fridge and let sit at room temperature for 1-2 hours until bubbly and airy.
- Lightly flour your work surface and gently stretch or roll the dough into your desired pizza shape. Let rest a few minutes if it resists.
- Preheat oven to 500°F (260°C) with a pizza stone or baking sheet inside for at least 30 minutes.
- Add sauce, cheese, and toppings to the dough placed on parchment paper or a pizza peel.
- Slide pizza onto the preheated stone or baking sheet and bake for 10-15 minutes until crust is golden and crisp.
Notes
Use warm water around 100°F to activate yeast without killing it. Avoid adding extra flour when handling sticky dough; wet your hands instead. Preheat pizza stone or baking sheet thoroughly for a crispy crust. Let dough rest if it resists shaping to avoid tearing. Dough can ferment up to 24 hours in fridge but not longer to prevent over-fermentation. Dough can be frozen before first rise or after shaping for up to 2 months.
Nutrition
- Serving Size: About 1/6 of the dou
- Calories: 180
- Fat: 3
- Carbohydrates: 37
- Fiber: 1.5
- Protein: 6
Keywords: no-knead pizza dough, artisan pizza dough, overnight pizza dough, easy pizza dough, homemade pizza, pizza crust recipe