There used to be a tiny French bakery tucked between a dry cleaner and a nail salon on the corner of 3rd and Elm that made the most incredible crusty bread I have ever tasted. When they closed suddenly two summers ago—just a handwritten sign on the door saying “Merci, et au revoir”—I honestly felt a little lost. That bread was my Sunday ritual. I would walk over in my pajamas at 8 AM, grab a warm loaf still crackling from the oven, and eat half of it before I even got home. After they disappeared, I tried every bakery within a twenty-mile radius. Nothing came close. So I did what any reasonable person with an obsession and a kitchen would do: I decided to figure it out myself.
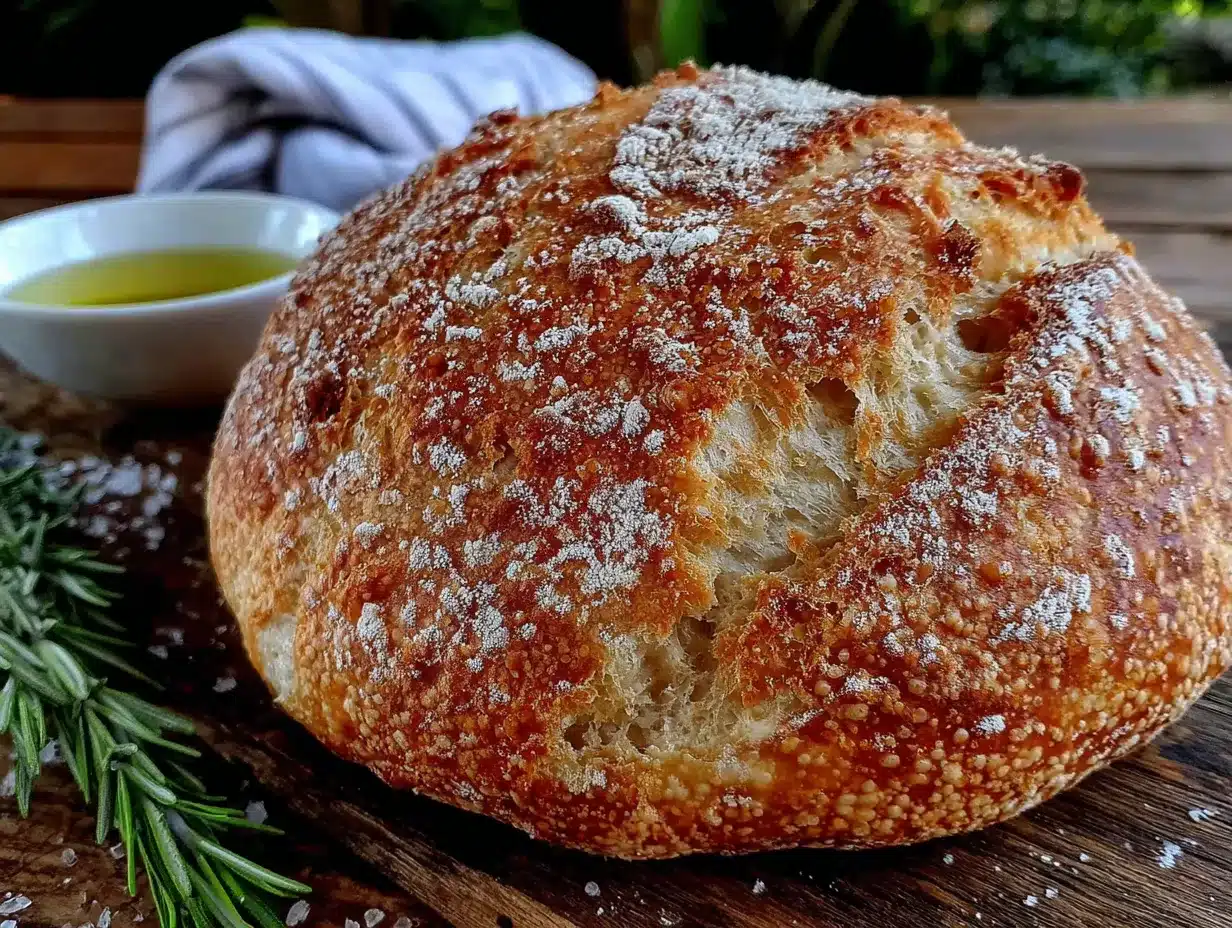
After 12 tries—some of which were honestly more like hockey pucks than bread—I finally got it. This easy no-knead same-day artisan bread recipe is the one. It gives you that crackling crust, that soft, airy interior with those beautiful irregular holes, and that deep, wheaty flavor that makes you close your eyes when you take a bite. And here is the thing that still blows my mind: there is no kneading. None. You mix it, you wait, you bake it. That is it.
I remember the morning I finally nailed it. I was in my kitchen, barefoot, coffee getting cold on the counter, and I pulled this golden, blistered loaf out of the Dutch oven. The sound it made when I tapped the bottom—that hollow thump—I nearly cried. Honestly. My neighbor probably thought I was insane, standing there hugging a loaf of bread. But if you have ever chased a recipe this hard, you know that feeling. This bread is for anyone who has ever wanted that bakery experience at home without the fancy equipment or the arm workout. Let me show you how easy it really is.
Why You’ll Love This Recipe
I have tested this recipe more times than I care to admit, and I can tell you with total confidence: this is the best no-knead bread you will ever make at home. It is not just another bread recipe floating around the internet. It is the one that finally works, every single time, without any fuss.
- No Kneading Required: You do not need a stand mixer, a bread machine, or any arm strength. Just a bowl and a spoon. Seriously.
- Same-Day Results: Most no-knead recipes make you wait 18 to 24 hours. This one goes from bowl to oven in about 4 to 5 hours. That is real same-day artisan bread.
- Simple Pantry Ingredients: Flour, water, salt, and yeast. That is it. No weird specialty ingredients, no trips to three different stores.
- Crusty, Bakery-Quality Crust: The steam from your Dutch oven creates that crackling, golden-brown crust you usually only get from a professional bakery.
- Perfect for Beginners: If you have never baked bread before in your life, this recipe is for you. It is forgiving, it is flexible, and it is practically foolproof.
- Incredibly Versatile: Use it for sandwiches, toast, dipping in soup, or just slathering with butter and eating straight from the loaf. No judgment here.
What makes this recipe different from all the others? It is the timing. I spent weeks tweaking the fermentation window, the water temperature, and the folding technique to get that perfect balance of flavor and texture without the long wait. Most no-knead recipes sacrifice flavor for speed, or speed for flavor. This one gives you both. The crust shatters when you cut into it. The inside is soft and chewy with those gorgeous, irregular air pockets. It is the kind of bread that makes a simple bowl of soup feel like a meal at a fancy restaurant.
And honestly? It is the kind of recipe that makes you feel like a magician. You mix four ingredients, walk away, come back, and somehow you have a beautiful, golden loaf of bread that looks like it cost eight dollars at a bakery. That feeling never gets old.
What Ingredients You Will Need
This recipe uses the most basic ingredients you probably already have in your kitchen. That is the beauty of it. No fancy flours, no specialty yeasts, no hard-to-find additives. Just four simple things that come together to create something truly special.
- Bread Flour (3 ½ cups / 450 grams): I recommend King Arthur Bread Flour for the best structure and chew, but any good bread flour will work. Bread flour has a higher protein content than all-purpose flour, which gives you that beautiful, chewy crumb and helps the bread rise higher. If you only have all-purpose flour, you can use it—just know the texture will be slightly less chewy and the crust might not be quite as crackly.
- Warm Water (1 ½ cups / 360 ml, about 100-110°F): The temperature of your water matters more than you might think. Too hot, and you will kill the yeast. Too cold, and your dough will take forever to rise. I use warm tap water and test it on my wrist—it should feel like a warm bath, not hot. If you do not have a thermometer, that little wrist test works every time.
- Active Dry Yeast (1 packet / 2 ¼ teaspoons): I use Red Star or Fleischmann’s active dry yeast, and I always proof it first to make sure it is alive. If you use instant yeast, you can skip the proofing step and mix it directly with the flour. Just reduce the rise time slightly, as instant yeast works faster.
- Salt (1 ½ teaspoons / 9 grams): Use fine sea salt or table salt. Kosher salt works too, but you may need to use a little more since the crystals are larger. I use Morton’s fine sea salt. Salt is not just for flavor—it also strengthens the gluten structure and helps control the yeast activity so your bread does not over-rise and collapse.
- Optional: Olive Oil (1 tablespoon): This is not strictly necessary, but I like to add a tiny bit of olive oil to the dough for a slightly softer crumb and a richer flavor. It also helps with browning. Totally optional, but I never skip it.
- Optional: Cornmeal or Semolina (for dusting): A light dusting on your work surface or parchment paper prevents sticking and adds a nice little crunch to the bottom of the loaf. You can also use rice flour, which is what professional bakers use.
One thing I learned the hard way: weigh your flour if you can. A kitchen scale is a game-changer for bread baking. Flour can be so inconsistent when measured by volume—one cup can weigh anywhere from 120 to 150 grams depending on how you scoop it. I use an Escali scale and it has saved me from so many dense, disappointing loaves. If you do not have a scale, fluff your flour with a spoon, spoon it into the measuring cup, and level it off with a knife. Do not scoop directly with the measuring cup—that packs the flour down and you will end up with too much.
Equipment Needed
One of the best things about this recipe is how little equipment it requires. You probably already own most of this stuff.
- Large Mixing Bowl: Any big bowl will do. I use a stainless steel bowl because it is lightweight and easy to clean, but glass or ceramic works great too.
- Wooden Spoon or Dough Whisk: A sturdy spoon for mixing the dough. A Danish dough whisk is my favorite tool for this job—it mixes the dough without it sticking to the whisk, and it costs about ten bucks.
- Dutch Oven (5 to 6 quarts): This is the secret to the crust. A heavy pot with a lid traps steam from the dough, creating that crispy, golden crust. I use a Lodge enameled cast iron Dutch oven, but any heavy pot that can go in the oven at 450°F will work. If you do not have a Dutch oven, you can use a heavy baking sheet with a metal bowl inverted over the bread, or a cast iron skillet with a metal bowl on top.
- Parchment Paper: This makes transferring the dough into the hot Dutch oven so much easier. Just lift the parchment paper by the corners and drop the dough right in. No burned fingers.
- Plastic Wrap or a Clean Kitchen Towel: For covering the dough while it rises. I prefer a damp kitchen towel because it is reusable and does not create waste.
- Sharp Knife or Lame for Scoring: A sharp serrated knife works perfectly. A lame (a baker’s scoring tool) is nice but not necessary. You just need something sharp to slash the top of the dough before baking.
- Cooling Rack: Essential for letting the bread cool properly. If you leave it in the pot or on a solid surface, the bottom will get soggy.
If you are just starting out, do not feel like you need to buy anything fancy. I baked this bread for months using a cheap Dutch oven from a thrift store and a butter knife for scoring. It still came out amazing. The equipment helps, but the technique matters more.
Preparation Method
This is where the magic happens. Follow these steps carefully, and you will have a beautiful loaf of bread by dinnertime.
- Proof the Yeast (5 minutes): In a small bowl, combine the warm water and the active dry yeast. Add a pinch of sugar if you want to speed things up, but it is not necessary. Let it sit for 5 minutes until it becomes foamy and bubbly. If it does not foam, your yeast is dead—start over with fresh yeast. I learned this one the hard way after wasting an entire batch of dough.
- Mix the Dough (5 minutes): In your large mixing bowl, combine the bread flour and salt. Pour in the yeast mixture and the olive oil if you are using it. Stir with a wooden spoon or dough whisk until a shaggy, sticky dough forms. There should be no dry pockets of flour left. The dough will look rough and messy—that is exactly what we want. Do not be tempted to add more flour. A wetter dough gives you a lighter, airier crumb.
- First Rise (3 to 4 hours): Cover the bowl with plastic wrap or a damp kitchen towel. Let it sit at room temperature (about 70-75°F is ideal) for 3 to 4 hours. The dough should double in size and be covered in bubbles. If your kitchen is cold, it might take a little longer. If it is warm, it might be ready sooner. Look for the bubbles—that is your sign.
- Fold the Dough (2 minutes): After the first rise, the dough will be very sticky and loose. Lightly flour your hands and the work surface. Turn the dough out onto the floured surface. Gently stretch one side of the dough and fold it over the center. Rotate the dough and repeat this stretching and folding motion 4 to 6 times. This strengthens the gluten without kneading. Do not overwork it—just a few gentle folds. Shape it into a rough ball by tucking the edges under.
- Second Rise (30 to 45 minutes): Place the dough ball on a piece of parchment paper. Cover it loosely with the damp towel and let it rest for 30 to 45 minutes. Meanwhile, put your Dutch oven with the lid on into the oven and preheat to 450°F. You want the pot screaming hot when the dough goes in.
- Score the Dough (30 seconds): Right before baking, use a sharp knife or lame to slash the top of the dough. Make one deep slash about ½ inch deep, or get creative with a pattern. This allows the bread to expand in the oven without tearing randomly. I usually do a simple cross or a single long slash down the middle.
- Bake with Steam (30 minutes with lid, 15 minutes without): Carefully remove the hot Dutch oven from the oven. Lift the parchment paper by the corners and lower the dough into the pot. Put the lid on and bake for 30 minutes. Then remove the lid and bake for another 12 to 15 minutes until the crust is deep golden brown and the loaf sounds hollow when you tap the bottom.
- Cool Completely (at least 1 hour): This is the hardest part. Transfer the bread to a cooling rack and let it cool completely before slicing. I know it smells amazing and you want to tear into it immediately, but cutting into hot bread will give you a gummy, doughy interior. Trust me—I have made that mistake more times than I can count. Let it cool. It is worth the wait.
Cooking Tips & Techniques
I have made this bread dozens of times, and I have made every mistake in the book. Here is what I learned so you do not have to repeat my failures.
The Water Temperature Thing: I cannot stress this enough—do not use hot water. I once used water that was too hot because I was rushing, and my dough never rose. It was a flat, dense brick. If you do not have a thermometer, the water should feel warm but not hot on your wrist. Like a comfortable bath.
The Sticky Dough Panic: When you first mix this dough, it will look way too wet and sticky. You will be tempted to add more flour. Do not do it. That stickiness is what creates those beautiful air pockets and that soft, open crumb. Trust the process. The dough will become easier to handle after the first rise and the folds.
The Parchment Paper Trick: Always use parchment paper to lower the dough into the hot Dutch oven. I tried doing it without parchment once and burned my fingers so badly I could not bake for a week. Cut a piece of parchment that is slightly larger than your dough, place the dough on it after the second rise, and use the corners as handles to lift it into the pot.
The Steam Secret: The Dutch oven traps steam from the dough, which is what creates that amazing crust. If you do not have a Dutch oven, you can create steam by placing a metal baking pan on the bottom rack of the oven and pouring a cup of hot water into it right before you put the bread in. It is not quite as effective, but it works in a pinch.
The Cooling Patience: I know I already said this, but it deserves repeating. Let the bread cool completely. I once cut into a loaf after 20 minutes because I could not wait, and the inside was gummy and almost raw. The bread continues to cook and set as it cools. One hour minimum. Two hours is better.
Multitasking Strategy: Start your bread in the morning, around 8 or 9 AM. Mix the dough, let it rise while you work or do chores, fold it around lunchtime, and bake it by mid-afternoon. It fits perfectly into a normal day without you having to hover over it.
Variations & Adaptations
Once you have mastered the basic recipe, the possibilities are endless. Here are some of my favorite variations.
Herb and Garlic Bread: Add 2 teaspoons of dried rosemary, 1 teaspoon of dried thyme, and 2 minced garlic cloves to the flour before mixing. The garlic infuses the bread with this incredible savory flavor that is perfect with pasta or soup. I make this version at least once a month.
Cheddar and Jalapeño Bread: Fold in 1 cup of shredded sharp cheddar cheese and 2 diced jalapeños (seeds removed if you want less heat) during the folding step. The cheese melts into the dough, creating these pockets of gooey goodness. This is my go-to for game day sandwiches.
Whole Wheat Version: Substitute 1 cup of the bread flour with whole wheat flour. You will need to add an extra 2 tablespoons of water since whole wheat flour absorbs more liquid. The bread will be denser and nuttier, but still delicious. I like using white whole wheat flour for a milder flavor.
Seeded Crust: After shaping the dough for the second rise, brush the top with a little water and sprinkle on sesame seeds, poppy seeds, flax seeds, or everything bagel seasoning. The seeds toast in the oven and add amazing texture and flavor.
Olive and Rosemary Bread: Fold in ¾ cup of chopped Kalamata olives and 1 tablespoon of fresh rosemary during the folding step. This is my favorite variation for serving with antipasto or dipping in olive oil and balsamic vinegar.
I once tried a cinnamon raisin version by adding ½ cup of raisins and 1 tablespoon of cinnamon to the dough. It was good, but the raisins made the dough a little too wet. Next time, I will toss the raisins in a little flour first to absorb some of the moisture. Live and learn, right?
Serving & Storage Suggestions
This bread is best served warm, but let it cool first. I like to slice it and serve it with a generous pat of salted butter that melts into the warm crumb. It is also incredible for dipping in olive oil and balsamic vinegar, or alongside a bowl of hearty soup or chili.
For sandwiches, slice the bread thick and toast it lightly. The crust holds up beautifully to moist fillings like tomato and mozzarella or roasted vegetables. It also makes the most amazing garlic bread—just rub a cut clove of garlic over the toasted slices and drizzle with olive oil.
Storage: Store the bread at room temperature in a paper bag or wrapped in a clean kitchen towel. Do not store it in plastic—the crust will become soft and chewy. It will stay fresh for 2 to 3 days. After that, it is perfect for toast or croutons.
Freezing: This bread freezes beautifully. Let it cool completely, wrap it tightly in plastic wrap, then in foil, and freeze for up to 3 months. To thaw, leave it at room temperature for a few hours, then reheat in a 350°F oven for 10 minutes to crisp up the crust again.
Reheating: The best way to revive day-old bread is to pop it in a 350°F oven for 5 to 10 minutes. It brings back that crackly crust and makes the inside soft and warm again. Do not use the microwave—it will turn your beautiful bread into a rubbery mess.
One thing I have noticed: the flavor actually improves on the second day. The yeast and salt have more time to meld, and the bread develops a deeper, more complex taste. So do not be sad if you have leftovers. Toast it the next morning with butter and jam, and you will thank me.
Nutritional Information & Benefits
This easy no-knead same-day artisan bread is made with simple, wholesome ingredients. Here is the approximate nutritional breakdown per slice (based on 12 slices per loaf):
| Nutrient | Amount Per Slice |
|---|---|
| Calories | 150 |
| Total Fat | 1g |
| Saturated Fat | 0g |
| Cholesterol | 0mg |
| Sodium | 290mg |
| Total Carbohydrates | 30g |
| Dietary Fiber | 1g |
| Sugars | 0g |
| Protein | 5g |
This bread is naturally low in fat and contains no added sugars. It is a good source of complex carbohydrates for sustained energy. The bread flour provides protein, which helps with muscle repair and keeps you feeling full longer. If you use whole wheat flour, you will also get extra fiber, B vitamins, and minerals like iron and magnesium.
For those with dietary restrictions, this recipe is vegan (as long as you skip the optional olive oil or use a vegan alternative) and dairy-free. It is not gluten-free, but you can experiment with a gluten-free flour blend if needed. Just know the texture will be different.
From a wellness perspective, there is something deeply satisfying about making your own bread. It connects you to a tradition that is thousands of years old, and it fills your home with the most comforting smell in the world. Plus, you know exactly what is in it—no preservatives, no additives, no weird ingredients you cannot pronounce.
Conclusion
This easy no-knead same-day artisan bread has become a staple in my kitchen, and I honestly think it will become one in yours too. It is the recipe that finally gave me that bakery-quality loaf without the 24-hour wait, the arm workout, or the expensive equipment. It is proof that you do not need to be a professional baker to make incredible bread at home.
I love this recipe because it is forgiving. It does not demand perfection. If your dough is a little wetter or a little drier, it still works. If you forget to score it, it still tastes amazing. It is the kind of recipe that builds confidence in the kitchen, and that is a beautiful thing.
So go ahead and give it a try. Mix up a batch this morning, go about your day, and by dinnertime you will have a gorgeous, golden loaf of bread that you made with your own two hands. And when you take that first bite—warm, crusty, and perfect—you will understand exactly why I hugged that loaf in my kitchen. Please let me know how it turns out in the comments. I would love to hear about your variations, your successes, and even your happy accidents. Happy baking!
Frequently Asked Questions
Can I use all-purpose flour instead of bread flour?
Yes, you can. The bread will still be delicious, but the texture will be slightly less chewy and the crust might not be as crackly. Bread flour has more protein, which gives you that classic artisan bread structure. If you use all-purpose, expect a softer, more tender crumb.
Why did my bread not rise?
There are a few common reasons. Your yeast might be dead—always proof it first to make sure it is active. Your water might have been too hot and killed the yeast. Or your kitchen might be too cold. Try placing the bowl in a warm spot, like near a sunny window or on top of the refrigerator.
Can I make this bread without a Dutch oven?
Absolutely. If you do not have a Dutch oven, you can bake the bread on a preheated baking sheet and create steam by placing a metal pan on the bottom rack with a cup of hot water. The crust will not be quite as crispy, but it will still be very good.
How do I get those big, beautiful air holes in the bread?
The key is a wetter dough and minimal handling. Do not add extra flour, and be gentle when folding the dough. The bubbles that form during the long rise are what create those holes. Overworking the dough will deflate them.
Can I double this recipe?
Yes, you can double the ingredients, but you will need to bake the bread in two separate Dutch ovens or bake one loaf at a time. The dough will be too large for a single pot. You can also shape the dough into two smaller loaves and bake them one after the other.
Pin This Recipe!
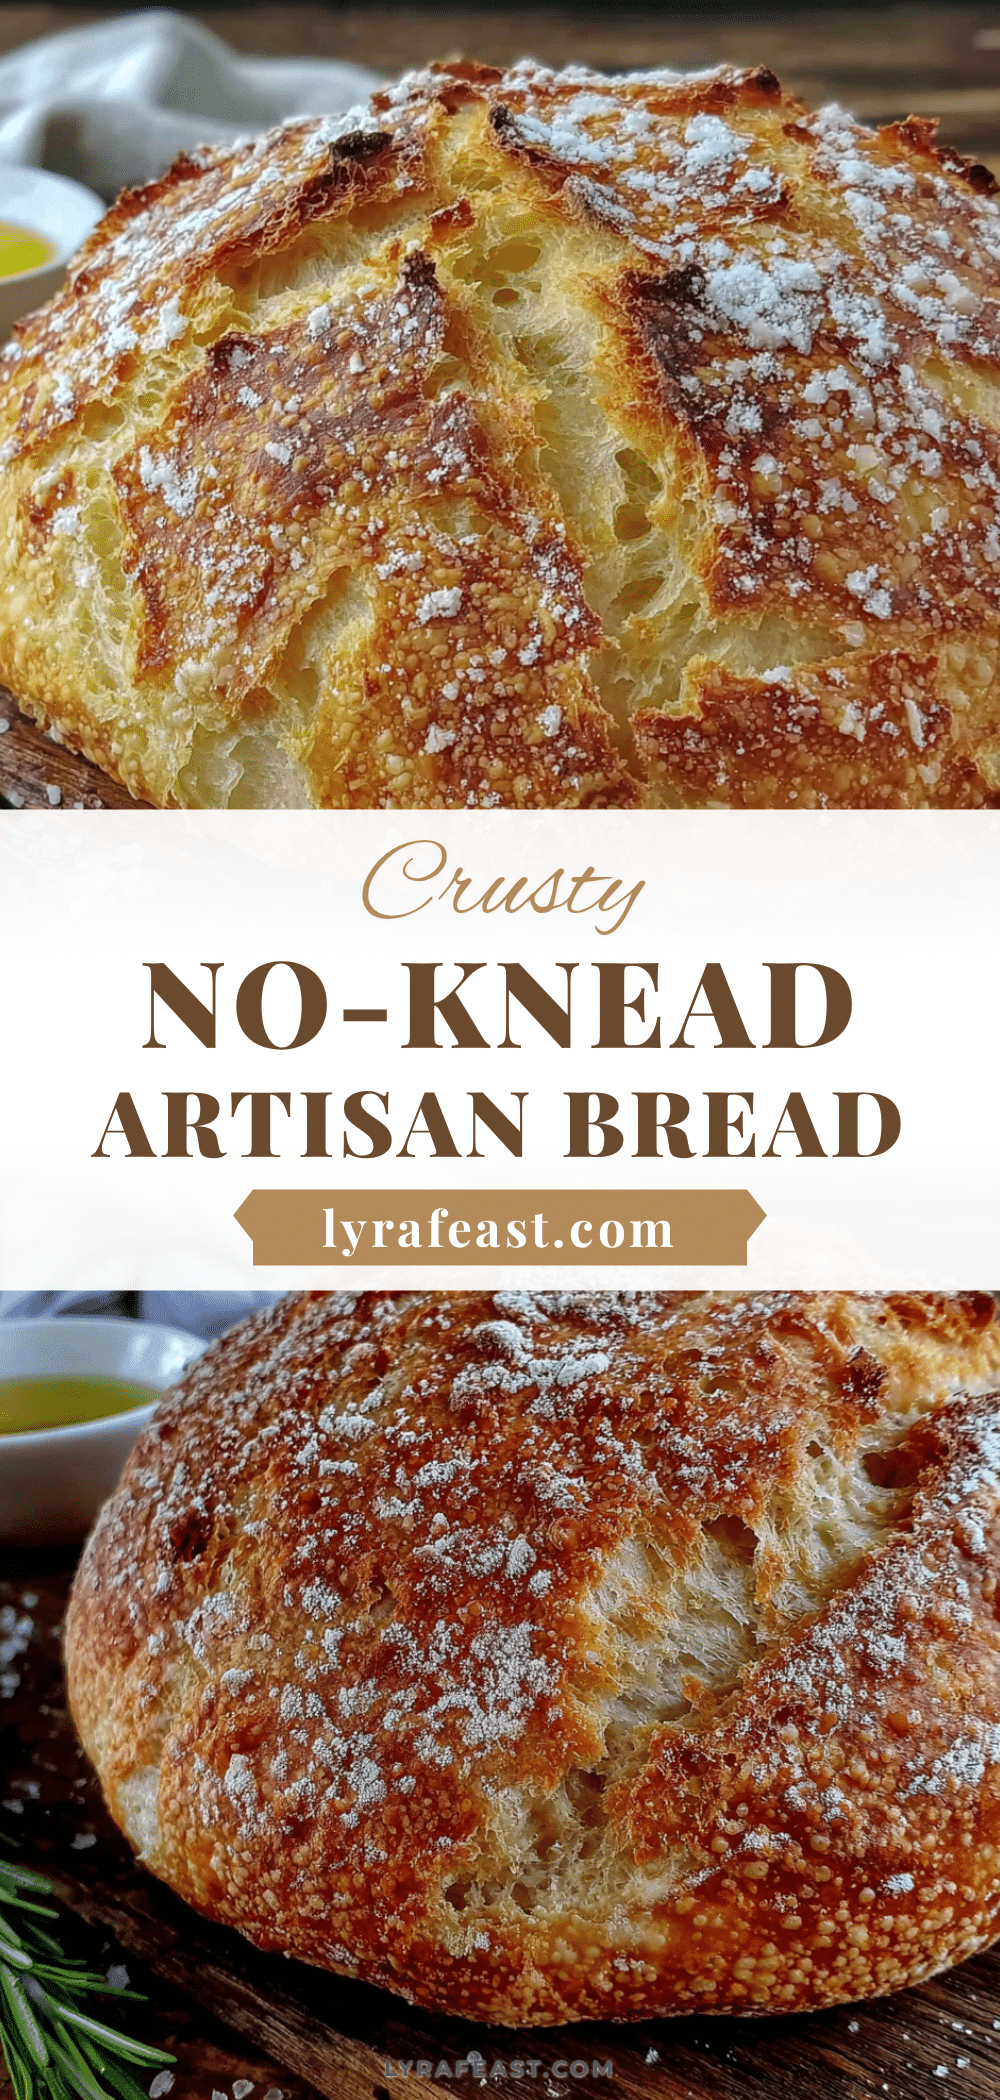
Easy No-Knead Same-Day Artisan Bread: Best Homemade Recipe
This easy no-knead same-day artisan bread recipe gives you a crackling crust, soft airy interior with beautiful irregular holes, and deep wheaty flavor without any kneading. Mix it, wait, bake it—that’s it.
- Prep Time: 15 minutes
- Cook Time: 45 minutes
- Total Time: 5 hours 15 minutes
- Yield: 12 servings 1x
- Category: Bread
- Cuisine: French
Ingredients
- 3 ½ cups (450 grams) bread flour (e.g., King Arthur Bread Flour)
- 1 ½ cups (360 ml) warm water (about 100-110°F)
- 1 packet (2 ¼ teaspoons) active dry yeast (e.g., Red Star or Fleischmann’s)
- 1 ½ teaspoons (9 grams) fine sea salt or table salt
- 1 tablespoon olive oil (optional)
- Cornmeal or semolina for dusting (optional)
Instructions
- Proof the yeast: In a small bowl, combine warm water and active dry yeast. Let sit for 5 minutes until foamy and bubbly.
- Mix the dough: In a large mixing bowl, combine bread flour and salt. Pour in yeast mixture and olive oil (if using). Stir with a wooden spoon or dough whisk until a shaggy, sticky dough forms with no dry pockets.
- First rise: Cover the bowl with plastic wrap or a damp kitchen towel. Let sit at room temperature (70-75°F) for 3 to 4 hours until doubled in size and covered in bubbles.
- Fold the dough: Lightly flour your hands and work surface. Turn dough out onto floured surface. Gently stretch and fold one side over the center, rotating and repeating 4 to 6 times. Shape into a rough ball by tucking edges under.
- Second rise: Place dough ball on a piece of parchment paper. Cover loosely with damp towel and let rest for 30 to 45 minutes. Meanwhile, place Dutch oven with lid in oven and preheat to 450°F.
- Score the dough: Right before baking, use a sharp knife or lame to slash the top of the dough about ½ inch deep.
- Bake with steam: Carefully remove hot Dutch oven from oven. Lift parchment paper by corners and lower dough into pot. Cover and bake for 30 minutes. Remove lid and bake for another 12 to 15 minutes until deep golden brown and loaf sounds hollow when tapped on bottom.
- Cool completely: Transfer bread to a cooling rack and let cool completely (at least 1 hour) before slicing.
Notes
Do not add extra flour to the sticky dough—it creates air pockets. Use parchment paper to lower dough into hot Dutch oven to avoid burns. Let bread cool completely before slicing to prevent gummy texture. The flavor improves on the second day.
Nutrition
- Serving Size: 1 slice
- Calories: 150
- Sodium: 290
- Fat: 1
- Carbohydrates: 30
- Fiber: 1
- Protein: 5
Keywords: no-knead bread, artisan bread, same-day bread, homemade bread, crusty bread, easy bread recipe



