I was at the hardware store, of all places, trying to pick out a new faucet when the guy behind the counter started telling me about dinner. Not his dinner, but mine. He was maybe sixty, with flour dusted on his apron—he worked the deli counter in the back too—and he just looked at my cart and said, “You’re overcomplicating it.” I blinked. I had a rotisserie chicken, a bag of rice, and some sad-looking garlic in my basket. He leaned on the counter and said, “One pan. Garlic butter. Chicken and rice. That’s it. You’ll thank me.” I almost laughed, but something in his voice made me stop. He wasn’t trying to sell me anything. He was just… right.
So I went home, grabbed my biggest skillet, and gave it a shot. Honestly? It was the best weeknight dinner I’d made in months. The garlic butter melted into the rice, the chicken got all golden and crispy on the edges, and the whole thing came together in one pan with almost no cleanup. I mean, I was mad at myself for not thinking of it sooner. And now I make it at least twice a month. Maybe you’ve been there—standing in some random place, getting cooking advice from someone you’d never expect, and it actually changes your whole routine. This easy one-pan garlic butter chicken and rice recipe is that kind of game-changer.
Why You’ll Love This Recipe
Let me tell you why this easy one-pan garlic butter chicken and rice recipe has become my go-to for busy nights. I’ve tested it about a dozen times—burned the first batch, undercooked the second, and finally nailed it on the third try. So trust me when I say this version is foolproof.
- Quick & Easy: From start to finish, you’re looking at about 40 minutes. That’s faster than delivery in most cases.
- Simple Ingredients: You probably have garlic, butter, rice, and chicken in your kitchen right now. No weird stuff needed.
- Perfect for Weeknights: It’s hearty enough for a Tuesday dinner but fancy enough for a casual Sunday supper with friends.
- Crowd-Pleaser: My picky-eating nephew asked for seconds last time I made it. That’s a win in my book.
- Unbelievably Delicious: The rice soaks up all that garlic butter goodness, and the chicken stays juicy with a crispy skin. It’s comfort food that actually works.
What makes this recipe different from the rest? It’s the technique. Instead of cooking the rice separately, you let it simmer in the same pan with the chicken drippings and garlic butter. That means every grain gets infused with flavor. No bland rice here. Plus, you only wash one pan afterward. Honestly, that alone is worth it.
This is the kind of meal that makes you close your eyes after the first bite. It’s simple, but it feels special. Perfect for impressing guests without breaking a sweat.
What Ingredients You Will Need
This recipe uses simple, everyday ingredients to create something genuinely satisfying. Most of these are pantry staples, so you might not even need a grocery run.
- Chicken thighs (bone-in, skin-on) – 4 pieces, about 1.5 lbs total. The skin gets crispy, and the bones keep the meat moist. You can use boneless thighs too, but reduce cooking time by 5 minutes.
- Butter – 4 tablespoons, unsalted. I prefer Kerrygold for its rich flavor, but any unsalted butter works. Salted butter is fine too—just skip the added salt later.
- Garlic – 6 cloves, minced. Fresh garlic is non-negotiable here. The jarred stuff won’t give you that punchy, aromatic flavor.
- Long-grain white rice – 1 cup, uncooked. Basmati or jasmine both work great. Avoid short-grain rice; it gets too sticky.
- Chicken broth – 2 cups, low-sodium. Homemade is best, but store-bought works. Swanson’s is my go-to brand.
- Onion – 1 medium, diced. Yellow or white onion adds a subtle sweetness.
- Paprika – 1 teaspoon. Smoked paprika adds a deeper flavor, but regular works too.
- Dried thyme – 1/2 teaspoon. Optional, but it adds an earthy note that pairs beautifully with garlic.
- Salt and black pepper – To taste. I use about 1 teaspoon of salt and 1/2 teaspoon of pepper.
- Fresh parsley – For garnish, about 2 tablespoons chopped. Adds color and freshness.
- Optional: Lemon wedges – For serving. A squeeze of lemon brightens up the dish.
Substitution tips: For a dairy-free version, use olive oil instead of butter. For gluten-free, this recipe is naturally gluten-free as long as your broth is certified gluten-free. If you want to add veggies, toss in a cup of frozen peas in the last 5 minutes of cooking.
Equipment Needed
You don’t need a fancy kitchen for this one. Here’s what you’ll need:
- Large skillet or Dutch oven – 12-inch with a tight-fitting lid. Cast iron or stainless steel works best. Non-stick is fine, but you won’t get as much browning on the chicken.
- Sharp knife – For mincing garlic and dicing onion. A dull knife makes this step frustrating.
- Cutting board – Wood or plastic, whatever you have.
- Measuring cups and spoons – For accuracy. I’ve eyeballed it before, and the rice-to-liquid ratio is too important to guess.
- Tongs – For flipping the chicken without piercing the skin. A spatula works too.
- Wooden spoon or spatula – For stirring the rice. Metal can scratch your pan.
If you don’t have a lid that fits, use aluminum foil tightly wrapped over the top. It won’t be perfect, but it’ll work. I’ve done it in a pinch, and the rice still came out fluffy.
Preparation Method
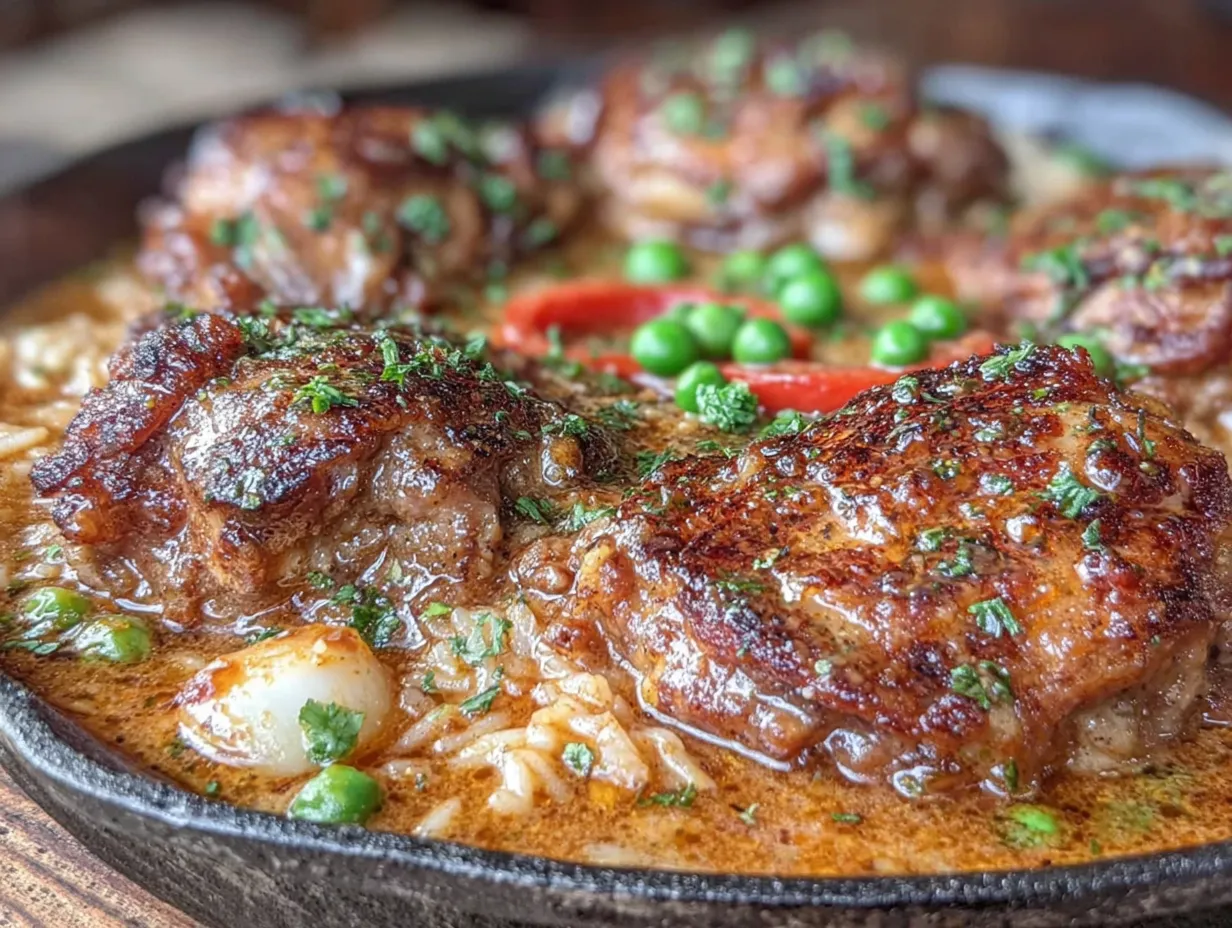
Let’s get cooking. Follow these steps, and you’ll have a perfect one-pan meal every time.
- Pat the chicken dry. Use paper towels to remove excess moisture. This is crucial for crispy skin. Season both sides with salt, pepper, and paprika. Let it sit for 10 minutes while you prep the other ingredients.
- Melt 2 tablespoons of butter in your skillet over medium-high heat. Once it’s bubbling, place the chicken skin-side down. Don’t crowd the pan—if your skillet is smaller, cook in two batches. Let it sear for 5-6 minutes without moving it. The skin should be deep golden brown. Flip and cook for another 4 minutes. Transfer to a plate. The chicken won’t be fully cooked yet, and that’s okay.
- Reduce heat to medium. Add the remaining 2 tablespoons of butter and the diced onion. Cook for 3 minutes, stirring occasionally, until the onion softens. Add the minced garlic and cook for 30 seconds—just until fragrant. Don’t let it burn, or it’ll turn bitter.
- Add the rice to the pan. Stir it around for 1-2 minutes, coating every grain with the garlic butter mixture. This step toasts the rice and adds a nutty flavor.
- Pour in the chicken broth and add the dried thyme. Stir to combine. Scrape up any browned bits from the bottom of the pan—that’s flavor. Bring the liquid to a boil.
- Nestle the chicken back into the pan, skin-side up. The rice should be mostly submerged in the liquid. Put the lid on tightly and reduce the heat to low. Let it simmer for 20 minutes. Do not lift the lid during this time. I know it’s tempting, but the steam is what cooks the rice.
- After 20 minutes, turn off the heat and let it sit, covered, for another 5 minutes. This lets the rice absorb any remaining liquid. Remove the lid carefully—steam will escape.
- Fluff the rice with a fork. Check the chicken’s internal temperature—it should be at least 165°F (74°C). If it’s not, cover and cook for another 5 minutes. Garnish with fresh parsley and serve with lemon wedges if you like.
Visual cue: The rice should be tender and fluffy, not mushy. The chicken skin should be crispy, and the garlic should smell sweet and aromatic, not burnt. If the rice looks wet, let it sit uncovered for a few minutes to steam off the excess moisture.
Cooking Tips & Techniques
I’ve made this easy one-pan garlic butter chicken and rice more times than I can count, and I’ve learned a few things the hard way. Here’s what I wish someone had told me:
- Don’t skip drying the chicken. Wet skin won’t crisp up. I learned this after a sad, soggy batch. Pat it dry even if you’re in a rush.
- Use a heavy pan. A thin skillet will burn the rice before it’s cooked through. Cast iron or stainless steel distributes heat evenly. If you only have non-stick, keep the heat on the lower side.
- Resist the urge to stir the rice. Once you add the broth and lid, leave it alone. Stirring releases starch and makes the rice gummy. Trust the process.
- Toast the rice first. That 1-2 minute step makes a huge difference. It gives the rice a slightly nutty flavor and helps it stay separate.
- Check your broth’s salt content. Low-sodium broth lets you control the salt. If you use regular broth, reduce the added salt by half. I once used full-sodium broth and ended up with salty rice—still edible, but not ideal.
- Let it rest. Those 5 minutes off the heat are non-negotiable. The rice finishes cooking and the flavors meld together. Patience pays off.
If the rice is still crunchy after 20 minutes, add 2 tablespoons of water, cover, and cook for another 5 minutes. It happens sometimes, especially with different brands of rice. No big deal.
Variations & Adaptations
This recipe is a great base for experimentation. Here are some variations I’ve tried and loved:
- Spicy version: Add 1/2 teaspoon of red pepper flakes with the garlic. It gives the dish a gentle heat that cuts through the butter. I did this on a whim one night, and it’s now my husband’s favorite.
- Vegetable-loaded: Stir in a cup of frozen peas and diced carrots with the broth. They cook alongside the rice and add color and nutrients. My kids actually eat their veggies this way.
- Herb-infused: Swap the dried thyme for fresh rosemary or oregano. Add a sprig while the rice cooks, then remove it before serving. The flavor is more subtle but really elegant.
- Dairy-free adaptation: Use olive oil or vegan butter instead of regular butter. The taste changes slightly, but it’s still delicious. I’ve made it for a friend with lactose intolerance, and she asked for the recipe.
- Different protein: Try boneless chicken breasts (reduce cooking time to 15 minutes) or even Italian sausage links. Sausage adds a smoky flavor that pairs well with garlic.
Feel free to play around. Cooking is supposed to be fun, not stressful. If you mess up, that’s how you learn. I once forgot the garlic entirely—still tasted good, just not as amazing.
Serving & Storage Suggestions
This dish is best served hot, straight from the pan. The rice is fluffiest right after resting, and the chicken skin is crispiest fresh. But leftovers are still pretty great.
Serving: Spoon the rice onto plates and top with a chicken thigh. Squeeze a lemon wedge over the top for brightness. Pair it with a simple green salad or steamed broccoli for a complete meal. I also love it with roasted asparagus or a side of crusty bread to soak up any extra garlic butter.
Storage: Let leftovers cool completely, then transfer to an airtight container. Store in the refrigerator for up to 4 days. The flavors actually deepen overnight—the garlic mellows out, and the rice absorbs even more flavor.
Reheating: The best way is in a skillet over medium-low heat with a splash of water or broth. Cover and heat for 5-7 minutes, stirring occasionally. The microwave works too, but the rice can dry out. If using the microwave, cover the bowl with a damp paper towel to add moisture.
Freezing: You can freeze this for up to 3 months. Portion it into freezer-safe bags or containers. Thaw overnight in the fridge and reheat as above. The rice might be slightly softer after freezing, but the flavor holds up well.
One thing I’ve noticed: the chicken skin loses its crispiness after refrigeration. If you want that crunch back, pop the chicken under the broiler for 2-3 minutes before serving. Works like a charm.
Nutritional Information & Benefits
Here’s an approximate breakdown per serving (one chicken thigh with about 1 cup of rice):
- Calories: 520
- Protein: 35g
- Fat: 22g
- Carbohydrates: 45g
- Fiber: 1g
- Sodium: 680mg (varies with broth)
Health benefits: Chicken thighs are a good source of protein and B vitamins, which support energy metabolism. Garlic is known for its anti-inflammatory properties and may help support immune function. Butter provides vitamin A and healthy fats. If you’re watching your sodium, use low-sodium broth and skip the added salt.
Dietary considerations: This recipe is naturally gluten-free and nut-free. For a lower-fat version, use chicken breasts and reduce the butter to 3 tablespoons. For a lower-carb option, swap the rice for cauliflower rice—just reduce the cooking time to 10 minutes and use only 1/2 cup of broth.
I’m not a nutritionist, but I’ve found that this meal keeps me full for hours without feeling heavy. It’s balanced enough for a regular dinner rotation.
Conclusion
So there you have it—my easy one-pan garlic butter chicken and rice recipe that started with a random conversation at the hardware store. It’s simple, it’s delicious, and it’s exactly what you need on a busy weeknight. The garlic butter infuses every grain of rice, the chicken comes out juicy and golden, and you only have one pan to clean. Honestly, what more could you ask for?
I hope you give this recipe a try and make it your own. Maybe add a little extra garlic (I always do) or throw in some veggies you have lying around. Cooking is about making things work for you. And if you end up with a new family favorite, that’s the best part.
I’d love to hear how it turns out. Drop a comment below and let me know if you tweaked anything or if it became a regular in your kitchen. Share a photo if you’re feeling proud—I always get excited seeing your creations. Happy cooking, friends!
Frequently Asked Questions
Can I use boneless chicken breasts instead of thighs?
Yes, you can. Boneless breasts cook faster—about 15 minutes covered instead of 20. Just make sure the internal temperature reaches 165°F (74°C). They might be slightly drier than thighs, so keep an eye on them.
Why is my rice still crunchy after 20 minutes?
This usually happens if the heat was too low or the lid wasn’t tight enough. Add 2 tablespoons of water, cover tightly, and cook for another 5 minutes. Different brands of rice also absorb liquid differently, so adjust as needed.
Can I make this in a slow cooker or Instant Pot?
For an Instant Pot, sear the chicken on sauté mode, then add the rice, broth, and garlic. Pressure cook on high for 6 minutes with a natural release. For a slow cooker, sear the chicken first, then cook on low for 4-5 hours—but the rice might be mushier. I prefer the stovetop method for texture.
How do I prevent the garlic from burning?
Garlic burns quickly. Add it after the onions have softened, and only cook it for 30 seconds before adding the rice and broth. If your pan is too hot, remove it from the heat briefly. Burnt garlic tastes bitter, so don’t skip this step.
Can I double this recipe?
Absolutely. Use a larger skillet or Dutch oven (14-inch or bigger) and double all ingredients. The cooking time stays the same, but you might need an extra 2-3 minutes for the liquid to come to a boil before covering. Just make sure the lid fits tightly.
Pin This Recipe!
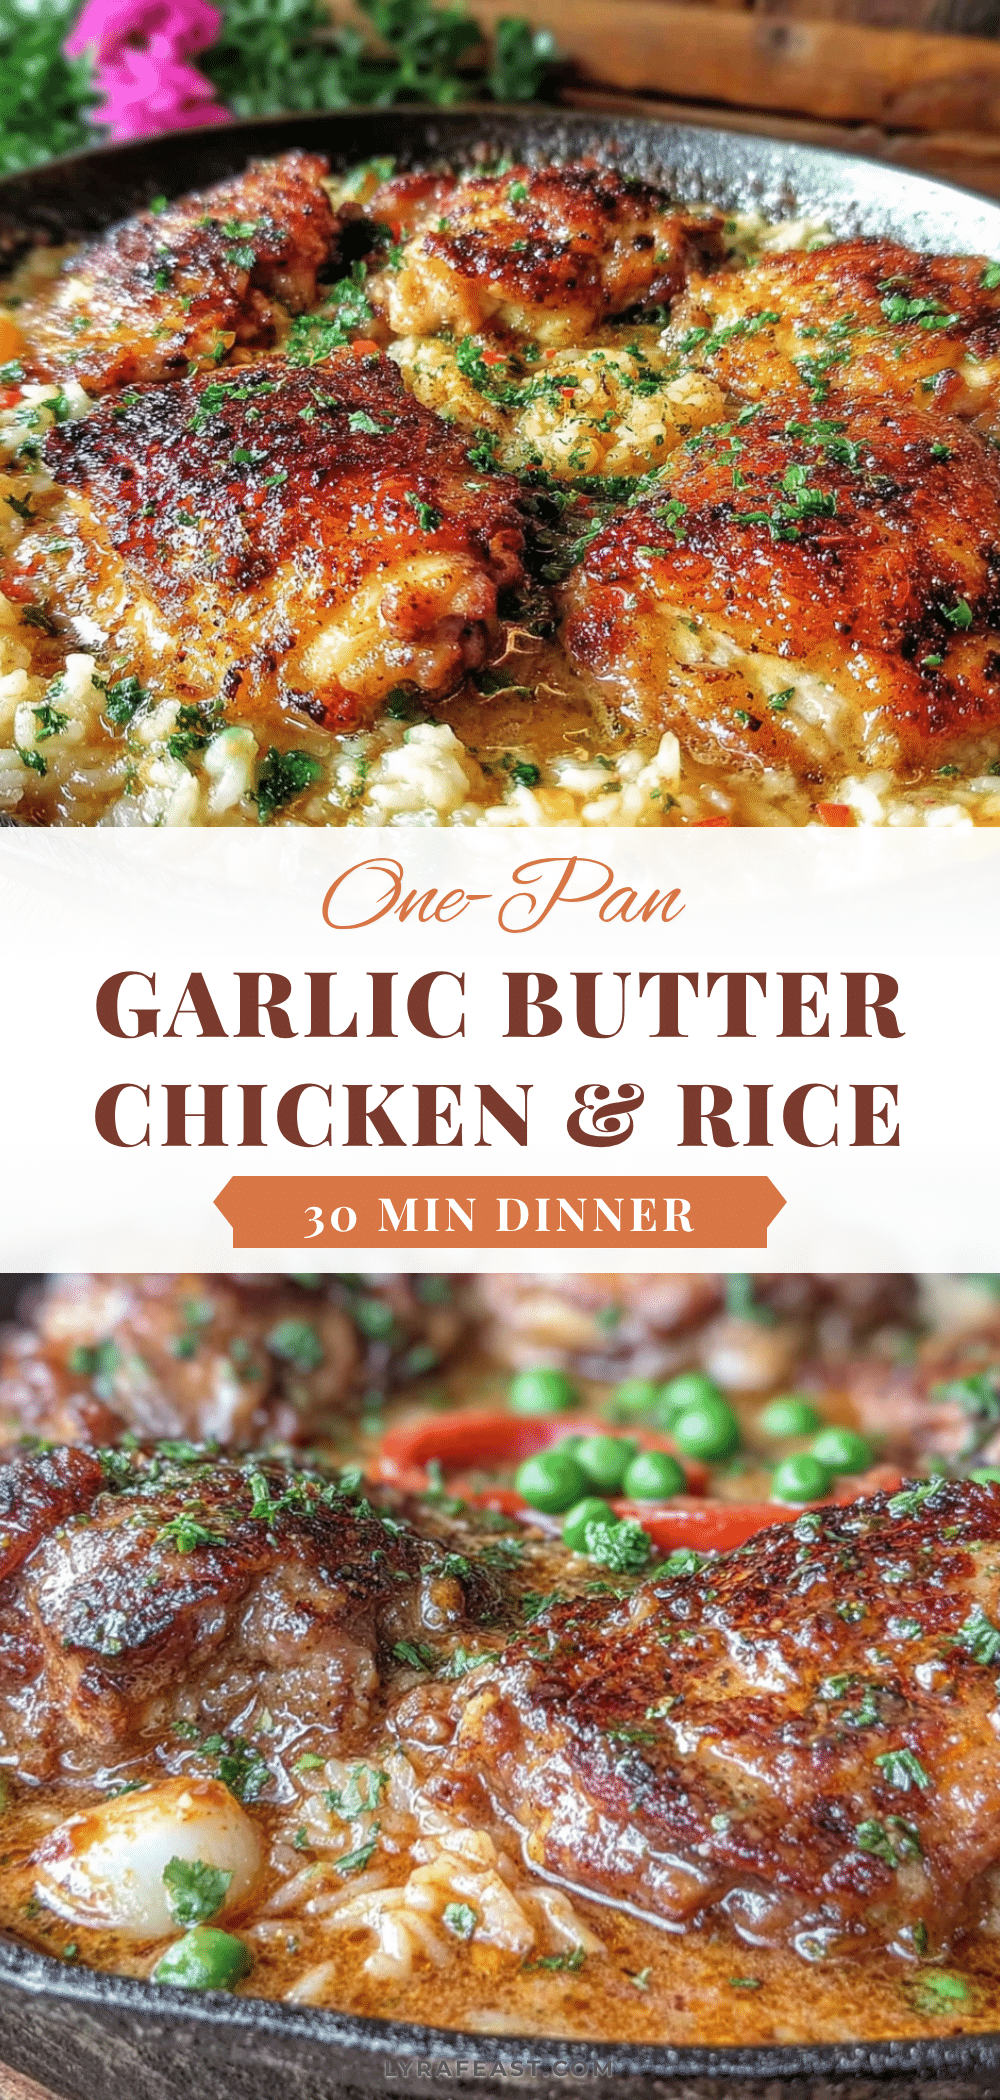
Easy One-Pan Garlic Butter Chicken and Rice Recipe

This easy one-pan garlic butter chicken and rice recipe is a game-changer for busy weeknights. Juicy, golden chicken thighs and fluffy rice are cooked together in a rich garlic butter sauce, all in one pan for minimal cleanup.
- Prep Time: 10 minutes
- Cook Time: 30 minutes
- Total Time: 40 minutes
- Yield: 4 servings 1x
- Category: Main Course
- Cuisine: American
Ingredients
- 4 bone-in, skin-on chicken thighs (about 1.5 lbs total)
- 4 tablespoons unsalted butter
- 6 cloves garlic, minced
- 1 cup long-grain white rice (basmati or jasmine)
- 2 cups low-sodium chicken broth
- 1 medium onion, diced
- 1 teaspoon paprika (smoked or regular)
- 1/2 teaspoon dried thyme (optional)
- Salt and black pepper to taste (about 1 tsp salt, 1/2 tsp pepper)
- 2 tablespoons fresh parsley, chopped (for garnish)
- Lemon wedges (optional, for serving)
Instructions
- Pat the chicken thighs dry with paper towels. Season both sides with salt, pepper, and paprika. Let sit for 10 minutes.
- Melt 2 tablespoons of butter in a large skillet or Dutch oven over medium-high heat. Place chicken skin-side down and sear for 5-6 minutes without moving, until deep golden brown. Flip and cook for another 4 minutes. Transfer chicken to a plate.
- Reduce heat to medium. Add remaining 2 tablespoons butter and diced onion. Cook for 3 minutes, stirring occasionally, until onion softens. Add minced garlic and cook for 30 seconds until fragrant.
- Add rice to the pan and stir for 1-2 minutes to coat each grain with the garlic butter mixture.
- Pour in chicken broth and add dried thyme. Stir to combine, scraping up any browned bits from the bottom. Bring to a boil.
- Nestle the chicken back into the pan, skin-side up. Cover tightly with a lid, reduce heat to low, and simmer for 20 minutes. Do not lift the lid.
- Turn off heat and let sit, covered, for 5 minutes. Remove lid carefully.
- Fluff rice with a fork. Check that chicken internal temperature is at least 165°F (74°C). Garnish with fresh parsley and serve with lemon wedges if desired.
Notes
Pat chicken dry for crispy skin. Use a heavy pan like cast iron or stainless steel for even heat. Do not lift the lid while rice is simmering. Toast the rice first for a nutty flavor. Let the dish rest for 5 minutes after cooking. If rice is still crunchy, add 2 tablespoons water and cook covered for 5 more minutes. For dairy-free, use olive oil instead of butter. For gluten-free, ensure broth is certified gluten-free.
Nutrition
- Serving Size: 1 chicken thigh with
- Calories: 520
- Sugar: 2
- Sodium: 680
- Fat: 22
- Saturated Fat: 10
- Carbohydrates: 45
- Fiber: 1
- Protein: 35
Keywords: one-pan chicken and rice, garlic butter chicken, easy weeknight dinner, one skillet meal, chicken thighs and rice



