My neighbor wasn’t trying to impress anyone. I’d stopped by to borrow a cup of sugar—how cliché, right?—and this warm, sweet, almost floral smell hit me before I even got past her screen door. She was standing at the counter, peeling pears like it was nothing, with a pot of something gently bubbling on the stove. “Oh, it’s just some pears I’m putting up,” she said, shrugging. Just some pears. Let me tell you, there was nothing “just” about them. The scent of vanilla and cinnamon was so cozy, so familiar yet unexpected, that I almost forgot why I’d knocked in the first place.
Honestly, I stood there for a minute, watching her work. She wasn’t following a fancy recipe or using any special gadgets. She was just—making something good. The pears were halved, the syrup was simple, and she tossed in a vanilla bean like it was the most natural thing in the world. I mean, who does that on a random Tuesday afternoon? She caught me staring and laughed. “You want some? They’ll be ready in a few weeks.” A few weeks! I didn’t have that kind of patience. Maybe you’ve been there—when you taste something and immediately know you need to figure out how to make it yourself.
So I went home, grabbed a bag of pears from the farmers’ market, and started experimenting. It took a few tries to get that easy vanilla cinnamon canned pears recipe just right. Not too sweet, not too syrupy, with the vanilla flavor woven through every bite. That first successful batch? I almost cried. Okay, maybe that’s dramatic, but it was that good. The pears came out tender but not mushy, swimming in a light, fragrant syrup that tasted like autumn in a jar. And the best part? It was ridiculously easy. I’ve been making it ever since, and every time I open a jar, I think about that Tuesday afternoon. This recipe is the kind you’ll want to keep on your shelf for months to come.
Why You’ll Love This Recipe
This isn’t just another canning recipe. This easy vanilla cinnamon canned pears recipe is the one I’ve tested and retested until it was absolutely perfect. It’s the kind of recipe that makes you look like a kitchen pro without any of the stress. Here’s why I think you’ll fall for it, too.
- Incredibly Simple: You don’t need a pressure canner or any fancy equipment. A large pot and some jars are all it takes. The whole process, from start to finish, takes about an hour.
- Pantry-Friendly Ingredients: Pears, sugar, water, a vanilla bean or extract, and cinnamon sticks. That’s it. Nothing weird or hard to find.
- Perfect for Gifting: A jar of these pears, tied with a ribbon, makes a thoughtful homemade gift for the holidays, hostess presents, or just because. Everyone loves receiving something made with care.
- Unbelievably Versatile: Spoon them over ice cream, yogurt, or oatmeal. Serve them alongside a cheese platter. Use them in a crisp or tart. Or just eat them straight from the jar—no judgment here.
- Next-Level Comfort Food: The combination of tender pears, warm cinnamon, and fragrant vanilla is pure comfort in a jar. It’s like a hug for your taste buds.
What makes this recipe different from all the others? It’s the balance. So many canned pear recipes are either too heavy on the sugar or the spices overpower the delicate flavor of the fruit. I spent time figuring out the perfect ratio so the pears themselves remain the star. The vanilla and cinnamon are there to support, not to steal the show. It’s a subtle, sophisticated flavor that tastes like you put in way more effort than you actually did.
This recipe isn’t just good—it’s the kind that makes you close your eyes after the first bite. It’s comfort food, preserved at its peak. Perfect for brightening a gray winter day or for impressing guests without breaking a sweat.
What Ingredients You Will Need
This recipe uses simple, wholesome ingredients to create something truly special. You likely have most of these in your kitchen right now. Here’s what you’ll need and why each one matters.
- Pears (about 4-5 pounds): The foundation of the whole recipe. You want pears that are ripe but still firm. Bosc or Anjou pears are my go-to choices because they hold their shape beautifully during processing. Avoid pears that are overly soft or bruised. (Look for pears that yield slightly to gentle pressure near the stem.)
- Granulated Sugar (2 cups): This creates the syrup that preserves the pears and enhances their natural sweetness. You can reduce the sugar slightly if you prefer, but it’s important for the texture and preservation. I use regular white sugar for the cleanest flavor.
- Water (4 cups): The base of your syrup. Filtered water is best if you have it, but tap water works fine.
- Vanilla Bean (1 whole bean) or Vanilla Extract (2 teaspoons): This is the magic ingredient. A vanilla bean gives the most incredible, deep, speckled flavor. If you’re using extract, make sure it’s pure vanilla extract, not imitation. I personally prefer the bean for this recipe—it feels more luxurious. (I usually order mine online in bulk to save money.)
- Cinnamon Sticks (2-3 sticks): They infuse the syrup with a warm, gentle spice. Don’t use ground cinnamon, as it will make the syrup cloudy and can settle on the pears. The sticks provide a much cleaner flavor.
- Lemon Juice (2 tablespoons): This is a secret weapon. It prevents the pears from browning too much after you peel them and adds a tiny bit of acidity to balance the sweetness. It also helps with the safety of the canning process.
Ingredient Selection Tips: For the best results, choose pears that are not quite fully ripe. They will continue to soften slightly during the canning process. If you use very ripe pears, they can turn mushy. I recommend Bosc pears for their firm texture and sweet, spicy flavor. Anjou pears are also excellent. Avoid Bartlett pears if you can, as they tend to break down more easily.
Substitution Guidance: If you don’t have a vanilla bean, use 2 teaspoons of pure vanilla extract added to the syrup just before filling the jars. For a different flavor profile, try adding a star anise or a strip of orange zest to each jar. You can also use honey or maple syrup in place of some of the sugar, but it will change the flavor and color of the syrup.
Equipment Needed
You don’t need a lot of specialized gear for this recipe, which is one of the reasons I love it. Here’s what you’ll need to get started.
- Large Stockpot or Canning Pot: You need a pot big enough to hold your jars with at least an inch of water covering them. A dedicated canning pot with a rack is ideal, but a deep stockpot works perfectly. Just place a folded kitchen towel or a silicone trivet at the bottom to keep the jars from rattling.
- Canning Jars (4-5 pint-sized jars): Mason jars are the standard. Make sure they are free of cracks or nicks. Wide-mouth jars are easier to fill with pear halves.
- New Lids and Bands: Always use new lids for a proper seal. The bands can be reused as long as they aren’t rusty or bent.
- Jar Lifter: This is a tool I wouldn’t skip. It makes lifting hot jars out of boiling water safe and easy. Trust me, trying to use tongs is a recipe for disaster.
- Large Bowl: For holding water and lemon juice to keep your peeled pears from browning.
- Paring Knife and Vegetable Peeler: A good, sharp peeler makes quick work of the pear skins.
- Wide-Mouth Funnel: This isn’t essential, but it makes filling the jars so much cleaner and less messy. I use one every single time.
Budget-Friendly Options: You can often find canning jars at thrift stores or garage sales. Just make sure they are in good condition. If you don’t have a jar lifter, you can use long, sturdy tongs, but be very careful. A clean kitchen towel can work as a makeshift rack in the bottom of your pot.
Preparation Method
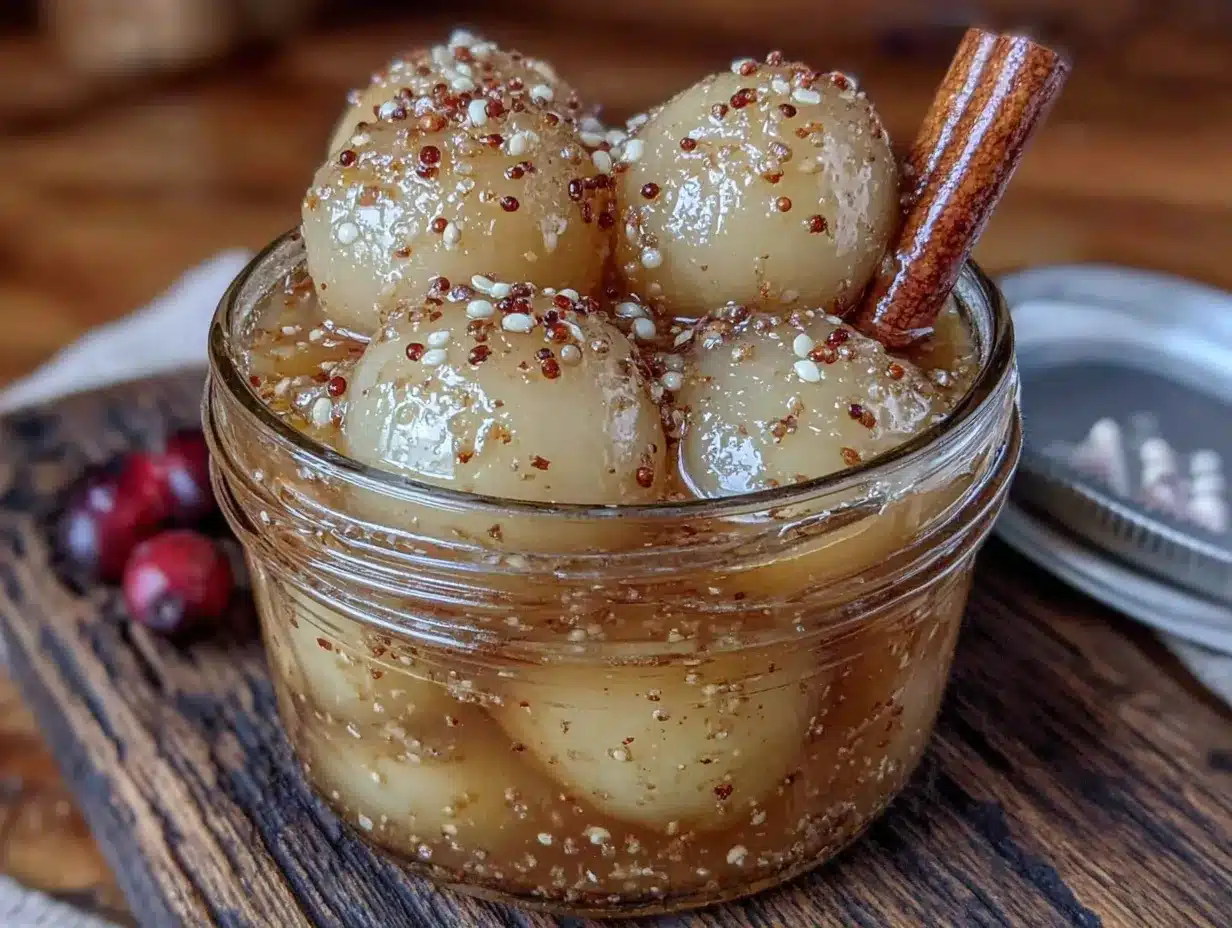
Alright, let’s get to the fun part. This process is straightforward and almost meditative. Take your time, and you’ll be rewarded with jars of sunshine.
- Prepare Your Canning Station: Wash your jars, lids, and bands in hot, soapy water. Rinse well. Place the jars in your large pot, cover them with water, and bring to a simmer. Keep them hot until you’re ready to fill them. Place the lids in a small saucepan of hot water (not boiling) to soften the sealing compound.
- Make the Vanilla Cinnamon Syrup: In a separate saucepan, combine 4 cups of water and 2 cups of granulated sugar. Split your vanilla bean lengthwise with a sharp knife and scrape the seeds into the pot. Drop the pod in as well. Add the 2-3 cinnamon sticks. Bring this mixture to a boil over medium-high heat, stirring occasionally to dissolve the sugar. Once it’s boiling, reduce the heat to low and let it simmer while you prepare the pears. This allows the flavors to meld.
- Prepare the Pears: Fill a large bowl with cold water and add the 2 tablespoons of lemon juice. This is your anti-browning bath. Working with one pear at a time, peel it with your vegetable peeler. Cut the pear in half lengthwise. Use a melon baller or a small spoon to scoop out the core and seeds. Immediately drop the pear halves into the lemon water. (I once got distracted and left a pear out for five minutes—it turned brown immediately. Don’t be like me!)
- Pre-Cook the Pears (Optional but Recommended): This step ensures your pears are perfectly tender and don’t float in the jars. Drain the pears from the lemon water. Gently add them to the simmering syrup and cook for 5 minutes. They should be just starting to soften but still hold their shape. Use a slotted spoon to transfer them back to the bowl, leaving the syrup in the pot.
- Fill the Jars: Remove a hot jar from your canning pot using your jar lifter. Place it on a clean kitchen towel. Using your wide-mouth funnel, pack the pear halves into the jar, cut side down. Don’t cram them in—leave a little space. Ladle the hot syrup over the pears, leaving about 1/2 inch of headspace at the top. Make sure to get a piece of cinnamon stick or a bit of the vanilla pod into each jar if you can. Use a chopstick or a plastic knife to gently run around the inside of the jar to release any air bubbles.
- Seal the Jars: Wipe the rim of each jar with a clean, damp paper towel to remove any syrup residue. This is crucial for a good seal. Place a lid on the jar and screw on the band until it’s fingertip-tight—meaning you tighten it with your fingertips, not your full strength.
- Process the Jars: Using your jar lifter, carefully lower the filled jars back into the pot of simmering water. Make sure the jars are covered by at least 1 inch of water. Put the lid on the pot, bring the water to a full rolling boil, and process for 20 minutes (adjust for altitude if necessary—add 5 minutes for every 1,000 feet above sea level).
- Cool and Check Seals: After 20 minutes, turn off the heat and let the jars sit in the water for 5 minutes. Then, use your jar lifter to remove them and place them on a clean towel on the counter. Leave them undisturbed for 12-24 hours. You’ll hear the satisfying “pop” of the lids sealing. After they’ve cooled, press down on the center of each lid. If it doesn’t flex or pop, it’s sealed. Store any unsealed jars in the refrigerator and use them first.
Cooking Tips & Techniques
I’ve made this recipe more times than I can count, and I’ve learned a few things along the way. Here are my best tips for perfect easy vanilla cinnamon canned pears every time.
Don’t Skip the Lemon Water Bath. I learned this the hard way. Pears oxidize faster than you think. As soon as you peel and cut them, they start turning brown. The lemon water acts as a shield, keeping them looking fresh and pretty. If you’re working slowly, this is a lifesaver.
Use Firm Pears. This is probably the most important tip. If your pears are too soft, they will turn into pear sauce in the jar. You want them to be ripe enough to be sweet and flavorful but firm enough to hold their shape after processing. Think of the texture of a just-ripe apple.
Toast Your Cinnamon Sticks First. Okay, this is a little trick I picked up from a pastry chef friend. Before adding the cinnamon sticks to the syrup, toast them in a dry skillet over medium heat for about 30 seconds per side, until they become fragrant. It deepens the flavor and adds a lovely warmth you just can’t get otherwise. It’s a tiny step that makes a big difference.
Control Your Headspace. Leaving too much air in the jar can lead to discoloration or a poor seal. Leaving too little can cause the syrup to bubble out during processing. That 1/2 inch of headspace is your sweet spot. I use a ruler to measure it when I’m feeling particularly precise.
Patience is a Virtue. I know it’s hard, but try to wait at least two weeks before opening a jar. The flavors need time to meld and mellow. The pears absorb the vanilla and cinnamon, and the syrup becomes perfectly balanced. The first jar I ever opened after only three days was good. The jar I opened after a month was incredible.
Variations & Adaptations
One of the best things about this recipe is how easy it is to customize. Once you have the basic method down, you can play around with flavors. Here are some of my favorite variations.
- Spiced Chai Pears: Add 2-3 cardamom pods, a few slices of fresh ginger, and a star anise to the syrup along with the cinnamon and vanilla. This creates a warm, aromatic chai-inspired flavor that’s incredible over vanilla ice cream.
- Vanilla Bourbon Pears: For an adult twist, add 1/4 cup of bourbon or dark rum to the syrup after you take it off the heat. The alcohol mostly cooks off during processing, leaving behind a rich, complex flavor. These are amazing served alongside a slice of pound cake.
- Honey and Thyme Pears: Replace half the sugar with honey and add 4-5 sprigs of fresh thyme to the simmering syrup. The herbal notes of the thyme pair beautifully with the sweetness of the pears and honey. It’s a more sophisticated, less sweet version.
- Low-Sugar Version: You can reduce the sugar to 1 cup and use a low-sugar pectin or simply rely on the natural sweetness of the pears. The texture will be slightly softer, and the syrup will be thinner, but the flavor will still be wonderful. I’ve made this for friends who are watching their sugar intake, and it’s always a hit.
Serving & Storage Suggestions
These easy vanilla cinnamon canned pears are incredibly versatile. Here are some of my favorite ways to enjoy them, plus how to store them properly.
Serving Ideas: Serve the pears chilled or at room temperature. They are delicious on their own as a simple dessert. Spoon them over Greek yogurt or oatmeal for a quick, elegant breakfast. They are a fantastic topping for pancakes, waffles, or French toast. For a show-stopping dessert, serve them with a scoop of vanilla bean ice cream and a drizzle of the syrup. They also pair beautifully with sharp cheeses like aged cheddar or blue cheese on a cheese board.
Storage Instructions: Sealed jars of canned pears can be stored in a cool, dark, dry place for up to 12-18 months. A pantry or a basement shelf is perfect. Once you open a jar, store it in the refrigerator and use it within 1-2 weeks. The flavor actually continues to develop over the first few months, so they get better with time.
Reheating Tips: You can eat them cold straight from the jar, or you can gently warm them. To reheat, spoon the pears and some syrup into a small saucepan and warm over low heat for a few minutes. You can also microwave them in a bowl for 30-45 seconds. Don’t boil them, or the pears may become too soft.
How Flavors Develop: As the jars sit, the pears continue to absorb the vanilla and cinnamon flavors. The syrup also thickens slightly and becomes more complex. I find that the flavor is at its peak around the 3-4 month mark. It’s like a little gift to your future self.
Nutritional Information & Benefits
While this is a sweet treat, pears themselves are a nutritious fruit. Here’s a quick look at what you’re getting in a serving of these canned pears (about 1/2 cup of pears with syrup).
Estimated Nutritional Values (per serving):
- Calories: 120-150
- Fat: 0g
- Sodium: 5mg
- Carbohydrates: 30-35g
- Fiber: 3-4g
- Sugar: 25-30g
- Protein: 0g
Health Benefits: Pears are a good source of dietary fiber, which is excellent for digestive health. They also contain vitamin C and copper. The fiber helps you feel full and satisfied. While the sugar content is higher due to the syrup, you can easily adjust the amount of sugar to suit your dietary needs.
Dietary Considerations: This recipe is naturally vegan, dairy-free, and gluten-free. It’s also nut-free and soy-free. The main concern is the sugar content, so if you are on a low-sugar or keto diet, you may want to explore the low-sugar variation or use a sugar substitute. The pears themselves are a whole food, making this a better choice than many processed desserts.
Personal Wellness Perspective: I love that this recipe allows me to enjoy the taste of summer pears all year long. It’s a way to preserve a moment of peak harvest. While it’s definitely a sweet treat, using real, whole ingredients makes me feel good about what I’m eating. It’s about balance, not deprivation.
Conclusion
This easy vanilla cinnamon canned pears recipe is more than just a way to preserve fruit. It’s a little jar of comfort, a taste of autumn whenever you need it. It’s the recipe that makes you look like a canning pro, even if it’s your first time. The process is simple, the ingredients are few, and the result is absolutely delicious. I hope you give it a try.
Don’t be afraid to make it your own. Swap in different spices, try a different variety of pear, or experiment with the sweetness level. That’s the beauty of home canning. And when you open that first jar a few weeks from now, I promise you’ll be so glad you took the time. The way the vanilla and cinnamon have melded with the pears is just magic.
I’d love to hear how your batch turns out! Did you try one of the variations? Have a question? Drop a comment below and let me know. And if you loved this recipe, please share it with a friend who needs a little homemade comfort in their life. Happy canning!
Frequently Asked Questions
Can I use ground cinnamon instead of cinnamon sticks?
I wouldn’t recommend it. Ground cinnamon will make your syrup cloudy and can settle on the pears, creating an unappealing texture. Cinnamon sticks infuse the syrup with a clean, gentle flavor without the grittiness. If you’re in a pinch, you can tie some ground cinnamon in a cheesecloth bundle and remove it before filling the jars, but sticks are truly the best choice.
Do I have to use a vanilla bean, or can I use extract?
You can definitely use pure vanilla extract! Use 2 teaspoons of extract added to the syrup just before you ladle it into the jars. The flavor won’t be quite as deep or complex as a vanilla bean, but it will still be delicious. The bean gives you those beautiful little vanilla specks and a more aromatic flavor, which is why I prefer it for special batches.
How long do these canned pears last?
If processed correctly in a water bath canner and stored in a cool, dark place, the sealed jars will last for 12 to 18 months. The flavor actually improves over the first few months. Once you open a jar, store it in the refrigerator and use it within 1 to 2 weeks.
My pears floated to the top of the jar. What did I do wrong?
This is a common issue called “floating fruit.” It usually happens when the pears are too ripe or were packed too loosely. Pre-cooking the pears in the syrup for 5 minutes before packing them helps remove some of the air from the fruit, making them less likely to float. Packing the jars tightly (without crushing the pears) also helps.
Can I make this recipe without a water bath canner?
Yes, you can make refrigerator pears instead. Follow the recipe up to the point of filling the jars, then simply put the lids on and let them cool on the counter. Once cool, store them in the refrigerator. They will be ready to eat in about a week and will last for up to 3 weeks in the fridge. This is a great option if you don’t have canning equipment or just want a small batch.
Pin This Recipe!
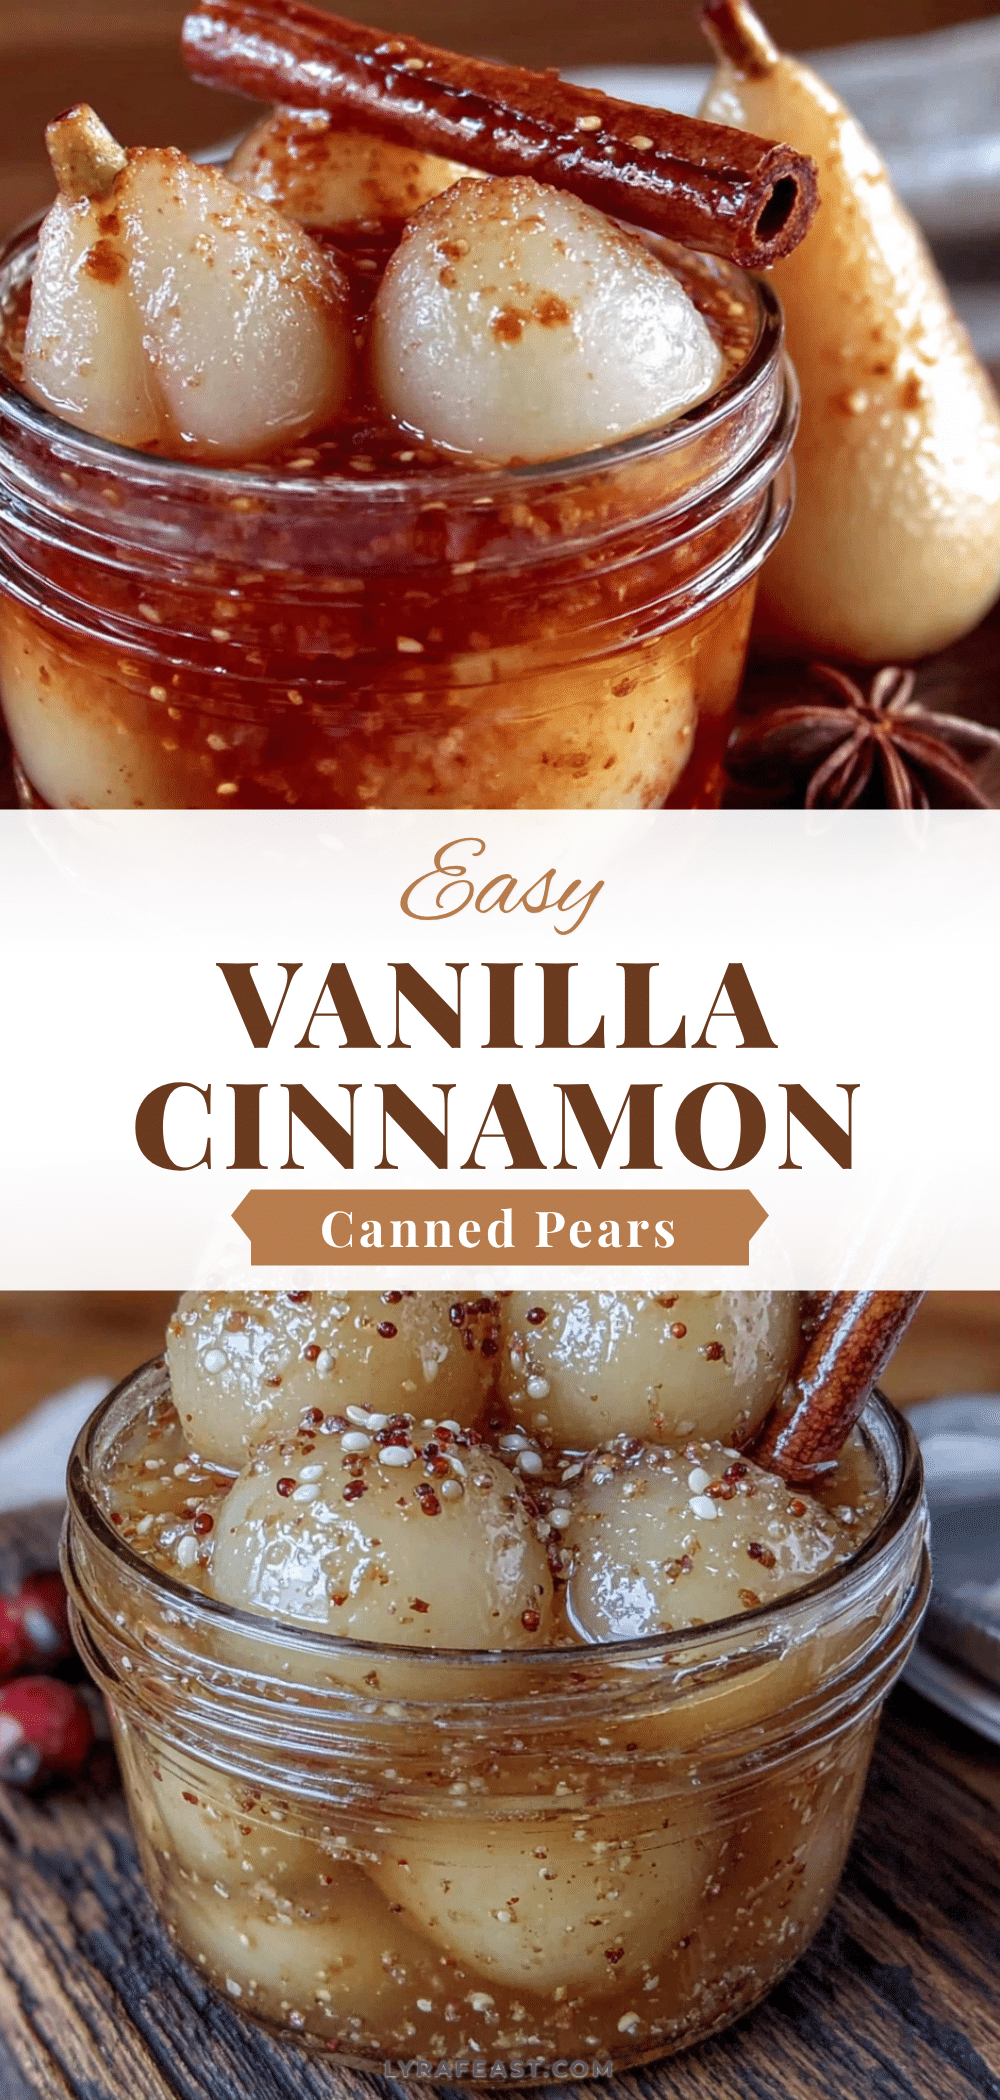
Easy Vanilla Cinnamon Canned Pears: Best Homemade Recipe

This easy vanilla cinnamon canned pears recipe is the one I’ve tested and retested until it was absolutely perfect. It’s the kind of recipe that makes you look like a kitchen pro without any of the stress.
- Prep Time: 30 minutes
- Cook Time: 20 minutes
- Total Time: 1 hour
- Yield: 4-5 pint jars 1x
- Category: Preserves
- Cuisine: American
Ingredients
- 4–5 pounds pears (Bosc or Anjou, ripe but firm)
- 2 cups granulated sugar
- 4 cups water
- 1 whole vanilla bean (or 2 teaspoons pure vanilla extract)
- 2–3 cinnamon sticks
- 2 tablespoons lemon juice
Instructions
- Prepare your canning station: Wash jars, lids, and bands in hot, soapy water. Rinse well. Place jars in a large pot, cover with water, and bring to a simmer. Keep hot until ready to fill. Place lids in a small saucepan of hot water (not boiling) to soften the sealing compound.
- Make the vanilla cinnamon syrup: In a separate saucepan, combine 4 cups water and 2 cups sugar. Split the vanilla bean lengthwise, scrape seeds into the pot, and add the pod. Add cinnamon sticks. Bring to a boil over medium-high heat, stirring to dissolve sugar. Reduce heat to low and simmer while preparing pears.
- Prepare the pears: Fill a large bowl with cold water and add 2 tablespoons lemon juice. Working one at a time, peel each pear, cut in half lengthwise, and core using a melon baller or small spoon. Immediately drop pear halves into the lemon water to prevent browning.
- Pre-cook the pears (optional but recommended): Drain pears from lemon water. Gently add to simmering syrup and cook for 5 minutes until just starting to soften. Use a slotted spoon to transfer back to the bowl, leaving syrup in the pot.
- Fill the jars: Remove a hot jar from the canning pot using a jar lifter. Place on a clean towel. Using a wide-mouth funnel, pack pear halves into the jar, cut side down, leaving a little space. Ladle hot syrup over pears, leaving 1/2 inch headspace. Add a piece of cinnamon stick or vanilla pod to each jar if possible. Use a chopstick or plastic knife to release air bubbles.
- Seal the jars: Wipe jar rims with a clean, damp paper towel. Place a lid on each jar and screw on the band until fingertip-tight.
- Process the jars: Using a jar lifter, lower filled jars into the pot of simmering water, ensuring they are covered by at least 1 inch of water. Put the lid on the pot, bring to a full rolling boil, and process for 20 minutes (adjust for altitude: add 5 minutes for every 1,000 feet above sea level).
- Cool and check seals: After 20 minutes, turn off heat and let jars sit in water for 5 minutes. Remove jars with jar lifter and place on a clean towel on the counter. Leave undisturbed for 12-24 hours. After cooling, press down on the center of each lid; if it doesn’t flex or pop, it’s sealed. Store any unsealed jars in the refrigerator and use first.
Notes
Don’t skip the lemon water bath to prevent browning. Use firm pears to avoid mushiness. Toast cinnamon sticks in a dry skillet for 30 seconds per side before adding to syrup for deeper flavor. Control headspace to 1/2 inch. Wait at least two weeks before opening a jar for best flavor. For refrigerator pears, skip the water bath processing and simply store in the fridge; they will be ready in about a week and last up to 3 weeks.
Nutrition
- Serving Size: 1/2 cup pears with s
- Calories: 120150
- Sugar: 2530
- Sodium: 5
- Carbohydrates: 3035
- Fiber: 34
Keywords: canned pears, vanilla cinnamon pears, homemade canned pears, easy canning recipe, pear preserves, vanilla bean pears, cinnamon pears