“I wasn’t expecting to become obsessed with protein bars from a chance conversation at the local climbing gym,” I remember telling my friend last week. It was a Thursday evening, and I had just wrapped up a tough session when a fellow climber handed me a homemade bar, insisting it wouldn’t melt even in the summer heat. Honestly, I was skeptical. You know how most chocolate peanut butter bars turn into a gooey mess the minute the sun hits them? But this one was different—firm, rich, and packed with flavor. The secret? A no-melt formula that actually works.
That cracked bowl of ingredients became my weekend project. I made a mess (I always do), forgot a crucial step halfway through, and even had to improvise when I ran out of one ingredient. But the result? A batch of Flavorful No-Melt Dark Chocolate Peanut Butter Protein Bars that have stuck with me ever since. Maybe you’ve been there—craving a healthy snack that’s both indulgent and practical, especially when you’re on the go or need a quick energy boost after a workout. Let me tell you, this recipe nails it every time.
This isn’t just another protein bar recipe; it’s one I keep coming back to because it’s simple, reliable, and honestly, a little bit addictive. Whether you stash them in your gym bag or keep a few on the kitchen counter for a midday treat, these bars bring that perfect balance of dark chocolate richness and peanut butter creaminess without turning into a sticky mess. Keep reading—I promise you’re going to want to try this!
Why You’ll Love This Recipe
After testing countless protein bar recipes over the years, this version stands out for several reasons that I’m excited to share with you. It’s not just about flavor (though it’s seriously delicious), but also about how easy and practical it is for everyday life.
- Quick & Easy: Comes together in under 30 minutes, perfect for those busy mornings or last-minute snack preps.
- Simple Ingredients: Uses pantry staples like natural peanut butter and dark chocolate chips—no fancy shopping trips required.
- No-Melt Formula: Designed to stay solid even in warm conditions, so you can toss these bars in your bag without worry.
- Perfect for On-the-Go: Great for post-workout fuel, hiking snacks, or even a healthy dessert alternative.
- Crowd-Pleaser: My family and friends keep asking me to make these again—kids and adults love them alike.
What truly sets this recipe apart is the balance between texture and flavor. The dark chocolate adds a subtle bitterness that complements the creamy peanut butter perfectly. Plus, by using a mix of protein powder and oats, these bars pack a punch of sustained energy without feeling heavy. Honestly, if you’re looking for a snack that feels indulgent but actually supports your health goals, you’re going to appreciate these bars as much as I do.
What Ingredients You Will Need
This recipe uses straightforward, wholesome ingredients to deliver a satisfying blend of flavors and textures without complicated prep. Most are staples you likely have on hand, and substitutions are easy if needed.
- Natural peanut butter (creamy or crunchy, unsweetened) – the star binder and flavor base
- Dark chocolate chips (at least 70% cocoa) – provides richness and antioxidant benefits
- Honey or maple syrup – natural sweetener that helps hold the bars together
- Vanilla extract – adds depth to the flavor profile
- Old-fashioned rolled oats – gives structure and chewiness (can swap for gluten-free oats if needed)
- Whey or plant-based protein powder (vanilla or unflavored) – boosts protein content for muscle recovery
- Chia seeds (optional) – add fiber and omega-3s
- Salt (just a pinch) – balances sweetness and enhances flavor
- Coconut oil (melted) – helps maintain the no-melt texture and adds subtle richness
If you’re looking for a dairy-free or vegan option, I recommend plant-based protein powders like pea or brown rice protein and maple syrup instead of honey. For extra texture, you can toss in chopped nuts or seeds. I often use Bob’s Red Mill rolled oats because they have a perfect chew and consistency that holds up well in bars.
Equipment Needed
Making these bars doesn’t require any fancy kitchen gadgets. Here’s what you’ll need to get started:
- Mixing bowl: A medium to large bowl for combining ingredients comfortably.
- Measuring cups and spoons: For accuracy, especially with sticky ingredients like honey.
- Spatula or wooden spoon: To mix everything thoroughly without making a mess.
- 8×8-inch baking pan or similar: For pressing and shaping the bars evenly.
- Parchment paper: To line the pan and make removal easier.
- Microwave-safe bowl or small saucepan: For melting chocolate and coconut oil if needed.
If you don’t have a baking pan of that size, a loaf pan or any rectangular container will work fine. Personally, I like using a silicone spatula because it scrapes the sides clean and makes mixing less frustrating. For budget-friendly options, even an old glass dish will do just fine here. Just remember to line it well to avoid sticking.
Preparation Method
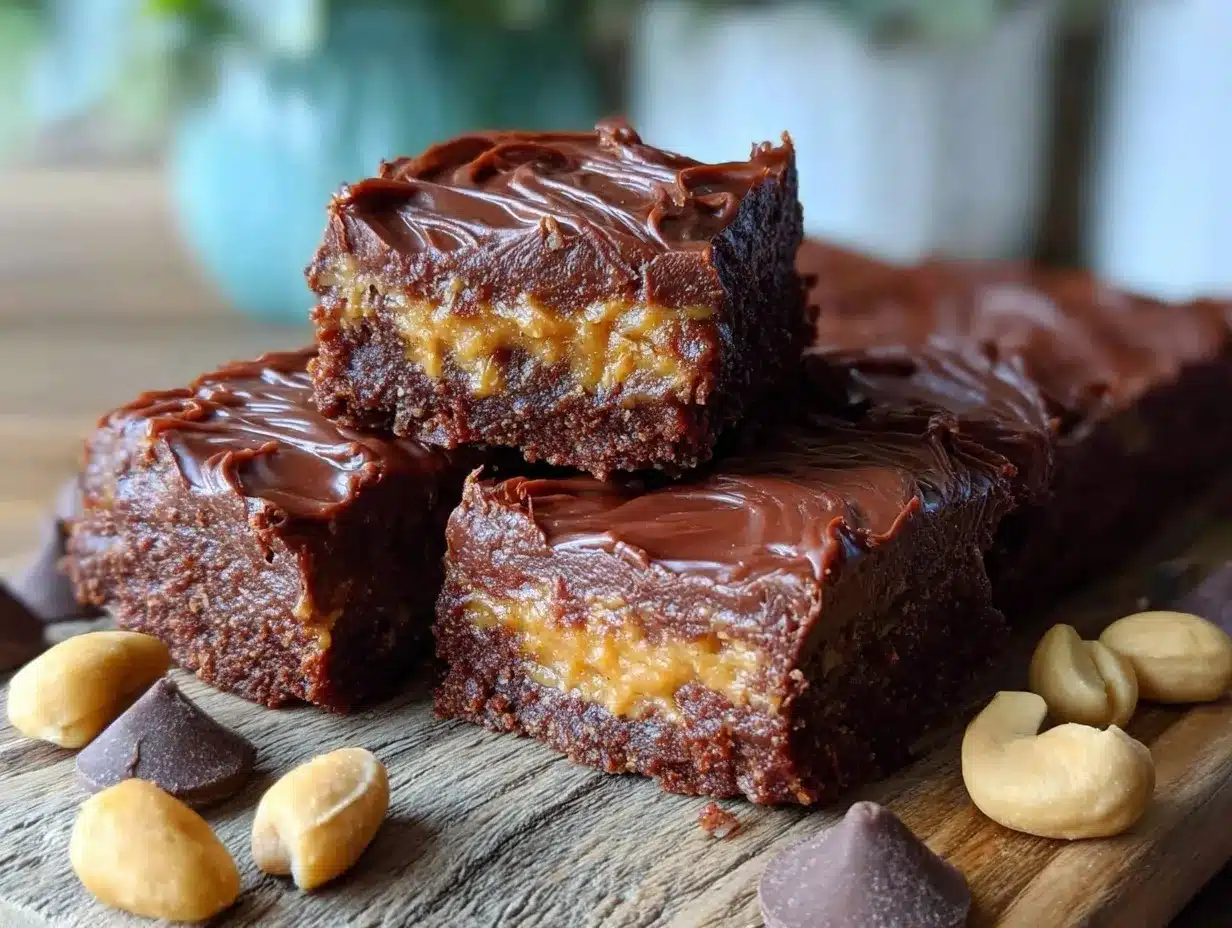
- Prep your pan: Line an 8×8-inch baking pan with parchment paper, leaving some overhang on the sides for easy removal later. This step saves you from a sticky mess.
- Mix the wet ingredients: In your mixing bowl, combine 1 cup (250 g) of natural peanut butter, ⅓ cup (80 ml) honey or maple syrup, 2 tablespoons (30 ml) melted coconut oil, and 1 teaspoon (5 ml) vanilla extract. Stir until smooth and creamy. If your peanut butter is too stiff, microwave it for 15 seconds to soften.
- Add dry ingredients: To the wet mix, add 1 ½ cups (135 g) rolled oats, ½ cup (45 g) protein powder, 1 tablespoon (15 g) chia seeds (optional), and a pinch of salt. Stir everything together until evenly combined. The mixture should be thick but sticky enough to hold its shape.
- Fold in the chocolate chips: Gently stir in ½ cup (90 g) dark chocolate chips. Don’t overmix, or they might start melting in your bowl.
- Press into pan: Transfer the mixture to your prepared pan. Use a spatula or your hands (lightly greased!) to press it firmly and evenly into the pan. This step is key for bars that hold together well.
- Chill: Place the pan in the refrigerator for at least 2 hours, or until the bars are firm enough to cut. If you’re impatient like me, 90 minutes sometimes does the trick, but full chilling makes slicing easier.
- Slice and store: Use the parchment overhang to lift the slab out of the pan. Cut into 10-12 bars with a sharp knife. Store in an airtight container in the fridge for up to a week or freeze for longer storage.
Pro tip: If your bars seem crumbly, press them down a bit more firmly before chilling next time. Also, using a good quality protein powder really makes a difference in taste and texture—I’m a fan of Orgain Organic Protein for a smooth blend.
Cooking Tips & Techniques
Making no-melt dark chocolate peanut butter protein bars is straightforward, but a few little tricks can make your life easier and your bars tastier.
- Softening peanut butter: If yours is super stiff, warming it gently makes mixing smoother. Just don’t overheat or it’ll separate.
- Choosing the right protein powder: Not all proteins perform the same. Whey blends tend to be creamier; plant proteins can be a bit drier, so adjust the wet ingredients slightly if needed.
- Press firmly: The firmer you press the mixture into the pan, the less crumbly your bars will be. I usually press down with the bottom of a measuring cup for even pressure.
- Chill time matters: Don’t skip the chilling. It helps the bars set properly and keeps the chocolate chips from melting into a mess.
- Layering flavors: Adding a pinch of sea salt on top before chilling can really make the chocolate and peanut butter pop.
I once tried making these bars without the coconut oil, thinking it wouldn’t matter. Big mistake! They turned out dry and crumbly. Lesson learned: that little bit of fat helps bind everything and keeps the bars from melting in your hand.
Variations & Adaptations
One of the best things about this recipe is how easy it is to tweak based on your tastes or dietary needs. Here are some ways I’ve played around with it:
- Nut-free: Swap peanut butter for sunflower seed butter and use allergen-friendly protein powder to make these safe for nut-sensitive folks.
- Fruit twist: Add dried cherries or cranberries for a tart burst against the chocolate and peanut butter.
- Spiced version: Stir in ½ teaspoon cinnamon or a pinch of cayenne for a subtle kick and warming flavor.
- Vegan & gluten-free: Use maple syrup instead of honey, plant-based protein, and certified gluten-free oats.
- Crunch factor: Toss in chopped roasted peanuts or pumpkin seeds for extra texture.
I once tested a version with a swirl of almond butter and it was surprisingly good—mixing peanut and almond flavors made the bars even more complex. Feel free to experiment and find your favorite combo!
Serving & Storage Suggestions
These bars are best served chilled or at room temperature. I like to take them out of the fridge about 10 minutes before eating so they’re not too hard but still hold their shape.
They pair wonderfully with a cup of black coffee or a cold glass of almond milk for an afternoon pick-me-up. If you’re packing them for a hike or workout, wrap each bar individually in parchment paper to keep things tidy.
Store bars in an airtight container in the refrigerator for up to a week. For longer storage, freezing works great—just thaw at room temperature for 15 minutes before eating. Over time, the flavors actually deepen, especially if you’ve added spices or dried fruit.
Nutritional Information & Benefits
Each bar roughly contains:
- Calories: 220-250 kcal
- Protein: 12-15 grams
- Carbohydrates: 18-22 grams (mostly from oats and natural sweeteners)
- Fat: 12-14 grams (healthy fats from peanut butter and coconut oil)
Thanks to dark chocolate and natural peanut butter, these bars offer antioxidants and heart-healthy fats. The protein powder provides muscle-repairing amino acids, making these ideal for post-exercise recovery or sustained energy. Plus, the fiber from oats and chia seeds supports digestion.
If you’re watching allergens, keep in mind they contain nuts and may contain traces of dairy or soy depending on protein powder choice. Overall, these bars strike a nice balance between indulgence and nutrition.
Conclusion
So, if you’re craving a snack that tastes like a treat but won’t melt into a sticky mess, these Flavorful No-Melt Dark Chocolate Peanut Butter Protein Bars should be your next kitchen project. I love how adaptable they are—you can tailor the flavors, tweak ingredients, and still end up with bars that are satisfying, nourishing, and easy to grab whenever hunger strikes.
Honestly, this recipe has become a staple in my kitchen because it blends comfort and practicality so well. I’m excited for you to try it out and maybe even make it your own. Don’t forget to leave a comment below if you experiment with any variations or have questions—I love hearing how these bars come together in your kitchen!
Happy snacking!
FAQs
Can I use natural peanut butter with oil separation for this recipe?
Yes! Just stir your peanut butter well before measuring. The oil helps keep the bars moist and chewy, contributing to that no-melt texture.
What protein powder works best for these bars?
Whey protein powders blend smoothly, but plant-based options like pea protein also work well. If using plant-based, you might need to add a touch more honey or maple syrup to keep the texture balanced.
How long do these bars last without refrigeration?
Because of the natural ingredients and no preservatives, it’s best to keep them refrigerated or frozen. At room temperature, they can last a few hours but might soften or become sticky.
Can I make these bars nut-free?
Absolutely! Use sunflower seed butter instead of peanut butter and choose a nut-free protein powder. Just keep an eye on texture and adjust wet ingredients if necessary.
Is it possible to bake these bars instead of chilling?
This recipe is designed to set in the fridge and doesn’t require baking. Baking might dry them out or change the texture, so chilling is the way to go for best results.
Pin This Recipe!
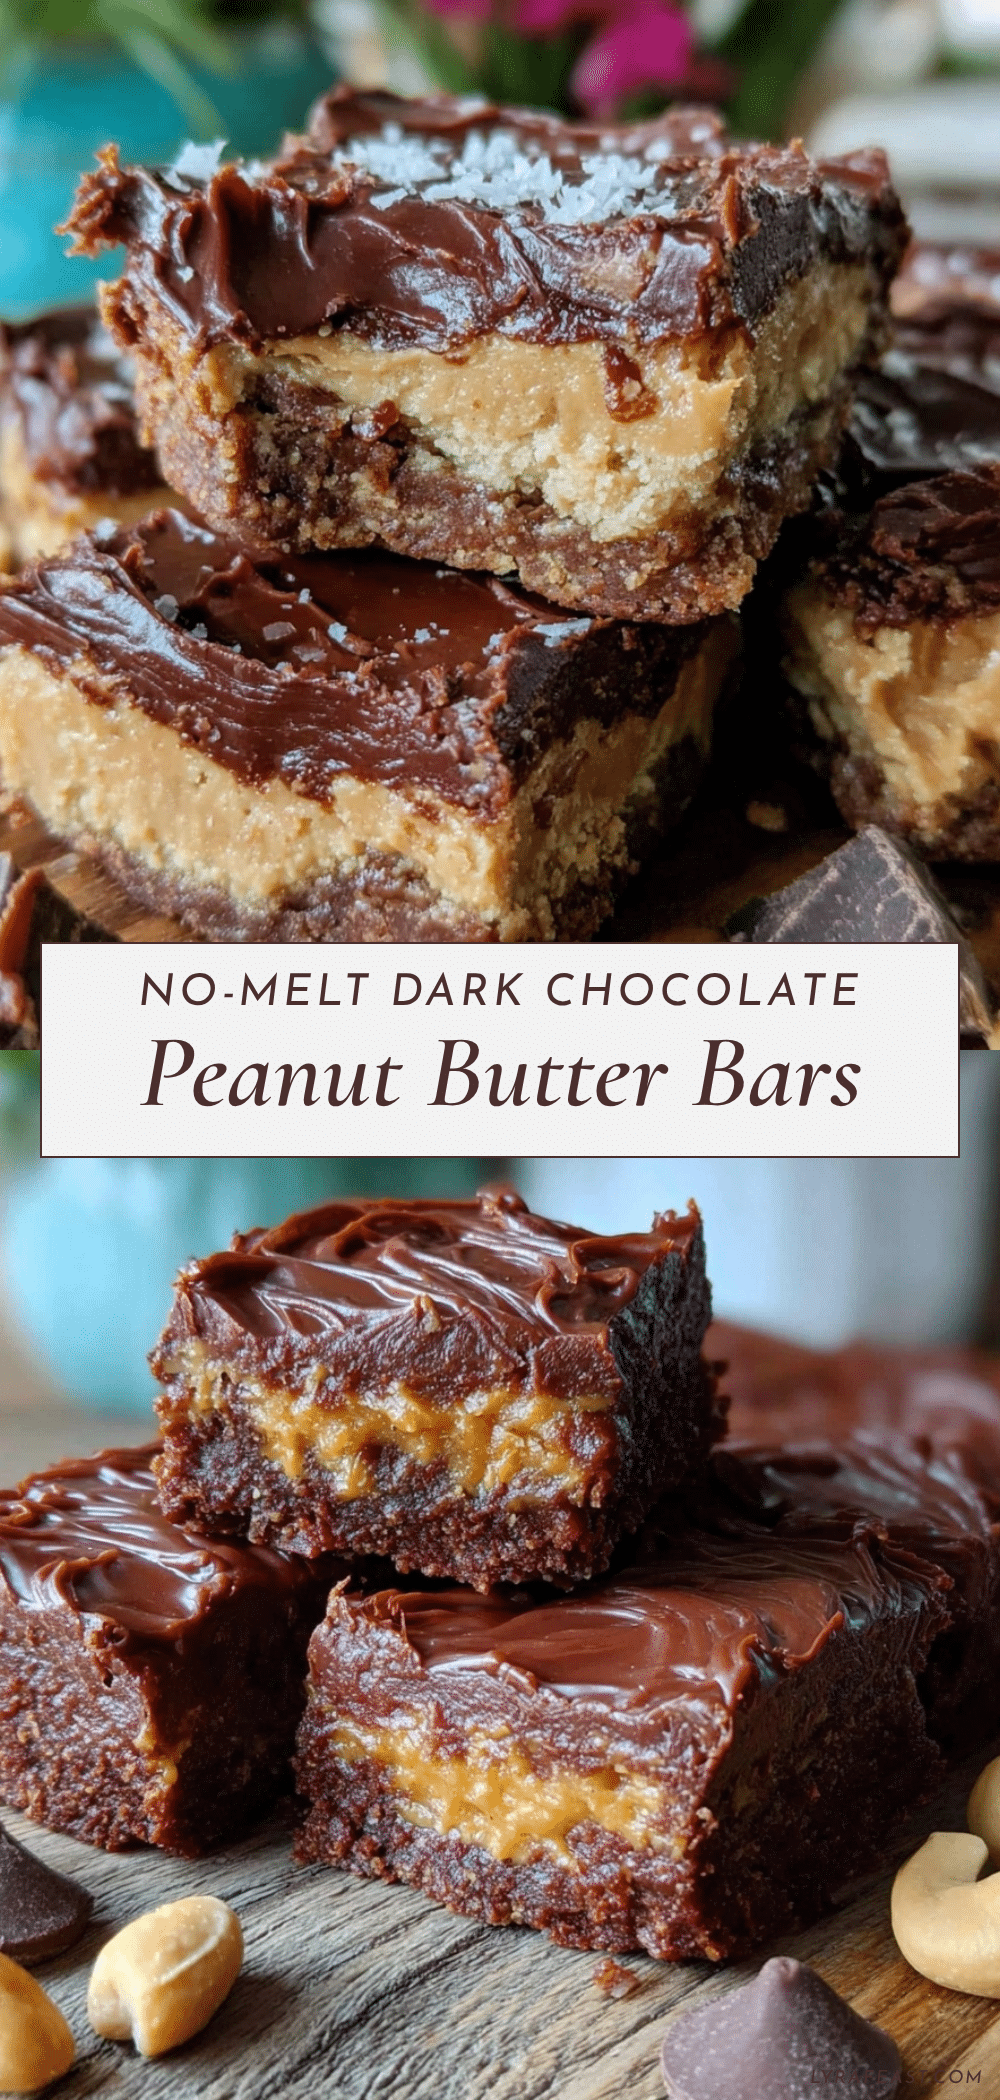
Flavorful No-Melt Dark Chocolate Peanut Butter Protein Bars

These no-melt dark chocolate peanut butter protein bars are easy to make, packed with flavor, and perfect for on-the-go snacking or post-workout fuel. They stay firm even in warm conditions and combine rich dark chocolate with creamy peanut butter and protein-packed oats.
- Prep Time: 10 minutes
- Cook Time: 0 minutes
- Total Time: 2 hours 10 minutes
- Yield: 10-12 bars 1x
- Category: Snack
- Cuisine: American
Ingredients
- 1 cup (250 g) natural peanut butter (creamy or crunchy, unsweetened)
- 1/3 cup (80 ml) honey or maple syrup
- 2 tablespoons (30 ml) melted coconut oil
- 1 teaspoon (5 ml) vanilla extract
- 1 1/2 cups (135 g) old-fashioned rolled oats
- 1/2 cup (45 g) whey or plant-based protein powder (vanilla or unflavored)
- 1 tablespoon (15 g) chia seeds (optional)
- Pinch of salt
- 1/2 cup (90 g) dark chocolate chips (at least 70% cocoa)
Instructions
- Line an 8×8-inch baking pan with parchment paper, leaving some overhang on the sides for easy removal.
- In a mixing bowl, combine peanut butter, honey or maple syrup, melted coconut oil, and vanilla extract. Stir until smooth and creamy. Microwave peanut butter for 15 seconds if too stiff.
- Add rolled oats, protein powder, chia seeds (if using), and salt to the wet mixture. Stir until evenly combined and thick but sticky.
- Gently fold in dark chocolate chips without overmixing.
- Transfer mixture to the prepared pan and press firmly and evenly using a spatula or lightly greased hands.
- Chill in the refrigerator for at least 2 hours until firm. 90 minutes may suffice but full chilling makes slicing easier.
- Lift the slab out using parchment overhang and cut into 10-12 bars with a sharp knife.
- Store bars in an airtight container in the fridge for up to a week or freeze for longer storage.
Notes
Press the mixture firmly into the pan to avoid crumbly bars. Use good quality protein powder for best taste and texture. Chilling is essential to set the bars and maintain the no-melt texture. For vegan or dairy-free options, use plant-based protein powder and maple syrup instead of honey. Adding a pinch of sea salt on top before chilling enhances flavor.
Nutrition
- Serving Size: 1 bar
- Calories: 235
- Sugar: 8
- Sodium: 90
- Fat: 13
- Saturated Fat: 3.5
- Carbohydrates: 20
- Fiber: 3
- Protein: 14
Keywords: protein bars, no-melt, dark chocolate, peanut butter, healthy snack, post-workout, easy recipe, homemade protein bars



