It was 10:47 PM on a quiet Wednesday, and I was staring at a fruit bowl full of pears that were about two days past their prime. You know that moment when you realize you either need to use them or lose them? I wasn’t planning on making preserves. Honestly, I was planning on making a simple pear crisp. But then I opened the pantry and realized I was out of oats. Out of brown sugar too. So there I was, at nearly eleven o’clock at night, with a counter full of soft pears and a very stubborn refusal to let them go to waste.
I had a bag of sugar, a vanilla bean I’d been saving for something “special,” and a cinnamon stick that had been rolling around in my spice drawer for months. And that’s when the idea hit me—why not just cook them down into something simple? Something that would capture that sweet, warm pear flavor without all the fuss of a complicated canning setup. I mean, I’d made jam before, but it always felt like a weekend project. This felt different. It felt like a midnight experiment, the kind where you’re not following rules, you’re just following your gut.
I chopped those pears roughly, tossed them in a pot with the sugar, scraped that beautiful vanilla bean right into the mix, and dropped the cinnamon stick in for good measure. The kitchen smelled incredible. Not in a dramatic, “this is going to be a masterpiece” way, but in a quiet, comforting way. Like someone was baking a pie in a cabin somewhere. I stirred it lazily, letting it bubble and thicken while I scrolled through my phone. I almost burned it. Almost. Honestly, that near-miss taught me more about making preserves than any recipe ever could. It taught me to pay attention to the little things—the way the bubbles change, the way the color deepens.
That first batch was a little chunky, a little rustic, and absolutely perfect. It wasn’t fancy. It wasn’t from a farmhouse kitchen with a gorgeous view. It was made in my tiny apartment, wearing pajamas, at a time of night when most people are asleep. And I’ve been making it ever since. Maybe you’ve been there too—staring at fruit that needs saving, not wanting to let it go. This recipe is for those nights. And honestly, it’s for every other night too.
Why You’ll Love This Recipe
This isn’t your typical jam recipe that requires a candy thermometer and a degree in food science. This is the kind of preserve that feels like a warm hug in a jar. I’ve tested this method more times than I can count, tweaking the cooking time and the sugar ratio until it hit that sweet spot—literally and figuratively. It’s become my go-to for using up pears, and everyone who tries it asks for the recipe.
- Quick & Easy: This comes together in under 45 minutes, most of which is hands-off simmering time. Perfect for a last-minute gift or a spontaneous breakfast upgrade.
- Simple Ingredients: You only need pears, sugar, a vanilla bean (or extract), and a cinnamon stick. No pectin, no special preservatives, no trips to a specialty store.
- Perfect for Gifting: Tie a ribbon around a jar and you’ve got a homemade gift that looks like you spent hours on it. (I won’t tell if you don’t.)
- Crowd-Pleaser: It’s not too sweet, it’s not too spicy—it’s just right. Kids love it on toast, adults love it on cheese boards.
- Unbelievably Delicious: The vanilla and cinnamon don’t overpower the pear; they just make it taste like the best version of itself. It’s the kind of preserve that makes you close your eyes after the first bite.
What makes this recipe different from the rest is the method. I don’t peel the pears. I know, I know—that sounds crazy. But the peels add natural pectin and a beautiful rosy tint to the final preserves. Plus, it saves you about twenty minutes of tedious work. It’s a small twist that makes a big difference, and it’s the kind of tip I learned through trial and error. This isn’t just another pear jam recipe—it’s the one you’ll actually want to make again and again.
What Ingredients You Will Need
This recipe uses simple, wholesome ingredients to deliver a rich, complex flavor without any fuss. The magic is in the quality of the fruit and the patience to let it cook down slowly. Here’s what you’ll need:
- Pears (2 ½ pounds, or about 5-6 medium pears): You want ripe but still firm pears. Bosc or Bartlett work beautifully. Avoid pears that are mushy or bruised. I like to use a mix of varieties for a more complex flavor. (No need to peel them—the skins add color and natural pectin!)
- Granulated Sugar (2 cups, or 400 grams): This isn’t the time to cut back on sugar—it’s essential for preservation and texture. You can use organic cane sugar if you prefer. I’ve tested this with coconut sugar, and while it works, the flavor is much darker and less pear-forward.
- Vanilla Bean (1 whole bean): This is where the magic happens. A vanilla bean gives a deep, floral vanilla flavor that extract just can’t match. If you don’t have a bean, use 2 teaspoons of good-quality vanilla extract added at the end of cooking. I recommend Madagascar vanilla beans for the best flavor.
- Cinnamon Stick (1 whole stick): A whole cinnamon stick infuses the preserves with a warm, subtle spice without making it gritty. Do not use ground cinnamon—it will make the preserves cloudy and muddy the flavor. I prefer Ceylon cinnamon for its delicate sweetness.
- Lemon Juice (2 tablespoons, or juice of 1 lemon): This brightens the flavor and helps with the set. Fresh is best, but bottled works in a pinch.
Ingredient Selection Tips: When choosing pears, give them a gentle squeeze near the stem. They should yield slightly but not feel soft. If your pears are rock hard, let them sit on the counter for a day or two. If they’re too ripe, the preserves will be mushy and lack texture. I’ve learned this the hard way—trust me on this one.
Substitution Guidance: For a lower-sugar version, you can use a low-sugar pectin and reduce the sugar to 1 cup, but the texture will be softer and the shelf life shorter. For a vanilla extract substitution, add it in the last 5 minutes of cooking to preserve the flavor. If you don’t have a cinnamon stick, you can add ½ teaspoon of ground cinnamon, but I really recommend the stick for the best result.
Equipment Needed
You don’t need a fancy canning setup for this recipe. I’ve made it with a simple pot and a wooden spoon more times than I can count. Here’s what you’ll actually need:
- Large Heavy-Bottomed Pot or Dutch Oven: A wide, heavy pot ensures even heat distribution and prevents burning. I use a 5-quart enameled cast iron Dutch oven. If you don’t have one, a stainless steel pot will work—just stir more frequently.
- Wooden Spoon or Silicone Spatula: A wooden spoon is great for stirring without scratching your pot. I have a favorite one that’s stained from years of use—it feels lucky at this point.
- Sharp Knife and Cutting Board: You’ll be chopping pears, so a good knife makes the job faster and safer. A chef’s knife is ideal.
- Measuring Cups and Spoons: For accurate sugar and lemon juice measurements. I use dry measuring cups for sugar and liquid measuring cups for the lemon juice.
- Jars with Lids (2-3 half-pint jars): You can use mason jars or any clean glass jars with tight-fitting lids. If you’re planning to store them long-term, you’ll need to sterilize them. For short-term fridge storage, just wash them well with hot soapy water.
- Funnel (Optional but Helpful): A wide-mouth funnel makes pouring the hot preserves into jars much less messy. I learned this after spilling preserves down the side of a jar and having to clean it all up.
- Kitchen Towel: For wiping jar rims and cleaning up inevitable drips. Trust me, there will be drips.
Budget-Friendly Options: Don’t have a Dutch oven? A deep skillet or a nonstick pot works fine—just keep an eye on the heat. No funnel? You can carefully pour from a heatproof measuring cup. The key is to work with what you have. I’ve made this recipe in a college dorm kitchen with a single electric burner and a scratched nonstick pan. It still turned out amazing.
Preparation Method
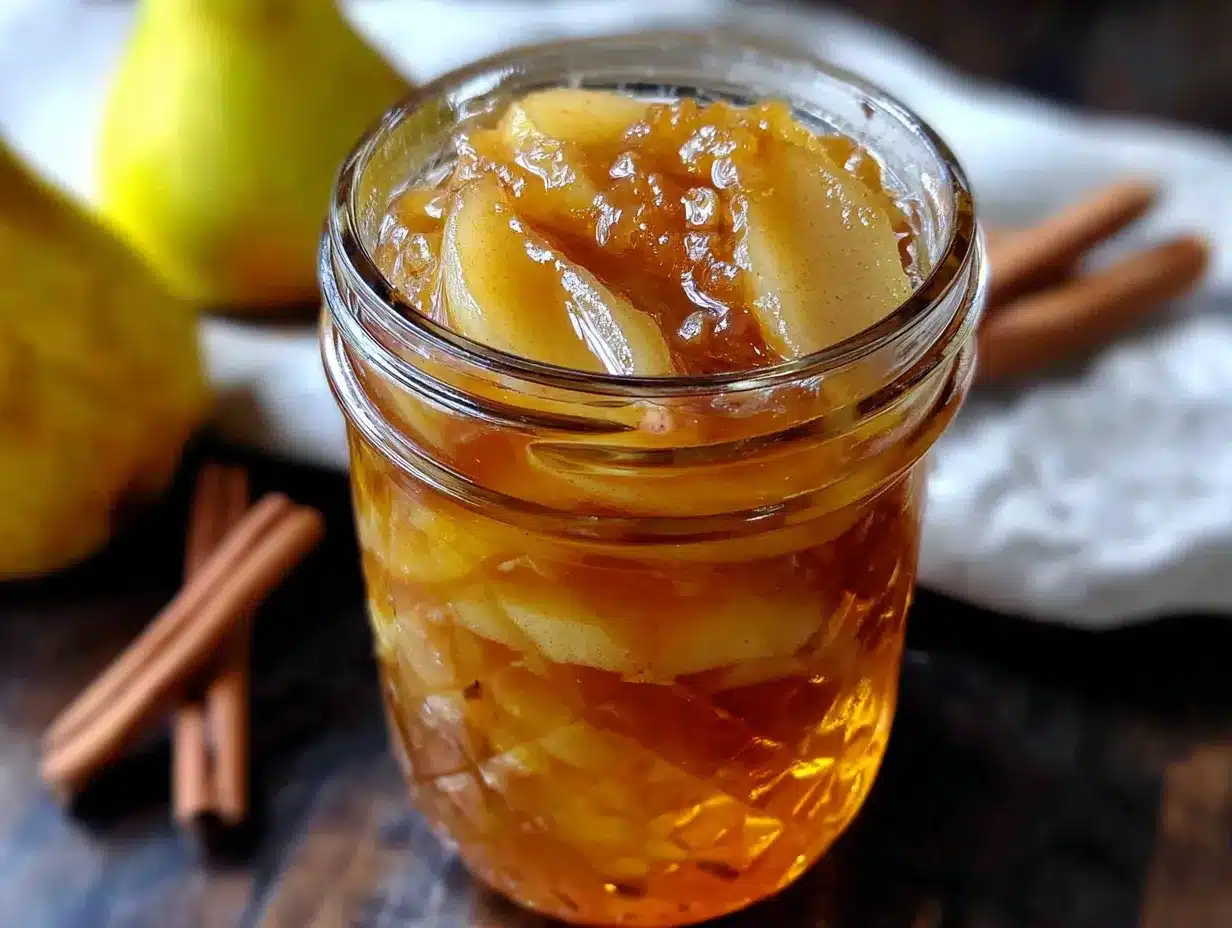
This is the part where the magic happens. Follow these steps, and you’ll have a jar of liquid gold in no time. I’ve included all the little details I wish someone had told me when I first started making preserves.
- Prepare the Pears: Wash the pears thoroughly. Cut them into quarters, remove the cores and stems, and slice them into ½-inch chunks. Don’t bother peeling them—the skins will break down during cooking and add beautiful color and natural pectin. You should have about 6 cups of chopped pears. (If you have a kitchen scale, 2 ½ pounds is the sweet spot.)
- Combine Ingredients in the Pot: Place the chopped pears in your large pot. Add the 2 cups of granulated sugar, the juice of one lemon, and the whole cinnamon stick. Using a sharp paring knife, split the vanilla bean lengthwise and scrape the seeds into the pot. Drop the empty pod in as well—it will continue to infuse flavor as it cooks.
- Maceration (The Waiting Game): Stir everything together until the sugar starts to dissolve. Let the mixture sit for 15-20 minutes. This step isn’t strictly necessary, but it helps draw out the pear’s natural juices and gives you a head start on cooking. I usually use this time to wash my jars or clean up the kitchen. (Or, let’s be honest, scroll through Instagram.)
- Bring to a Gentle Boil: Place the pot over medium heat. Stir occasionally as the mixture heats up. You’ll see the sugar melt and the pears start to release their liquid. Once it reaches a gentle boil, reduce the heat to medium-low. You want a steady simmer, not a violent boil. If it’s bubbling too aggressively, the liquid will evaporate too quickly and you’ll end up with something closer to pear candy than preserves.
- Simmer and Stir: Let the mixture simmer for 25-35 minutes, stirring every 5 minutes or so. The timing depends on how ripe your pears are and how wide your pot is. You’re looking for the liquid to reduce by about half and the pears to become tender but still hold their shape slightly. I like to leave some chunks for texture—it feels more rustic and homemade.
- Test for Doneness: Here’s the trick I learned after my first batch turned into pear syrup: place a small plate in the freezer before you start cooking. When you think the preserves are close, drop a teaspoonful onto the cold plate. Let it sit for 30 seconds, then run your finger through it. If the preserves hold their shape and don’t flood back together, they’re done. If they’re still runny, cook for another 5 minutes and test again.
- Remove the Aromatics: Fish out the cinnamon stick and the vanilla bean pod. (You can rinse and dry the vanilla bean pod to use in vanilla sugar later—zero waste!) If you want a smoother preserve, you can use an immersion blender for a few seconds, but I prefer the chunky texture.
- Cool Slightly and Jar: Remove the pot from the heat and let the preserves cool for about 10 minutes. This helps them thicken slightly and makes them safer to handle. Carefully ladle the preserves into your clean jars, leaving about ½ inch of headspace. Wipe the rims with a clean, damp towel, and screw on the lids.
- Final Set: Let the jars cool completely at room temperature. You’ll hear the lids pop as they seal—that satisfying sound never gets old. Once cool, refrigerate. The preserves will continue to thicken as they cool, so don’t worry if they seem a bit loose when you first jar them.
Troubleshooting Tip: If your preserves are too thick, you can stir in a tablespoon of warm water or apple juice. If they’re too thin, return them to the pot and simmer for another 5-10 minutes. Remember, practice makes perfect. My first batch was basically pear soup, and my second batch was so thick I could have used it as a doorstop. The third batch was just right.
Cooking Tips & Techniques
I’ve made this recipe at least a dozen times now, and I’ve made every mistake you can imagine. Here’s what I’ve learned so you don’t have to repeat my errors.
Don’t Walk Away: I know it seems like a low-maintenance recipe, but preserves can go from perfect to burnt in about 90 seconds. I learned this when I stepped away to answer the door for a package delivery. The bottom of my pot had a thin layer of caramelized sugar that took forever to scrub off. Set a timer for every 5 minutes if you need to.
Use a Heavy Pot: A thin-bottomed pot will give you hot spots and uneven cooking. Your preserves might burn on the bottom while still being runny on top. A heavy Dutch oven or thick-bottomed stainless steel pot distributes heat evenly and gives you much more control. This is one piece of equipment where quality really matters.
The Spoon Test: Before you start, dip your wooden spoon in cold water. When you stir the preserves, the sugar won’t stick to the wet spoon as much. It’s a tiny trick, but it keeps your spoon cleaner and makes stirring easier. (I read this in an old cookbook and thought it was silly—until I tried it.)
Timing and Multitasking: While the pears are macerating, wash and dry your jars. While the preserves are simmering, wipe down your counters and get your storage area ready. This recipe only requires active attention for about 15 minutes total, so you can easily do other things during the simmering time—just don’t leave the kitchen entirely.
Consistency is Key: Every batch of pears is different. Some are juicier, some are sweeter, some are more fibrous. Don’t follow the cooking time like it’s a law—use your eyes and your spoon. The preserves are done when they look like something you’d want to spread on a biscuit. Trust your instincts. They’re usually right.
Variations & Adaptations
One of the best things about this recipe is how easy it is to adapt. I’ve experimented with different flavors and methods, and here are my favorite variations.
- Spiced Pear Preserves: Add ¼ teaspoon of ground ginger, ¼ teaspoon of ground nutmeg, and a pinch of ground cloves along with the cinnamon. This gives the preserves a warm, holiday-inspired flavor that’s amazing on scones or stirred into oatmeal.
- Pear and Apple Preserves: Substitute half the pears with firm apples (like Granny Smith or Honeycrisp). The apples add a bit of tartness and a firmer texture. This is a great way to use up a mix of fruit that’s about to go soft.
- Low-Sugar Version: Use 1 cup of sugar and add 2 tablespoons of low-sugar pectin. Follow the pectin package instructions for timing. The texture will be softer and more like a compote, but the flavor will still be fantastic. I make this version for my aunt who’s watching her sugar intake, and she loves it.
- Vanilla-Free Version: If you don’t have vanilla, increase the cinnamon to 2 sticks and add a strip of lemon zest. The lemon zest adds brightness and a slightly different aromatic profile. It’s not the same, but it’s still delicious in its own way.
- Bourbon Pear Preserves: Add 2 tablespoons of bourbon in the last 5 minutes of cooking. The alcohol cooks off, leaving behind a warm, smoky depth that pairs beautifully with the pear and cinnamon. I made this for a friend’s holiday party, and it was gone in twenty minutes.
Personal Variation: My favorite version is the one I make in the fall with Bosc pears and a splash of apple cider vinegar. The vinegar adds a subtle tang that cuts through the sweetness and makes the preserves taste even more complex. It’s not for everyone, but I think it’s incredible.
Serving & Storage Suggestions
This preserve is incredibly versatile. I’ve used it in sweet and savory applications, and it never disappoints. Here’s how I like to serve and store it.
Serving Temperature and Presentation: Serve the preserves at room temperature for the best flavor and spreadability. If you’ve refrigerated them, let them sit out for 15-20 minutes before serving. I like to transfer a portion to a small dish and garnish with a fresh cinnamon stick for a pretty presentation.
Complementary Dishes: This preserve is amazing on warm buttermilk biscuits, toast, or scones. It’s also fantastic as a topping for pancakes, waffles, or French toast. For a savory twist, serve it alongside a cheese board with sharp cheddar, creamy brie, or tangy goat cheese. I’ve even used it as a glaze for roasted pork chops—just brush it on during the last 10 minutes of cooking.
Beverage Pairings: A cup of Earl Grey tea or a warm chai latte pairs beautifully with the vanilla and cinnamon notes. For a special treat, try it with a glass of sparkling wine or a dry hard cider.
Storage Instructions: Store the preserves in an airtight container in the refrigerator for up to 3 weeks. For longer storage, you can freeze them in freezer-safe containers for up to 6 months. Thaw overnight in the refrigerator before using. If you’ve sterilized your jars and processed them in a water bath, they can be stored in a cool, dark pantry for up to a year. (I’ve never managed to keep them that long—they’re always eaten too quickly.)
Reheating Methods: If your preserves have thickened too much in the fridge, simply microwave a small portion for 15-20 seconds, or stir a teaspoon of warm water into the jar. The flavor won’t be affected.
How Flavors Develop Over Time: The vanilla and cinnamon flavors actually deepen after a day or two in the fridge. I always think the preserves taste even better on day two than they do on day one. So don’t be discouraged if the flavor seems a bit simple right after cooking—give it time.
Nutritional Information & Benefits
While this is certainly a treat, there are some surprising nutritional benefits to these preserves. Here’s the breakdown per 2-tablespoon serving:
- Calories: Approximately 60-70 calories
- Carbohydrates: 16-18 grams (mostly from natural fruit sugars and added sugar)
- Fiber: 1-2 grams (thanks to the pear skins!)
- Vitamin C: 4% of the Daily Value
- Potassium: 2% of the Daily Value
Health Benefits of Key Ingredients: Pears are a good source of dietary fiber, which supports digestive health. They also contain antioxidants like vitamin C and copper. Cinnamon has been studied for its potential to help regulate blood sugar levels. Vanilla, while used in small amounts, contains vanillin, which has antioxidant properties.
Dietary Considerations: This recipe is naturally gluten-free, dairy-free, and vegan. It contains no nuts or soy. The only potential allergen is the fruit itself, which is rare. If you’re following a low-sugar diet, use the low-sugar variation mentioned above.
Personal Wellness Perspective: I believe in enjoying food in moderation. This preserve is a treat, not a health food, and that’s okay. Using real, whole ingredients and making it from scratch means you know exactly what’s in it. No high-fructose corn syrup, no artificial flavors, no preservatives. That counts for something.
Conclusion
This homemade cinnamon vanilla pear preserve is one of those recipes that feels special without being complicated. It’s proof that you don’t need a dozen ingredients or a professional kitchen to make something truly delicious. All you need is a little patience, some good fruit, and the willingness to try something new.
I love this recipe because it reminds me of that late-night kitchen experiment. It reminds me that the best things often come from unexpected places. And honestly, it just tastes amazing. I hope you’ll give it a try, whether you’re using up a box of pears that’s past its prime or you’re looking for a homemade gift that will impress everyone.
I’d love to hear how it turns out for you. Did you add a twist? Did you serve it with something unexpected? Drop a comment below and let me know. And if you share a photo on Pinterest, tag me—I want to see your beautiful jars of homemade goodness. Happy preserving, friends!
Frequently Asked Questions
Can I use canned pears for this recipe?
I wouldn’t recommend it. Canned pears are already cooked and packed in syrup, which throws off the sugar balance and texture. Fresh pears give you the best results. If you absolutely must use canned, drain them well and reduce the sugar to 1 cup.
Do I have to use a vanilla bean, or can I use extract?
You can definitely use extract. Use 2 teaspoons of good-quality vanilla extract and add it in the last 5 minutes of cooking. The flavor won’t be quite as deep as with a vanilla bean, but it will still be delicious. I’ve done it many times when I didn’t have a bean on hand.
Why did my preserves turn out too runny?
This usually happens when the pears are very juicy or when the preserves haven’t cooked long enough. Next time, cook them for an additional 5-10 minutes and use the cold plate test to check for doneness. You can also let them cool completely—they’ll thicken more as they cool.
Can I double this recipe?
Yes, you can double it, but be aware that it will take longer to cook down. Use a larger pot and expect the cooking time to increase by 10-15 minutes. Don’t fill your pot more than halfway, or it might bubble over. I’ve doubled it successfully, but I always keep a closer eye on it.
How do I know if my jars are sealed properly?
After the jars have cooled completely, press down on the center of each lid. If it doesn’t pop up and down, it’s sealed. You should also hear a popping sound as the jars cool—that’s the sound of a successful seal. If a jar doesn’t seal, just store it in the refrigerator and use it within 3 weeks.
Pin This Recipe!
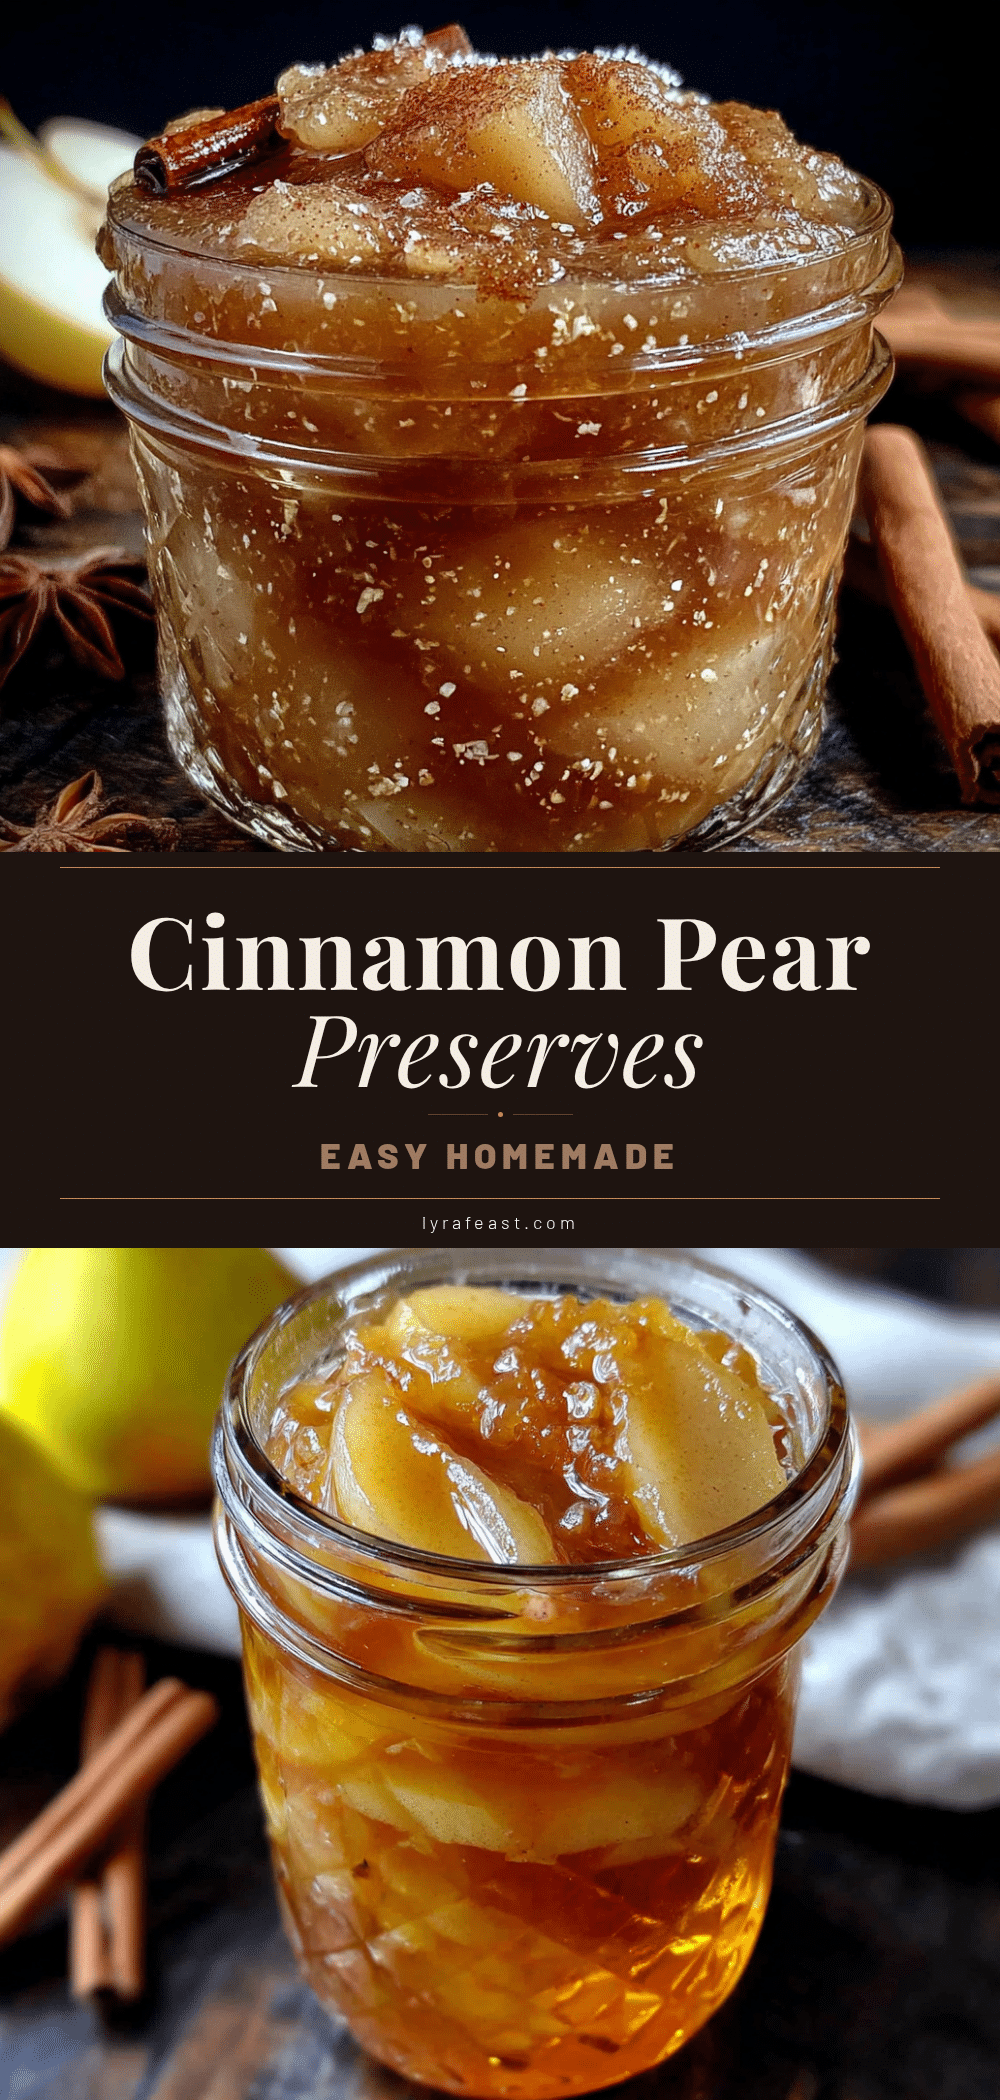
Homemade Cinnamon Vanilla Pear Preserves: Easy 3-Ingredient Recipe
This easy 3-ingredient pear preserve recipe uses ripe pears, sugar, vanilla, and cinnamon for a quick, delicious spread perfect for toast, cheese boards, or gifting.
- Prep Time: 15 minutes
- Cook Time: 30 minutes
- Total Time: 45 minutes
- Yield: 2-3 half-pint jars (about 2 cups) 1x
- Category: Preserves
- Cuisine: American
Ingredients
- 2 ½ pounds (about 5-6 medium) ripe but firm pears (Bosc or Bartlett), unpeeled, cored, and chopped into ½-inch chunks
- 2 cups (400 grams) granulated sugar
- 1 whole vanilla bean (or 2 teaspoons vanilla extract, added at the end)
- 1 whole cinnamon stick (preferably Ceylon)
- 2 tablespoons (juice of 1 lemon) fresh lemon juice
Instructions
- Wash the pears thoroughly. Cut them into quarters, remove the cores and stems, and slice into ½-inch chunks. Do not peel.
- Place the chopped pears in a large heavy-bottomed pot or Dutch oven. Add the sugar, lemon juice, and whole cinnamon stick. Split the vanilla bean lengthwise, scrape the seeds into the pot, and add the empty pod as well.
- Stir everything together until the sugar starts to dissolve. Let the mixture sit for 15-20 minutes to macerate and draw out juices.
- Place the pot over medium heat and bring to a gentle boil, stirring occasionally. Reduce heat to medium-low to maintain a steady simmer.
- Simmer for 25-35 minutes, stirring every 5 minutes, until the liquid has reduced by about half and the pears are tender but still hold some shape.
- To test for doneness, place a small plate in the freezer before cooking. Drop a teaspoonful of preserves onto the cold plate. Let it sit for 30 seconds, then run your finger through it. If it holds its shape and doesn’t flood back together, it’s done. If still runny, cook 5 more minutes and test again.
- Remove the cinnamon stick and vanilla bean pod (rinse and dry the pod for vanilla sugar). If desired, use an immersion blender for a smoother texture, but chunky is recommended.
- Remove the pot from heat and let the preserves cool for about 10 minutes. Ladle into clean jars, leaving ½ inch headspace. Wipe rims, screw on lids, and let cool completely at room temperature. Refrigerate after opening.
Notes
Do not peel the pears—the skins add natural pectin and a rosy tint. Use a heavy pot to prevent burning. The preserves will thicken as they cool. For a lower-sugar version, use 1 cup sugar and 2 tablespoons low-sugar pectin. Store in the refrigerator for up to 3 weeks or freeze for up to 6 months.
Nutrition
- Serving Size: 2 tablespoons
- Calories: 6070
- Sugar: 1416
- Carbohydrates: 1618
- Fiber: 12
Keywords: pear preserves, homemade jam, vanilla cinnamon pear, easy preserves, 3-ingredient recipe, no pectin, small batch



