I’d been telling myself for years that I didn’t need another banana bread recipe. Honestly, I had one—a solid, dependable one my grandmother passed down—and it worked fine. So when my friend Jenna showed up at my door last Tuesday, thrusting a foil-wrapped loaf into my hands, claiming hers was “different,” I smiled politely and thanked her, already planning to re-gift it to my neighbor.
That plan lasted about six hours. By evening, the smell coming from my kitchen counter was impossible to ignore. I mean, it was warm and buttery with this subtle tang that made me stop mid-sentence while on the phone. I cut myself a thin slice—just to taste, you know—and then I stood there, eating another slice, then another, leaning against the counter like I’d never seen food before. The texture was unreal. Not dense or rubbery like some banana breads get. This was tender, almost velvety, with a crumb that practically melted on my tongue.
I called Jenna the next morning, slightly embarrassed, demanding the recipe. She laughed and said, “It’s the sour cream, dummy.” And you know what? She was right. That one ingredient changed everything. The sour cream adds moisture without making it heavy, and it gives the bread this subtle richness that plain yogurt just can’t replicate. I’ve made it four times since that day, tweaking the ratios until it felt like mine, and now I’m pretty sure I’ll never go back to my grandmother’s version. Don’t tell her I said that, okay?
Maybe you’ve been there—stuck in your ways with a recipe that’s fine, but not incredible. This moist sour cream banana bread might just change your mind too.
Why You’ll Love This Recipe
Let me tell you why this sour cream banana bread has become my most-requested bake. It’s not just good—it’s the kind of bread that makes people close their eyes after the first bite, and I’ve seen it happen at least five times now.
- Incredibly Moist: The sour cream works magic here. It adds fat and moisture without thinning the batter, so every slice stays tender for days. I’ve had slices on day four that still felt fresh.
- Simple Ingredients: You probably have everything in your kitchen right now. No fancy extracts, no specialty flours. Just real, basic ingredients that come together beautifully.
- Perfect for Overripe Bananas: You know those sad, spotty bananas sitting on your counter? This is their moment to shine. The riper they are, the better your bread will taste.
- Foolproof Method: I tested this recipe six times to make sure it works with different ovens, different pans, and different banana sizes. It’s forgiving, I promise.
- Crowd-Pleaser: I’ve brought this to brunches, potlucks, and even a book club meeting where everyone ignored the snacks I brought and just ate the banana bread. Kids love it. Adults love it. It’s unoffensive in the best way.
What makes this version different from every other banana bread out there? It’s the balance. The sour cream keeps it incredibly moist, but the ratio of flour to fat is dialed in so you don’t get that greasy, heavy texture some recipes have. The top bakes up golden and slightly domed, while the inside stays soft and almost custard-like. It’s comfort food that feels familiar but somehow better—like the version you always wished you had.
What Ingredients You Will Need
This recipe uses simple, wholesome ingredients to deliver that signature moist texture and rich banana flavor. Most of these are pantry staples, so you probably won’t need a special trip to the store.
For the Banana Bread:
- 3 large ripe bananas, mashed (about 1½ cups or 340g) — The riper, the better. Look for bananas with lots of brown spots. They should be soft and almost mushy when you peel them.
- ½ cup (113g) unsalted butter, melted — I use salted butter in a pinch, just reduce the added salt by ¼ teaspoon. Let the butter cool slightly before mixing so it doesn’t cook the eggs.
- ¾ cup (150g) granulated sugar — Regular white sugar works perfectly. You can substitute coconut sugar for a deeper flavor, but the texture will be slightly denser.
- 2 large eggs, room temperature — Cold eggs can seize the butter. If you forgot to take them out, place them in a bowl of warm water for 5 minutes.
- 1 teaspoon vanilla extract — Pure vanilla is best, but imitation works fine here since banana flavor is so strong.
- ½ cup (120g) full-fat sour cream — This is the star ingredient. Don’t use low-fat or nonfat sour cream; the fat content is crucial for moisture. I prefer Daisy brand for its thick consistency.
- 1½ cups (190g) all-purpose flour — Spoon and level your flour for accuracy. Scooping directly from the bag can pack in too much flour and make your bread dry.
- 1 teaspoon baking soda — Make sure it’s fresh. Test by dropping a pinch into vinegar—if it fizzes vigorously, it’s good.
- ½ teaspoon salt — Fine sea salt or table salt. Salt balances the sweetness and enhances the banana flavor.
- ½ teaspoon ground cinnamon — Optional but highly recommended. It adds warmth without overpowering the banana.
Optional Mix-Ins:
- ½ cup (85g) chocolate chips — Semi-sweet or dark. I like Guittard brand for even melting.
- ½ cup (60g) chopped walnuts or pecans — Toast them first for extra flavor. Spread on a baking sheet at 350°F for 5 minutes.
Ingredient Selection Tips: For the best results, use bananas that are heavily spotted—almost black is fine. They should yield easily when you squeeze them. If your bananas aren’t ripe enough, place them on a baking sheet in a 300°F oven for 15-20 minutes until the skins blacken. Let them cool before using.
For the sour cream, full-fat is non-negotiable here. I’ve tested with Greek yogurt, and while it works in a pinch, the bread isn’t as tender. The higher fat content in sour cream gives you that melt-in-your-mouth texture.
Equipment Needed
You don’t need fancy equipment for this recipe. Here’s what you’ll need:
- 9×5-inch loaf pan — A standard metal or glass loaf pan works best. Dark metal pans brown the crust faster, so check for doneness 5 minutes early. I use a USA Pan brand for even baking.
- Large mixing bowl — Any medium-to-large bowl works. You’ll need room to mix the wet and dry ingredients without spilling.
- Medium mixing bowl — For combining the dry ingredients separately.
- Whisk — For mixing dry ingredients and smoothing out the batter.
- Wooden spoon or rubber spatula — A spatula is better for folding without overmixing. I prefer a silicone one that won’t scratch your bowls.
- Measuring cups and spoons — Dry measuring cups for flour and sugar, liquid measuring cup for sour cream. It actually matters for accuracy.
- Parchment paper — Not strictly necessary, but it makes lifting the bread out of the pan so much easier. Cut a strip to fit the width of the pan with overhang on both sides.
- Cooling rack — A wire rack lets air circulate so the bottom doesn’t get soggy. If you don’t have one, use the inverted loaf pan lid or just tilt the bread on its side.
- Toothpick or skewer — For testing doneness. A thin wooden skewer works better than a knife.
Budget Tip: If you don’t have a loaf pan, you can bake this in an 8×8 square pan. Just reduce the baking time to 35-40 minutes and check early.
Preparation Method
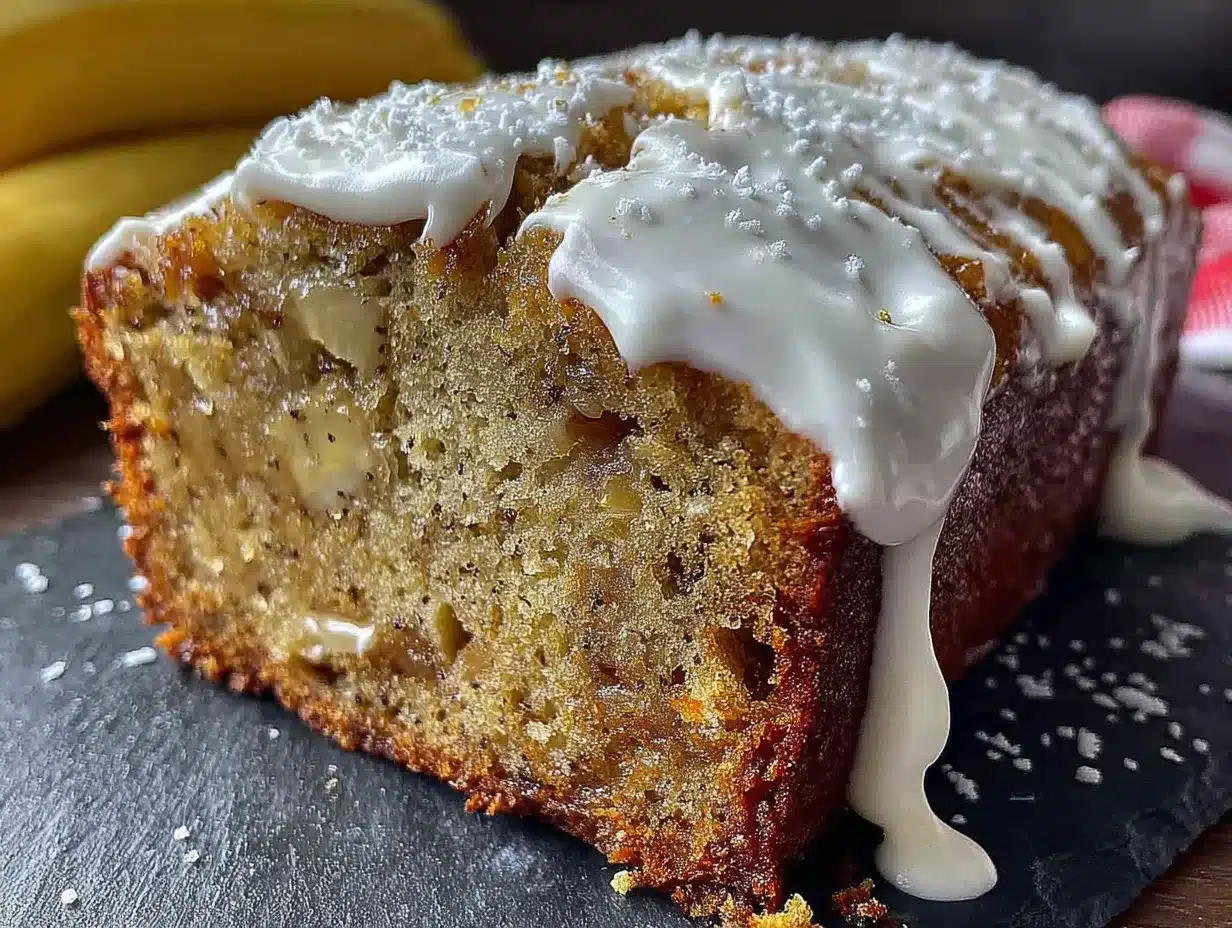
Let me walk you through this step by step. I’ve tested this exact method six times, so trust the process.
- Preheat your oven to 350°F (175°C). Position the rack in the center of the oven. While it’s heating, grease your 9×5-inch loaf pan with butter or nonstick spray. For extra insurance, line it with parchment paper, leaving about 2 inches of overhang on the long sides. This makes lifting the bread out so much easier later.
- Mash your bananas. In a large mixing bowl, add your 3 ripe bananas. Use a fork or potato masher to mash them until they’re mostly smooth with a few small lumps. You want some texture, not baby food. It should look like chunky applesauce. If you have about 1½ cups, you’re golden.
- Add the wet ingredients. To the mashed bananas, add the ½ cup melted butter (make sure it’s cooled slightly), ¾ cup granulated sugar, 2 room-temperature eggs, 1 teaspoon vanilla extract, and ½ cup full-fat sour cream. Whisk everything together until smooth. The batter will look slightly thick and pale yellow. Don’t worry if it seems a little thin—that’s the sour cream doing its job.
- Mix the dry ingredients separately. In a medium bowl, whisk together 1½ cups all-purpose flour, 1 teaspoon baking soda, ½ teaspoon salt, and ½ teaspoon cinnamon. This step is important because it distributes the baking soda evenly, preventing bitter spots in your finished bread.
- Combine wet and dry. Pour the dry ingredients into the wet mixture. Use a rubber spatula to fold them together gently. Stir just until you no longer see streaks of flour. A few small lumps are fine—overmixing will make your bread tough. I count about 12-15 folds, no more. The batter should be thick but scoopable, like a muffin batter.
- Fold in mix-ins (optional). If you’re using chocolate chips or nuts, add them now. Fold gently, about 5-6 strokes. Don’t overdo it or the chips will sink to the bottom.
- Pour into the pan. Scrape the batter into your prepared loaf pan. Use the spatula to spread it evenly, making sure the corners are filled. Tap the pan gently on the counter a few times to release any air bubbles.
- Bake. Place the pan in the preheated oven and bake for 50-60 minutes. At the 30-minute mark, check the top. If it’s browning too quickly, tent loosely with aluminum foil. This happened to me the first time—my oven runs hot, and the top was almost burnt while the inside was still raw. Foil saved it.
- Test for doneness. At 50 minutes, insert a toothpick into the center of the bread. If it comes out clean or with just a few moist crumbs (not wet batter), it’s done. If it’s still gooey, bake for another 5 minutes and test again. My oven usually takes 55 minutes exactly.
- Cool properly. Let the bread cool in the pan on a wire rack for 15 minutes. Then use the parchment overhang to lift it out and transfer it to the rack to cool completely. I know it’s tempting to slice it warm, but the texture sets as it cools. Wait at least 1 hour before cutting. I learned this the hard way when my first loaf crumbled apart because I was impatient.
Sensory Cues: During baking, your kitchen will smell like banana and butter—heavenly. The top should be golden brown and slightly cracked. When you tap the center, it should feel firm but spring back slightly. The edges will pull away from the pan slightly when it’s done.
Cooking Tips & Techniques
After making this recipe more times than I care to count, here are the things I wish someone had told me.
Don’t overmix the batter. This is the number one mistake I see. When you combine wet and dry ingredients, gluten develops. The more you mix, the tougher the bread gets. Stir just until the flour disappears, even if there are a few small lumps. I promise they’ll bake out.
Use room temperature ingredients. Cold eggs and cold sour cream can make the melted butter seize up, leaving you with a lumpy batter. Take everything out of the fridge 30 minutes before you start. If you forgot, place the eggs in a bowl of warm water for 5 minutes and microwave the sour cream for 10 seconds on low power.
Weigh your flour if you can. I know not everyone has a kitchen scale, but if you do, use it. 190 grams of all-purpose flour is perfect. Scooping flour from the bag can give you 20-30 extra grams, which makes your bread dry. If you’re using measuring cups, spoon the flour into the cup and level it off with a knife.
Bake on the center rack. The middle rack gives you the most even heat. If your bread is browning too fast on top but still raw inside, your oven might run hot. I had this problem with my old oven—the top was almost burnt at 40 minutes. Now I always check at 30 minutes and tent with foil if needed.
Let it cool completely. I know, I know. The smell is intoxicating and you want a slice immediately. But cutting into warm banana bread is like opening the oven door too early on a soufflé—it collapses. The crumb needs time to set. I once cut into mine after 20 minutes and it was gummy and fell apart. Now I wait at least an hour, sometimes two.
Use a toothpick, not a knife. A knife leaves a big slit in your bread. A thin wooden skewer or toothpick makes a tiny hole that disappears as it cools. Test in three places—center, and about an inch from each end—to make sure it’s evenly baked.
Variations & Adaptations
One of the best things about this sour cream banana bread is how adaptable it is. Here are some variations I’ve tried and loved.
Chocolate Chip Banana Bread: Fold in ½ cup of semi-sweet chocolate chips along with the flour mixture. The warm, melted chocolate pockets are incredible. I’ve also used white chocolate chips, which add a nice sweetness, but semi-sweet balances the banana best.
Nutty Banana Bread: Toast ½ cup of chopped walnuts or pecans in a dry skillet over medium heat for 3-4 minutes until fragrant. Fold them in at the end. The crunch adds a lovely contrast to the soft crumb. My husband prefers this version, and I’ve started adding a handful of toasted pecans to every batch I make for him.
Gluten-Free Version: Substitute the all-purpose flour with a 1:1 gluten-free baking flour blend. I’ve used Bob’s Red Mill 1-to-1 Baking Flour with great results. The texture is slightly more crumbly, but still moist and delicious. Add an extra tablespoon of sour cream to compensate for the lack of gluten.
Vegan Adaptation: Replace the eggs with 2 flax eggs (2 tablespoons ground flaxseed mixed with 6 tablespoons water, let sit for 5 minutes). Use melted coconut oil instead of butter, and a dairy-free sour cream like Tofutti or Kite Hill. The texture won’t be quite as tender, but it’s still really good. I made this for a vegan friend’s birthday and she asked for the recipe.
Spiced Banana Bread: Add ½ teaspoon of nutmeg, ¼ teaspoon of ground ginger, and a pinch of cloves along with the cinnamon. This gives it a warm, chai-like flavor that’s perfect for fall. I made this version last November and it disappeared in two days.
Banana Muffins: Instead of a loaf, divide the batter into a greased 12-cup muffin tin. Bake at 350°F for 18-22 minutes. They’re perfect for grab-and-go breakfasts. I’ve frozen these and they thaw beautifully.
Serving & Storage Suggestions
This banana bread is versatile when it comes to serving. Here’s how I like to enjoy it.
Serving Temperature: I prefer it at room temperature, but a slightly warm slice with a pat of butter melting into it is pure comfort. If you’re feeling fancy, toast a slice in a buttered skillet for 2 minutes per side. The edges get crispy and the inside stays soft. It’s a game-changer.
Presentation Ideas: For brunch, slice the bread and arrange it on a wooden board with a small dish of honey butter or cream cheese. Dust with powdered sugar for a pretty finish. For a dessert, serve with a scoop of vanilla ice cream and a drizzle of caramel sauce. Yes, it’s indulgent, but sometimes you need that.
Complementary Dishes: This banana bread pairs beautifully with a hot cup of coffee or chai tea. For a complete breakfast, serve alongside scrambled eggs and fresh fruit. It also works as a dessert after a light dinner—I’ve served it after a simple roasted chicken and salad, and it felt just right.
Storage Instructions: Store the bread tightly wrapped in plastic wrap or in an airtight container at room temperature for up to 4 days. The sour cream keeps it moist longer than regular banana bread. I’ve had slices on day four that still tasted fresh.
Freezing: This bread freezes beautifully. Wrap the cooled loaf tightly in plastic wrap, then in aluminum foil, and freeze for up to 3 months. To thaw, leave it on the counter for 2-3 hours, still wrapped. You can also slice it before freezing and grab individual slices as needed. I always keep a loaf in the freezer for unexpected guests or lazy Sunday mornings.
Reheating: For a single slice, microwave for 15-20 seconds. For a whole loaf, wrap in foil and warm in a 300°F oven for 10-15 minutes. The flavors actually deepen after a day or two, so day-old banana bread is often better than fresh.
Nutritional Information & Benefits
Here’s a rough estimate of the nutritional breakdown per slice (assuming 10 slices per loaf):
- Calories: Approximately 280-310 per slice
- Fat: 14g (mostly from butter and sour cream)
- Carbohydrates: 38g
- Protein: 4g
- Fiber: 1.5g
- Sugar: 20g (including natural sugars from bananas)
Health Benefits: Bananas are rich in potassium, which supports heart health and muscle function. They also contain vitamin B6 and vitamin C. The sour cream adds calcium and a small amount of protein. While this isn’t a health food, it’s a more wholesome treat than many store-bought baked goods, with no preservatives or artificial ingredients.
Dietary Considerations: This recipe contains gluten, dairy, and eggs. For gluten-free or vegan options, see the variations section above. If you’re watching your sugar intake, you can reduce the sugar to ½ cup, though the bread will be less sweet and slightly denser.
I like to think of this banana bread as a “better-for-you” indulgence. It satisfies that craving for something sweet and comforting, but it’s made with real food. That matters to me, especially when I’m feeding it to my family.
Conclusion
Look, I’m not going to tell you this sour cream banana bread will change your life. But it might change your mind about banana bread. It’s tender, moist, and packed with real banana flavor—everything you want in a classic recipe, but done better.
What I love most about this recipe is how forgiving it is. You can use slightly different banana amounts, swap in different mix-ins, or even forget to set your eggs out ahead of time, and it still turns out great. It’s the kind of recipe that builds confidence in the kitchen, because it works every time.
I hope you give this a try. Maybe you’ll make it for a weekend breakfast, or maybe you’ll bake it on a Tuesday night just because you have some sad bananas on the counter. Either way, I think you’ll be surprised by how good it is. And if you make it your own—add some chocolate chips, throw in some nuts, or top it with a streusel—I’d love to hear about it. Drop a comment below and let me know how it turned out. Happy baking!
Frequently Asked Questions
Can I use Greek yogurt instead of sour cream?
Yes, you can substitute Greek yogurt for sour cream in a 1:1 ratio. However, the bread will be slightly less tender and moist. Full-fat Greek yogurt works best. I’ve tested this, and while it’s still good, the sour cream version is noticeably better in texture.
Why is my banana bread dry?
Dry banana bread usually comes from overmixing the batter or using too much flour. Make sure you spoon and level your flour, and stop mixing as soon as the flour disappears. Also, check your oven temperature—an oven that runs hot can dry out the bread. Use an oven thermometer to be sure.
Can I freeze this banana bread?
Absolutely! Wrap the cooled loaf tightly in plastic wrap, then in aluminum foil, and freeze for up to 3 months. Thaw at room temperature for 2-3 hours. For individual slices, wrap each slice separately and grab one whenever you want a quick treat.
How ripe should the bananas be?
The riper, the better. Look for bananas with lots of brown spots—almost black is ideal. They should be soft and smell sweet. Green or yellow bananas won’t give you enough flavor or sweetness. If your bananas aren’t ripe enough, you can bake them in a 300°F oven for 15-20 minutes to speed up the process.
Can I make this recipe into muffins instead of a loaf?
Yes, this batter works perfectly for muffins. Divide it into a greased 12-cup muffin tin and bake at 350°F for 18-22 minutes. Check with a toothpick at 18 minutes. Muffins bake faster and are great for freezing. My kids love them in their lunchboxes.
Pin This Recipe!
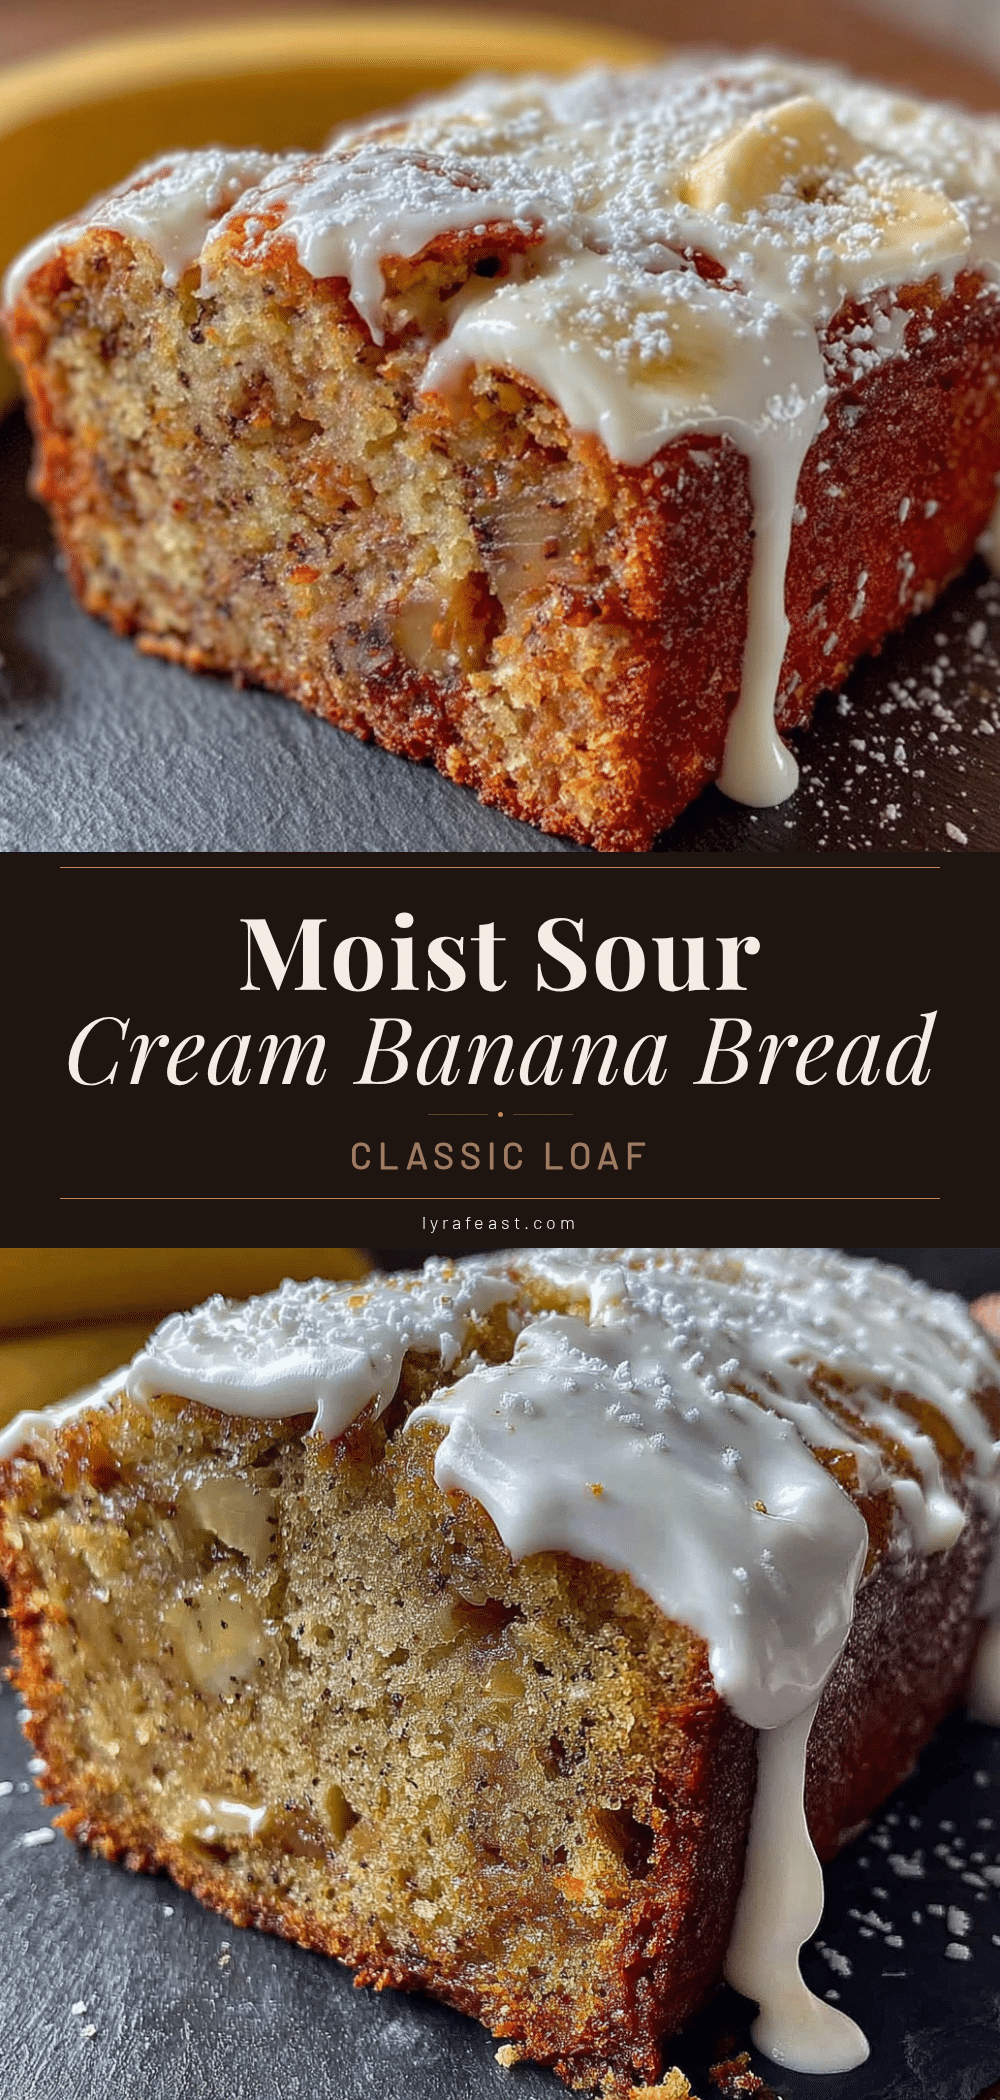
Moist Sour Cream Banana Bread: Perfectly Easy Recipe
This incredibly moist and tender banana bread uses sour cream for a velvety crumb that stays fresh for days. A foolproof recipe that turns overripe bananas into the perfect comfort food.
- Prep Time: 15 minutes
- Cook Time: 55 minutes
- Total Time: 1 hour 10 minutes
- Yield: 10 servings 1x
- Category: Dessert
- Cuisine: American
Ingredients
- 3 large ripe bananas, mashed (about 1½ cups or 340g)
- ½ cup (113g) unsalted butter, melted
- ¾ cup (150g) granulated sugar
- 2 large eggs, room temperature
- 1 teaspoon vanilla extract
- ½ cup (120g) full-fat sour cream
- 1½ cups (190g) all-purpose flour
- 1 teaspoon baking soda
- ½ teaspoon salt
- ½ teaspoon ground cinnamon (optional)
- ½ cup (85g) chocolate chips (optional)
- ½ cup (60g) chopped walnuts or pecans (optional)
Instructions
- Preheat your oven to 350°F (175°C). Grease a 9×5-inch loaf pan with butter or nonstick spray. Line with parchment paper, leaving about 2 inches of overhang on the long sides.
- In a large mixing bowl, mash the bananas with a fork or potato masher until mostly smooth with a few small lumps (about 1½ cups).
- Add the melted butter (cooled slightly), sugar, eggs, vanilla extract, and sour cream to the mashed bananas. Whisk until smooth.
- In a medium bowl, whisk together the flour, baking soda, salt, and cinnamon (if using).
- Pour the dry ingredients into the wet mixture. Fold gently with a rubber spatula just until no streaks of flour remain (about 12-15 folds). Do not overmix.
- If using, fold in chocolate chips or nuts with 5-6 gentle strokes.
- Pour the batter into the prepared loaf pan and spread evenly. Tap the pan gently on the counter to release air bubbles.
- Bake for 50-60 minutes. At 30 minutes, check the top; if browning too quickly, tent loosely with aluminum foil.
- Test for doneness at 50 minutes by inserting a toothpick into the center. It should come out clean or with a few moist crumbs. If not, bake 5 more minutes and test again.
- Cool in the pan on a wire rack for 15 minutes. Then lift out using the parchment overhang and transfer to the rack to cool completely (at least 1 hour) before slicing.
Notes
Use overripe bananas (heavily spotted or almost black) for best flavor. Full-fat sour cream is essential for moisture; do not substitute low-fat or nonfat. Let the bread cool completely before slicing to avoid crumbling. Store tightly wrapped at room temperature for up to 4 days, or freeze for up to 3 months.
Nutrition
- Serving Size: 1 slice
- Calories: 295
- Sugar: 20
- Sodium: 220
- Fat: 14
- Saturated Fat: 8
- Carbohydrates: 38
- Fiber: 1.5
- Protein: 4
Keywords: banana bread, sour cream banana bread, moist banana bread, easy banana bread, banana bread recipe



