“You know that moment when the power cuts out right before your big backyard party? Yeah, that happened to me last summer. The grill was half-cooked, the buns were ready, and then *poof*—darkness. Honestly, I thought the whole thing was a bust until my neighbor, Mike, popped over with a big grin and a cooler full of burger fixings. Instead of a disaster, it turned into this spontaneous, hands-on burger bar setup where everyone built their own masterpiece under the string lights. It was chaotic, a little messy (I spilled sauce on my shirt, of course), but absolutely unforgettable.
That night showed me how a perfect DIY burger bar setup could turn a potentially stressful event into a crowd-pleasing gathering. And let me tell you, since then, I’ve fine-tuned the process so it’s smooth, fun, and seriously delicious every time I host. Maybe you’ve been there too—the party planning jitters, the last-minute ingredient scramble, or the tricky question of how to please a diverse crowd. This guide is my go-to playbook, packed with practical tips and easy steps to help you pull off a burger bar that’s equal parts tasty and stress-free.
Whether you’re throwing a casual weekend get-together or something a bit more festive, this setup guide will walk you through everything you need to make your burger bar the highlight of the party. Trust me, once you’ve nailed these steps, you’ll keep coming back to this style of entertaining because it’s just that fun and flexible.
Why You’ll Love This Recipe
Setting up the perfect DIY burger bar isn’t just about the food—it’s about creating an experience that feels personalized and effortless. After countless parties and some trial and error (including one time I forgot the buns—don’t ask), I’ve learned what really makes a burger bar shine. Here’s why you’ll want to try this setup for your next crowd:
- Quick & Easy: You can have your burger bar ready in under an hour, which is a lifesaver when guests arrive early or you’re juggling other party prep.
- Simple Ingredients: No need for fancy or hard-to-find items—everything is easy to grab from your local grocery store or even your pantry.
- Perfect for Any Occasion: Whether it’s a summer barbecue, a casual birthday, or a game day bash, this setup fits right in.
- Crowd-Pleaser: From kids to adults, the customizable nature means everyone gets exactly what they want, and that’s a win.
- Unbelievably Delicious: The combination of fresh toppings, juicy patties, and creative condiments makes each burger a flavor-packed bite.
What sets this apart from other burger bar ideas? It’s the way the ingredients are organized for flow, the balance of classic and unexpected toppings, and the little tricks I’ve picked up—like prepping sauces ahead and using a warming tray to keep patties hot without drying them out. This guide isn’t just a list; it’s the blueprint for a burger party that feels special but never fussy.
What Ingredients You Will Need
This burger bar relies on straightforward, wholesome ingredients to deliver big flavor and variety without complicated recipes. Most of these are pantry staples or fresh finds from your local market, and you can easily mix and match based on your crowd’s likes and needs.
- For the Patties:
- Ground beef (80/20 blend for juiciness) – about 1/3 lb (150g) per patty
- Salt and pepper – simple seasoning to enhance the beef flavor
- Optional: Worcestershire sauce or garlic powder for extra depth
- For the Buns:
- Classic hamburger buns – soft, slightly toasted (I like King’s Hawaiian for a subtle sweetness)
- Gluten-free buns or lettuce wraps for dietary preferences
- Classic Toppings:
- Leaf lettuce – crisp and fresh
- Tomato slices – ripe and juicy
- Red onion rings – thinly sliced for mild sweetness
- Pickles – crunchy dill chips or spears
- Cheese slices – cheddar, American, or Swiss (sliced thin for melting)
- Creative Toppings:
- Avocado slices or guacamole (adds creamy texture)
- Caramelized onions (pre-cooked for rich sweetness)
- Jalapeño slices (fresh or pickled for a kick)
- Bacon strips (crispy, cooked ahead)
- Sauteed mushrooms (earthy flavor)
- Condiments:
- Ketchup and yellow mustard – the classics that everyone expects
- Mayonnaise or aioli – homemade or store-bought
- BBQ sauce – smoky, tangy option
- Sriracha or hot sauce – for those who like a little heat
- Pickle relish – sweet or dill
- Extras:
- Coleslaw (adds crunch and freshness)
- Grilled pineapple slices (for a tropical twist)
- Fried egg (yes, it’s a game changer!)
If you want to swap out beef, ground turkey or plant-based patties work well. I’ve found Beyond Meat patties hold up nicely in a burger bar setup. For dairy-free versions, just skip the cheese or use vegan slices. And hey, in summer, fresh heirloom tomatoes from the farmer’s market make a big difference.
Equipment Needed
Setting up a burger bar doesn’t require fancy gear, but having a few essentials will make your life easier and keep things running smoothly.
- Grill or stovetop skillet: For cooking patties. I prefer a cast iron skillet for even heat, but a gas grill is great for outdoor gatherings.
- Serving trays or bowls: To organize toppings and condiments. I like using small ceramic bowls or stainless steel trays to keep things tidy.
- Chafing dishes or warming trays: To keep patties warm without drying out. If you don’t have these, a covered pan lined with foil works in a pinch.
- Tongs and spatulas: For flipping patties and handling food hygienically.
- Cutting board and sharp knife: For prepping toppings.
- Disposable plates and napkins: Because sometimes you just want easy cleanup!
For budget-friendly options, thrift stores often have great trays and bowls. Also, using paper liners or parchment helps with cleanup and presentation. I once used a large wooden cutting board as a burger bar base—it was rustic and got lots of compliments.
Preparation Method
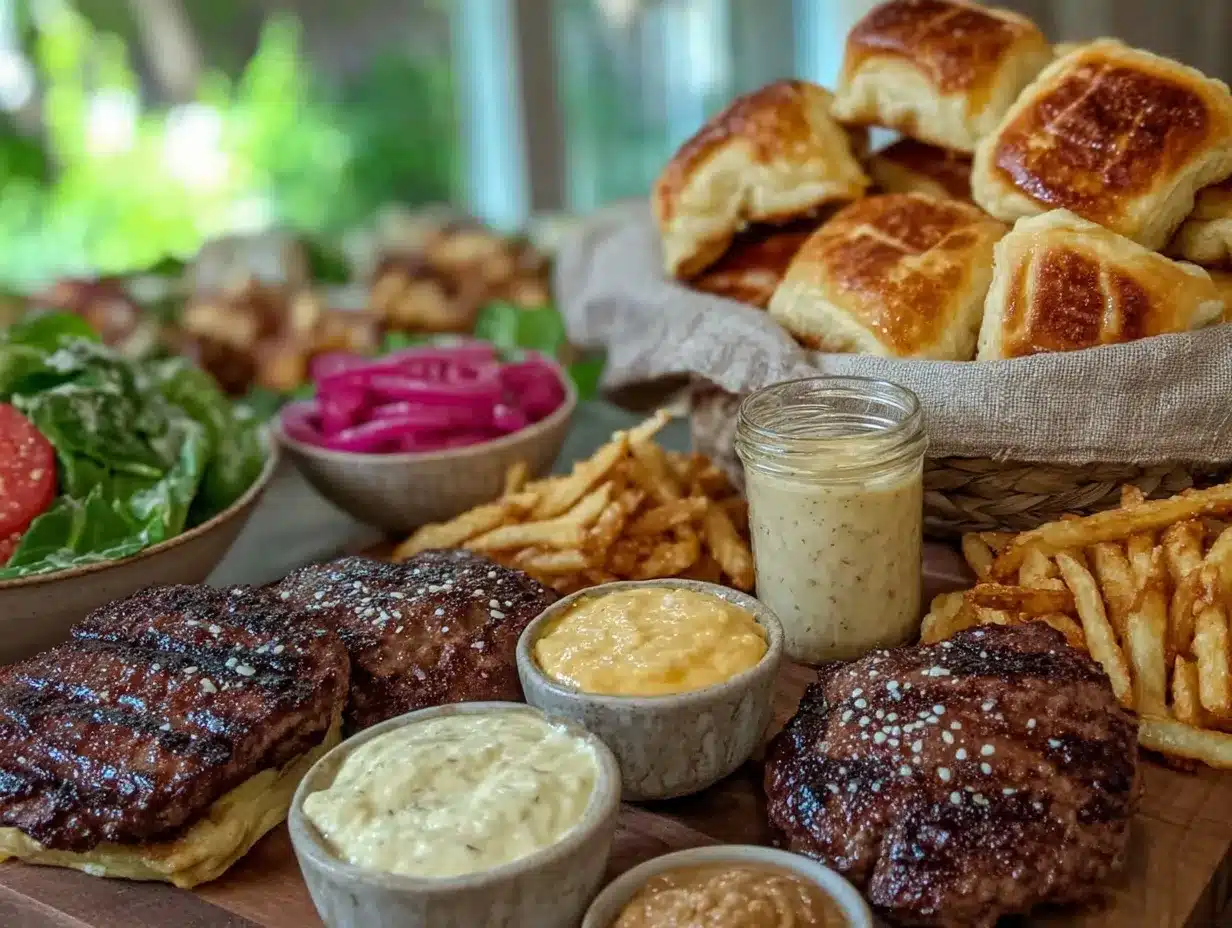
- Prep the Patties (15-20 minutes): Start by dividing the ground beef into equal portions—about 1/3 pound (150g) each. Form into patties slightly larger than your buns, making a small indentation in the center to prevent puffing during cooking. Season each side with salt and pepper. (Tip: Mix in a splash of Worcestershire sauce for extra flavor if you like.)
- Cook Patties (10-12 minutes): Heat your grill or skillet over medium-high heat. Cook patties for about 4-5 minutes per side for medium doneness, or adjust time to preferred doneness. Add cheese slices in the last minute of cooking to melt. Watch for flare-ups on the grill—move patties as needed to avoid burning.
- Toast Buns (5 minutes): Lightly butter the buns and toast them cut-side down on the grill or in a pan until golden and crisp. Toasting adds texture and prevents sogginess once assembled.
- Prepare Toppings (20 minutes): While patties cook, wash and slice tomatoes, onions, and lettuce. Arrange all toppings, condiments, and extras into separate bowls or trays for easy access. I like to group them by category to keep things neat—greens together, cheeses next to sauces, etc.
- Set Up the Burger Bar (10 minutes): Arrange the warmed patties on a tray with a lid or warming tray to keep them juicy and hot. Place buns, toppings, and condiments nearby with serving utensils. Don’t forget plenty of napkins!
- Enjoy the Build-Your-Own Fun: Invite guests to assemble their burgers just how they like. Encourage mixing and matching—sometimes the weird combos end up being the best.
Keep an eye on the patties during the party and replenish as needed. If you’re worried about timing, you can pre-cook patties and reheat them gently on a warming tray. Just don’t overcook to avoid dryness.
Cooking Tips & Techniques
Getting that perfect burger bar experience means paying attention to a few key details. Here are some tips I’ve picked up over years of hosting:
- Don’t over-handle the meat: When forming patties, be gentle. Overworking the beef can make burgers tough.
- Indent the center of each patty: This simple trick helps prevent the burger from puffing up unevenly as it cooks.
- Use medium-high heat: You want a nice sear for flavor but avoid burning before the inside cooks through.
- Rest cooked patties briefly: Let them sit for a couple of minutes off the heat to redistribute juices—this keeps them juicy.
- Keep toppings fresh and crisp: Prep veggies just before guests arrive or cover and refrigerate to avoid sogginess.
- Multitask smartly: While patties cook, prep toppings or toast buns to save time.
- Have a sauce station: Offering a range of condiments lets everyone customize flavor intensity.
- Watch out for cross-contamination: Use separate utensils for raw and cooked meat and keep raw meat away from toppings.
One time, I forgot to make enough buns and had to improvise with lettuce wraps—turns out, they were a hit! It reminded me that flexibility is key with crowd-pleasing setups like this.
Variations & Adaptations
The beauty of a burger bar is how adaptable it is to different tastes, diets, and seasons. Here are some ideas to switch things up:
- Dietary swaps: Use plant-based patties or grilled portobello mushrooms for vegetarian or vegan guests. Swap cheese for dairy-free alternatives.
- Seasonal toppings: In fall, try roasted butternut squash slices or caramelized apples. Summer calls for fresh corn salsa or grilled peaches.
- Flavor twists: Add international flair with toppings like tzatziki, kimchi, or pineapple salsa. Use spicy mayo or chipotle sauce for a smoky kick.
- Cooking method changes: If you don’t have a grill, oven-bake patties at 400°F (200°C) for about 15 minutes, flipping halfway.
- Personal favorite: I once tried a breakfast burger setup with fried eggs, bacon, and hash browns as toppings—surprisingly popular for a brunch crowd!
Serving & Storage Suggestions
Serve your burgers fresh and warm for the best experience. Toasted buns and hot patties are the foundation, so keep those warm until guests start assembling.
Complement your burger bar with sides like crispy fries, a fresh green salad, or baked beans. For drinks, classic options like lemonade, iced tea, or craft beers work great.
If you have leftovers, wrap patties individually in foil and store in the refrigerator for up to 3 days. Reheat gently in a skillet or oven to keep them juicy. Buns are best kept in an airtight container to avoid drying out.
Interestingly, some toppings like coleslaw or pickled veggies actually taste better the next day as flavors meld. So don’t worry if you have extras—there’s always tomorrow’s lunch.
Nutritional Information & Benefits
On average, a classic burger with bun, patty, cheese, and toppings clocks in around 500-600 calories, depending on portion size and extras. Using lean ground beef or turkey can reduce fat content, while adding fresh veggies boosts fiber and vitamins.
This burger bar setup can easily cater to different dietary needs—gluten-free buns, dairy-free cheeses, or plant-based patties make it inclusive. Key ingredients like lettuce, tomato, and avocado offer antioxidants and healthy fats.
From my personal wellness view, this style of meal is a balanced mix of indulgence and fresh elements, perfect for social occasions where you want to enjoy food without guilt or fuss.
Conclusion
The perfect DIY burger bar setup is more than just a meal—it’s a chance to bring people together, let everyone express their tastes, and have fun doing it. Whether you’re feeding a crowd or just a few friends, this guide makes it easy to pull off something tasty and memorable without the stress.
I love this recipe because it’s flexible, forgiving, and always a hit. Plus, it sparks conversations and creativity at the table—what more could you want from a party?
Give it a try, make it your own, and please share your burger bar stories or tweaks in the comments. Let’s keep the burger love going strong!
FAQs
- How long can I keep cooked burger patties before serving? Ideally, serve within 30 minutes of cooking. If needed, keep patties warm in a covered warming tray for up to an hour.
- Can I prepare toppings the day before? Yes, but keep fresh items like lettuce and tomato refrigerated and covered to maintain crispness.
- What’s the best way to toast buns without a grill? Use a hot skillet or oven broiler for 1-2 minutes, watching closely to avoid burning.
- How do I keep the burger bar hygienic during a party? Provide separate serving utensils for each topping and encourage guests to use them instead of hands.
- Can I make this burger bar gluten-free? Absolutely! Use gluten-free buns or lettuce wraps and check condiments to ensure they’re gluten-free.
By the way, if you’re into classic backyard cookouts, you might find the crispy garlic chicken recipe a great complement to your burger bar for even more crowd-pleasing options.
Pin This Recipe!
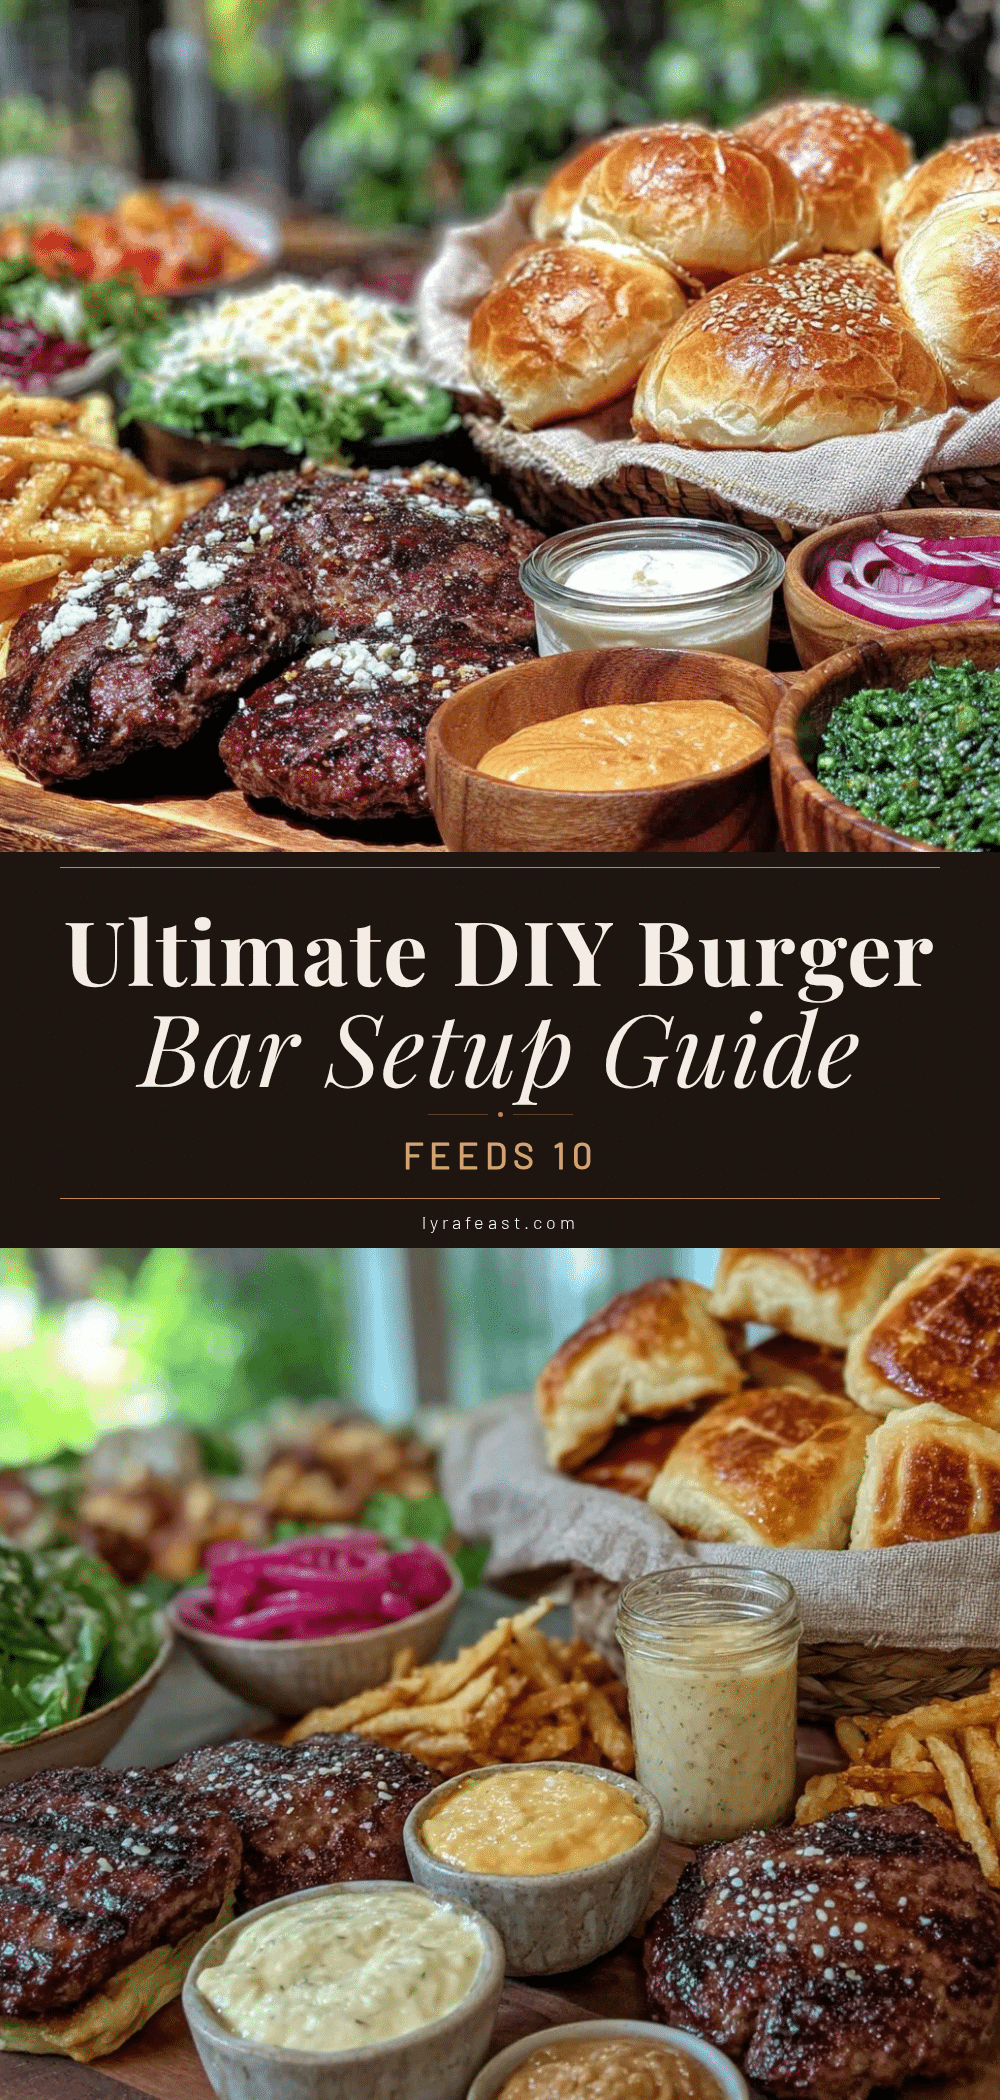
Perfect DIY Burger Bar Setup Guide
A step-by-step guide to setting up a customizable and crowd-pleasing burger bar for any gathering, featuring easy prep, simple ingredients, and tips for a fun, stress-free party.
- Prep Time: 20 minutes
- Cook Time: 15 minutes
- Total Time: 35 minutes
- Yield: 6 servings
- Category: Main Course
- Cuisine: American
Ingredients
- Ground beef (80/20 blend) – about 1/3 lb (150g) per patty
- Salt and pepper
- Optional: Worcestershire sauce or garlic powder
- Classic hamburger buns – soft, slightly toasted (King’s Hawaiian recommended)
- Gluten-free buns or lettuce wraps (for dietary preferences)
- Leaf lettuce
- Tomato slices
- Red onion rings
- Pickles (dill chips or spears)
- Cheese slices (cheddar, American, or Swiss)
- Avocado slices or guacamole
- Caramelized onions
- Jalapeño slices (fresh or pickled)
- Bacon strips (crispy, cooked ahead)
- Sautéed mushrooms
- Ketchup
- Yellow mustard
- Mayonnaise or aioli
- BBQ sauce
- Sriracha or hot sauce
- Pickle relish (sweet or dill)
- Coleslaw
- Grilled pineapple slices
- Fried egg
Instructions
- Prep the patties: Divide ground beef into 1/3 lb portions, form patties slightly larger than buns, indent center, season with salt and pepper, optionally mix in Worcestershire sauce.
- Cook patties: Heat grill or skillet over medium-high heat, cook patties 4-5 minutes per side for medium doneness, add cheese slices in last minute to melt.
- Toast buns: Lightly butter buns and toast cut-side down on grill or pan until golden and crisp.
- Prepare toppings: Wash and slice tomatoes, onions, lettuce; arrange all toppings, condiments, and extras in separate bowls or trays.
- Set up burger bar: Arrange warmed patties on a tray with lid or warming tray, place buns, toppings, condiments nearby with serving utensils and napkins.
- Enjoy: Invite guests to build their own burgers, encourage mixing and matching toppings.
Notes
Indent the center of patties to prevent puffing. Use medium-high heat for a good sear. Rest patties briefly after cooking to keep juicy. Keep toppings fresh and crisp by prepping close to serving time. Use separate utensils for raw and cooked meat to avoid cross-contamination. Pre-cook patties and reheat gently if needed. Toast buns to prevent sogginess. Offer a sauce station for customization.
Nutrition
- Serving Size: 1 burger with bun an
- Calories: 550
- Sugar: 6
- Sodium: 700
- Fat: 35
- Saturated Fat: 12
- Carbohydrates: 30
- Fiber: 3
- Protein: 30
Keywords: burger bar, DIY burger, backyard party, crowd-pleaser, burger toppings, easy burger recipe, customizable burgers



