I was elbow-deep in flour last Tuesday when a jar of sourdough discard caught my eye from the back of the fridge. You know that moment when you realize you’ve been saving it for something special but haven’t figured out what yet? That was me. And honestly, I was about to just toss it—felt guilty about it too—when a half-used can of pumpkin puree practically winked at me from the shelf beside it. That’s when something clicked. Not in a dramatic, lightbulb-over-the-head way, but more like a quiet nod between two ingredients that just *knew* they belonged together.
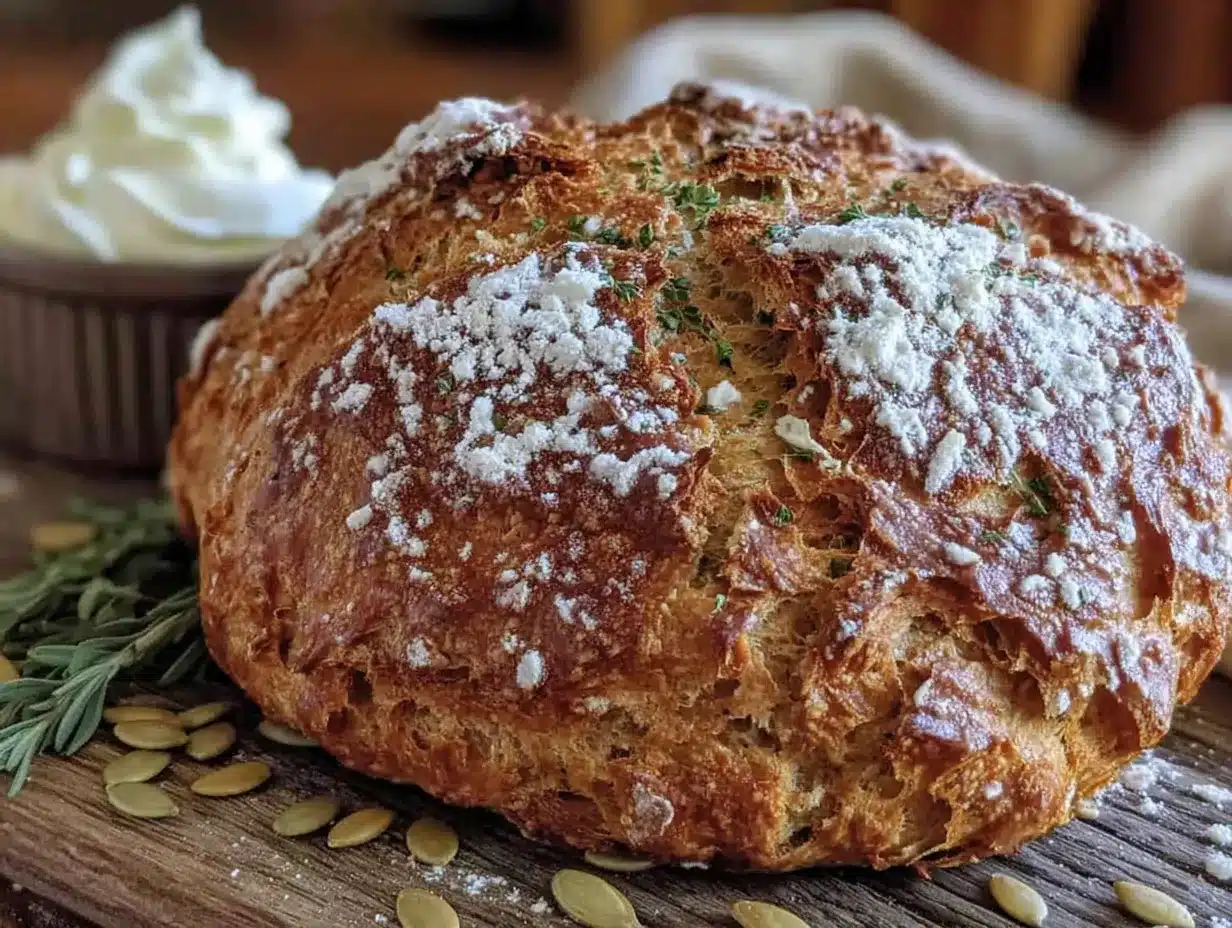
The dough felt different from my usual sourdough. Softer. Almost forgiving in a way that made me relax my shoulders. I wasn’t chasing a perfect ear or a blistering crust this time. I was chasing that cozy, slightly sweet aroma that makes a kitchen feel like a hug. And let me tell you, when that loaf came out of the oven, the color was ridiculous—a deep, burnished orange-gold that looked like autumn had been baked right into the bread.
Maybe you’ve been there, staring at your discard jar wondering if there’s a better way to use it than pancakes for the fifth time this week. This recipe is that better way. It’s the kind of bread that makes you slow down, slice it warm, and actually taste the season. I’ve made it four times since that first accidental batch, and I keep making it because it works. Every. Single. Time.
Why You’ll Love This Recipe
Let’s be real for a second—sourdough can be intimidating. The feeding schedule, the hydration percentages, the finicky rise times. But this pumpkin sourdough discard bread? It’s the opposite of all that. It’s the recipe that makes you feel like a pro without the stress.
- No Fuss, Just Trust : This dough is incredibly forgiving. The pumpkin adds moisture and natural sugars that make the fermentation process more predictable, even for beginners.
- Pantry-Friendly Ingredients : You probably have everything already. Flour, salt, pumpkin puree, and that jar of discard you’ve been meaning to use. No specialty orders or fancy trips required.
- Perfect for Fall Mornings : Whether it’s a lazy Sunday breakfast or a Thanksgiving brunch, this loaf fits right in. Toast it, butter it, or just eat it plain—it’s that good.
- Kid-Approved (and Adult-Obsessed) : My neighbor’s kids devoured half a loaf before I could even slice it for photos. The subtle sweetness and soft crumb make it a crowd-pleaser across all ages.
- The Texture is Next Level : The pumpkin creates a tender, almost pillowy interior while the discard gives it that signature tangy depth. It’s not dry, it’s not dense—it’s just right.
What makes this different from other pumpkin breads? It’s not a quick bread. It’s not a sweet loaf. It’s a proper sourdough with a seasonal twist—the kind that fills your kitchen with that unmistakable fermented aroma mixed with warm pumpkin spice. It’s comfort food reimagined, and honestly, it’s the recipe I’m most proud of this season.
What Ingredients You Will Need
This recipe uses simple, wholesome ingredients to deliver that perfect balance of tangy sourdough flavor and subtle pumpkin sweetness. Most of these are pantry staples, which makes this an easy last-minute bake when you’re craving something cozy.
- Pumpkin Puree (1 cup / 240g) : Use 100% pure pumpkin puree, not pumpkin pie filling. I prefer Libby’s for consistent texture, but store brands work fine too. Make sure it’s at room temperature for best mixing results.
- Sourdough Discard (1 cup / 240g) : Unfed discard straight from the fridge works beautifully here. No need to feed it or wait for it to be active—that’s the beauty of this recipe. If your discard is very thick, you might need a splash of water to loosen it.
- Bread Flour (3 cups / 360g) : I recommend King Arthur Bread Flour for its higher protein content, which gives the bread structure. All-purpose flour works in a pinch, but the crumb will be slightly less chewy.
- Whole Wheat Flour (1/2 cup / 60g) : Adds a lovely nuttiness that complements the pumpkin. You can substitute with all-purpose if you prefer a lighter loaf.
- Warm Water (1/4 cup / 60ml) : About 85°F—think warm bathwater. Too hot and it’ll kill the natural yeast in the discard.
- Salt (1 1/2 teaspoons / 9g) : Fine sea salt or kosher salt. Don’t skip this—it balances the sweetness and strengthens the gluten.
- Pumpkin Pie Spice (2 teaspoons) : Store-bought or homemade. If you’re making your own, mix cinnamon, nutmeg, ginger, and a pinch of cloves.
- Cinnamon (1 teaspoon) : Because you can never have too much cinnamon in a pumpkin recipe.
- Maple Syrup or Honey (2 tablespoons) : Optional, but adds a gentle sweetness that enhances the pumpkin flavor. Use maple for a deeper, earthier taste.
- Butter or Olive Oil (2 tablespoons, softened) : For greasing and for brushing the top after baking. Butter gives a richer flavor, olive oil keeps it dairy-free.
Substitution note: For a gluten-free version, use a 1:1 gluten-free flour blend with xanthan gum. The texture will be slightly denser but still delicious. For a vegan option, use maple syrup and olive oil.
Equipment Needed
You don’t need a fancy bakery setup for this recipe. Here’s what I use and a few alternatives if you’re working with a minimal kitchen.
- Large Mixing Bowl : Glass or stainless steel works best. I use a 4-quart bowl for mixing the dough.
- Dutch Oven or Heavy Baking Pot : A 5-quart enameled cast iron pot is ideal for creating steam. If you don’t have one, use a deep baking dish with a tight-fitting foil cover.
- Parchment Paper : Makes transferring the dough into the hot pot a breeze. No sticking, no mess.
- Bench Scraper or Dough Scraper : For folding and shaping the dough. A plastic one is gentler on your countertop.
- Kitchen Scale : I cannot recommend this enough. Measuring by weight is more accurate than cups, especially for sourdough. A basic digital scale costs under $15.
- Plastic Wrap or a Shower Cap : For covering the dough during bulk fermentation. Reusable shower caps are cheap and fit perfectly over bowls.
- Thermometer : An instant-read thermometer helps check the water temperature and the internal doneness of the bread (should be 200°F).
Budget tip: If you don’t own a Dutch oven, you can bake this bread on a preheated baking sheet with a pan of hot water on the rack below to create steam. It works surprisingly well.
Preparation Method
- Mix the Dough (8:00 AM)
In your large mixing bowl, combine the sourdough discard, pumpkin puree, warm water, maple syrup (if using), and salt. Stir until the discard is fully dissolved into the liquid. Add the bread flour, whole wheat flour, pumpkin pie spice, and cinnamon. Mix with a wooden spoon or your hands until a shaggy, sticky dough forms. It will look rough—that’s fine. Cover with plastic wrap and let it rest for 30 minutes. This is called autolyse, and it helps the flour absorb the liquid and start developing gluten naturally. - First Set of Stretch and Folds (8:30 AM)
Wet your hands slightly to prevent sticking. Grab one side of the dough, stretch it up and over itself, then rotate the bowl a quarter turn. Repeat this four times (north, south, east, west). The dough will feel sticky and loose. Cover and rest for 30 minutes. - Second Set of Stretch and Folds (9:00 AM)
Repeat the same process. By now, the dough should feel slightly more cohesive and less sticky. You’ll notice it starting to hold its shape a bit. Cover and rest for another 30 minutes. - Third Set of Stretch and Folds (9:30 AM)
Do one more round. The dough should be smooth and elastic. If it still feels very slack, do one more set after 30 minutes. Otherwise, cover the bowl and let it bulk ferment at room temperature for 4-6 hours, or until it has increased in volume by about 50% and has a few bubbles on the surface. - Shape the Dough (2:00 PM, approximately)
Lightly flour your work surface. Turn the dough out gently—try not to deflate it too much. With floured hands, gently shape it into a round boule by tucking the edges under themselves. Use your bench scraper to create tension on the surface. Place it seam-side down in a floured banneton or a bowl lined with a floured kitchen towel. - Cold Retard (Optional but Recommended)
Cover the shaped dough with plastic wrap and place it in the refrigerator overnight (8-12 hours). This develops flavor and makes scoring easier. If you’re short on time, let it proof at room temperature for 2-3 hours instead. - Preheat and Bake (Next Morning, 6:00 AM)
Place your Dutch oven in the oven and preheat to 450°F (230°C) for at least 30 minutes. When ready, carefully remove the hot pot. Flip the dough onto a piece of parchment paper, seam-side down. Score the top with a sharp knife or lame—a simple X or a single slash works beautifully. Lower the dough into the pot, cover, and bake for 30 minutes. Remove the lid and bake for another 15-20 minutes, until the crust is deep golden brown and the internal temperature reaches 200°F (93°C). - Cool Completely
Transfer the bread to a wire rack. Resist the urge to slice it for at least 2 hours. I know it’s hard, but the interior needs time to set. If you cut too early, you’ll get a gummy crumb.
Cooking Tips & Techniques
I’ve messed up this recipe more times than I’d like to admit. Here’s what I learned the hard way so you don’t have to.
Don’t skip the autolyse. That 30-minute rest after mixing is not optional. It lets the flour hydrate fully, which means you’ll get a better crumb and less stickiness during the folds. I once rushed this step and ended up with a dense, flat loaf that barely rose.
Watch your water temperature. If your kitchen is cold (under 68°F), use slightly warmer water (around 90°F). If it’s hot, use cool water. The discard is already cold from the fridge, so you’re compensating for that. I keep a thermometer on my counter just for this.
Trust the dough, not the clock. Bulk fermentation times are guidelines. Your dough is ready when it’s puffy, jiggly, and has visible bubbles on the surface. On a warm day, that might be 4 hours. On a cold day, it could be 8. Learn what the dough looks and feels like rather than watching the clock.
Use rice flour for dusting. Rice flour doesn’t absorb moisture the way wheat flour does, so it prevents sticking without incorporating into the dough. It’s a game-changer for bannetons and proofing baskets.
Let it cool. Seriously. I know the smell is intoxicating. I know you want warm bread with butter. But cutting into a hot loaf compresses the crumb and releases steam that should be reabsorbed. Patience pays off with a better texture.
Variations & Adaptations
One of the best things about this recipe is how adaptable it is. Here are a few ways I’ve tweaked it depending on my mood or what’s in the pantry.
- Add-Ins for Texture : Fold in 1/2 cup of toasted pepitas, dried cranberries, or chopped pecans during the last set of stretch and folds. The crunch against the soft crumb is incredible.
- Spice It Up : If you like a bolder flavor, add 1/4 teaspoon of cardamom or a pinch of cayenne pepper to the spice mix. It won’t make the bread spicy, but it adds warmth and complexity.
- Dairy-Free Version : Use olive oil instead of butter for greasing and brushing. The olive oil adds a subtle fruity note that pairs surprisingly well with pumpkin.
- Whole Wheat Boost : Swap the bread flour for all whole wheat flour. You’ll need to add an extra 2-3 tablespoons of water because whole wheat absorbs more liquid. The bread will be denser but more flavorful.
- Sweet Loaf Variation : Increase the maple syrup to 1/4 cup and add 1/2 cup of chocolate chips. Bake as directed, but brush with melted butter and sprinkle with cinnamon sugar right out of the oven. It’s basically dessert.
Serving & Storage Suggestions
This bread is at its absolute best on the day it’s baked, but it stays good for several days if stored properly.
Serving: Slice and toast lightly, then slather with salted butter, cream cheese, or apple butter. It’s also amazing as the base for a turkey and cranberry sandwich—the tangy sourdough balances the sweetness perfectly. For breakfast, try it with a fried egg and a drizzle of hot honey. Trust me on that one.
Storage: Keep the bread wrapped in a clean kitchen towel at room temperature for up to 3 days. Don’t store it in plastic—the crust will get soft and lose its chew. For longer storage, slice the bread, wrap it tightly in plastic wrap and then foil, and freeze for up to 3 months. Toast slices directly from frozen.
Flavor Development: The pumpkin flavor actually deepens on the second day. The spices meld with the sourdough tang overnight, creating a more complex taste. I often bake this a day ahead when I’m serving it for guests.
Nutritional Information & Benefits
Per slice (1/12 of loaf, approximate values):
- Calories: 185
- Carbohydrates: 36g
- Protein: 6g
- Fat: 2.5g
- Fiber: 3g
- Sugar: 4g
This bread offers more than just comfort. Pumpkin is packed with vitamin A and antioxidants, while the sourdough fermentation process makes the nutrients more bioavailable and easier to digest. The whole wheat flour adds extra fiber and minerals compared to using all white flour. It’s a guilt-free indulgence that actually supports gut health thanks to the natural fermentation. Plus, using discard means nothing goes to waste—that’s a win for your wallet and the planet.
Conclusion
This Perfect Pumpkin Sourdough Discard Bread is the recipe I keep coming back to because it delivers every single time. It’s forgiving enough for beginners, rewarding enough for experienced bakers, and flavorful enough to become a seasonal staple in your kitchen. Whether you’re using up discard, celebrating fall, or just craving something warm and comforting, this loaf has your back.
I’d love to hear how it turns out for you. Did you add pecans? Try it with chocolate chips? Forget to score it and end up with a rustic crack instead of a clean slash? (Been there.) Drop a comment below and let me know—your experiments might inspire someone else’s next bake. And if you snap a photo, tag me so I can see your beautiful pumpkin loaf in all its golden glory.
Happy baking, friends. Your kitchen is about to smell amazing.
Frequently Asked Questions
Can I use active sourdough starter instead of discard?
Yes, you can. If using active starter, reduce the water by 2 tablespoons since the starter is already hydrated. The bread will rise slightly more and have a milder tang.
Why is my dough so sticky?
Pumpkin puree adds a lot of moisture. This dough is supposed to be sticky during the early folds. If it feels unmanageable, wet your hands before handling it—don’t add more flour, or the bread will be dense.
Can I bake this without a Dutch oven?
Absolutely. Preheat a baking sheet in the oven, place the shaped dough on parchment paper on the hot sheet, and add a pan of boiling water on the rack below. Bake at 450°F for 25 minutes, then remove the water pan and bake another 20 minutes.
How do I know when the bread is fully baked?
The internal temperature should reach 200°F (93°C) when tested with an instant-read thermometer. The crust should be deep golden brown and sound hollow when tapped on the bottom.
Can I double this recipe?
Yes, but I recommend mixing two separate batches rather than doubling in one bowl. The dough becomes harder to handle in larger quantities, and the fermentation may be uneven. Two loaves are better than one giant one anyway—more to share!
Pin This Recipe!
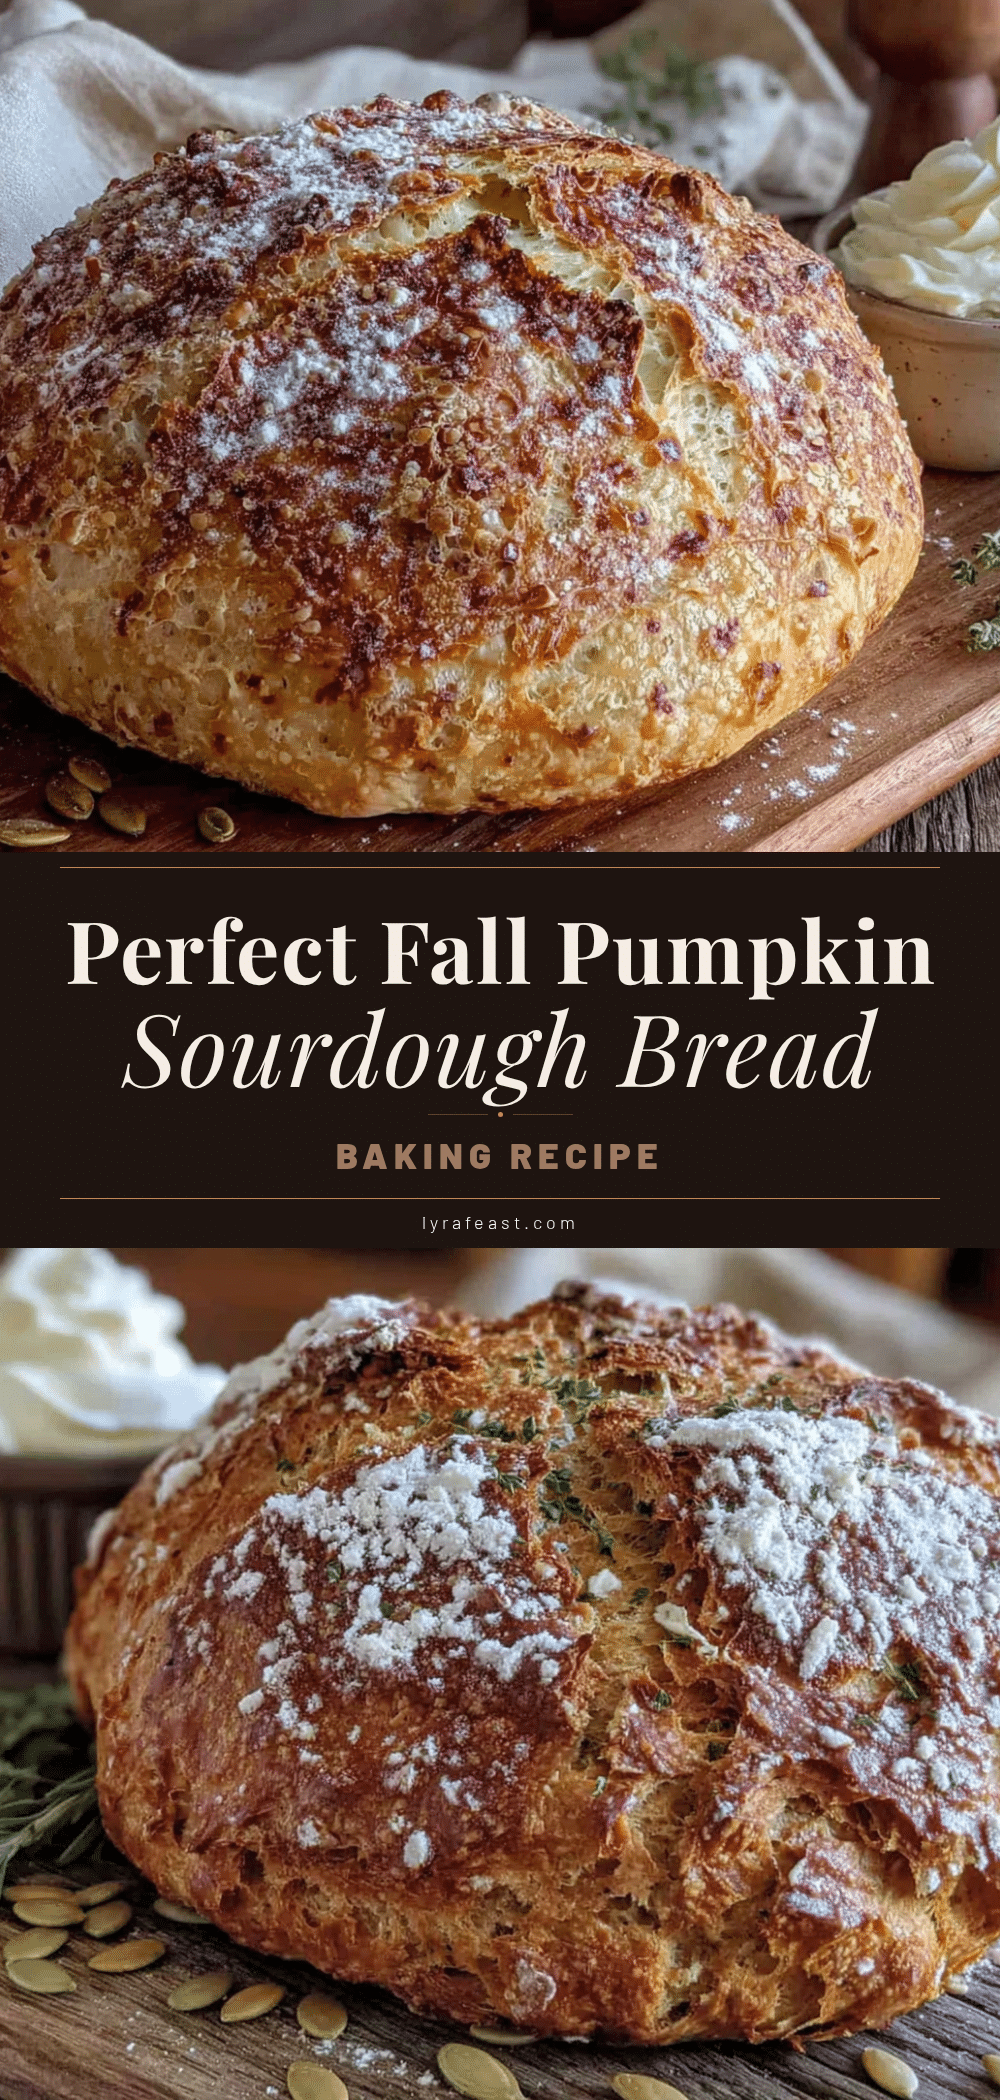
Perfect Pumpkin Sourdough Discard Bread: Easy Fall Recipe
A forgiving, no-fuss sourdough bread that combines tangy discard with pumpkin puree and warm spices for a tender, flavorful loaf that’s perfect for fall mornings.
- Prep Time: 30 minutes
- Cook Time: 45 minutes
- Total Time: 14 hours 15 minutes (includes bulk fermentation and cold retard)
- Yield: 12 servings 1x
- Category: Bread
- Cuisine: American
Ingredients
- 1 cup (240g) pumpkin puree (100% pure, not pie filling)
- 1 cup (240g) sourdough discard (unfed, straight from fridge)
- 3 cups (360g) bread flour (e.g., King Arthur)
- 1/2 cup (60g) whole wheat flour
- 1/4 cup (60ml) warm water (about 85°F)
- 1 1/2 teaspoons (9g) fine sea salt or kosher salt
- 2 teaspoons pumpkin pie spice
- 1 teaspoon cinnamon
- 2 tablespoons maple syrup or honey (optional)
- 2 tablespoons butter or olive oil (softened, for greasing and brushing)
Instructions
- Mix the Dough (8:00 AM): In a large mixing bowl, combine sourdough discard, pumpkin puree, warm water, maple syrup (if using), and salt. Stir until discard is dissolved. Add bread flour, whole wheat flour, pumpkin pie spice, and cinnamon. Mix with a wooden spoon or hands until a shaggy, sticky dough forms. Cover with plastic wrap and let rest for 30 minutes (autolyse).
- First Set of Stretch and Folds (8:30 AM): Wet hands slightly. Grab one side of dough, stretch it up and over itself, then rotate bowl a quarter turn. Repeat four times (north, south, east, west). Cover and rest 30 minutes.
- Second Set of Stretch and Folds (9:00 AM): Repeat the same process. Dough should feel more cohesive. Cover and rest 30 minutes.
- Third Set of Stretch and Folds (9:30 AM): Do one more round. Dough should be smooth and elastic. If still slack, do one more set after 30 minutes. Cover and bulk ferment at room temperature for 4-6 hours, until increased by about 50% and bubbly on surface.
- Shape the Dough (2:00 PM, approximately): Lightly flour work surface. Turn dough out gently. With floured hands, shape into a round boule by tucking edges under. Use bench scraper to create surface tension. Place seam-side down in a floured banneton or bowl lined with floured kitchen towel.
- Cold Retard (Optional but Recommended): Cover shaped dough with plastic wrap and refrigerate overnight (8-12 hours). Alternatively, proof at room temperature for 2-3 hours.
- Preheat and Bake (Next Morning, 6:00 AM): Place Dutch oven in oven and preheat to 450°F (230°C) for at least 30 minutes. Carefully remove hot pot. Flip dough onto parchment paper, seam-side down. Score top with a sharp knife or lame. Lower dough into pot, cover, and bake for 30 minutes. Remove lid and bake another 15-20 minutes, until deep golden brown and internal temperature reaches 200°F (93°C).
- Cool Completely: Transfer bread to a wire rack. Let cool for at least 2 hours before slicing to avoid gummy crumb.
Notes
Don’t skip the autolyse. Watch water temperature (85°F). Trust dough, not clock—bulk fermentation varies. Use rice flour for dusting bannetons. Let cool completely before slicing. For gluten-free, use 1:1 gluten-free flour blend with xanthan gum. For vegan, use maple syrup and olive oil.
Nutrition
- Serving Size: 1 slice (1/12 of loa
- Calories: 185
- Sugar: 4
- Sodium: 290
- Fat: 2.5
- Saturated Fat: 0.5
- Carbohydrates: 36
- Fiber: 3
- Protein: 6
Keywords: pumpkin sourdough discard bread, fall sourdough recipe, easy sourdough bread, pumpkin bread, sourdough discard recipe, autumn baking



