I used to think that healthy breakfasts and actually enjoyable breakfasts were two completely different things living in separate kitchens. For years, I’d watch friends post photos of their overnight oats and green smoothies while I sat there with my coffee and a very non-judgmental slice of toast. Then my sister showed up at my door one Tuesday morning with a container of these pumpkin oatmeal cups and said, “Just try one. If you hate it, I’ll leave you alone about breakfast forever.” I took a bite standing in my kitchen, still in my pajamas, and honestly? I had to sit down. They were that good. The texture was soft but not mushy, the pumpkin flavor was warm without being overwhelming, and somehow they managed to feel like a treat while being genuinely good for you. I mean, I ate three that first morning and didn’t feel the slightest bit guilty about it.
Maybe you’ve been there too—stuck in that rut where breakfast is either something boring you choke down or something delicious that leaves you sluggish by mid-morning. These baked pumpkin oatmeal cups solve that problem in the most satisfying way possible. They come together in about thirty minutes, they’re portable enough to grab on your way out the door, and they make your whole kitchen smell like autumn even if it’s the middle of July. I’ve been making them every week since that morning, tweaking the recipe just a little each time until it felt exactly right. Now I’m finally ready to share it with you, because honestly, everyone deserves a breakfast that makes them happy to get out of bed.
Why You’ll Love This Recipe
These healthy baked pumpkin oatmeal cups have earned a permanent spot in my weekly meal prep rotation, and I think they’ll earn one in yours too. Here’s why they stand out from every other breakfast option out there:
- Quick & Easy: From start to finish, you’re looking at about thirty minutes. That’s mixing, baking, and cooling time included. Perfect for those mornings when you need breakfast ready before you’ve fully opened your eyes.
- Simple Ingredients: You probably have most of these in your pantry right now. No weird health food store finds, no expensive superfood powders—just real ingredients that work together beautifully.
- Perfect for Meal Prep: Make a batch on Sunday, and you’ve got breakfast sorted for the whole week. They store beautifully in the fridge and freeze like a dream.
- Crowd-Pleaser: I’ve served these to picky kids, health-conscious friends, and skeptical husbands, and they’ve disappeared every single time. The texture is soft and cake-like, which somehow makes everyone happy.
- Unbelievably Delicious: This isn’t one of those “healthy” recipes that tastes like cardboard and hope. The pumpkin keeps everything incredibly moist, the warm spices make your kitchen smell amazing, and there’s just enough sweetness to satisfy that morning craving.
What makes this recipe different from all the other pumpkin oatmeal cups out there is the texture. I spent weeks testing different ratios of oats to liquid, different mixing methods, and different baking times to get that perfect balance between tender and sturdy. The secret turned out to be letting the oats soak in the wet ingredients for just five minutes before baking. It sounds simple, but it makes all the difference between dry, crumbly cups and these perfectly moist, satisfying breakfast bites.
This recipe isn’t just good—it’s the kind that makes you close your eyes after the first bite. It’s comfort food reimagined, healthier but with the same soul-soothing satisfaction. Perfect for busy mornings when you need something nourishing without the stress.
What Ingredients You Will Need
This recipe uses simple, wholesome ingredients to deliver bold flavor and satisfying texture without the fuss. Most of these are pantry staples, which makes this recipe perfect for those mornings when you’re staring at your cabinets wondering what to make.
- Rolled oats, 2 cups (180g) — I recommend old-fashioned rolled oats here, not the quick-cooking kind. They give the cups a better texture and hold up during baking. My personal favorite is Bob’s Red Mill, but any brand works fine.
- Pumpkin puree, 1 cup (245g) — Make sure you’re grabbing pure pumpkin puree, not pumpkin pie filling. They look similar in the can, but the pie filling has added sugar and spices that will throw off your recipe. Libby’s is my go-to brand.
- Milk, 1/2 cup (120ml) — Any milk works here. I usually use unsweetened almond milk, but regular dairy milk, oat milk, or coconut milk all work beautifully. Just make sure it’s unsweetened if you’re using a plant-based option.
- Eggs, 2 large — These help bind everything together and add protein. For a vegan version, you can substitute with two flax eggs (2 tablespoons ground flaxseed mixed with 6 tablespoons water, let sit for 5 minutes).
- Maple syrup, 1/3 cup (80ml) — Pure maple syrup gives the best flavor, but honey works great too. If you’re watching your sugar intake, you can reduce this to 1/4 cup and add an extra mashed banana for sweetness.
- Coconut oil, 2 tablespoons (30ml), melted — This adds moisture without making things greasy. You can substitute with melted butter or any neutral oil like avocado oil.
- Pumpkin pie spice, 2 teaspoons — If you don’t have pumpkin pie spice on hand, mix together 1 teaspoon cinnamon, 1/2 teaspoon ginger, 1/4 teaspoon nutmeg, and 1/4 teaspoon cloves. It’s the same thing, just homemade.
- Vanilla extract, 1 teaspoon — Pure vanilla extract is worth splurging on here. It adds warmth and depth that artificial vanilla just can’t match.
- Baking powder, 1 teaspoon — This gives the cups a little lift so they’re not too dense and flat.
- Salt, 1/4 teaspoon — Don’t skip this! Salt makes all the flavors pop and balances the sweetness perfectly.
- Optional mix-ins: 1/3 cup chocolate chips, dried cranberries, or chopped pecans — These are completely optional but highly recommended. The chocolate chips melt into little pockets of goodness throughout the cups.
Equipment Needed
You don’t need any fancy equipment for this recipe, which is part of what makes it so great. Here’s what you’ll need:
- Muffin tin, 12-cup standard size — This is non-negotiable. You need the muffin tin to give the oatmeal cups their shape. If you only have a mini muffin tin, just reduce the baking time to about 12-15 minutes.
- Muffin liners, paper or silicone — I highly recommend using liners for easy removal. Silicone ones work beautifully and are reusable, but paper liners are perfectly fine too. Just give them a quick spray with cooking spray so nothing sticks.
- Large mixing bowl — Any big bowl will do. I use my grandmother’s old ceramic mixing bowl because it makes me feel like a real baker, but a glass or stainless steel bowl works just as well.
- Medium bowl or liquid measuring cup — For mixing the wet ingredients together before combining everything.
- Whisk — For mixing the wet ingredients smoothly. A fork works in a pinch, but a whisk makes things easier.
- Spatula or wooden spoon — For folding everything together without overmixing.
- Measuring cups and spoons — Accurate measurements matter in baking, even for something as forgiving as these oatmeal cups.
- Cooling rack — Letting the cups cool properly prevents them from getting soggy on the bottom. If you don’t have a cooling rack, you can carefully tip them out onto a clean kitchen towel.
Preparation Method
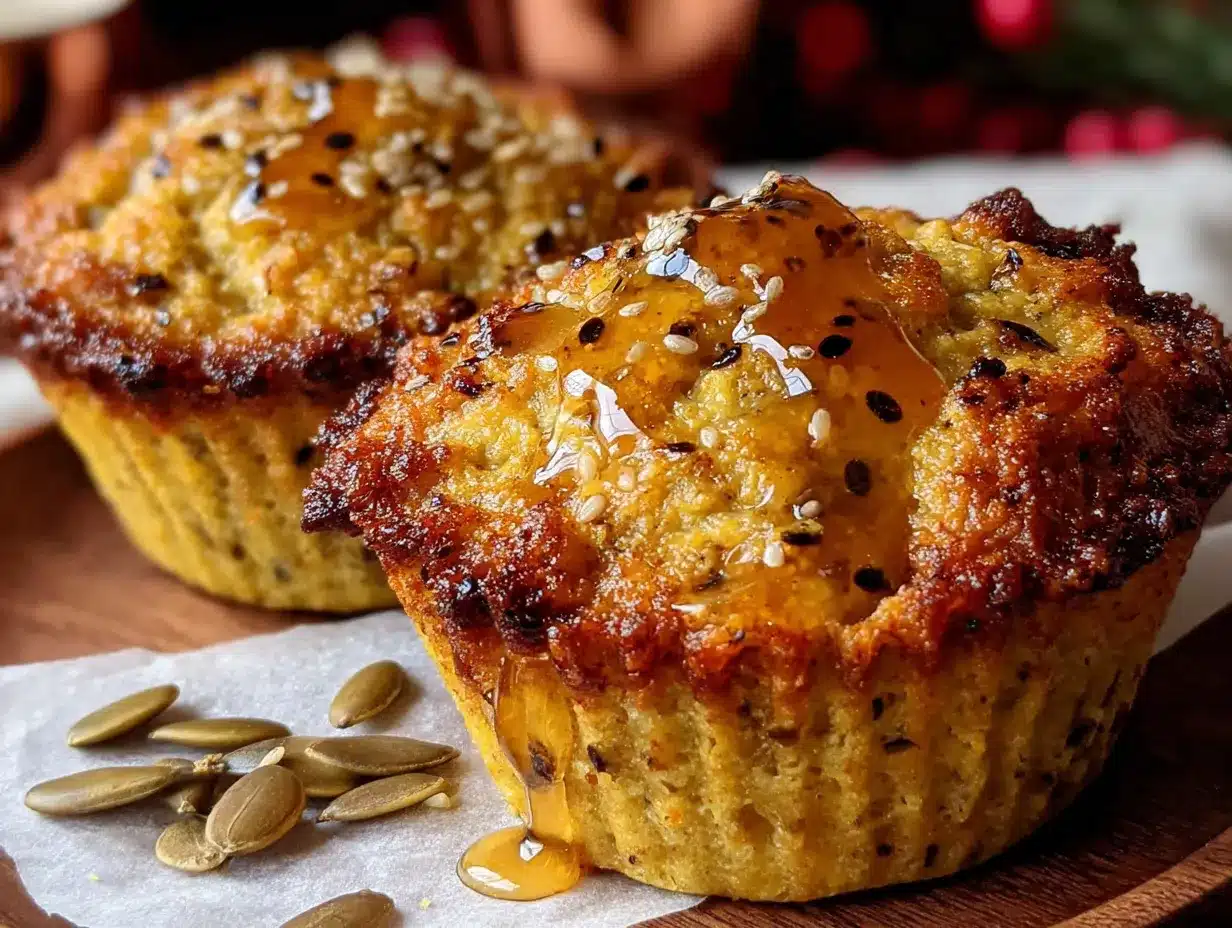
Let me walk you through this step by step. I promise it’s easier than it looks, and you’ll have these done before you know it.
- Preheat your oven to 350°F (175°C). Line your muffin tin with paper or silicone liners. If you’re using paper liners, give them a quick spritz with cooking spray. Trust me on this one—I learned the hard way that pumpkin oatmeal cups like to stick to ungreased paper.
- In your large mixing bowl, combine the dry ingredients. Add the rolled oats, pumpkin pie spice, baking powder, and salt. Give everything a good stir with your whisk or spatula so the spices are evenly distributed throughout the oats.
- In a separate bowl or liquid measuring cup, whisk together the wet ingredients. Add the pumpkin puree, milk, eggs, maple syrup, melted coconut oil, and vanilla extract. Whisk until everything is smooth and well combined. The mixture should be a beautiful deep orange color at this point.
- Here’s the secret step: Pour the wet ingredients into the bowl with the dry ingredients and stir until just combined. Don’t overmix! A few streaks of dry oats are perfectly fine. Now, let the mixture sit for 5 minutes. I know it’s tempting to skip this, but this resting time allows the oats to absorb some of the liquid, which gives you that perfect tender texture instead of crunchy, undercooked oats.
- After 5 minutes, fold in any mix-ins you’re using. Chocolate chips, dried cranberries, chopped pecans—whatever you decided on. Give everything a few gentle folds to distribute them evenly.
- Scoop the mixture into your prepared muffin tin. Use a cookie scoop or a spoon to fill each cup about three-quarters full. The mixture won’t rise much, so you want a generous portion in each cup. I usually get exactly 12 cups from this recipe.
- Bake for 18 to 22 minutes. The cups are done when the tops are set and lightly golden, and a toothpick inserted into the center comes out clean or with just a few moist crumbs. Every oven runs a little differently, so start checking at 18 minutes. My oven usually takes exactly 20 minutes.
- Let the cups cool in the pan for 5 minutes. This is important! If you try to take them out immediately, they might fall apart. After 5 minutes, transfer them to a cooling rack to cool completely. The aroma coming from your kitchen right now is absolutely incredible—enjoy it.
- Once completely cool, they’re ready to eat. I always sneak one while they’re still slightly warm, and I highly recommend you do the same. The chocolate chips are still a little melty, and the pumpkin flavor is at its peak.
Cooking Tips & Techniques
After making these pumpkin oatmeal cups more times than I can count, I’ve picked up a few tricks that make the process smoother and the results better. Here are my best tips:
Don’t skip the resting time. I know I mentioned this already, but it bears repeating. That five-minute rest after mixing the wet and dry ingredients is the difference between perfect oatmeal cups and disappointing ones. The oats need time to absorb the liquid, and rushing this step leaves you with a grainy texture that nobody wants.
Use room temperature ingredients. Cold eggs or cold milk can cause the coconut oil to solidify into little chunks instead of incorporating smoothly. If you forgot to take your eggs out ahead of time, place them in a bowl of warm water for five minutes. Same goes for your milk or any other refrigerated ingredients.
Grease your liners. I cannot stress this enough. Pumpkin oatmeal cups are naturally sticky, and even non-stick paper liners can become a nightmare to peel off. A quick spritz of cooking spray before filling them saves so much frustration later. Silicone liners don’t need this step, but they’re also more expensive.
Make sure your pumpkin puree isn’t watery. Sometimes canned pumpkin puree can be a bit watery, especially if it’s been sitting on the shelf for a while. If you notice excess liquid when you open the can, give the puree a gentle stir and let it sit for a minute. You can also blot it with a paper towel if it looks really wet.
Check for doneness with your senses. The toothpick test is reliable, but also pay attention to how the cups look and smell. They should be lightly golden on top, and the edges should be pulling away from the liners just slightly. The kitchen should smell warm and spicy, not burnt.
I once forgot to add the eggs to a batch, and let me tell you, that was a sad morning. The cups came out flat and crumbly, and they fell apart the moment I tried to pick one up. Learn from my mistake—double-check your ingredients before you start mixing!
Variations & Adaptations
One of the best things about this recipe is how adaptable it is. Here are some variations I’ve tried and loved:
Vegan Version: Replace the eggs with two flax eggs (2 tablespoons ground flaxseed mixed with 6 tablespoons water, let sit for 5 minutes until gel-like). Use plant-based milk and maple syrup instead of honey if you’re strictly vegan. The texture will be slightly denser but still delicious.
Gluten-Free Option: Use certified gluten-free rolled oats. Most oats are naturally gluten-free, but they’re often processed in facilities that also handle wheat, so look for the certified label if you have celiac disease or severe sensitivity.
Protein-Packed Version: Add one scoop of vanilla or unflavored protein powder to the dry ingredients. You might need to add an extra tablespoon or two of milk to compensate for the extra dry ingredients. This version keeps me full until lunch without any problem.
Lower Sugar Option: Reduce the maple syrup to 2 tablespoons and add one mashed very ripe banana. The banana adds natural sweetness and moisture, and you honestly won’t miss the extra sugar. I make this version when I’m trying to cut back on sweeteners.
Seasonal Twist: In the summer, swap the pumpkin puree for mashed ripe banana or unsweetened applesauce. Keep the pumpkin pie spice or swap it for cinnamon and nutmeg for a different flavor profile. It’s a completely different breakfast but equally good.
Savory Version: This might sound strange, but hear me out. Omit the maple syrup and pumpkin pie spice. Add 1/2 teaspoon garlic powder, 1/2 teaspoon onion powder, and 1/4 cup shredded cheddar cheese. Fold in some cooked crumbled turkey sausage or bacon. Bake as directed. These savory oatmeal cups are incredible for a quick breakfast on the go.
Serving & Storage Suggestions
These pumpkin oatmeal cups are incredibly versatile when it comes to serving and storing. Here’s everything you need to know:
How to Serve: These cups are delicious at room temperature, slightly warm, or even straight from the fridge. I love warming one up for about 15 seconds in the microwave and spreading a little peanut butter or almond butter on top. The combination of pumpkin and peanut butter is absolutely heavenly. You can also crumble one over a bowl of Greek yogurt for a more substantial breakfast, or serve them alongside a hot cup of coffee for a cozy morning treat.
Storage: Store the cooled oatmeal cups in an airtight container in the refrigerator for up to one week. Place a paper towel at the bottom of the container to absorb any excess moisture, and another paper towel on top. Change the paper towels after a couple of days if they feel damp. This keeps the cups from getting soggy.
Freezing: These cups freeze beautifully! Place them in a single layer on a baking sheet and freeze for about an hour, then transfer them to a freezer-safe bag or container. They’ll keep for up to three months. When you’re ready to eat one, just pop it in the microwave for 30 to 45 seconds, or let it thaw in the refrigerator overnight.
Reheating: The microwave is your best friend here. About 20 to 30 seconds for a single cup, or 45 seconds for two. If you’re reheating from frozen, add an extra 15 seconds. You can also reheat them in a toaster oven at 300°F for about 5 minutes if you prefer a slightly crisper exterior.
Flavor Development: Here’s something interesting—these cups actually taste better on the second day. The flavors have time to meld together, and the texture becomes even more moist and tender. So don’t worry if you make them ahead of time. They’ll be even more delicious when you’re ready to eat them.
Nutritional Information & Benefits
These healthy baked pumpkin oatmeal cups are packed with nutrition that actually tastes good. Here’s the breakdown for one cup made without any mix-ins:
| Nutrient | Amount per Cup |
|---|---|
| Calories | 145 |
| Protein | 5g |
| Carbohydrates | 22g |
| Fiber | 3g |
| Sugar | 8g |
| Fat | 5g |
| Vitamin A | 80% DV |
| Iron | 8% DV |
Pumpkin is the real star here, and it’s loaded with vitamin A, which supports eye health and immune function. The oats provide complex carbohydrates for sustained energy and plenty of fiber to keep your digestive system happy. The eggs add high-quality protein, and the maple syrup offers a more natural source of sweetness with a lower glycemic impact than refined sugar.
These cups are naturally dairy-free if you use plant-based milk, and they can easily be made gluten-free and vegan. They’re also nut-free if you skip the pecan topping, making them a safe option for school lunches or gatherings where allergies are a concern. I personally love knowing I’m starting my day with something that nourishes my body without sacrificing flavor.
Conclusion
These healthy baked pumpkin oatmeal cups have completely changed my relationship with breakfast. They’ve proven to me that you don’t have to choose between food that’s good for you and food that actually tastes good. Every time I make a batch, I’m reminded of that Tuesday morning when my sister proved me wrong about healthy breakfasts, and I smile every single time.
I hope you’ll give these a try and make them your own. Add your favorite mix-ins, adjust the sweetness to your liking, and don’t be afraid to experiment with different flavors. That’s the beauty of a simple, forgiving recipe like this one—it leaves room for your personal touch.
When you make them, I’d love to hear how they turn out. Drop a comment below and let me know what variations you tried, or tag me in your photos if you share them on social media. Your feedback and creativity inspire me to keep developing recipes that make healthy eating feel effortless and enjoyable. Now go preheat that oven and make your kitchen smell amazing!
Frequently Asked Questions
Can I use quick-cooking oats instead of rolled oats?
You can, but the texture will be different. Quick-cooking oats are more finely chopped, so they absorb liquid faster and create a softer, almost mushy texture. Rolled oats give the cups more structure and a pleasant chew. If you only have quick-cooking oats, reduce the resting time to 2 minutes and check for doneness a few minutes earlier.
Can I make these without eggs?
Absolutely! Use two flax eggs as a substitute. Mix 2 tablespoons of ground flaxseed with 6 tablespoons of water and let it sit for 5 minutes until it becomes gel-like. The cups will be slightly denser but still delicious and moist. You can also use a commercial egg replacer if you prefer.
How do I keep the cups from sticking to the liners?
This is the most common issue people face, and the solution is simple—spray your paper liners with cooking spray before filling them. Even liners labeled as non-stick can be problematic with pumpkin oatmeal cups because of the natural stickiness of the oats and pumpkin. Silicone liners are a great investment if you make these regularly, as they rarely need any greasing.
Can I double this recipe?
Yes, this recipe doubles beautifully. Just make sure you have two muffin tins, or bake in batches. The baking time might increase by a minute or two if you’re baking both tins at the same time, so keep an eye on them. I often double the recipe and freeze half for busy weeks.
Why did my oatmeal cups turn out dry?
Dry oatmeal cups usually mean they were overbaked or the ratio of wet to dry ingredients was off. Make sure you’re measuring your oats correctly—scoop them into the measuring cup and level them off without packing them down. Also, check your oven temperature with an oven thermometer, as many ovens run hotter than they claim. Start checking for doneness at 18 minutes to avoid overbaking.
Pin This Recipe!
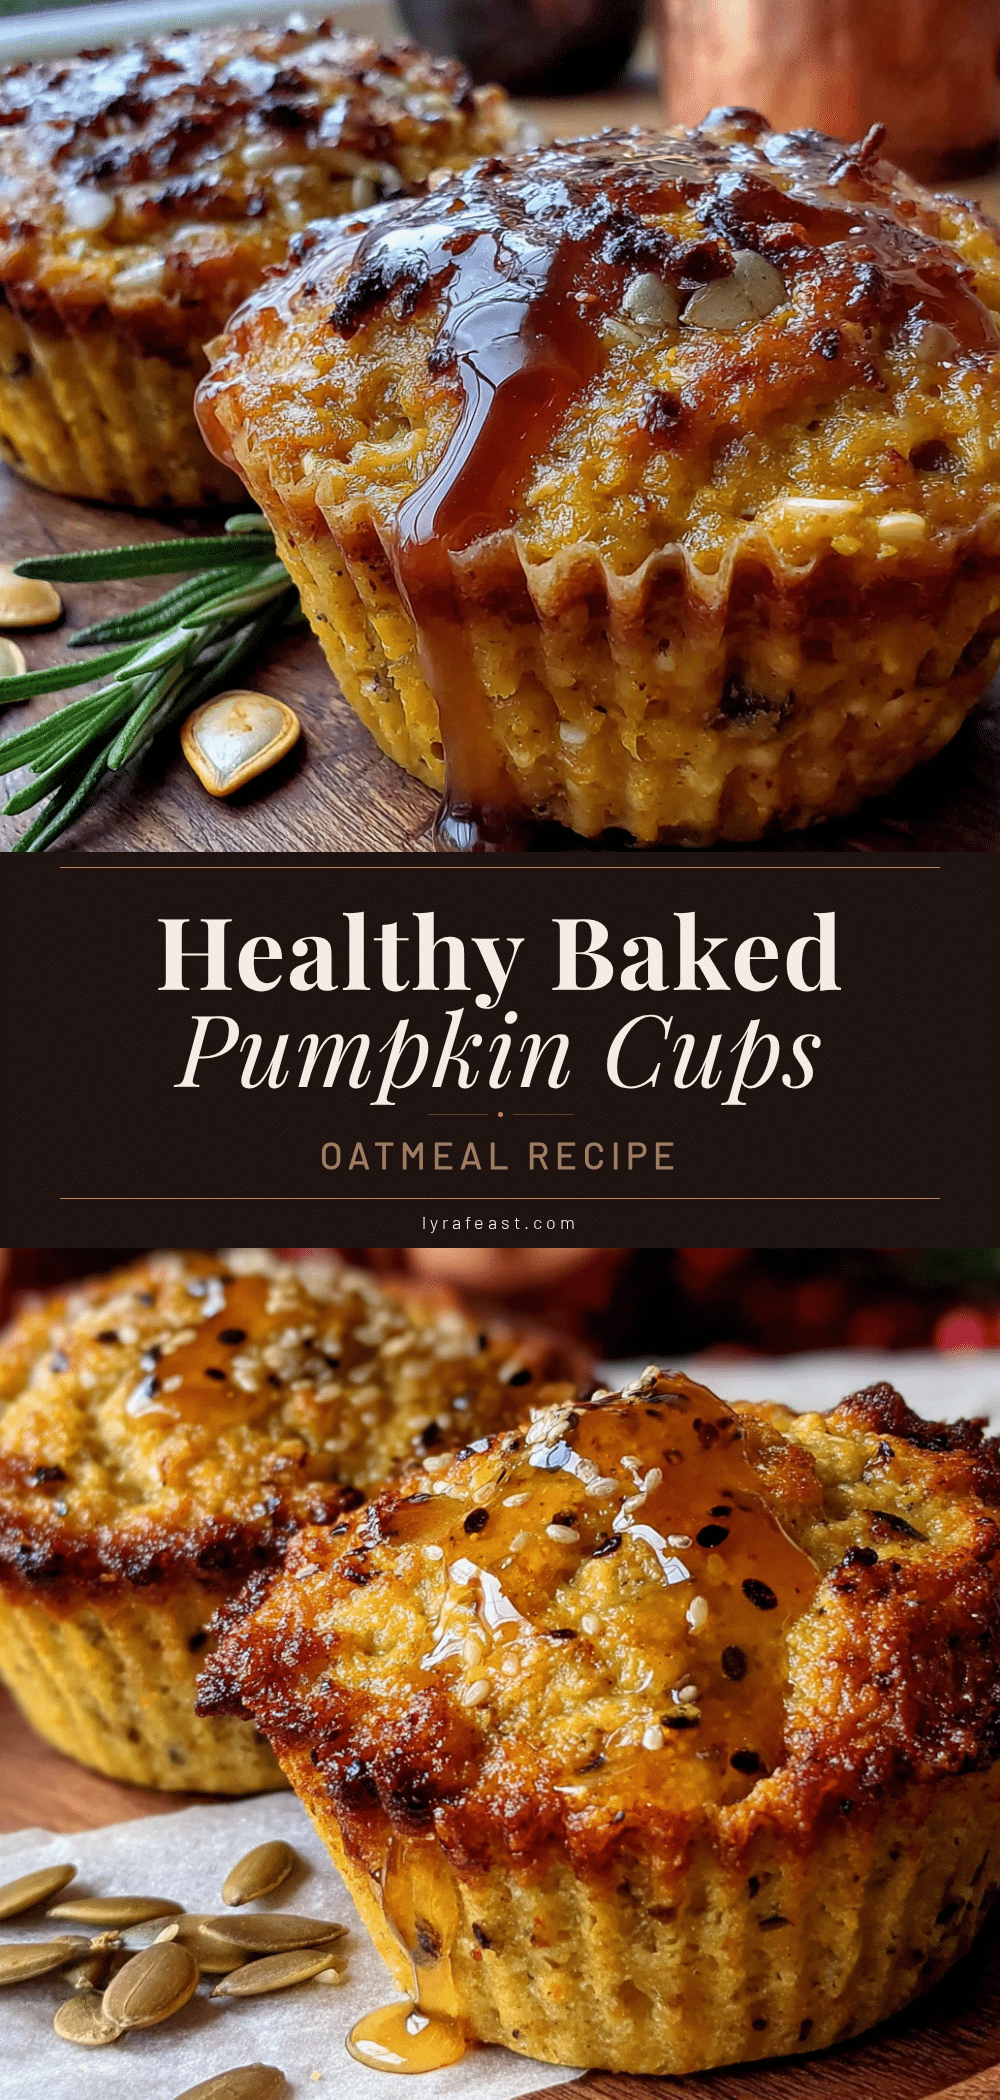
Healthy Baked Pumpkin Oatmeal Cups Recipe: Easy 30-Minute Breakfast

These healthy baked pumpkin oatmeal cups are soft, moist, and packed with warm pumpkin spice flavor. They come together in about 30 minutes, are perfect for meal prep, and make your kitchen smell like autumn.
- Prep Time: 10 minutes
- Cook Time: 20 minutes
- Total Time: 30 minutes
- Yield: 12 servings 1x
- Category: Breakfast
- Cuisine: American
Ingredients
- 2 cups (180g) rolled oats
- 1 cup (245g) pumpkin puree
- 1/2 cup (120ml) milk (any kind)
- 2 large eggs
- 1/3 cup (80ml) maple syrup
- 2 tablespoons (30ml) coconut oil, melted
- 2 teaspoons pumpkin pie spice
- 1 teaspoon vanilla extract
- 1 teaspoon baking powder
- 1/4 teaspoon salt
- Optional mix-ins: 1/3 cup chocolate chips, dried cranberries, or chopped pecans
Instructions
- Preheat your oven to 350°F (175°C). Line a 12-cup muffin tin with paper or silicone liners. If using paper liners, spray them with cooking spray.
- In a large mixing bowl, combine the rolled oats, pumpkin pie spice, baking powder, and salt. Stir well.
- In a separate bowl or liquid measuring cup, whisk together the pumpkin puree, milk, eggs, maple syrup, melted coconut oil, and vanilla extract until smooth.
- Pour the wet ingredients into the dry ingredients and stir until just combined. Let the mixture sit for 5 minutes.
- After 5 minutes, fold in any optional mix-ins (chocolate chips, dried cranberries, or chopped pecans).
- Scoop the mixture into the prepared muffin tin, filling each cup about three-quarters full.
- Bake for 18 to 22 minutes, until the tops are set and lightly golden, and a toothpick inserted into the center comes out clean or with a few moist crumbs.
- Let the cups cool in the pan for 5 minutes, then transfer them to a cooling rack to cool completely.
- Once completely cool, they are ready to eat. Enjoy warm or at room temperature.
Notes
Let the oats soak in the wet ingredients for 5 minutes before baking for the best texture. Grease paper liners with cooking spray to prevent sticking. These cups taste even better on the second day as flavors meld. Store in an airtight container in the refrigerator for up to 1 week, or freeze for up to 3 months.
Nutrition
- Serving Size: 1 oatmeal cup
- Calories: 145
- Sugar: 8
- Sodium: 120
- Fat: 5
- Saturated Fat: 2.5
- Carbohydrates: 22
- Fiber: 3
- Protein: 5
Keywords: pumpkin oatmeal cups, healthy breakfast, baked oatmeal, meal prep breakfast, pumpkin spice, easy breakfast recipe



